Four Drawing Techniques To Practice

Four Drawing Techniques To Practice

As you know every Monday I film video critiques for members of Drawing Tutorials online. I have been filming video critiques for ten years now. It’s really important that you get into the habit of receiving feedback on your artwork.

The key element with the weekly critiques is context. I’m able to give you specific guidance on the artwork you’ve posted in relation to a certain course. I also answer questions that you ask. Again it’s all about context.

The other really cool thing with the critiques within the member’s area of DTO, is consistency. it’s one thing to get feedback once. It’s another to get contextual feedback on your work on an ongoing basis.

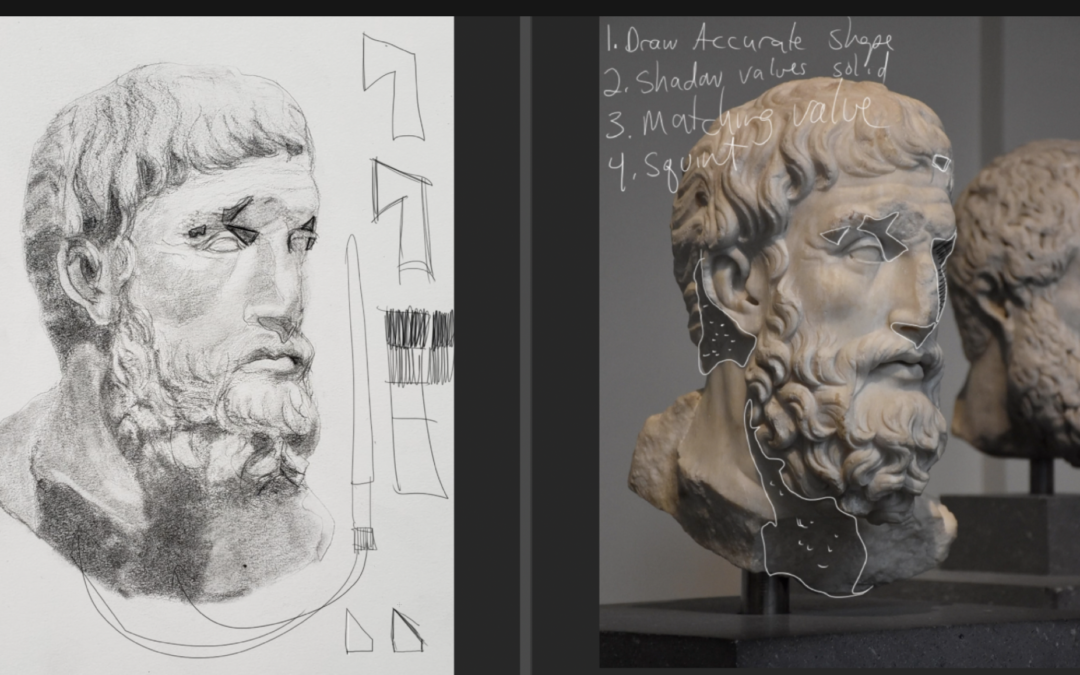
I trust the four drawing techniques taught in the video tutorial below will help you. They are simple yet hard drawing techniques to implement. They are hard because they take a lot of practice. The practice can become tedious. However, if you are looking to draw accurate portraits they are a must.


Don’t forget to sign up for my free drawing course right below. Thanks so much for watching, let me know what you think.

 

First Lines When Drawing A Portrait – Process

First Lines When Drawing A Portrait – Process

I just recently added a brand new portrait drawing course in the member’s area over at Drawings Tutorials Online. This particular course focuses on drawing smaller portraits.

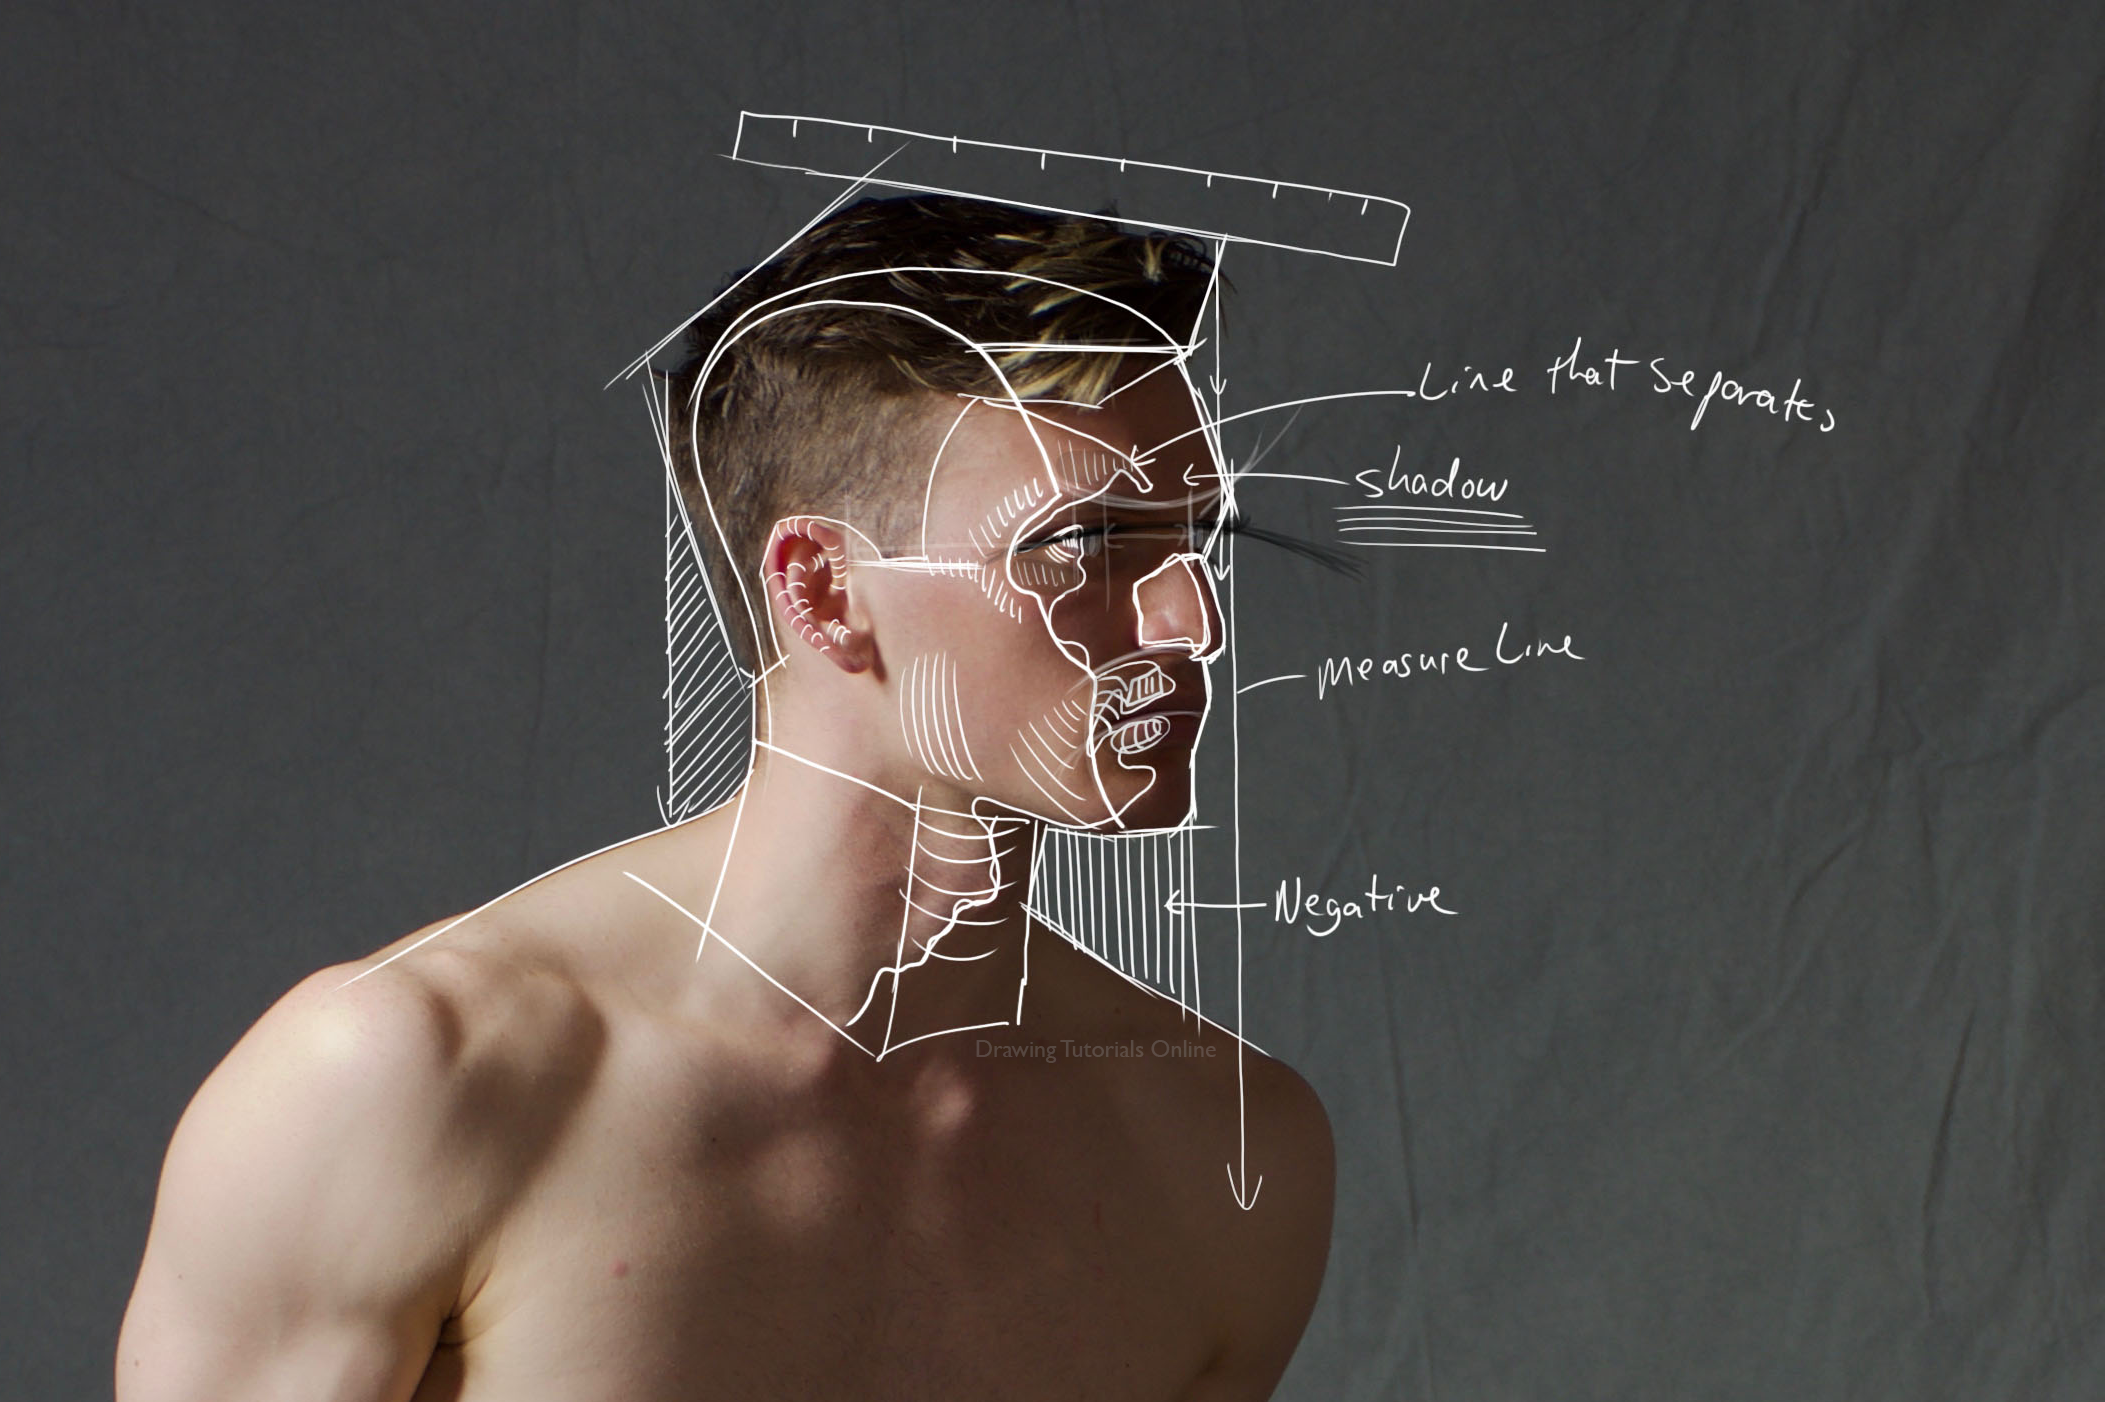
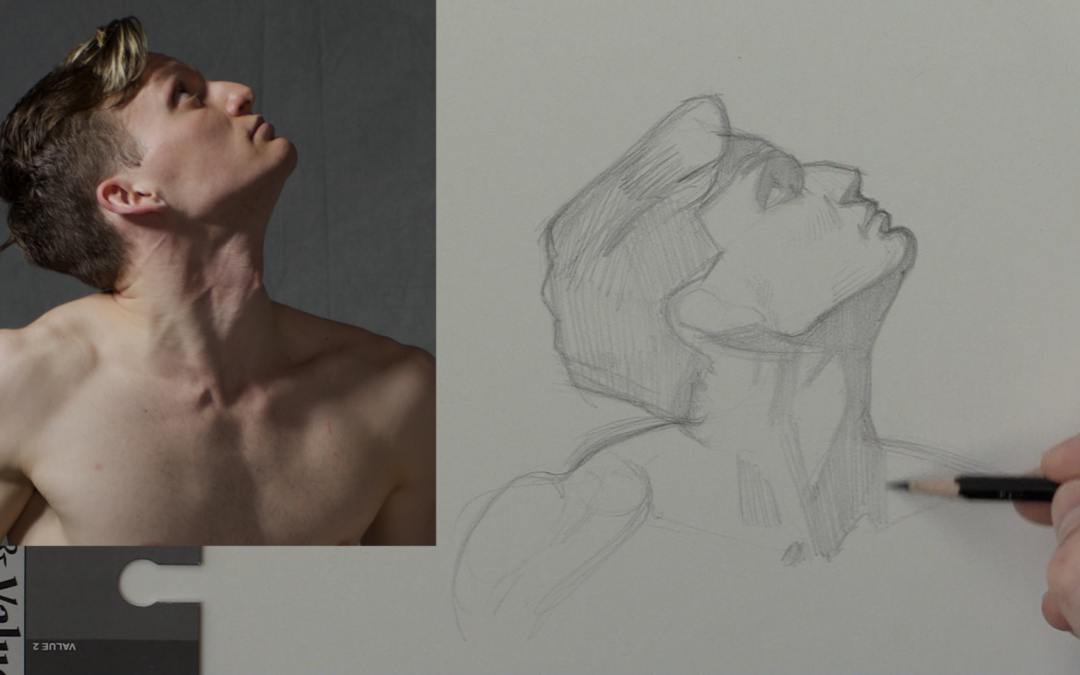
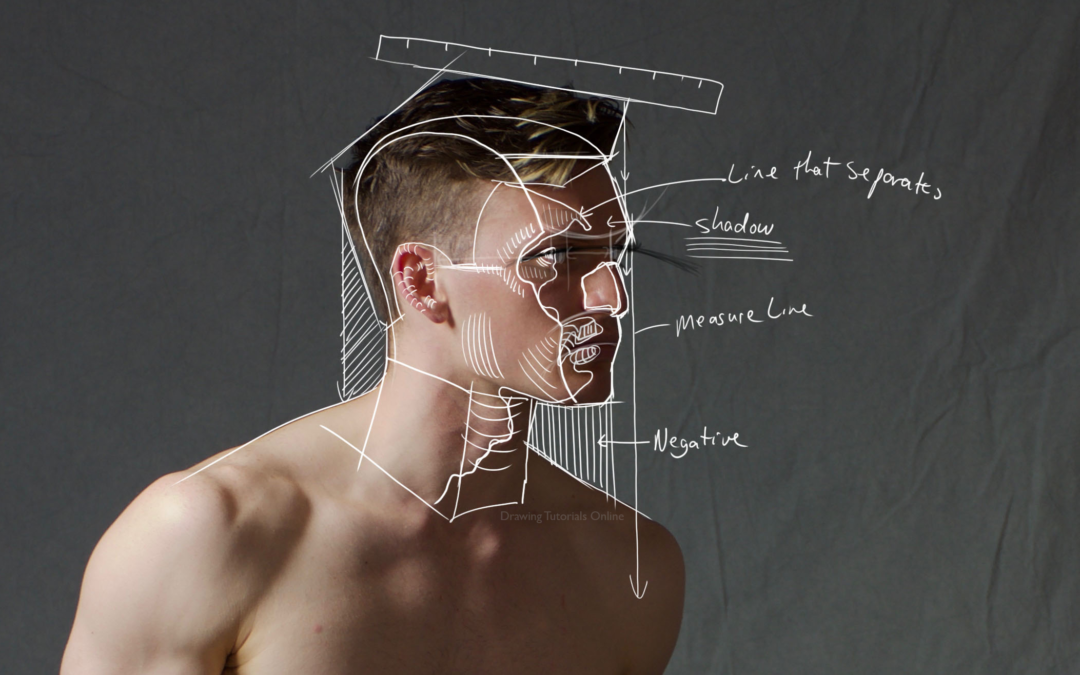
With every course, I like to review certain techniques via a screencast video. This particular video reviewed how I start a portrait drawing. Especially a smaller one, say about two inches tall.

I always start with the angles, combined with measure lines and negative space. Nothing new right?

No, it’s not new, I have been teaching these same techniques for many years. Unfortunately, I still see many artists who struggle with drawing a likeness. Don’t fall into the trap of just knowing the techniques because you have heard about them.

You have to constantly practice these portrait drawing techniques over and over again until you master them. It’s not enough to just know them in theory. You need to put them into practice.

Just replace the white lines in the video within photoshop with pencil lines on your drawing pad. Start off with light pressure at first.

Enjoy the video.


If you are interested in learning many more techniques similar to these consider a membership to Drawing Tutorials Online.


How To Draw The Structure Of The Eye

How To Draw The Structure Of The Eye

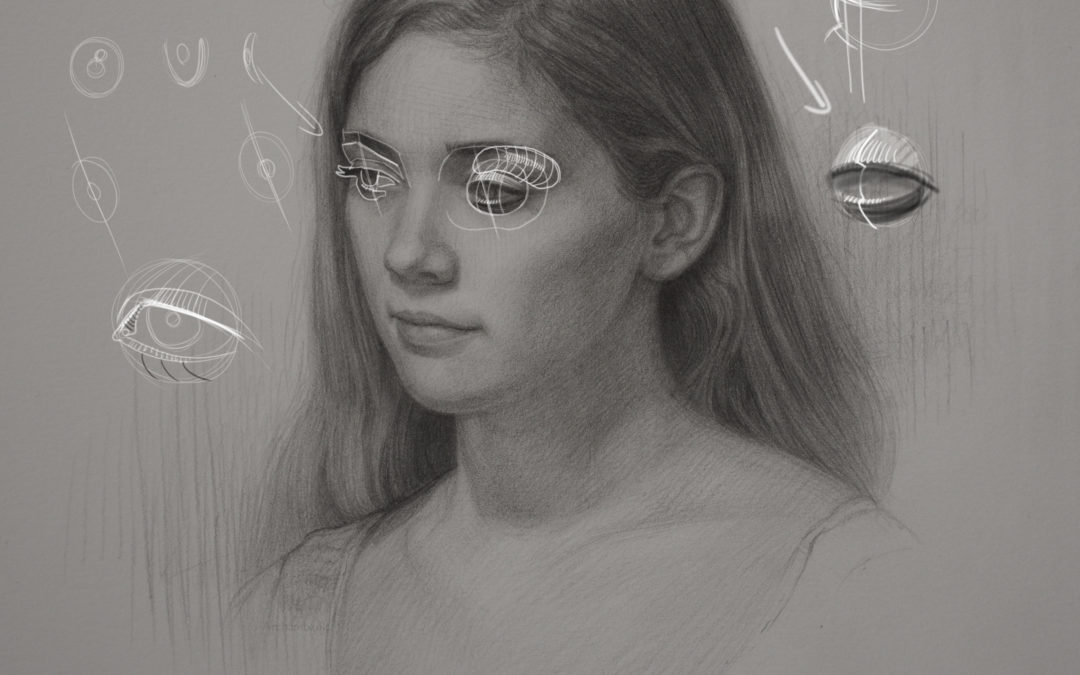
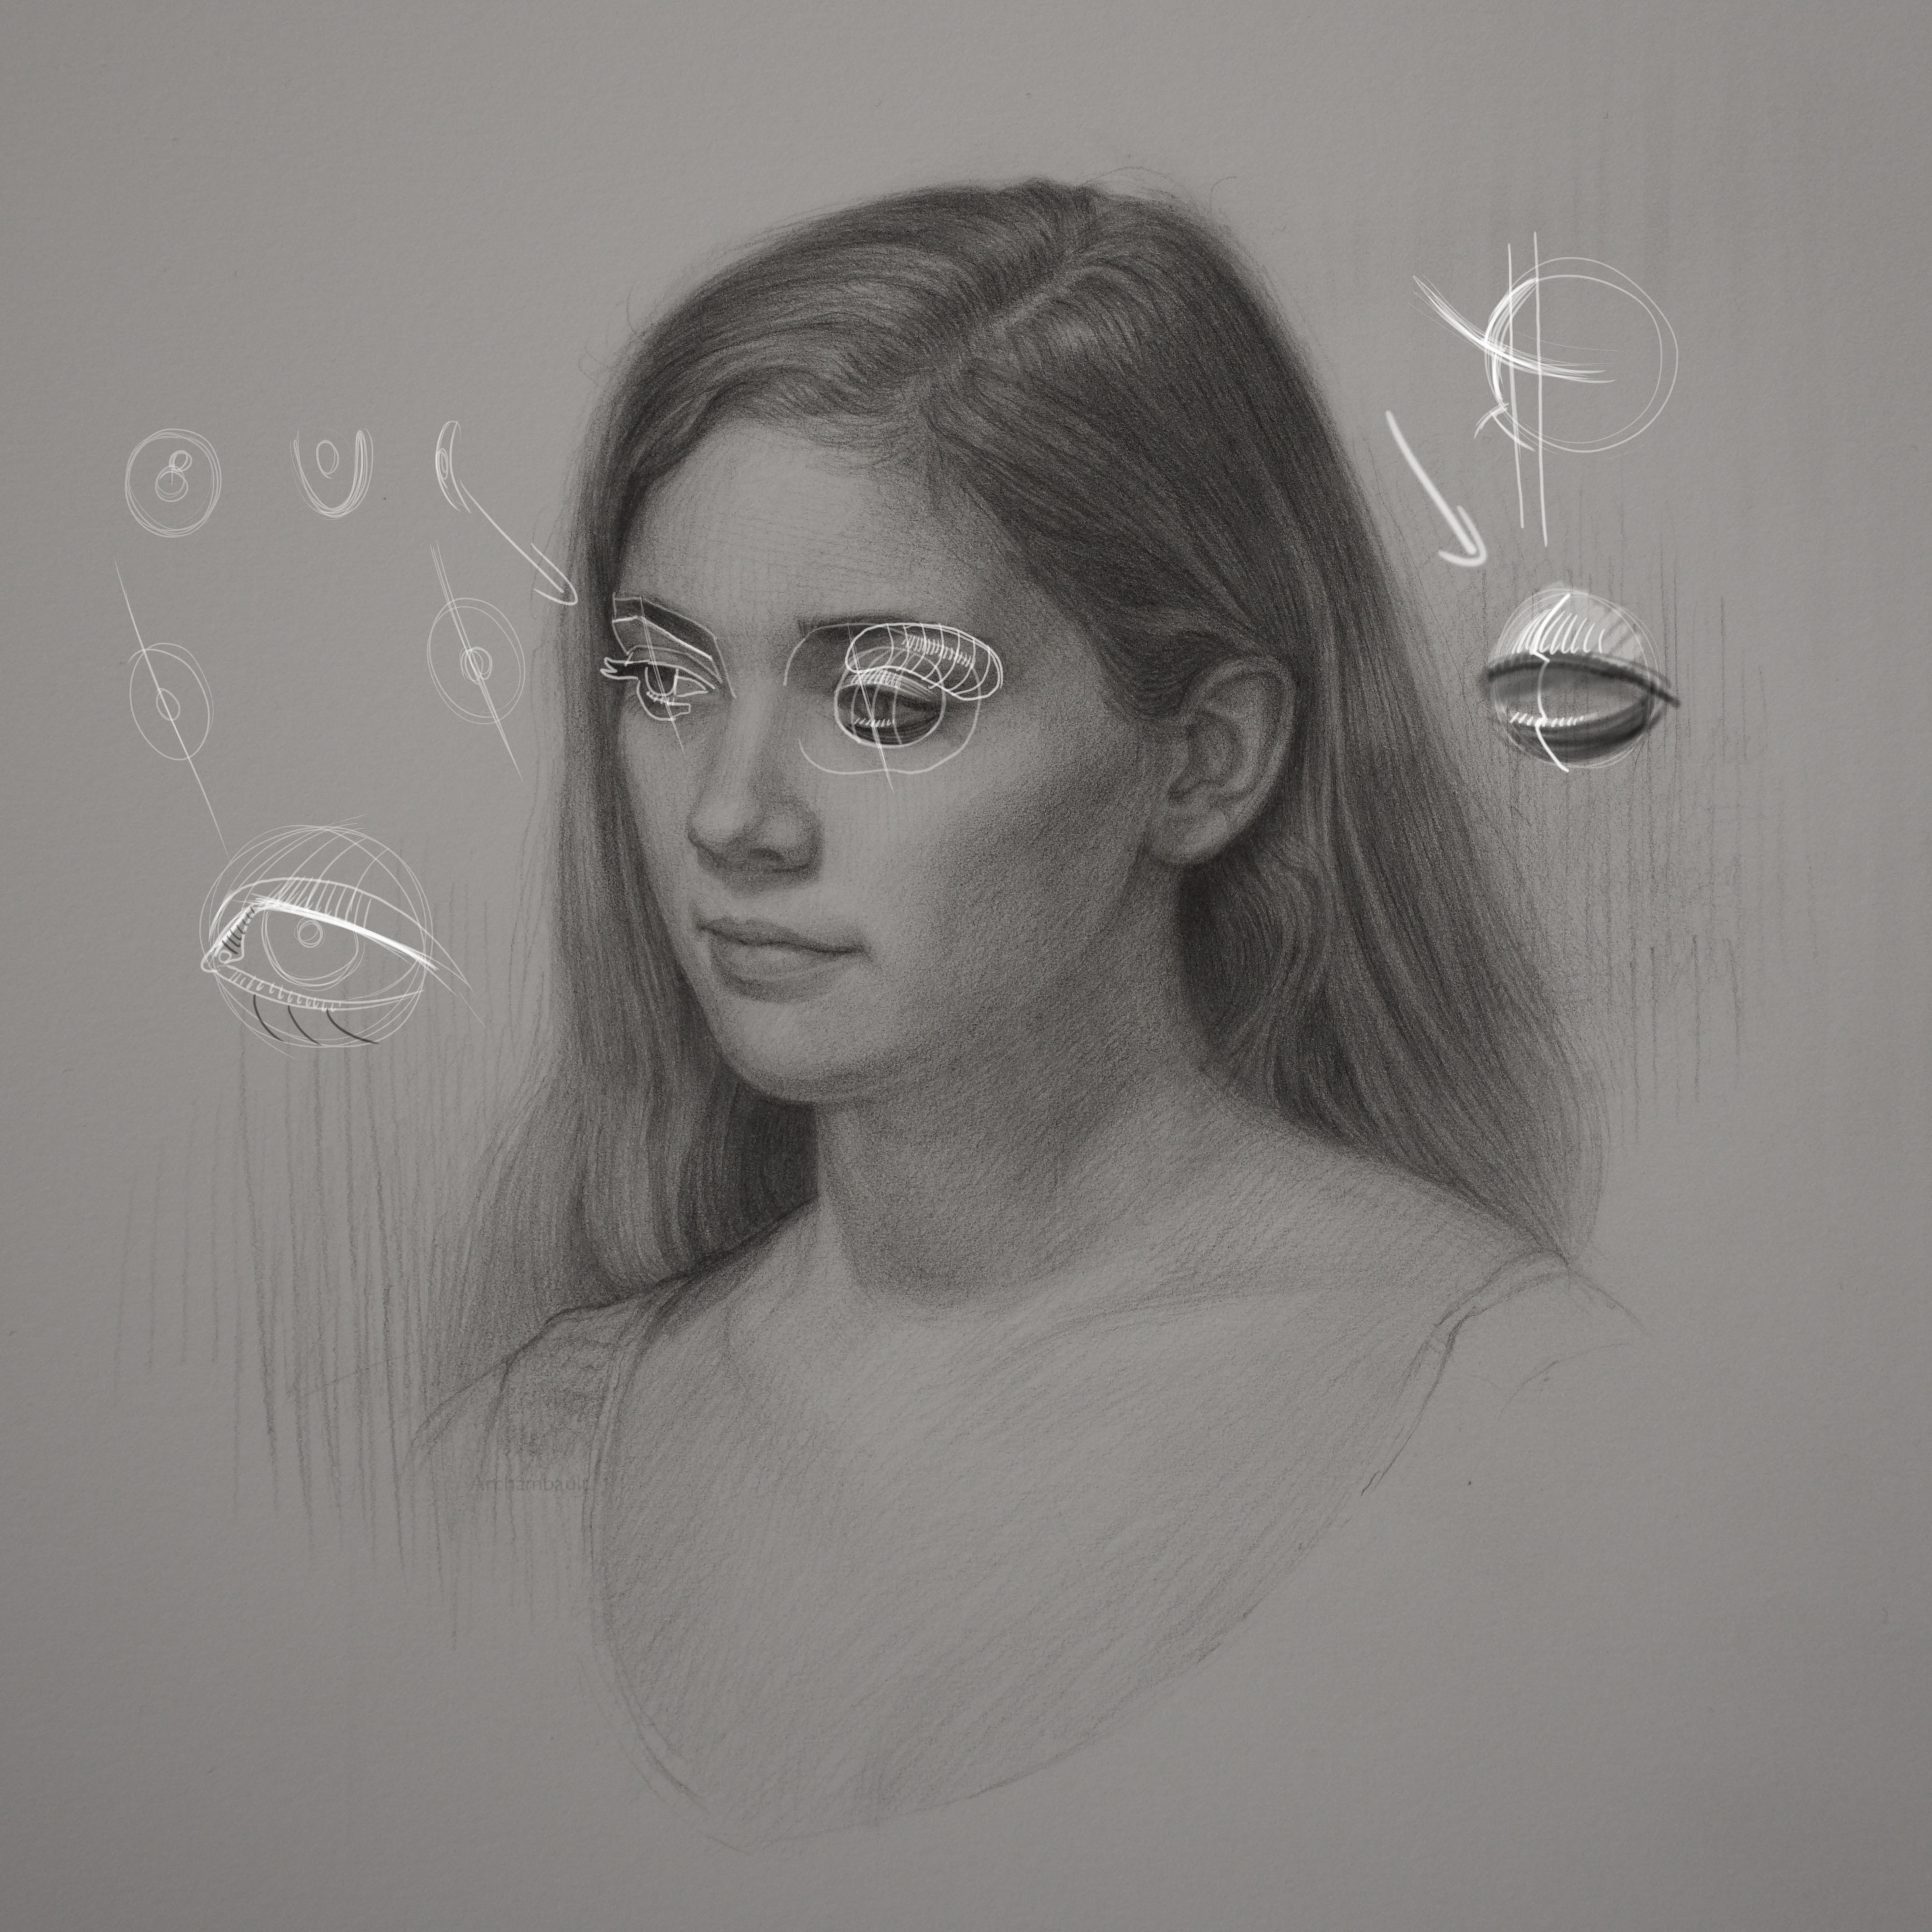
In this screencast portrait drawing lesson I share with you how I think about the structure of the eye. Thinking about the structure of the eye is completely different than using angles, shapes and tone to map out an eye on paper.

The key element to keep in mind when drawing an eye is that you are simply drawing a sphere. You are not drawing an eye, you are drawing a sphere. That sphere has lot’s of distractions, eye lashes and highlights. However if you can wrap your mind around the light that hits that sphere this will help you.

Too many artists cling onto the eye lashes like they are gospel. Worse yet many artists outline the eye with linear looking lashes. It’s super important that you approach drawing the eye from the standpoint of, what type of light source is hitting the sphere of the eye.

Most of the time light is coming from above. This simple fact will help you to see that the lower lid is in shadow and the upper lid is catching light. Stay away from using sharp outlines when drawing the eye. Definitely break your line on the lower eyelid. 

I can go on forever in this post, but I think I’ll let the video tutorial do the talking.


If you are interested in learning more consider a membership to Drawing Tutorials Online. You will gain access to every lesson in the course, plus be able to download the PDF that compliments this portrait drawing course immediately.

Thanks so much for taking the time to watch.


Portrait Drawing – Lesson Twelve

Portrait Drawing – Lesson Twelve

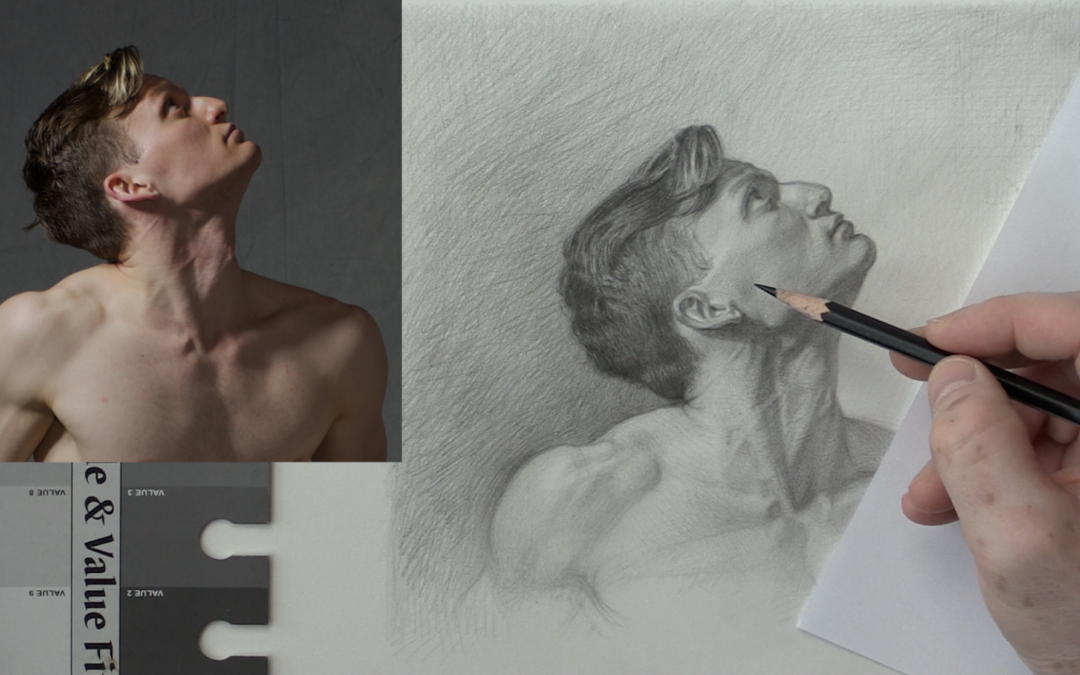
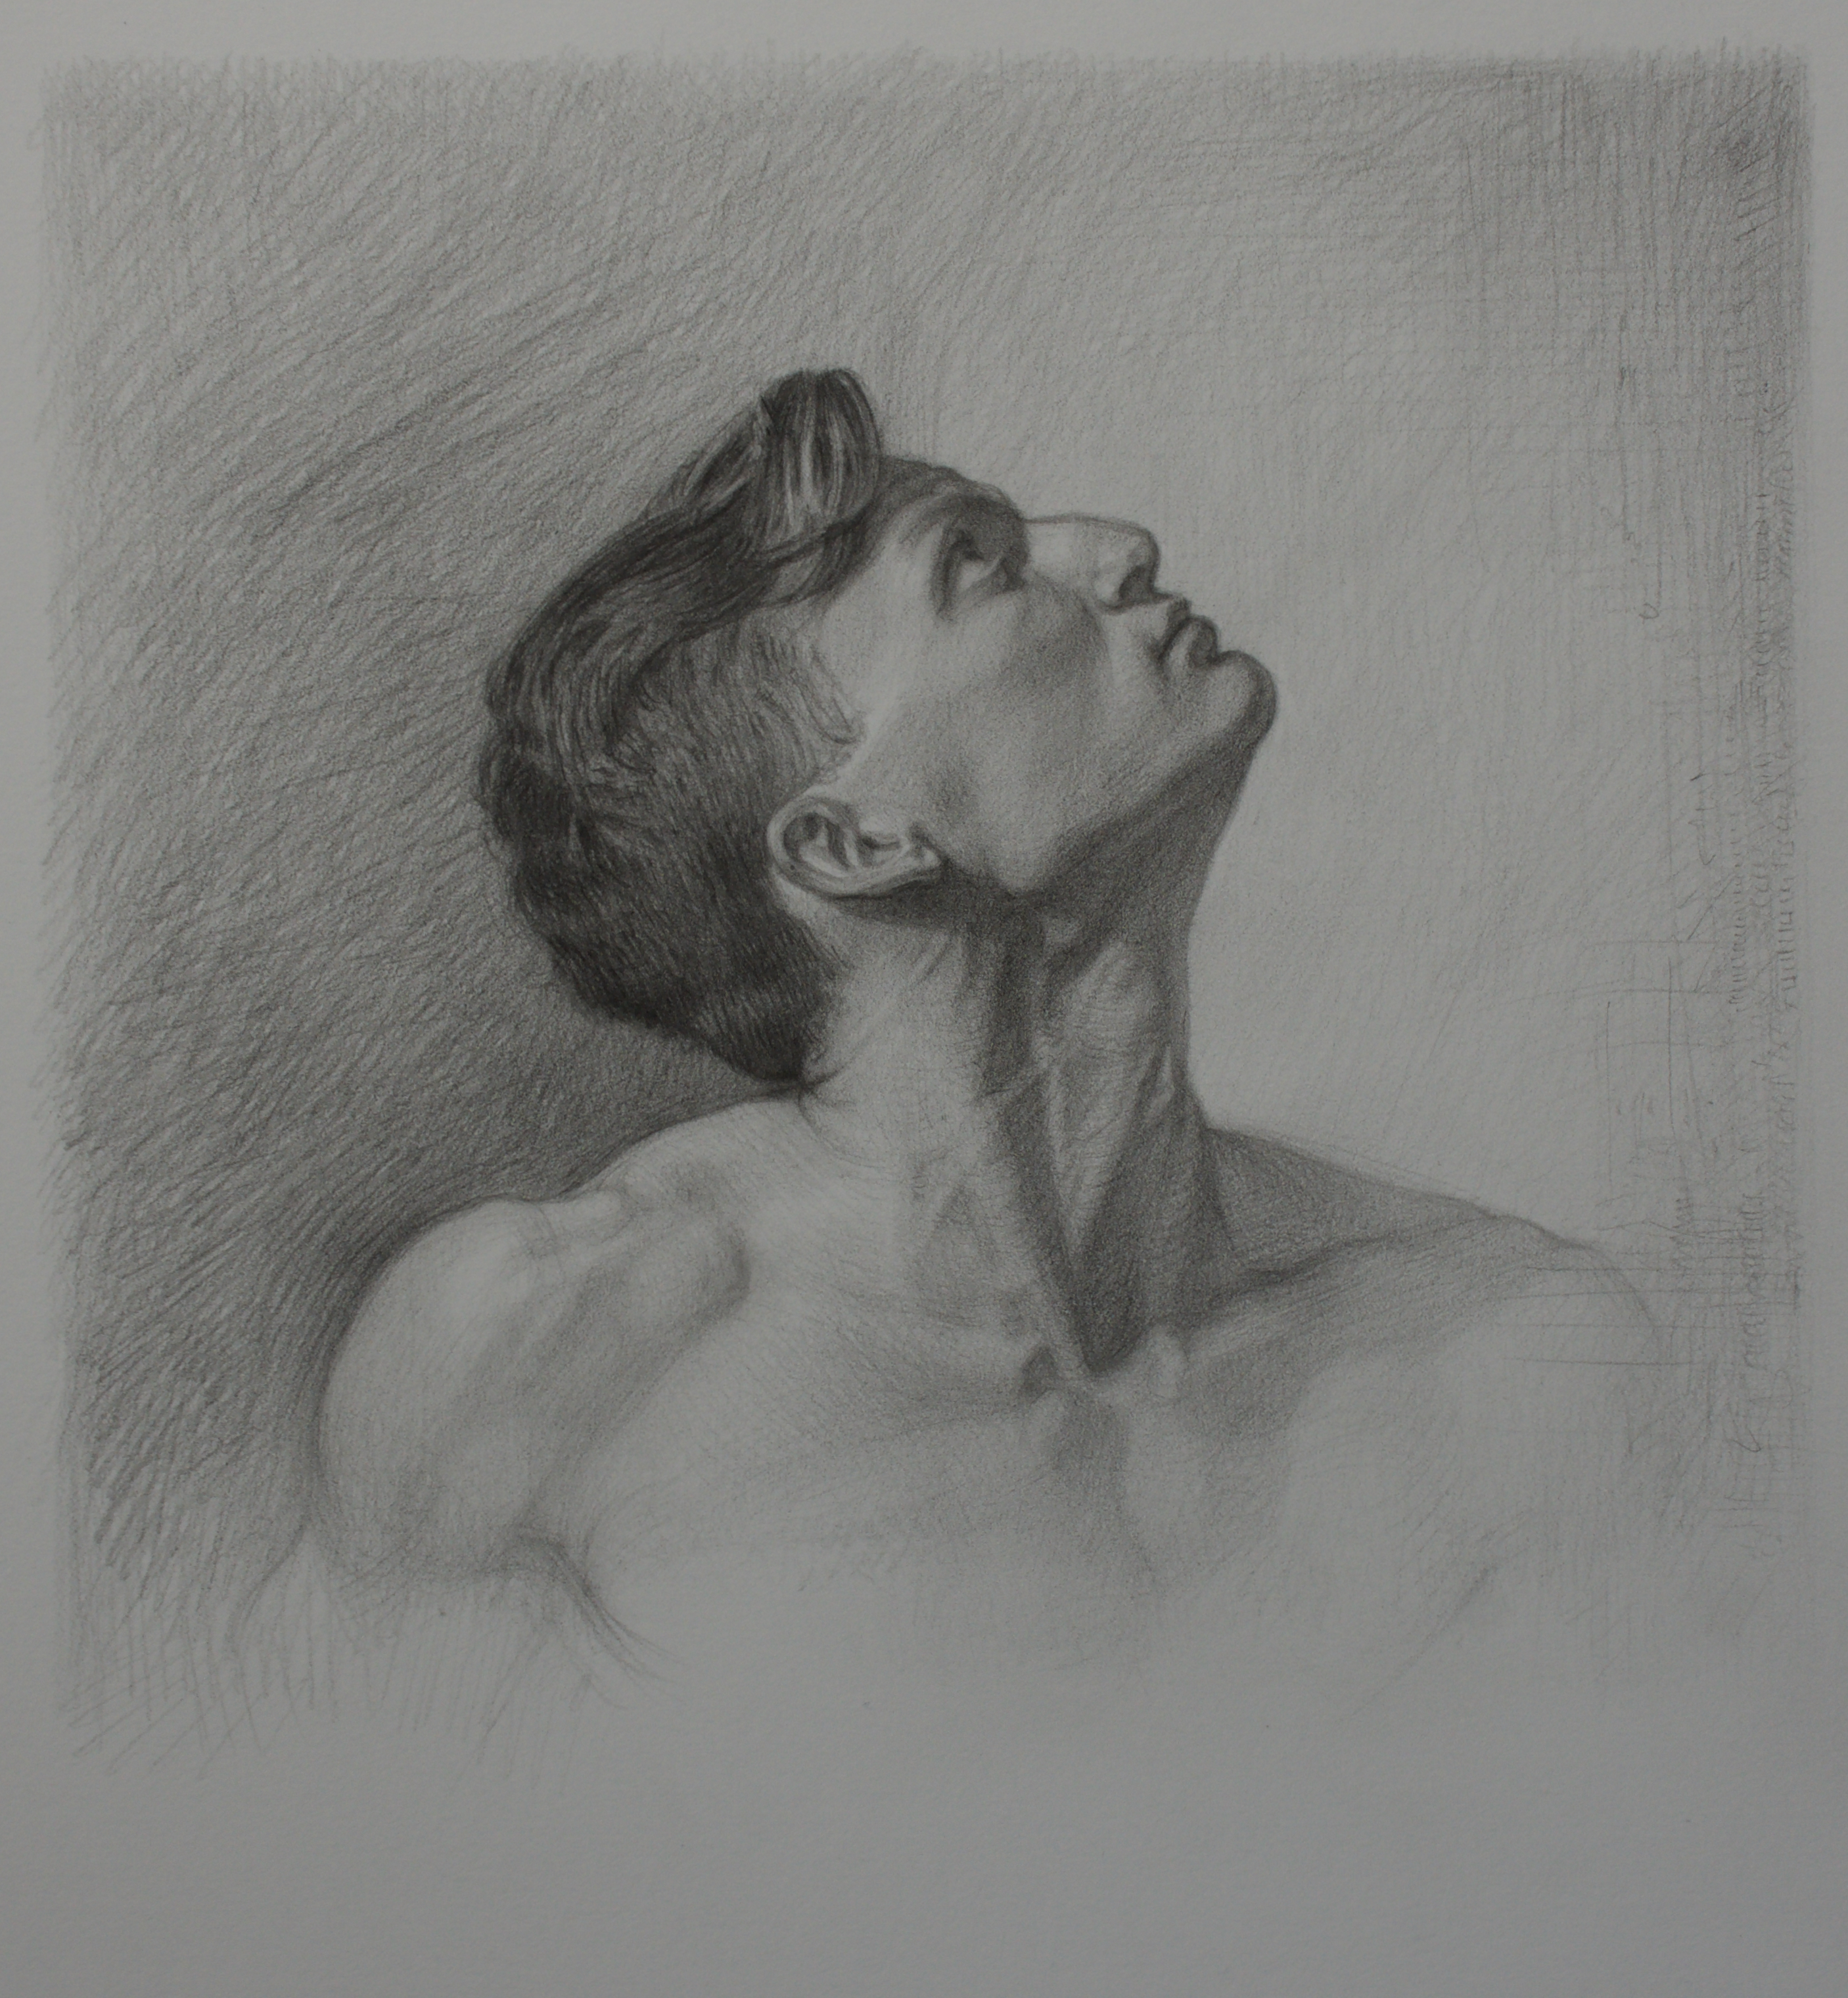
In this last lesson twelve I share with you how I finish up the portrait drawing. The one key takeaway from this last lesson, good things take time.

Now please don’t take this out of context. Some of my favorite drawings are ten minute gesture drawings. What I’m talking too here is in direct relation to a style associated with drawing in a realistic way utilizing tone.

If you like a drawing style that is somewhat realistic you have to put in the time. An hour just won’t cut it. So know what you like, know what you aspire to. Be realistic with the time it takes to get there. This quite frankly is half the battle to creating a realistic looking portrait.


Thanks so much for taking the time to watch these lessons. I’m currently working on a new portrait drawing course. I hope to share that with you soon.


Portrait Drawing – Lesson Two

Portrait Drawing – Lesson Two

In this sped up drawing tutorial world that we see on YouTube and Instagram we tend to forget that a good drawing takes time. It really takes time for me. A fourteen minute video clip up is basically a nano second in my drawing world.

It’s really important that you figure out what about drawing makes you happy. For me it’s all about sitting in my studio and creating something worth while. I love rendering for hours with a pencil while listening to music and drinking good coffee. I also get satisfaction from doing a five minute gesture drawing from life.

However long drawings are where my passion is. What about you, what part of drawing makes you happy? Once you figure that out you are on your way to drawing success.


I want to thank you for taking the time for watching the portrait drawing tutorial above. I will be creating many new portrait drawing courses this Fall. If that sounds interesting to you definitely take a moment to check out Drawing Tutorials Online.

Now get out there and draw something that you love.