Okay so you are struggling with drawing correct proportions. Maybe when you draw the figure the head is two big, or the legs to long. Frustrating I know, trust me.
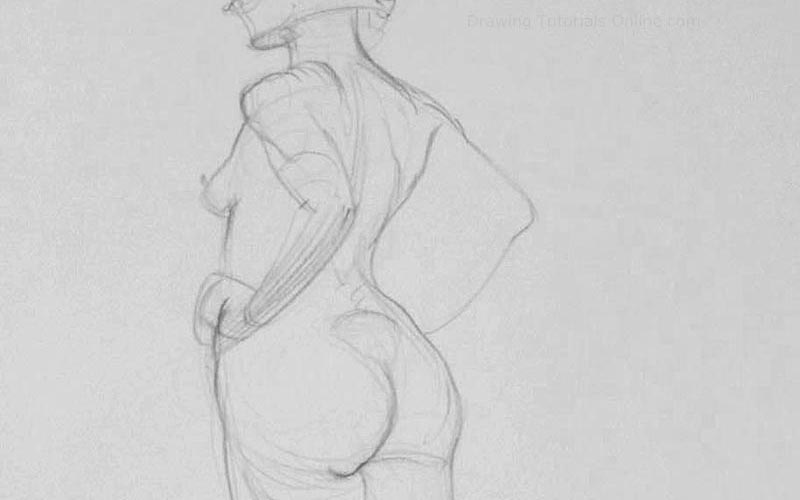
Through many bad figure drawings I learned that it is best to see the figure in three simple shapes.
1. You should consider starting with the biggest part of the body, the torso. Don’t get all hung up on drawing the head first. Remember there is no one way to draw the figure. Every pose you draw presents a new problem to solve. You choose the best technique to solve the problem.
2. The second shape is truly up to you. I like to draw the legs together first. Again we are going for big shapes. It’s super important to connect the feet with an imaginary line. Doing so closes the second shape. The legs should start at the top of the butt. Basically the iliac crest of the pelvis.
3. The third shape completely depends on the pose. At this point I usually draw in the shape of the hair and face together as one unit. You could also draw the models upper arm and lower arm together as an organic triangle.
All of the shapes you draw should be organic. Round all of the corners of every shape basically. There are no straight lines on the figure.
Practice this technique when ever you get the chance. This drawing technique can also be used when designing characters. Making them easy to draw in just about any pose.
Thanks for stopping by and visiting the blog. Leave us a comment below. We would love to hear from you.
Thank you for visiting our blog. I encourage you to listen to the video first writing down some of our quick tips. Then grab you sketchpad and play the video a second time. Draw the two minute poses in your own style. Don’t be perfect just draw. Take a peek at some of the examples we posted below.
You could choose to draw thew whole figure, or just part of the figure. Remember this is not a race. It’s just a way to sharpen your drawing skills.
Write down these three drawing tips in your sketchbook.
1. Look at the model at least sixty percent of the time. Don’t fall into the trap of staring at your paper.
2. Use continuous line. Don’t keep lifting your pencil off of the paper every second. Keep you pencil on the paper for at least two to three seconds at one time.
3. Lastly do not outline every limb. An outlined drawing is a stiff drawing.
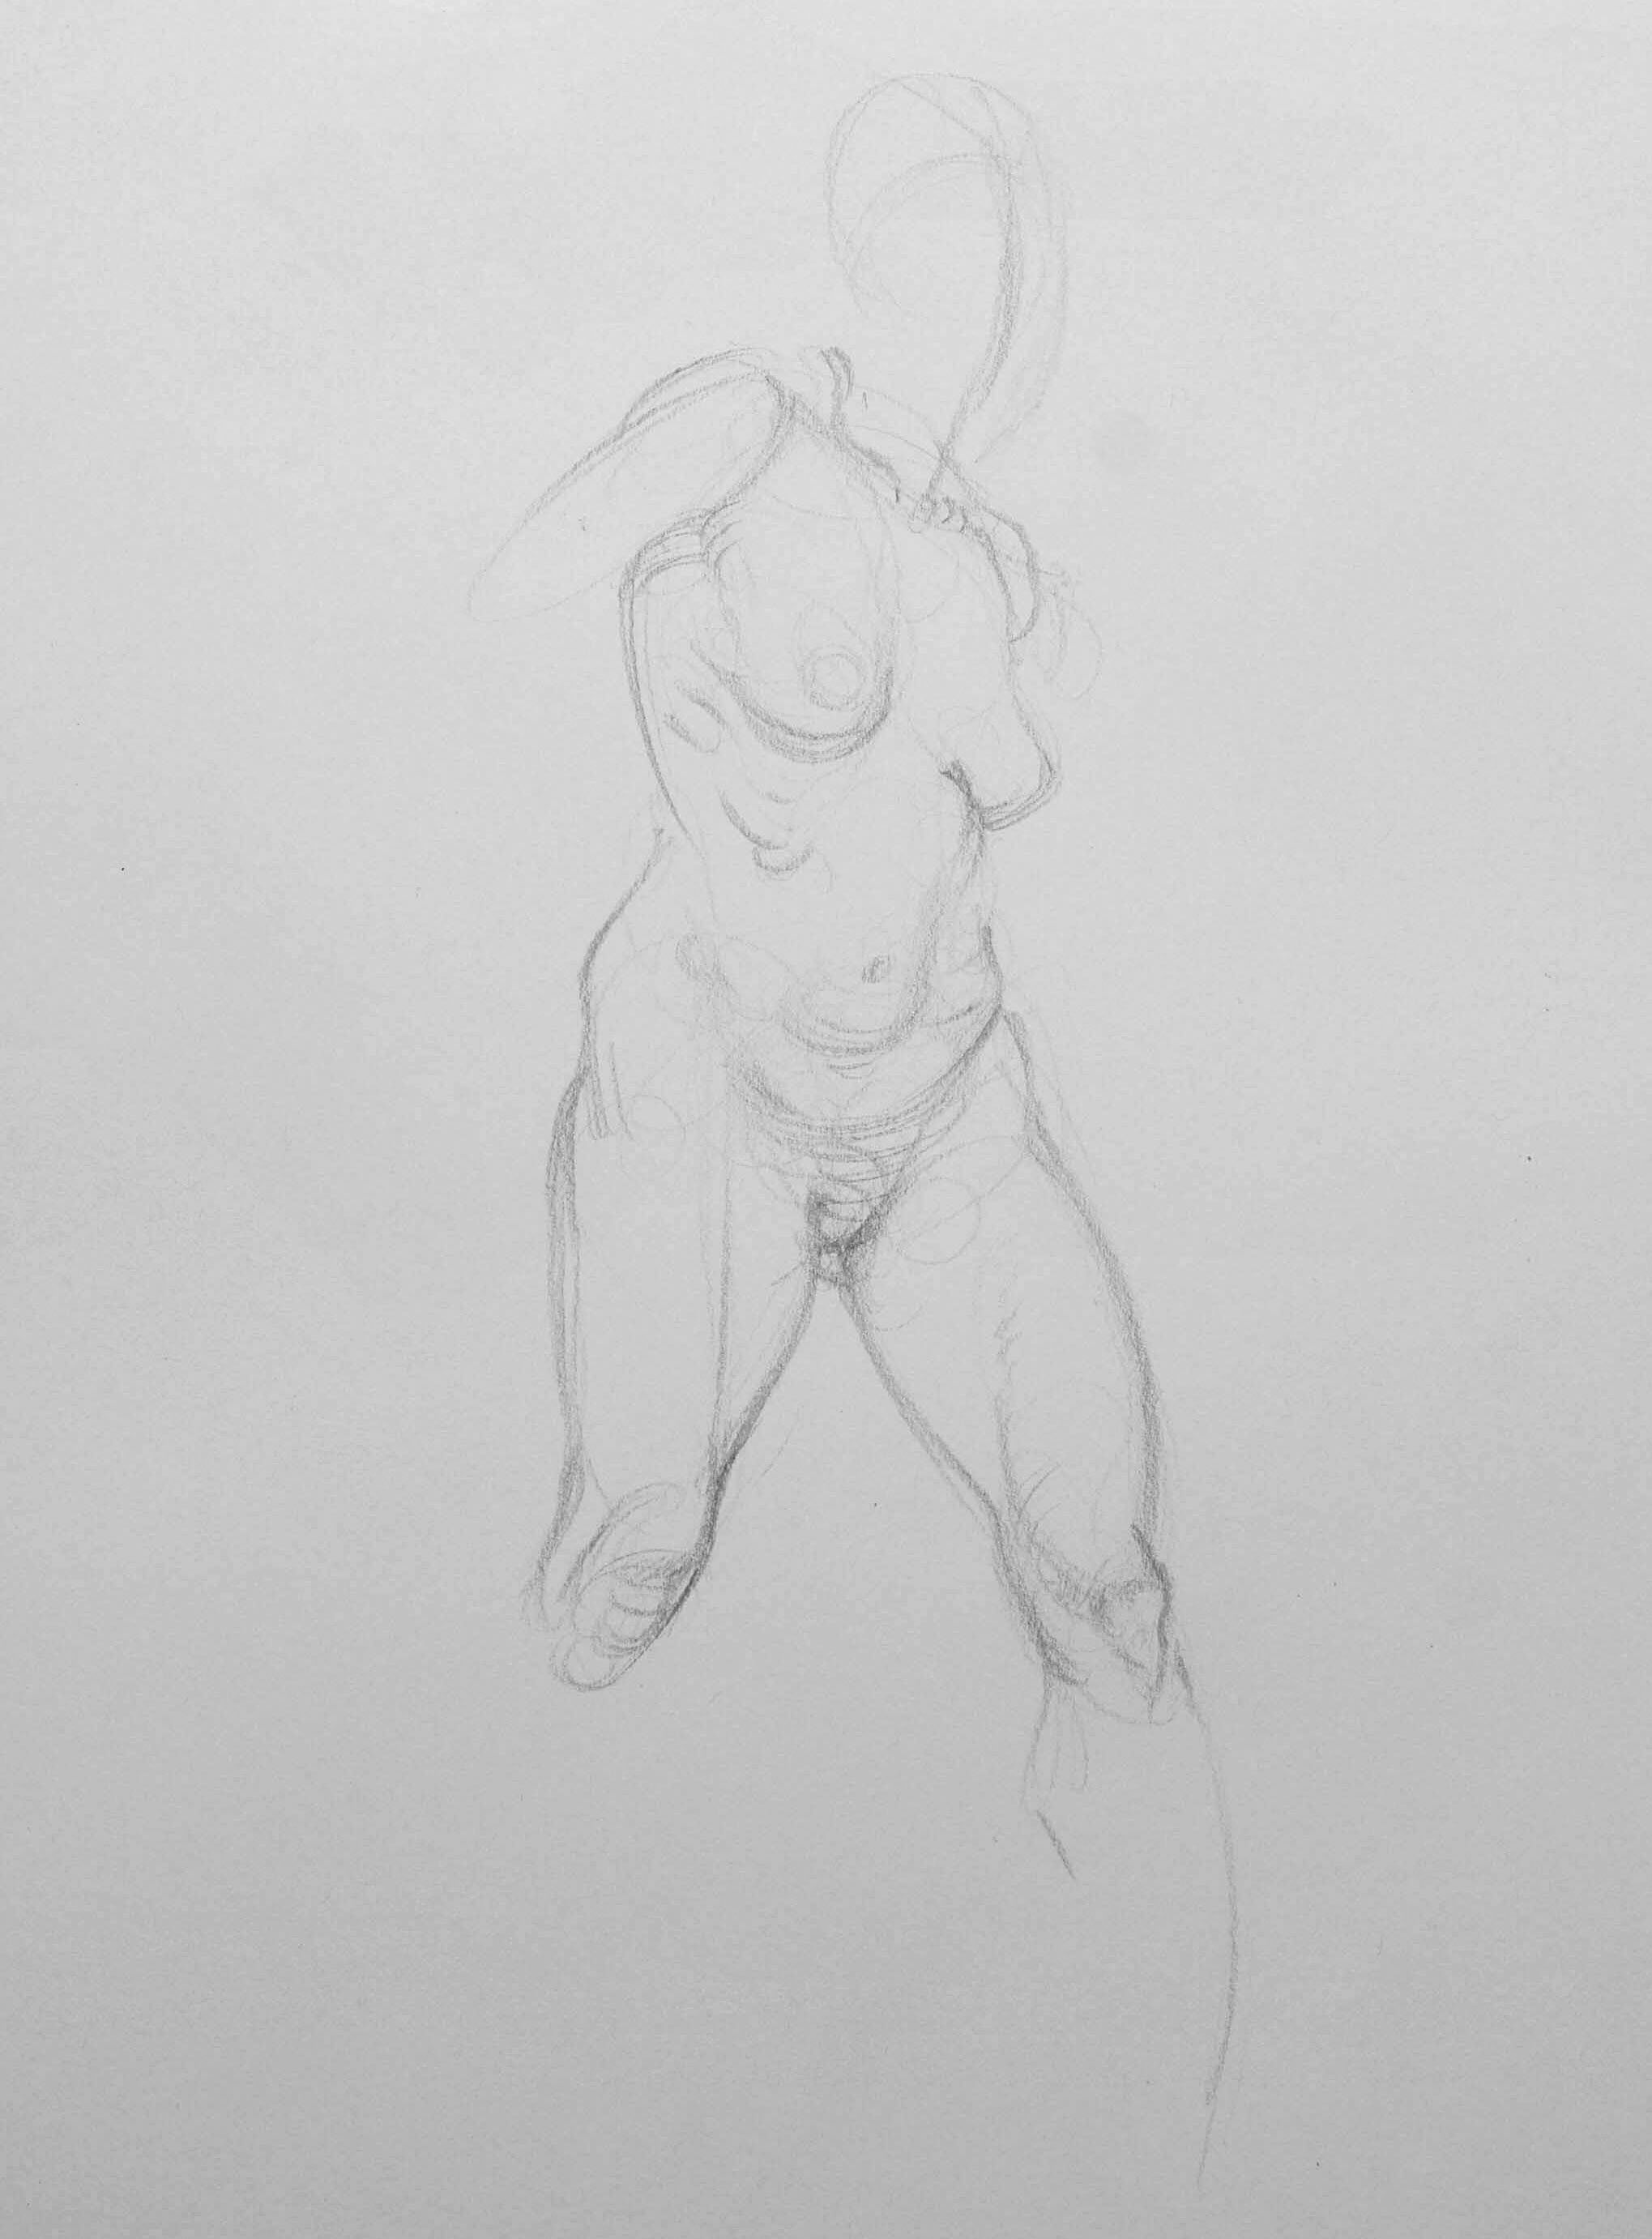
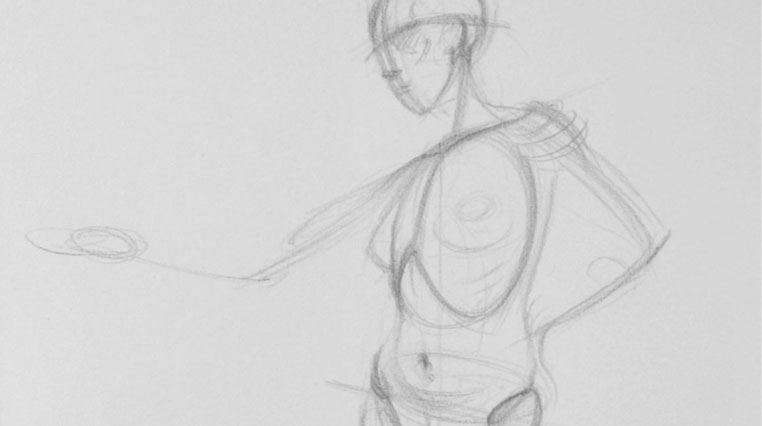
An example of a two minute gesture pose. Go into each pose with a goal. In this drawing I was not worried about drawing the whole pose.
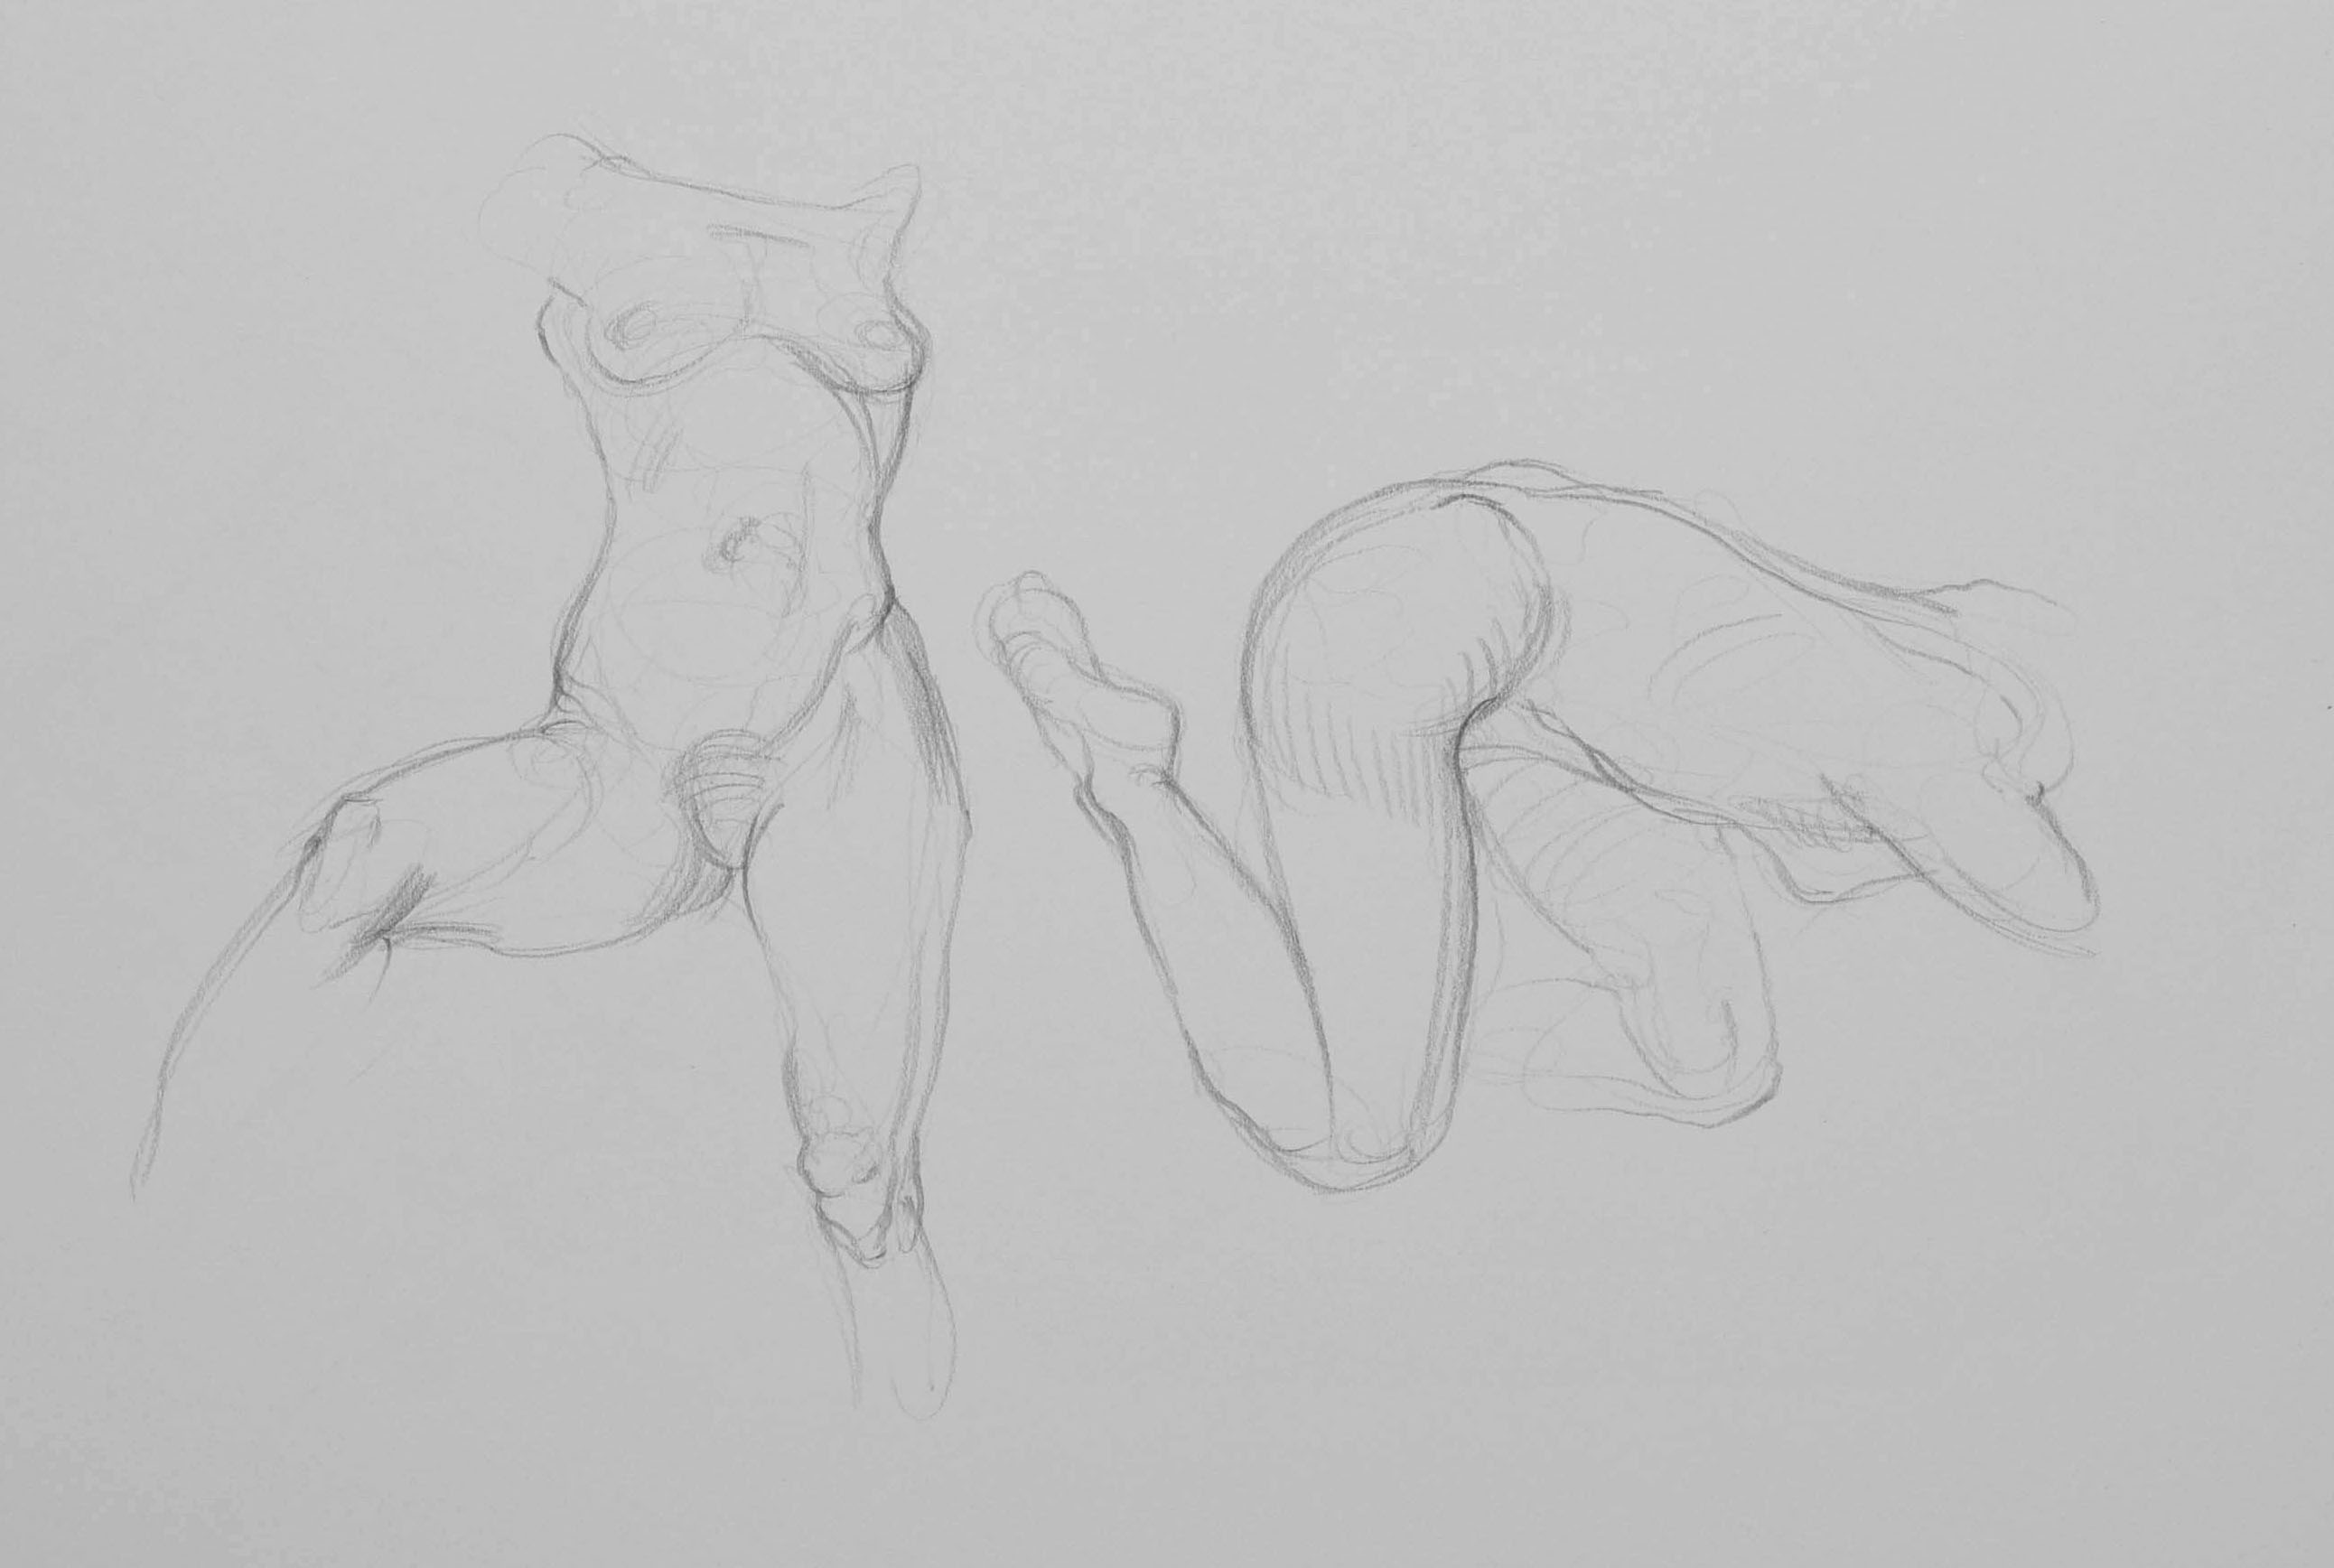
Another example of two minute poses on one 18 x 24 drawing pad. The bigger the pad the better. If your pad is too small you draw with your fingers and not with your arm.
If you would like the full Online Pose video with downloadable PDF containing every photo start your membership today!
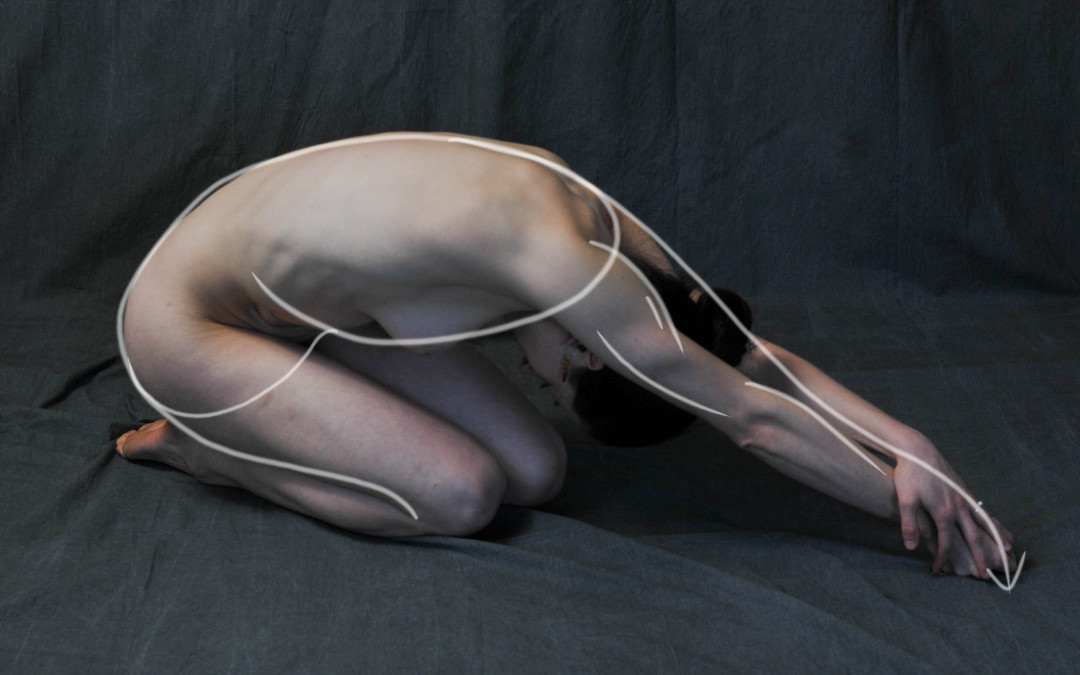
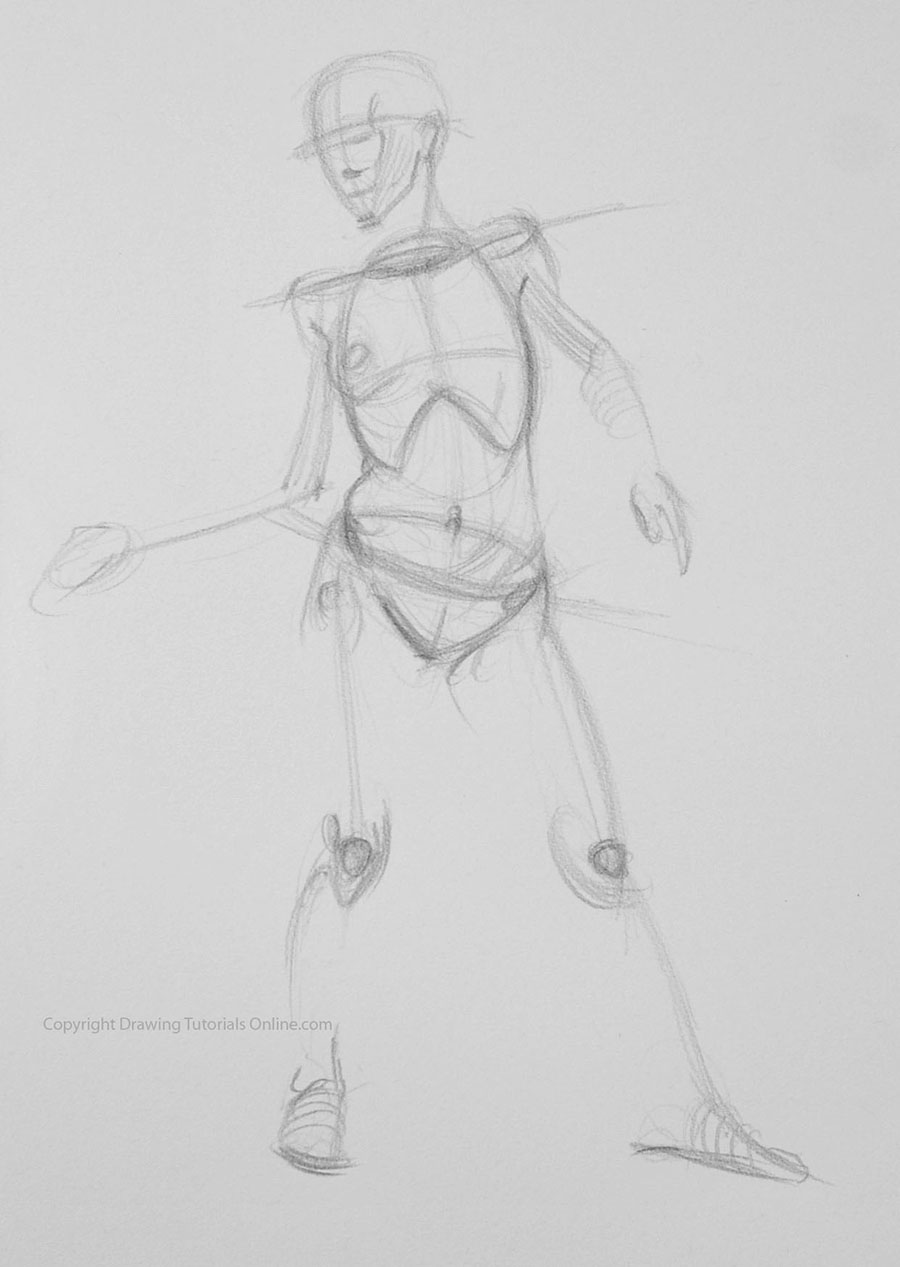
I just finished up teaching a one week long pre-college figure drawing class for animation students. As always I started the class off with the rough skeleton.
It truly is the least intimidating way to start drawing the figure.
In class I had the students draw the figure in one minute poses. You really only need one minute to draw out the rough skeleton.
So where do I use this technique?
This technique is best used when trying to draw the figure from your imagination. It’s amazing how you can craft a figure out of nothing using this simple technique. However you can also use this technique when drawing the figure from life.
Now in the video above I showed you more versus less. However if you work from light to dark just drawing out the bones that is truly all you need.
If you would like to learn more about how to dive into this technique a little deeper click here.
This is certainly not a technique to blow off. There are many subtleties to drawing the rough skeleton from your imagination or from life. They include goodies like anatomy, gesture and form just to name a few.
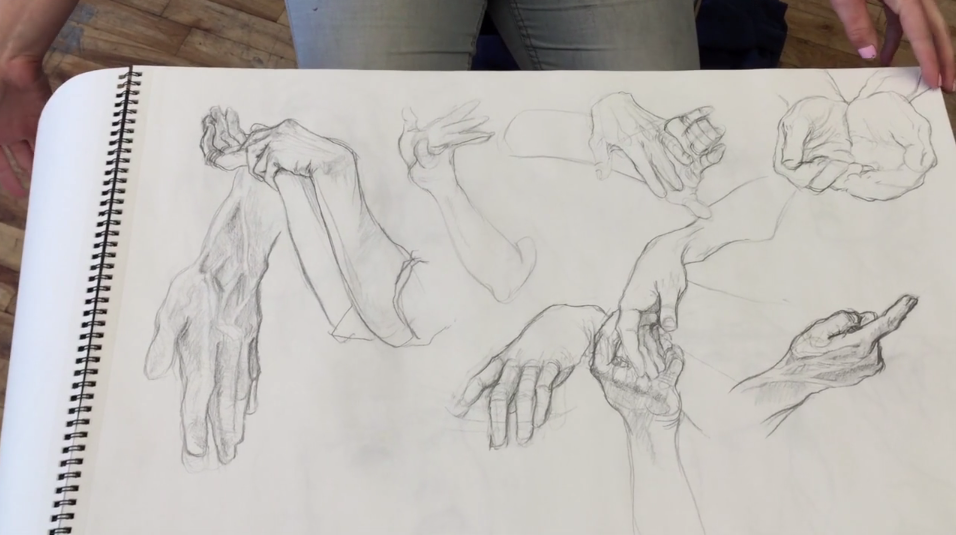
As I relaunch the Drawing Tutorials Online Blog it felt totally appropriate to have Julia’s sketchbook be our first post.
Julia epitomizes what DTO is all about. A passion to have drawing be the center of one’s lifestyle. What do I mean? As you can see Julia loves to draw. Drawing is at the center of her lifestyle.
She is embarking on her journey as a visual artist and drawing is how she is manifesting her vision. From stop motion to jewelry creation every concept is drawn in her sketchbook first.
Julia’s Sketchbook is pretty amazing. Julia is a young multi-talented artist with a bright future ahead of her. It’s students like Julia that inspire me to teach students of all levels.
Grab your sketchbook, turn off your phone and start drawing. You will find yourself more relaxed.