Shapes Equal Likeness

Shapes Equal Likeness

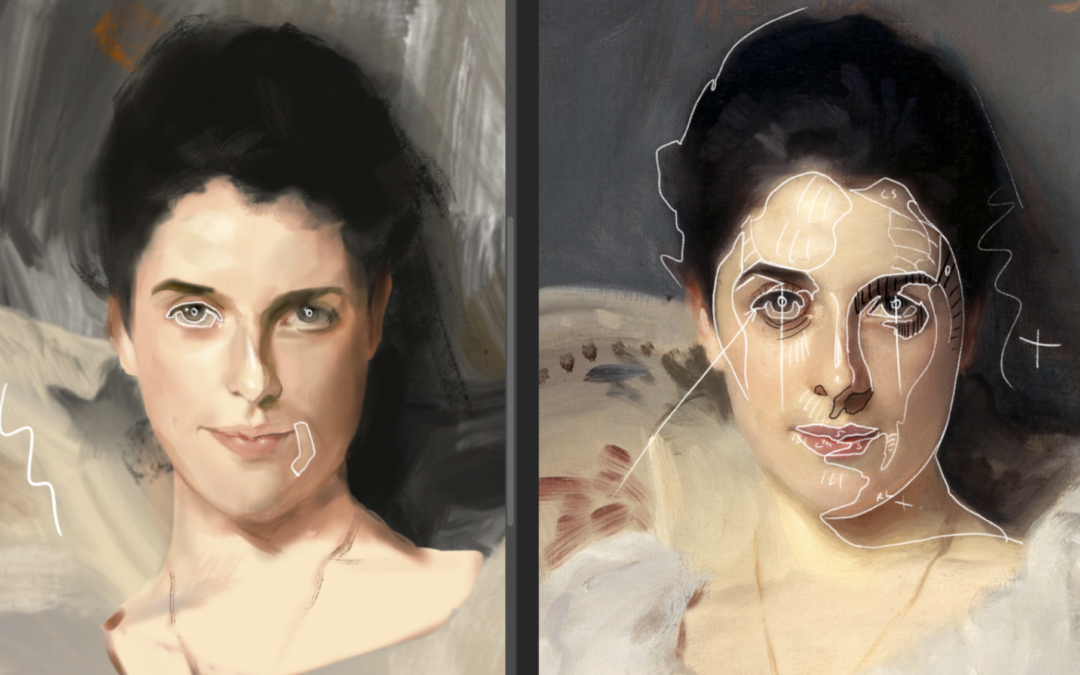
I wanted to share with you Michael’s critique. This week Michael shared one of his drawings in our member critique gallery. He had mentioned that he might have chosen the wrong photo.

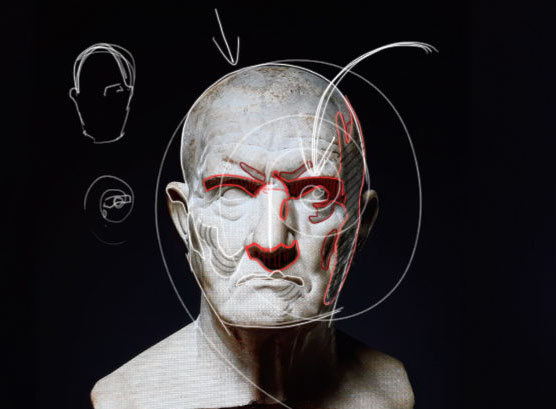
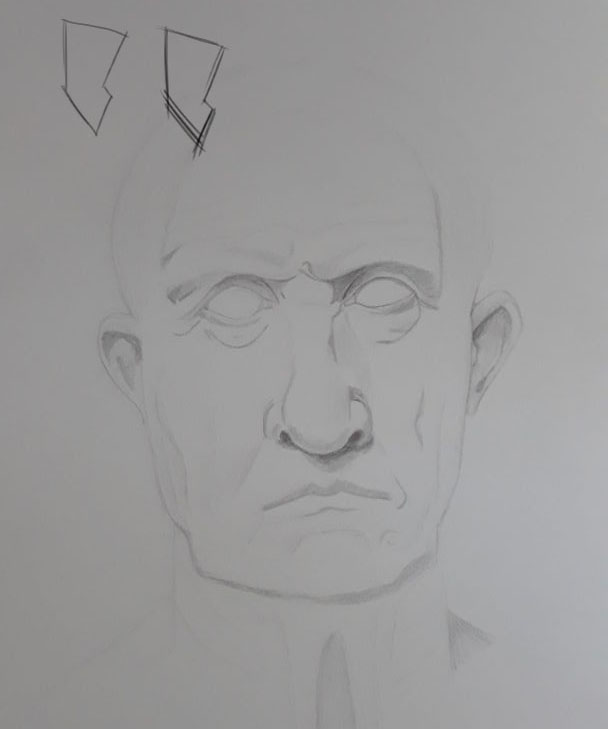
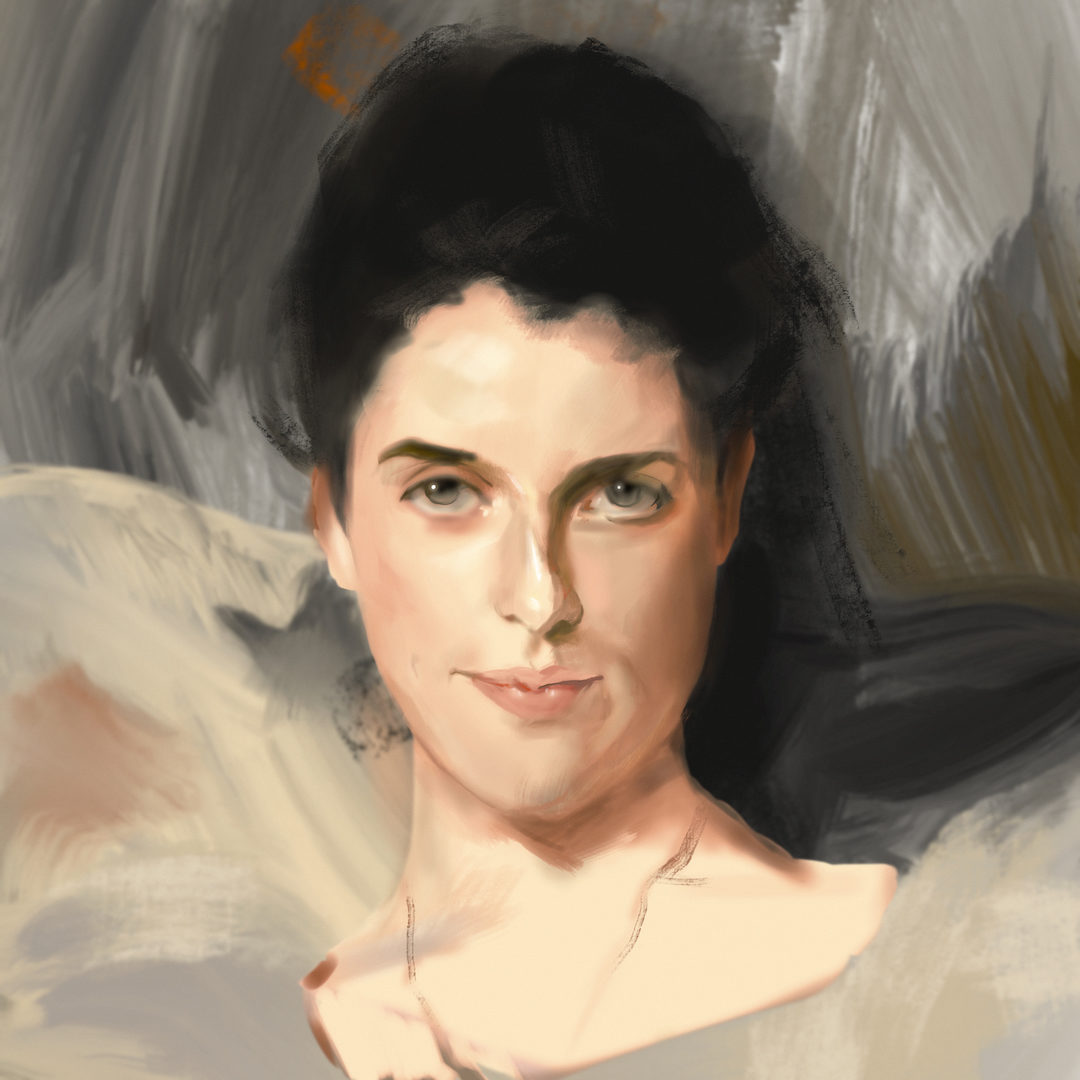
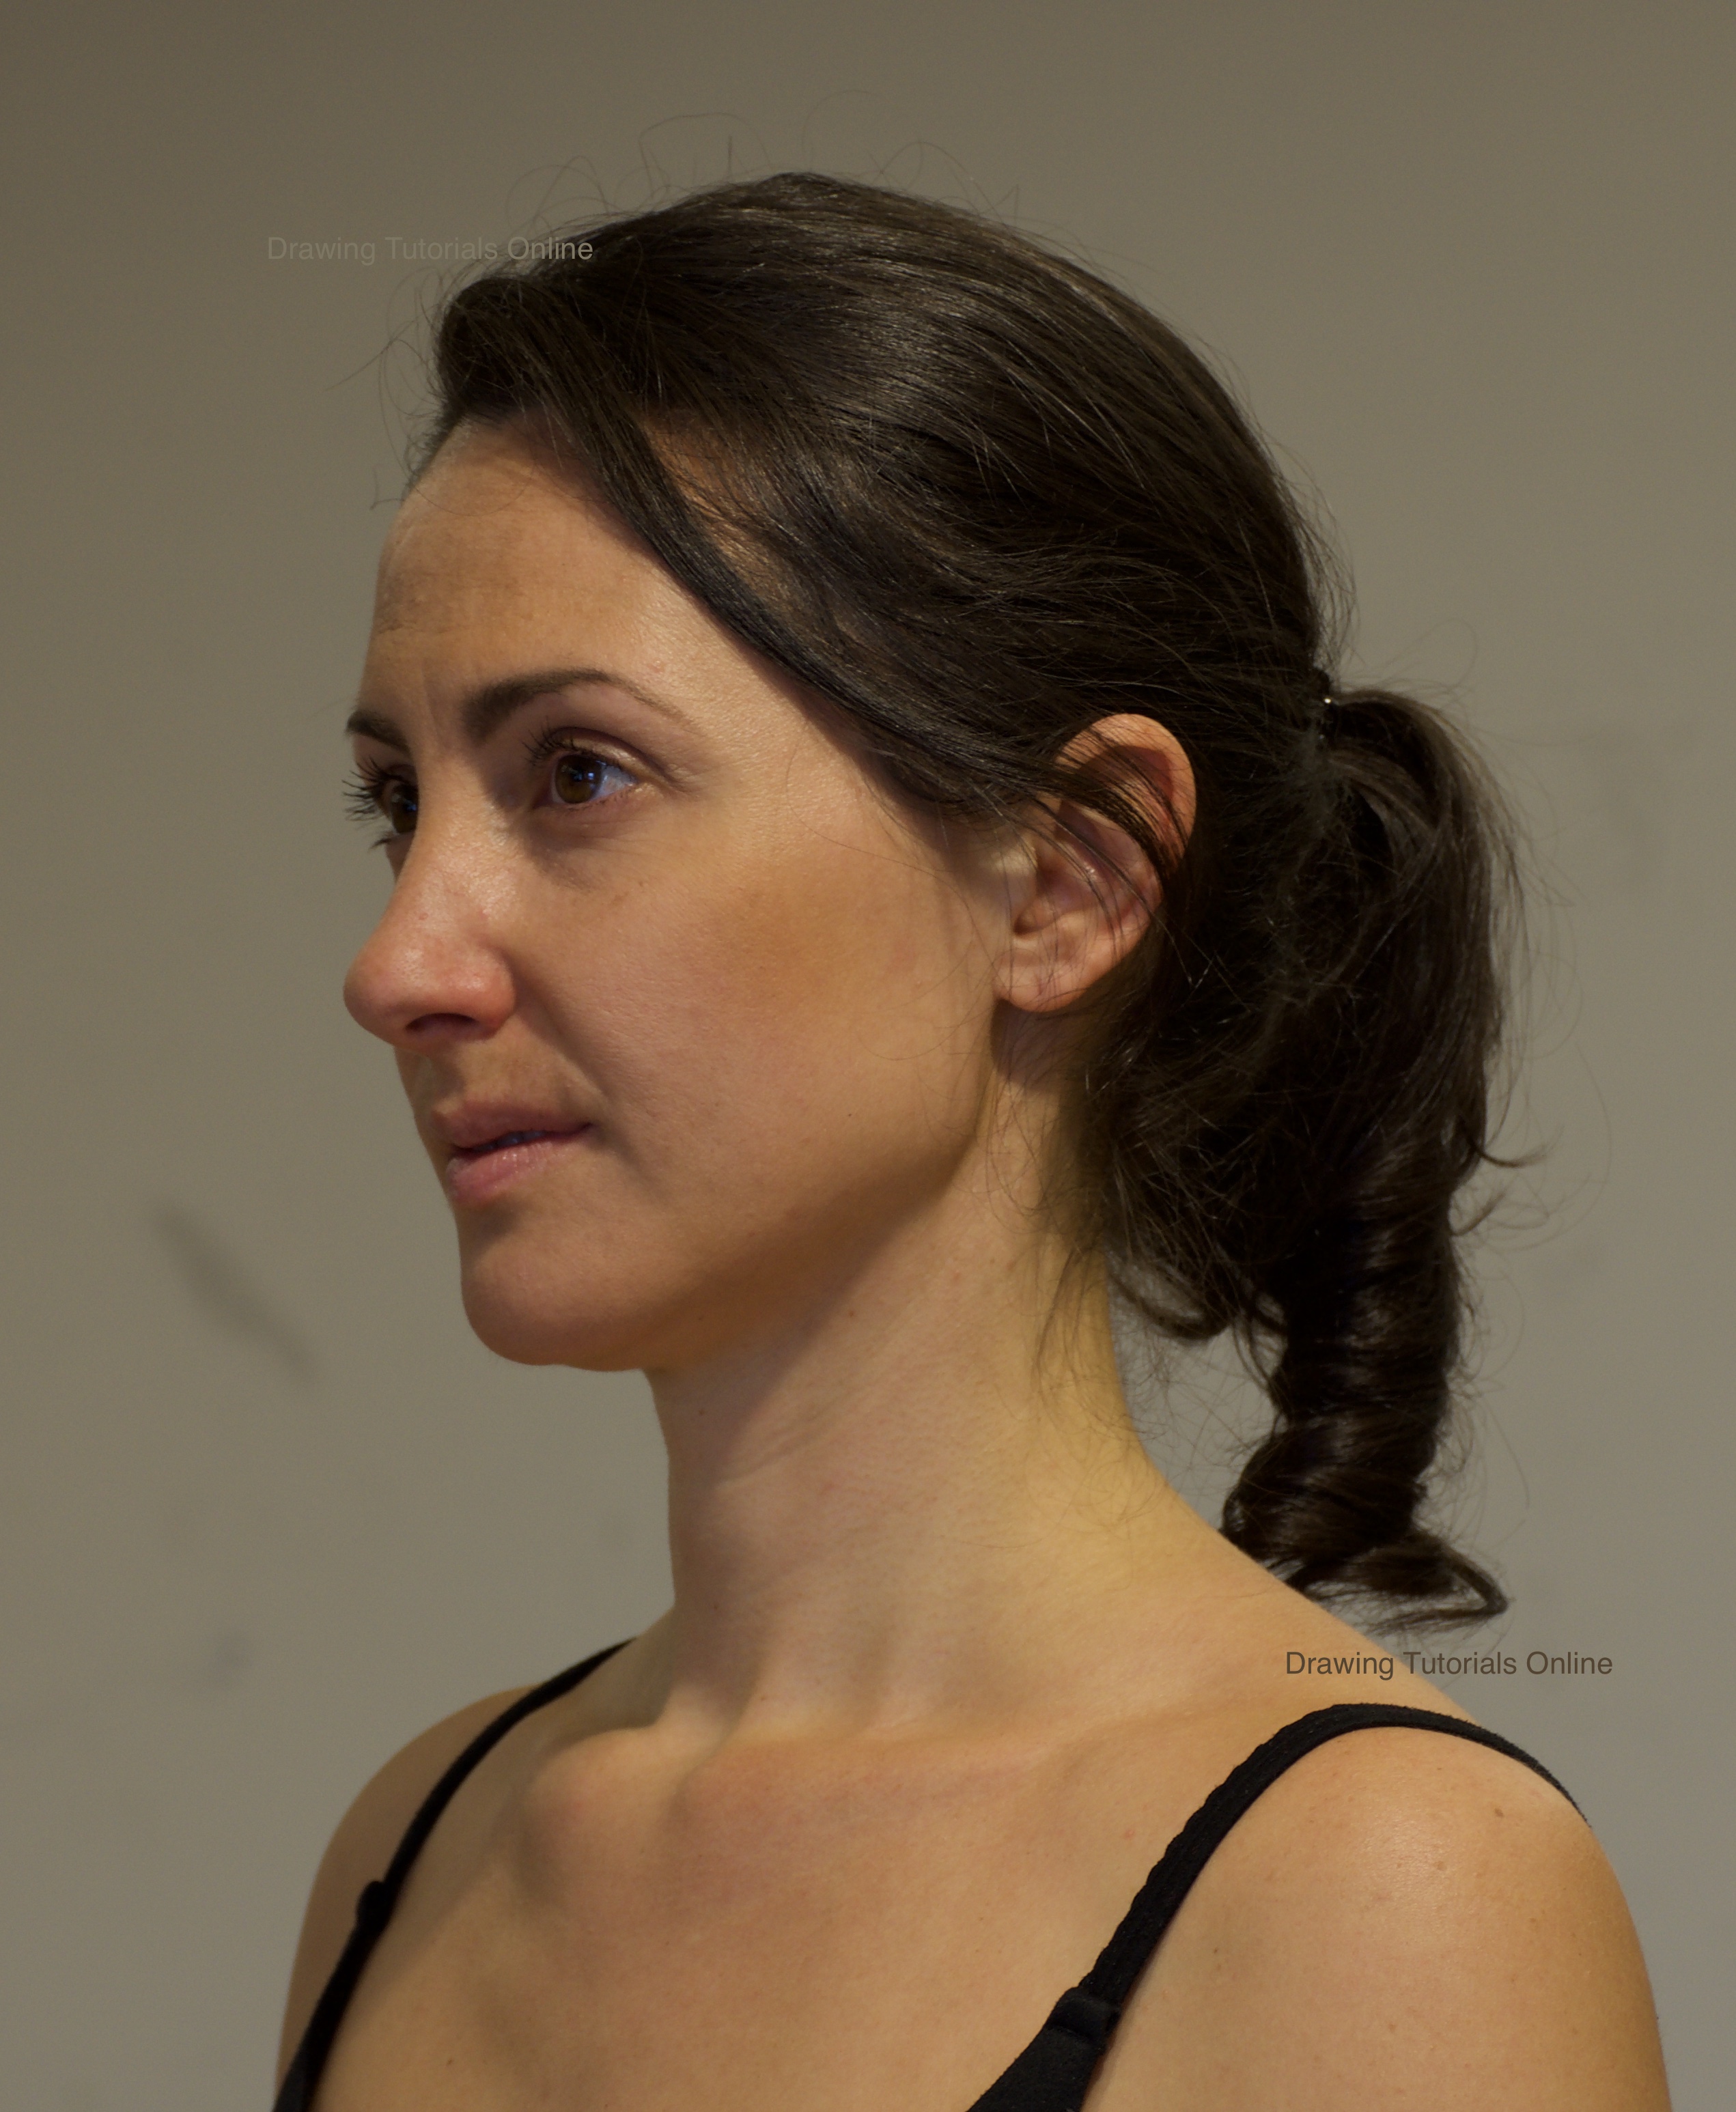
I mentioned to Michael at the beginning of the critique that the photo was a good one. It’s good because it has some pretty good shadow shapes to cling onto. Michael is off to great start with his drawing, he just needs to focus on shapes.

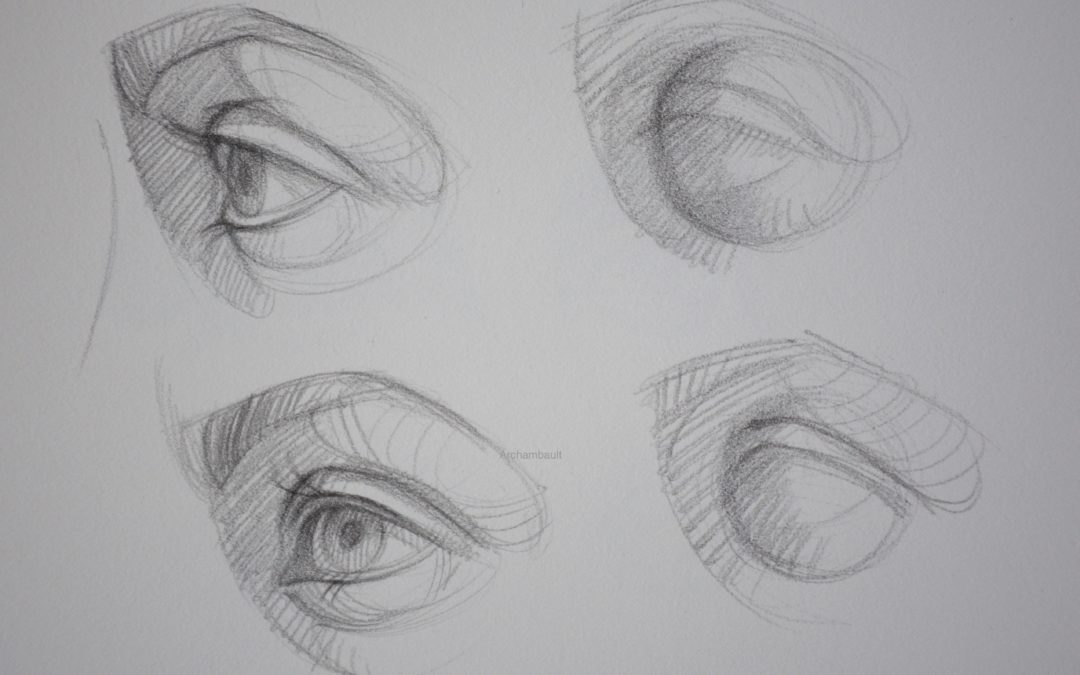
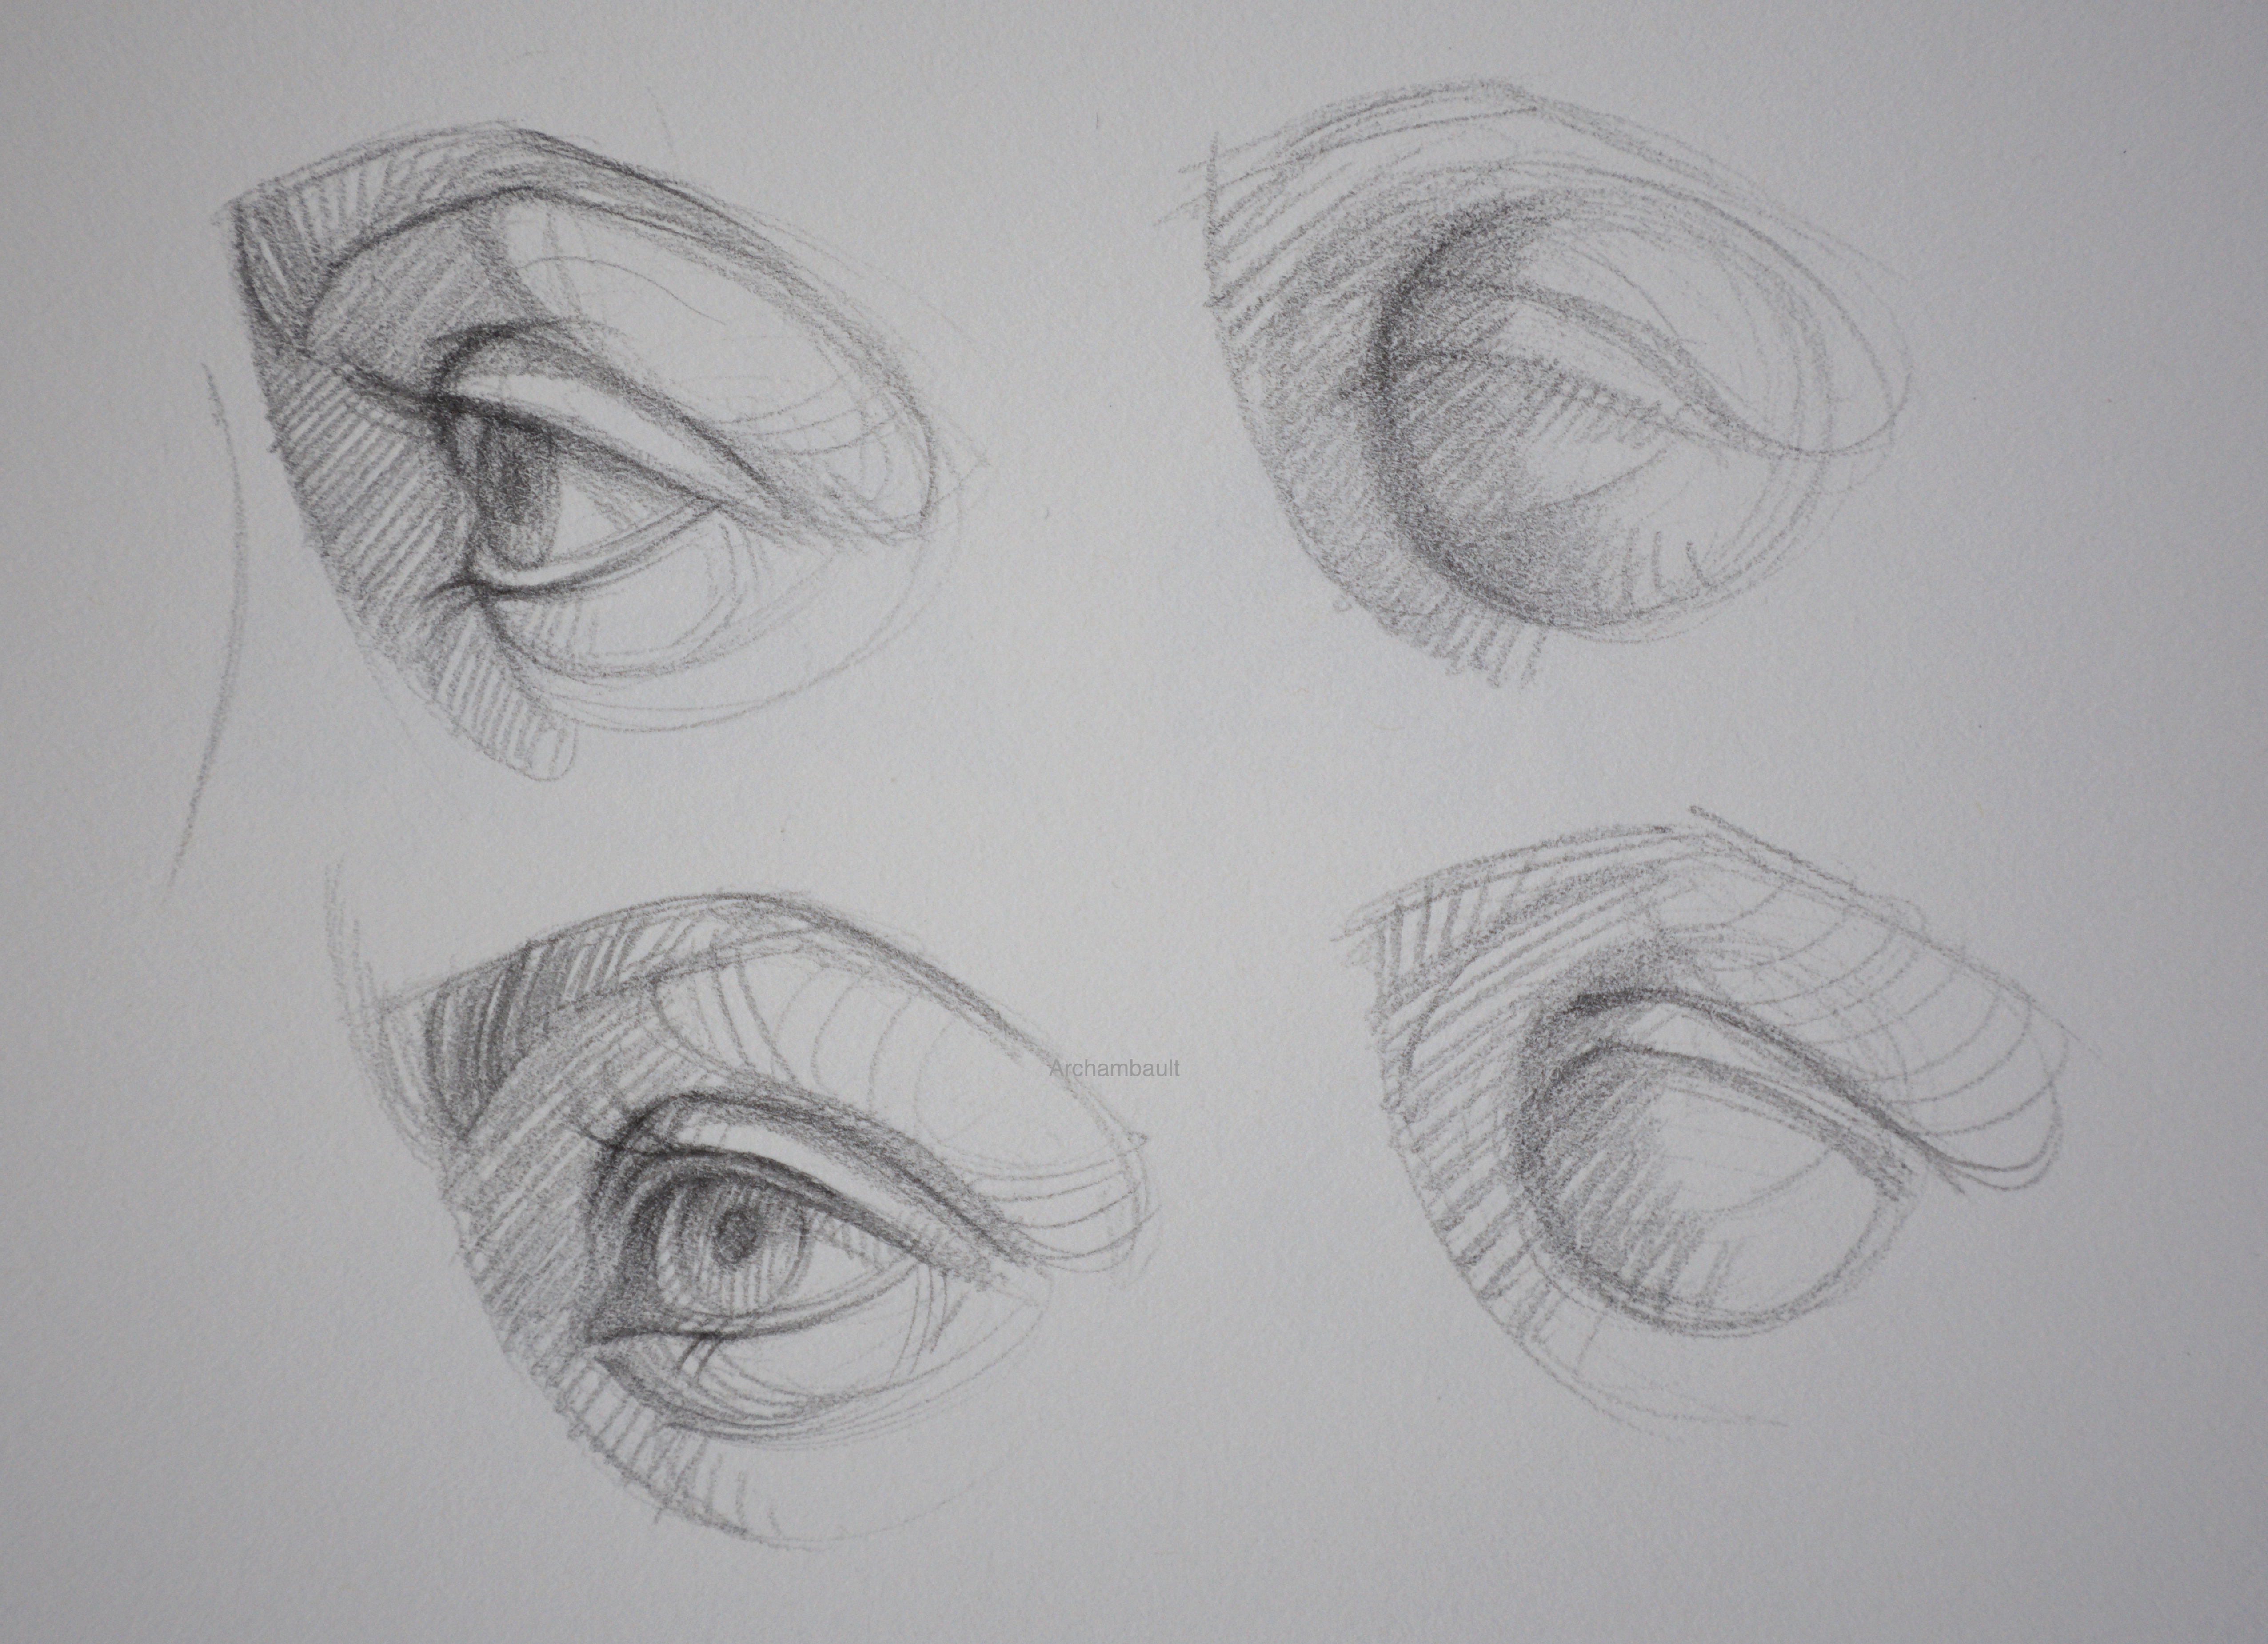
If I had to give one piece of advice to any artist who aspires to draw portraits with a likeness, it would be to focus on drawing shapes, not things. Don’t draw the eyelid, draw the shadow shape around the eyelid.

Do not draw the lips with an outline, draw the shadow shape that makes up the upper lip and the shadow shape under the lower lip. In order to capture a person’s likeness, you must capture and draw their shapes accurately.

Now some would say that I’ve said this before, many times. Yes, I have because it works. When it comes to portrait drawing you want to be repetitive with certain things. One, always work from a photo that has good light and shade. Two, capture the likeness not through outlines but through shapes.

The modeling comes after you have blocked in light and shadow shapes. You do not need to learn fifty portrait drawing techniques, instead, you just need to master a few.


Drawing Tutorials Online is coming up on eleven years in business helping artists pursue their passion for drawing. Now is a great time to join, I am doubling down on making the website even better with shorter more instructive lessons. I look forward to helping you improve your artwork!.


How To Draw The Ear

How To Draw The Ear

I recently just finished uploading the last lesson in a course titled ‘How To Draw The Features Of The Face. This last lesson focuses on the ear.

Drawing the ear can certainly be tricky. There a few techniques that you really want to keep in mind.

First, think of the entire ear as an oval. All of the detail of the ear is housed in that simple oval.

Second, the details located inside of that oval, those details are basically cylinders. To be more specific they are cylinders that are curved. What makes these curvey cylinders hard to draw is the type of light that is hitting them.

I always place my light source above and to the side of my subjects, in essence creating form light.

Third, shade in the shadow shapes of the ear. Keep the shadow shapes more of a middle tone, do not go too dark. I learned my lesson the hard way a long time ago while working on a book cover painting. Let’s just say the ears were a bit too dark.

Ears are very translucent, shade the shadows with a middle tone. This will allow for a glow in the shadow.

Fourth and last, implement the modeling factors to really promote the three-dimensional quality of the Helix and the Anti-Helix.

If you have any questions or comments leave them below. I’d love the hear from you.


Don’t forget to check out myInstagram. I’m always adding new drawings.


How To Draw The Eye

How To Draw The Eye

I recently completed a course titled How To Draw The Features Of The Face. In this new course, I break down the features of the face in a step by step process. I cover how to draw the eyes, nose, and lips.

I wanted to share this particular lesson with you because it is short and to the point. You really want to draw the eye in a loose, curvy organic sort of way. You do not want to incorporate any straight lines when drawing the eye, everything about the eye should look rough and organic.

As you can see in this rough sketch of the eye I did not really focus too much of my time on the lashes. Do your very best to draw along with me, avoiding the lashes for now. Think more about the structure of the eye, not the lashes.

When drawing the lashes do not draw them with straight lines, instead, try to group all of the lashes into a shape.

I’m really happy with the way this course turned out. It’s really helping people improve their portrait drawings.

Download the Photo reference.


Thank you so much for watching the drawing lesson above. If you are interested in seeing the rest of the course consider a membership to Drawing Tutorials Online. Not only will you gain access to this course and many more, but, you will also be able to get feedback on your portrait drawings in our member critique gallery.


John Singer Sargent Study – Member Critique

John Singer Sargent Study – Member Critique

Arjun is a current member of Drawing Tutorials Online. Not only is Arjun a member but he contributes to the site on a weekly basis. His questions always stir up great conversations. 

He is always working at his craft of digital painting using Procreate. Arjun also signed up for my One Month Coaching where he really jump-started his progress. Arjun is a tireless artist devoting countless hours into improving his technique.

Arjun utilizes the member critique gallery on a weekly basis which is part of his weekly ritual for constant improvement. In this digital portrait painting, Arjun worked on a study of Lady Agnew of Lochnaw painted by John Singer Sargent in 1892.

Studying the great masters is a great way to learn. In this critique, I share with Arjun the importance of seeing shapes of value. These shapes represent the different surface planes on Lady Agnew’s face. The key takeaway from this critique is how to see the shapes of value, then shading them in their appropriate value.

One of the most important jobs of the portrait painter is to shade shapes in a sold way. If you have the time I would suggest working on a study of Lady Agnew the same way Arjun did. Do your best to squint to see the different values placed around the face. It will certainly help you to improve your portrait painting.


Check out Arjun’s website. Thanks again Arjun for sharing your art.