Complicating Your Edge Line

Complicating Your Edge Line

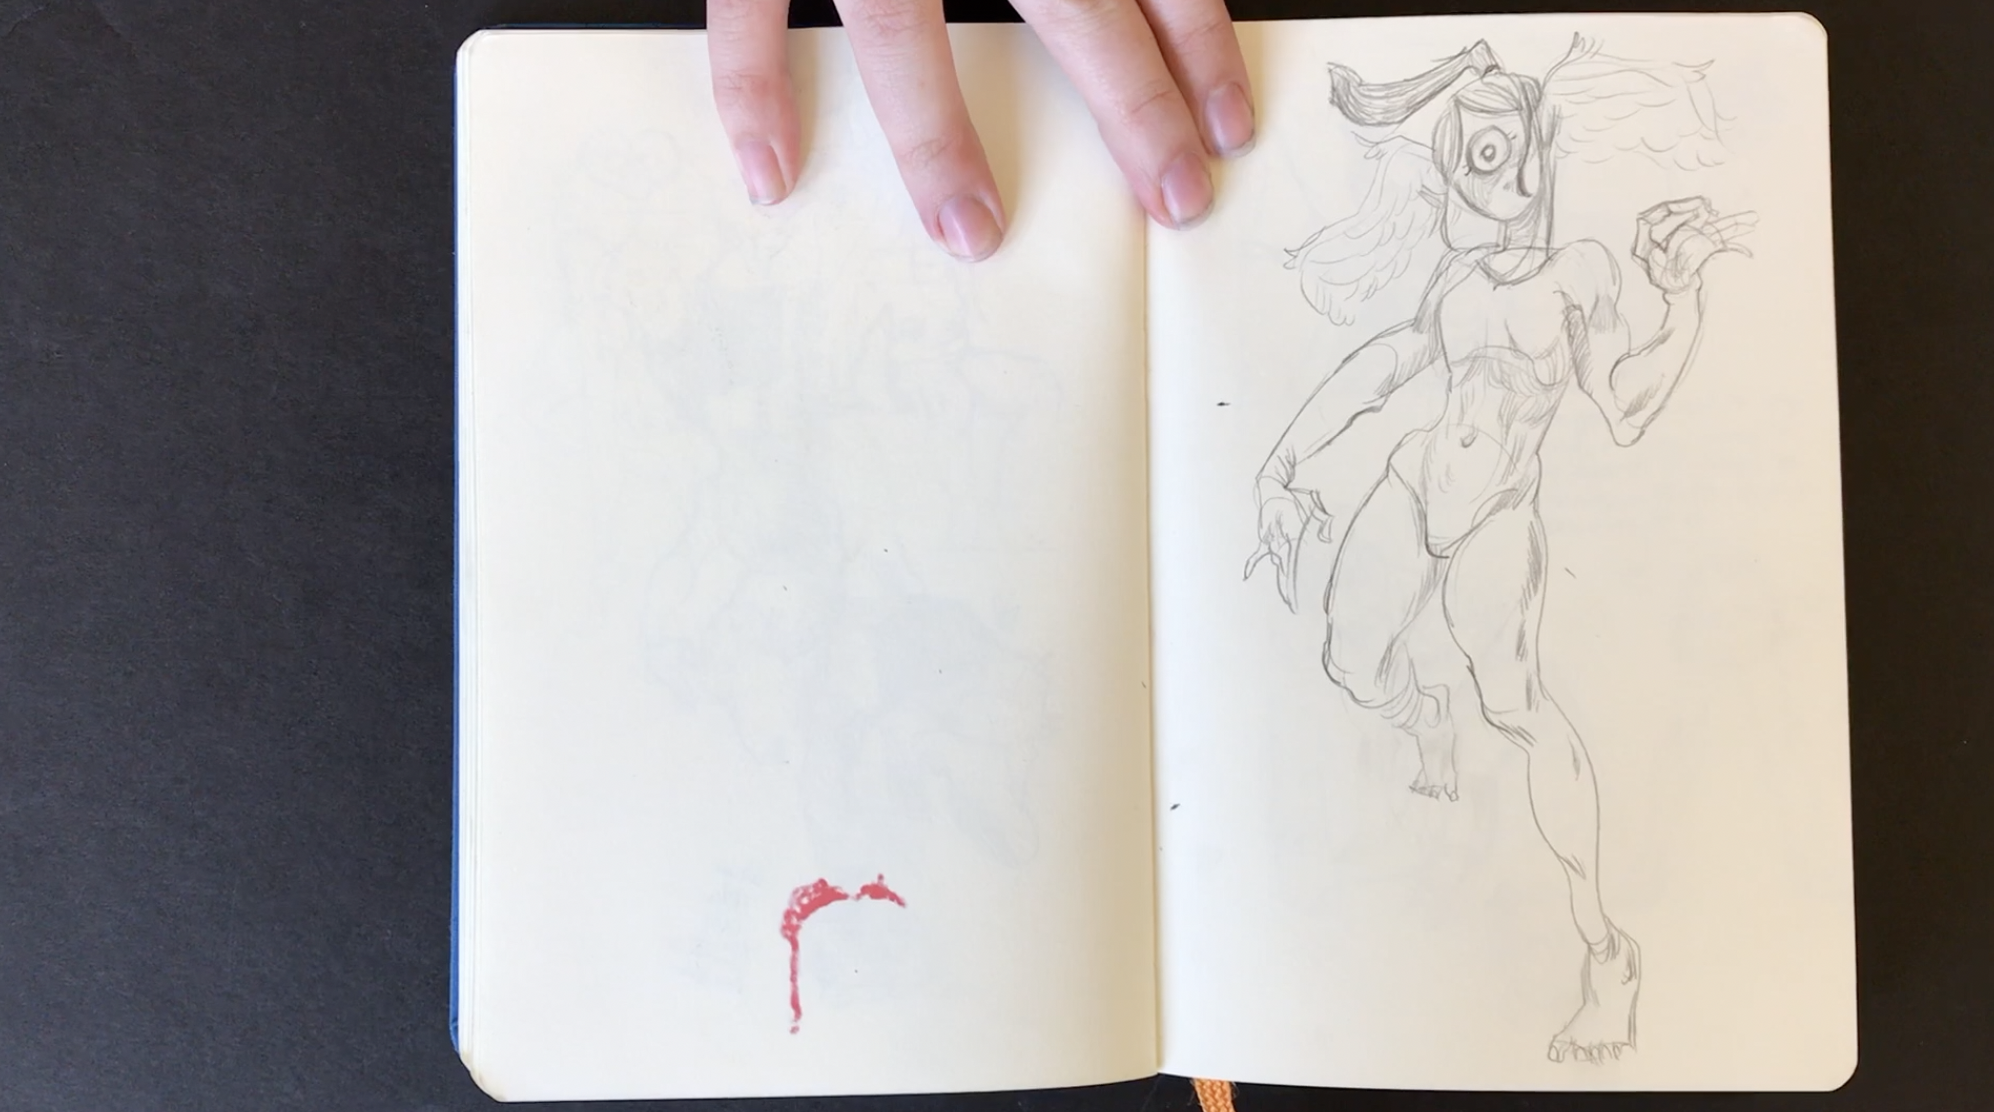
Have you ever wondered why your figure drawings look stiff? Perhaps they look too stylized for your liking. The antidote to stiffness is eliminating all straight lines.

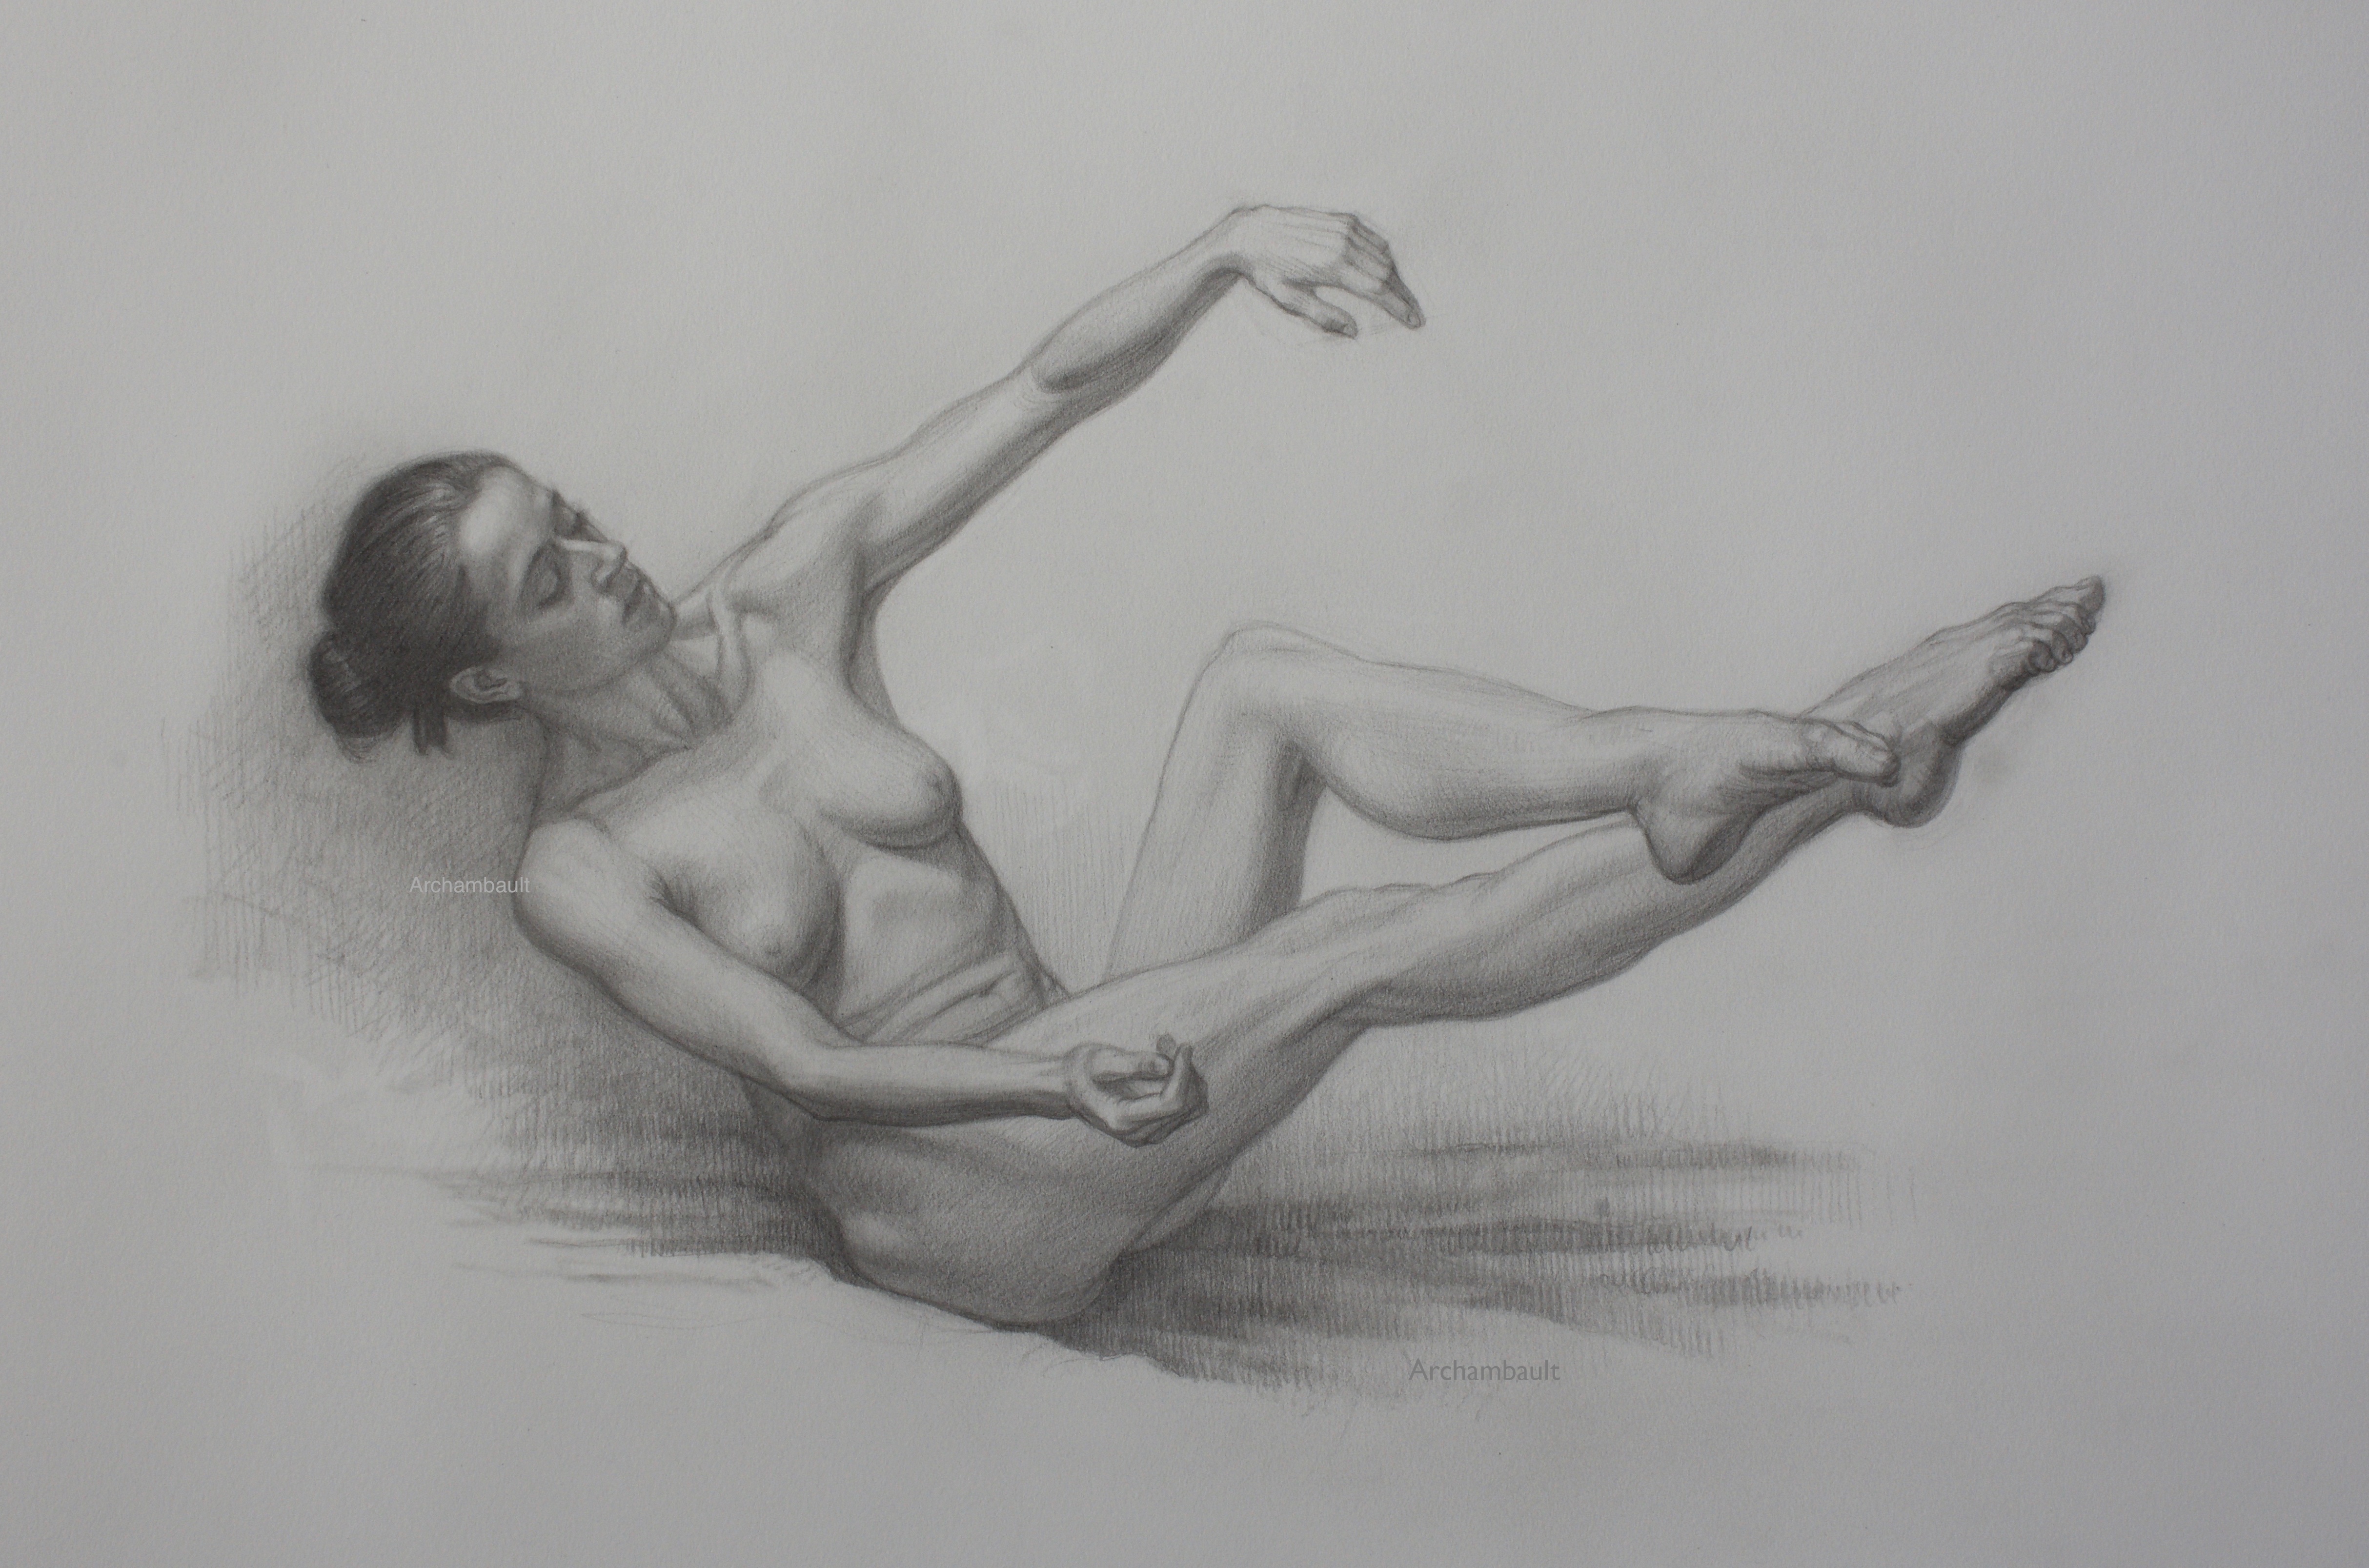
Straight lines on the edge of your figure drawings without a doubt create a stiff look and feel. No doubtably there are no straight lines on an organic figure. Now if you are in a life drawing class sitting fifteen feet away the model, all of the edges will look straight.

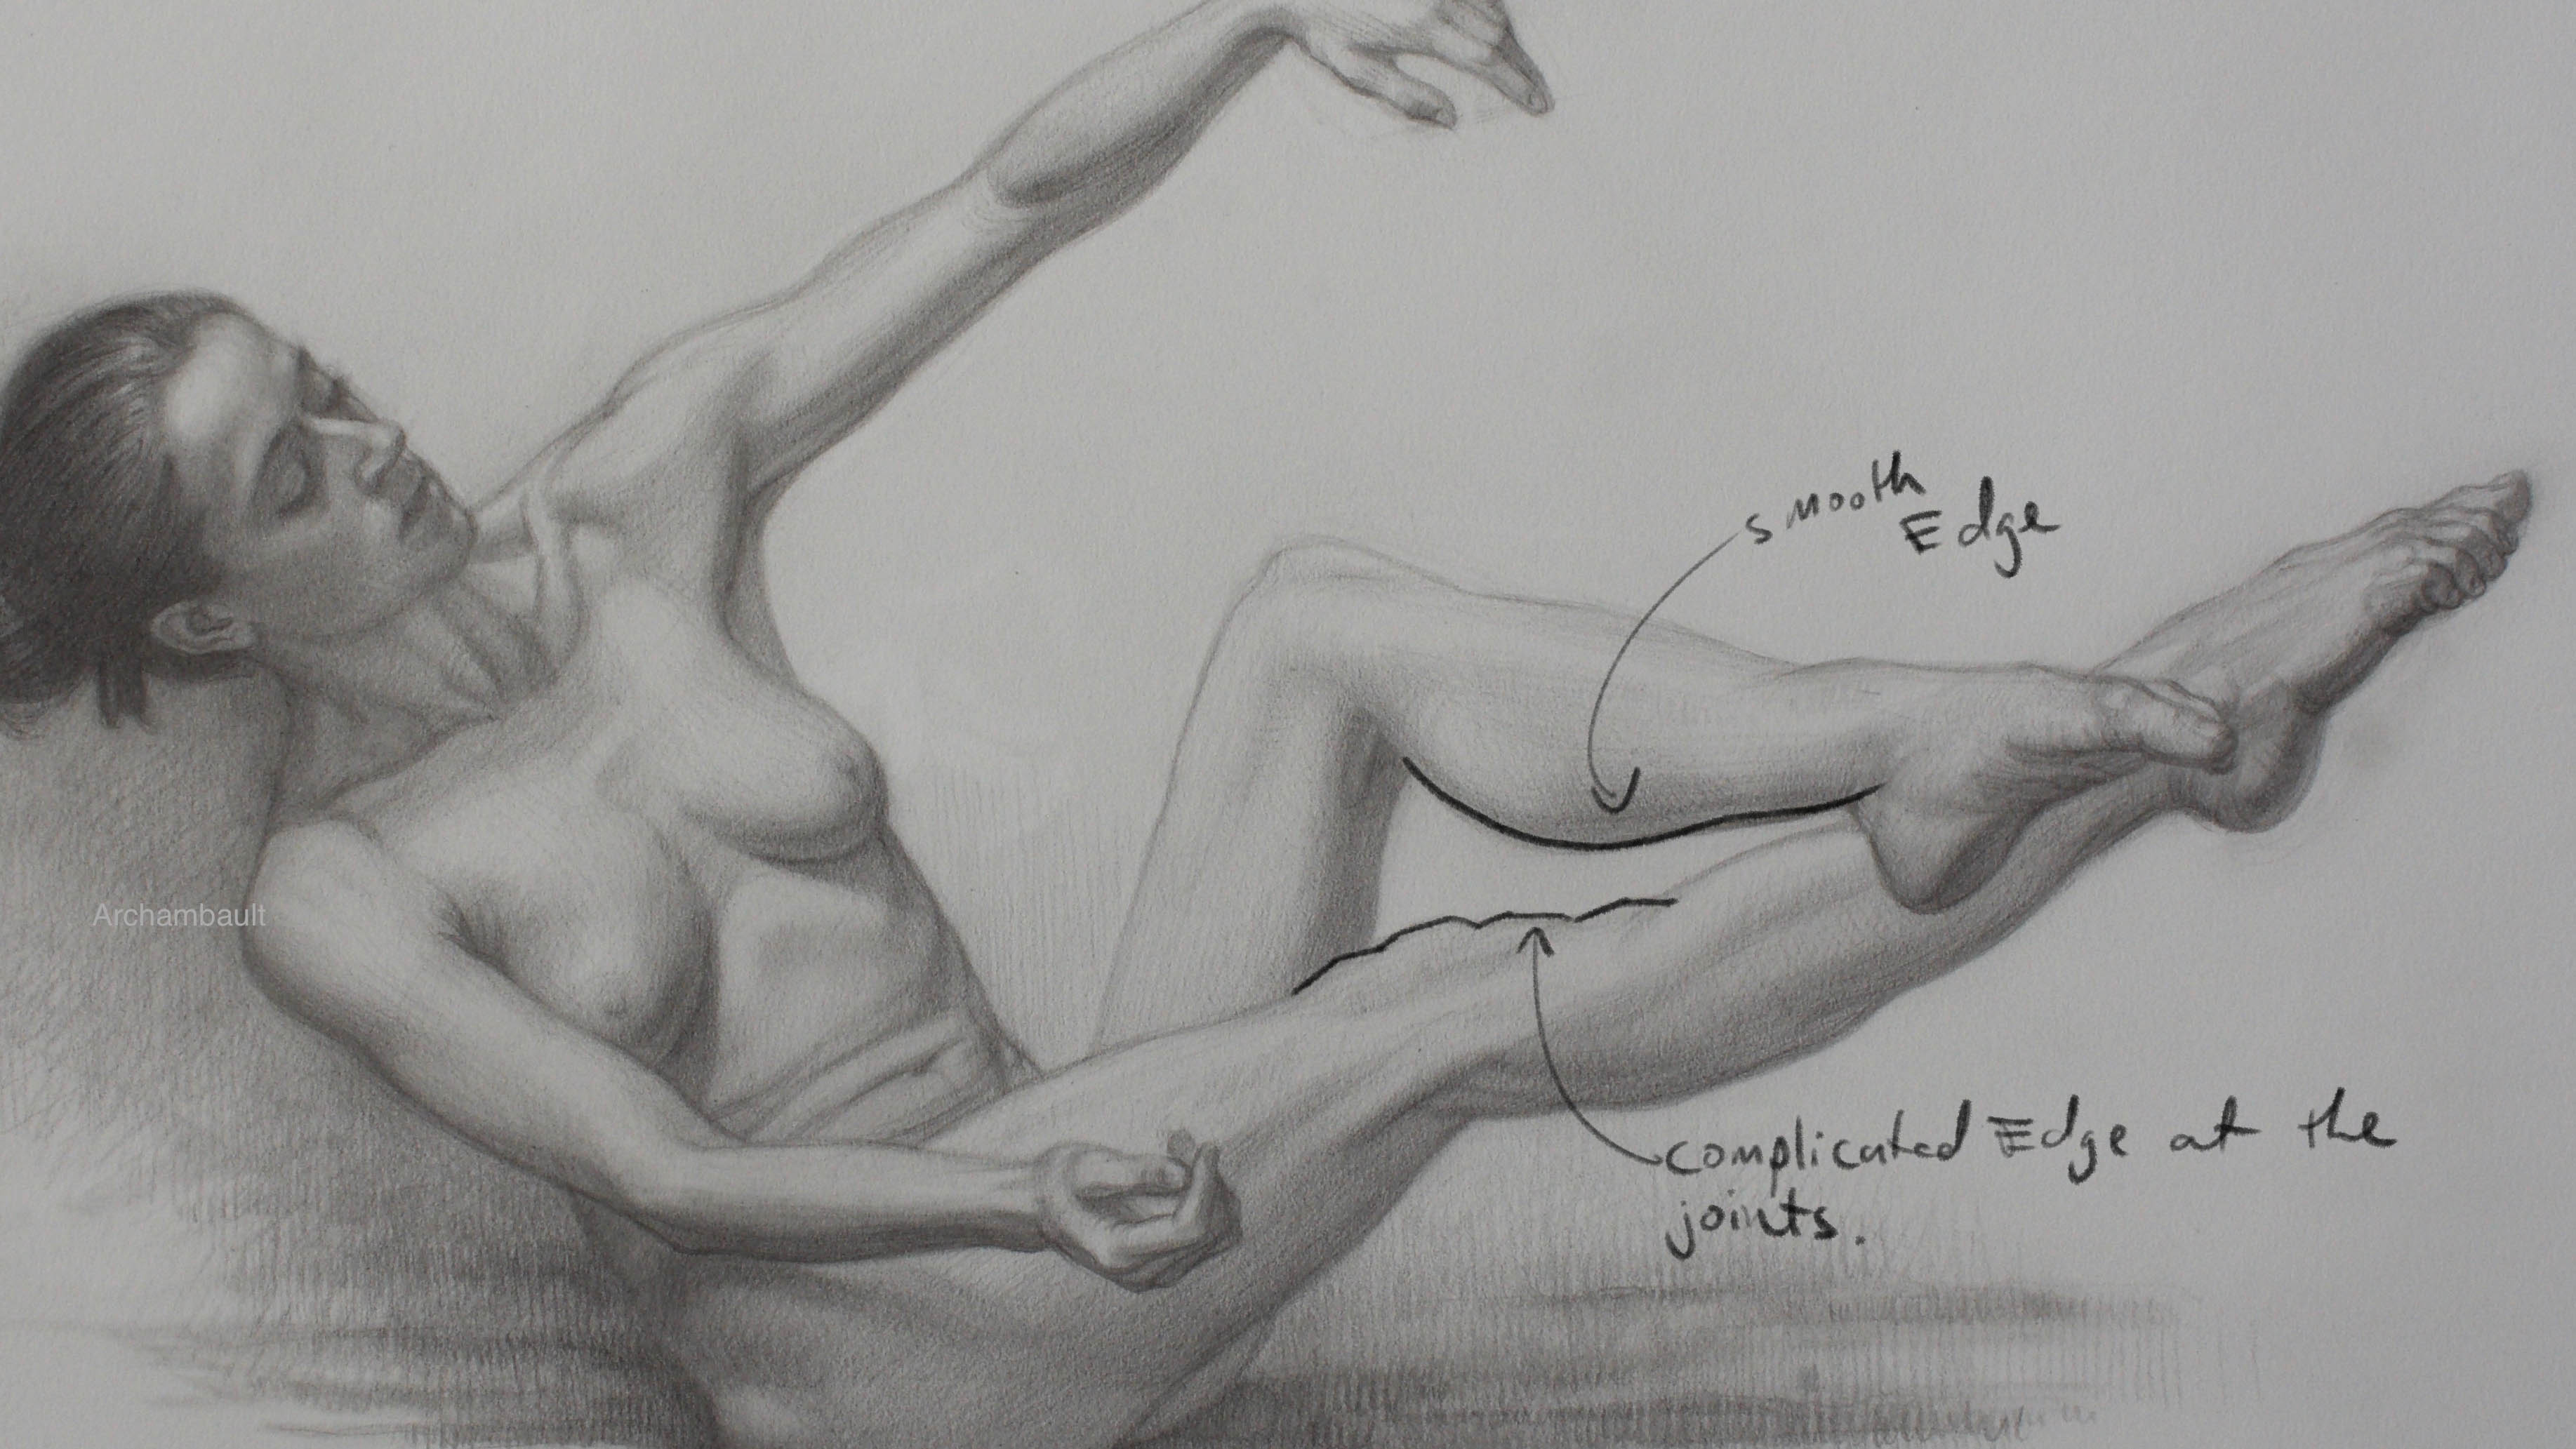
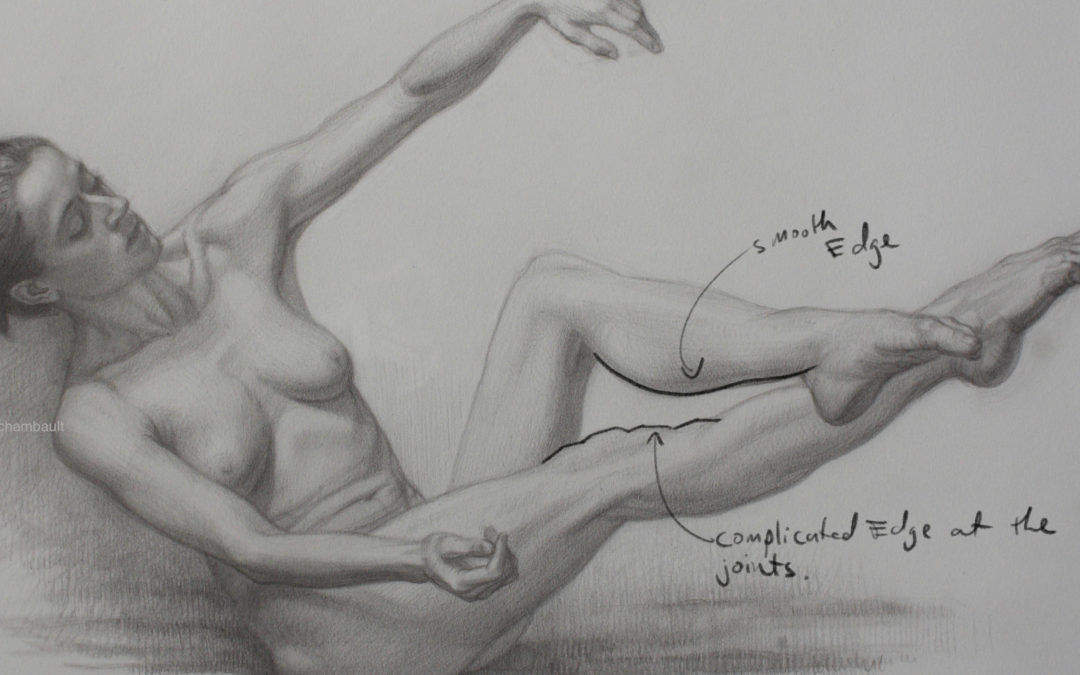
However armed with the knowledge that there should be no straight lines on the figure it’s your task to curve and complicate your edge line. There are specific areas to do this.

For instance you will want to complicate edge lines at the joints. Specifically the knee, ankle, elbow, shoulder etc. You do not want to complicate the middle of a limb. Keep the middle of the model’s limbs curvy and smooth, remember complicate at the joints.

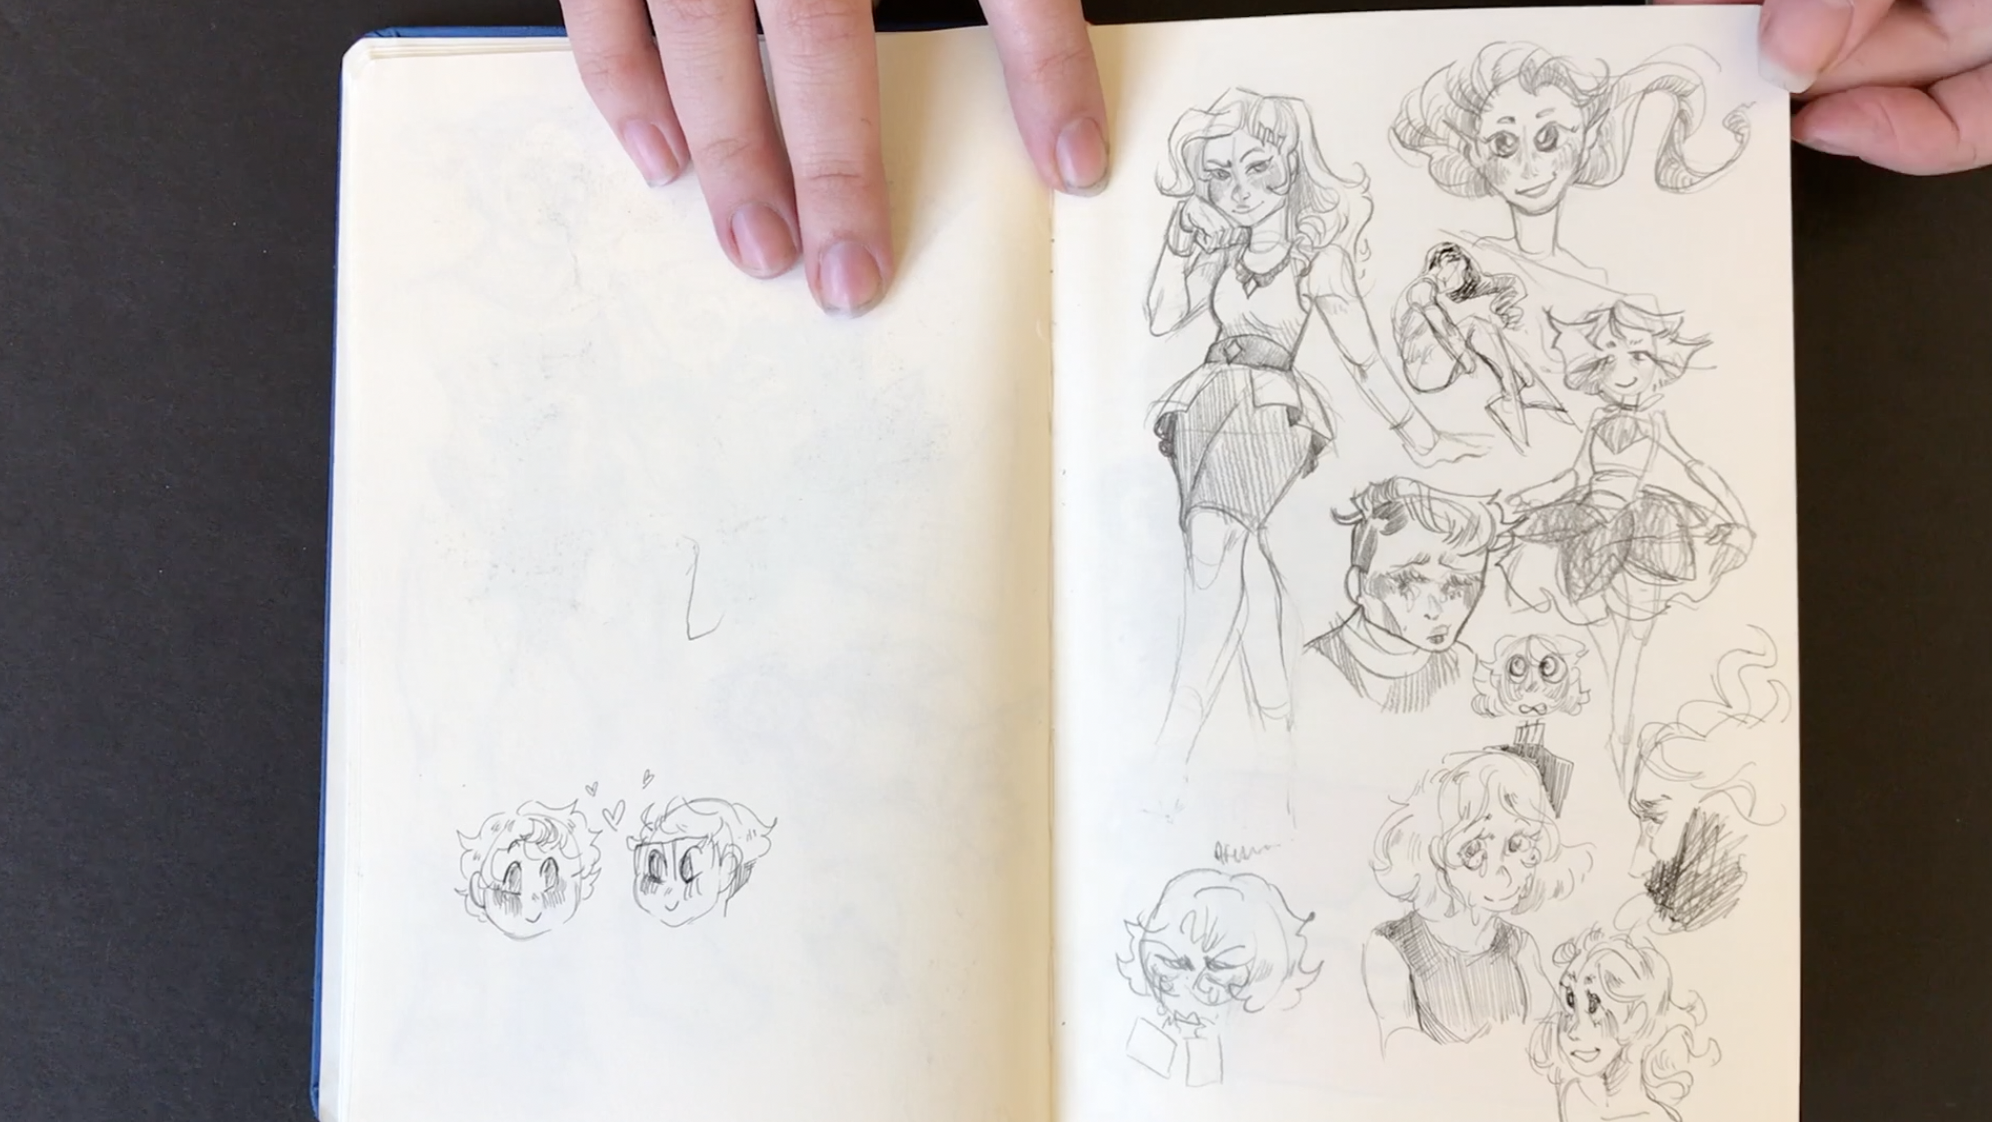
Take a look at your work, tape of few of your figure drawing on the wall. Look at them as a unit, do they look stiff? Do you see a bunch of simplified edges? Do you see straight lines on the edge of your figure drawings?

Now you know what to incorporate into your drawings to to eliminate that stylized look. You now know how to create more of a realistic look and feel.


If you are looking to learn some new drawing techniques to help improve your figure drawing definitely consider a membership to Drawing Tutorials Online. I’m particularly proud of this new twenty-eight lesson course.

All of the lessons are really short, most under ten minutes. Each lesson focuses on a different technique. The course focuses on line, proportions, shading, structure as well as form.

Not to mention you can get your figure drawings critiqued on a weekly basis in our gallery. If the technique taught in the lesson above speaks to you please leave a comment below. Thanks for reading.


Start Your Figure Drawing From An Abstract Shape

Start Your Figure Drawing From An Abstract Shape

I recently added a twenty-eight lesson figure drawing course in the member area of Drawing Tutorials Online. I wanted to share with you some of the lessons over here at my blog. This first lesson in particular is very important.

Too many artists give themselves artificial rules. These rules can sometimes take the fun out of drawing, especially figure drawing. One of these rules is that you must start your figure drawing from the top of the head. I disagree completely.

Do I sometimes start my figure drawing at the top of the head, the short answer is yes. When do I do this, mainly when I am deliberately trying to draw the figure from head to toe. This is something you want to do especially when working on short duration gesture drawings.

Working from head to toe using the Opposite C technique enables you to see proportions in a quick way. However when I want to work on a long duration drawing I like to switch things up.

Starting your drawing from an abstract shape is a great way to begin. I have been drawing this way for years both from life and from photos. The idea here is that drawing an abstract shape is a whole lot easier then drawing an actual body part.

For instance in this particular figure drawing I start in essense with the abstract shape between the model’s legs. Some artists like to call this a negative shape or negative space. Either way it’s abstract.

Starting with an abstract shape is a great way to start because it allows you to start building up confidence. It allows you to see proportions in a different way.

I highly suggest that you give this technique a try. Practice drawing a bunch of abstract shapes. Try copying each shape exactly, this great practice and will help you with your accuracy.


If you are looking to learn some new drawing techniques to help improve your figure drawing definitely consider a membership to Drawing Tutorials Online. I’m particularly proud of this new twenty-eight lesson course.

All of the lessons are really short, most under ten minutes. Each lesson focuses on a different technique. The course focuses on line, proportions, shading, structure as well as form.

Not to mention you can get your figure drawings critiqued on a weekly basis in our gallery. If the technique taught in the lesson above speaks to you please leave a comment below. Thanks for reading.


Emily’s Third Sketchbook – A Long Time Ago

Emily’s Third Sketchbook – A Long Time Ago

I’ve had Emily’s sketchbook video on my iPhone for quite sometime. I’m about to start filming my current student’s sketchbooks this week. So what better time to post Emily’s third sketchbook.

What can I say, Emily was the heart of her class last semester. She brings so much energy and passion to everything she does.

Emily is all about constant improvement. I trust you will find some value and inspiration when flipping through her sketchbook with me.


Check out Emily’s Instagram. You can really see her improvement there too. Thanks again Emily for sharing your art.


Shannon’s Sketchbook – Great Col-Erase Line Quality

Shannon’s Sketchbook – Great Col-Erase Line Quality

Shannon was a student in last year’s foundation drawing class for animators. What I liked most about Shannon’s work was her line. The way that she draws with the Prismacolor Col-Erase pencil is pretty awesome.

She draws with the type of line quality that is loose but yet highly descriptive. Not to mention that at such a young age she is a master at drawing facial expressions. Her characters have so much emotion. I usually love work that is so very different than mine. I love seeing how Shannon draws with such flow and grace.

I would have liked it if Shannon was a student in my class when I was a first year student. Maybe I would have learned something about line quality.


Thanks so much for sharing your work Shannon! Check out Shannon’s Instagram.