How To Draw The Eye

How To Draw The Eye

I recently completed a course titled How To Draw The Features Of The Face. In this new course, I break down the features of the face in a step by step process. I cover how to draw the eyes, nose, and lips.

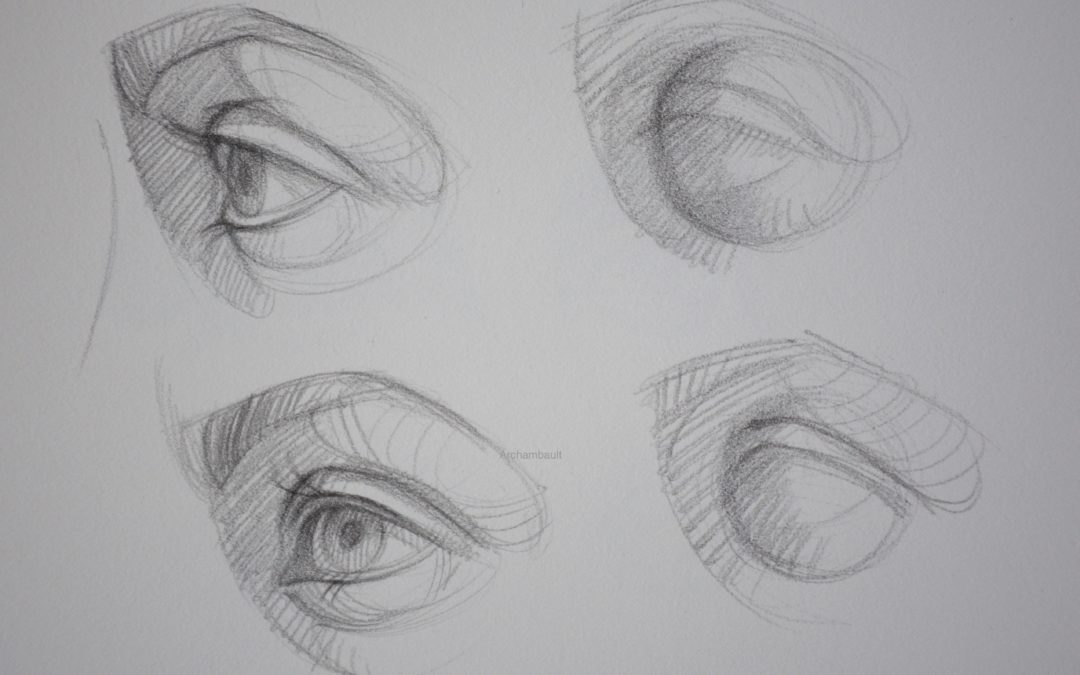
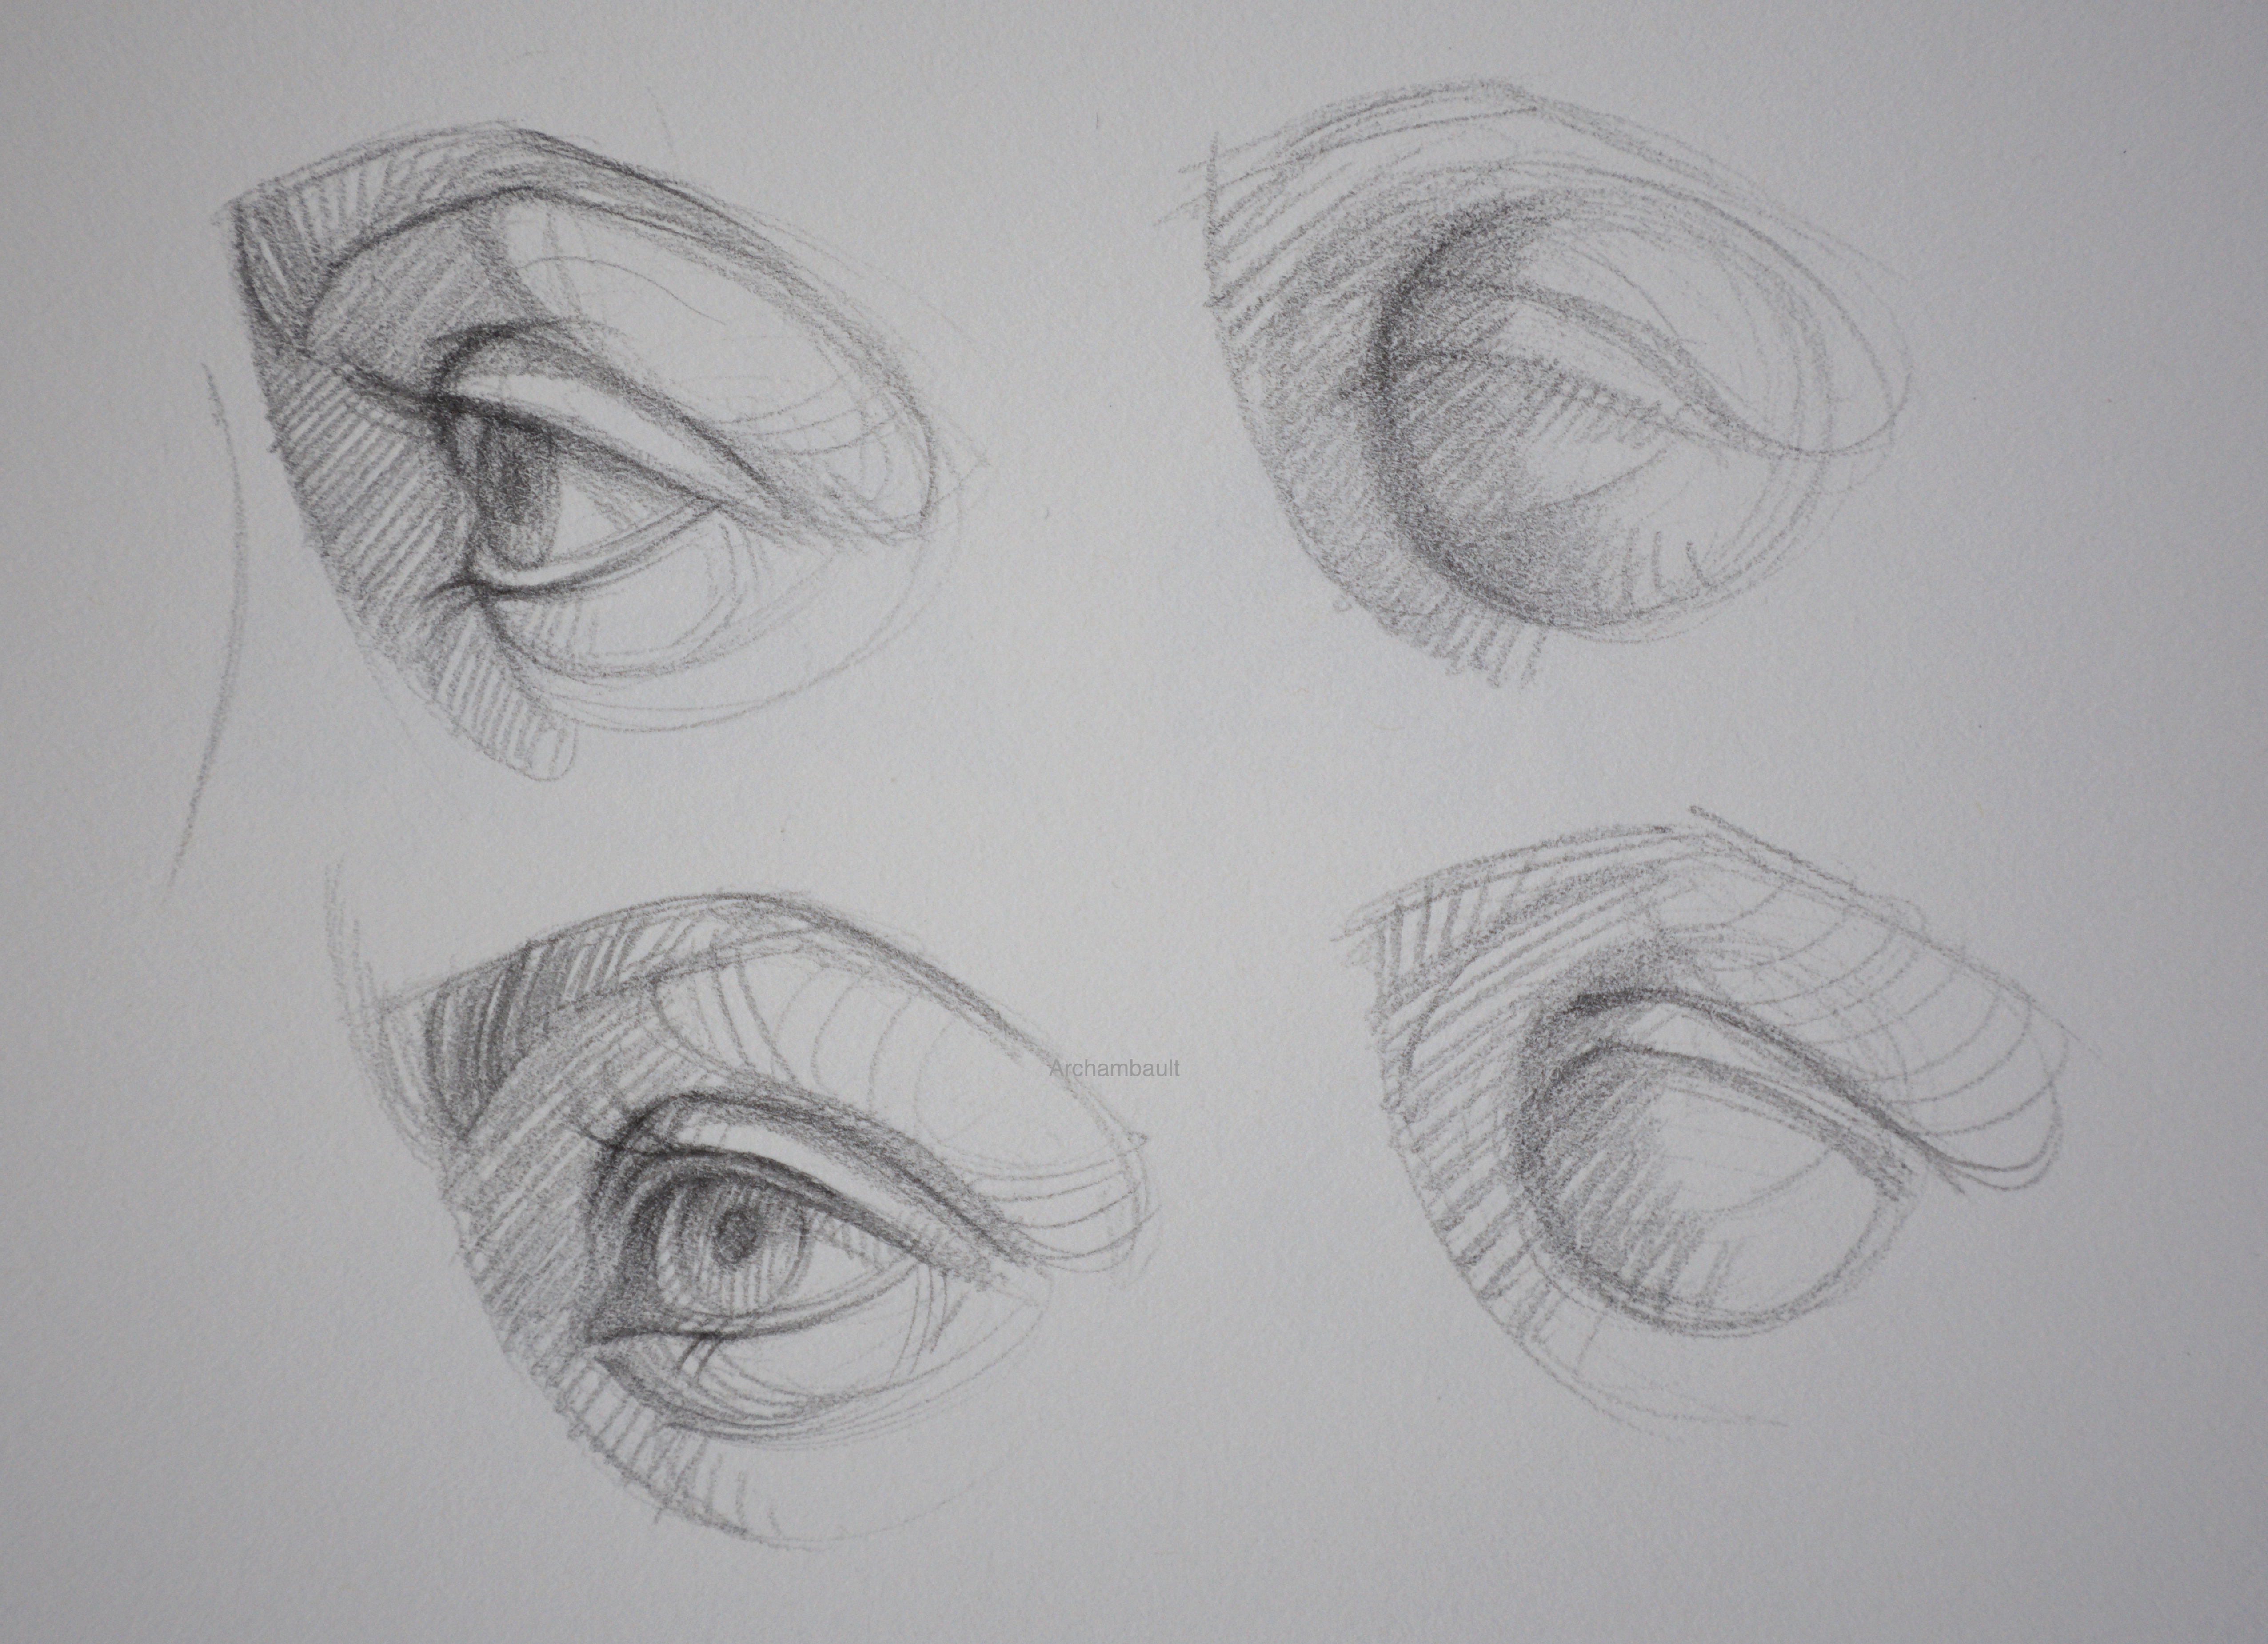
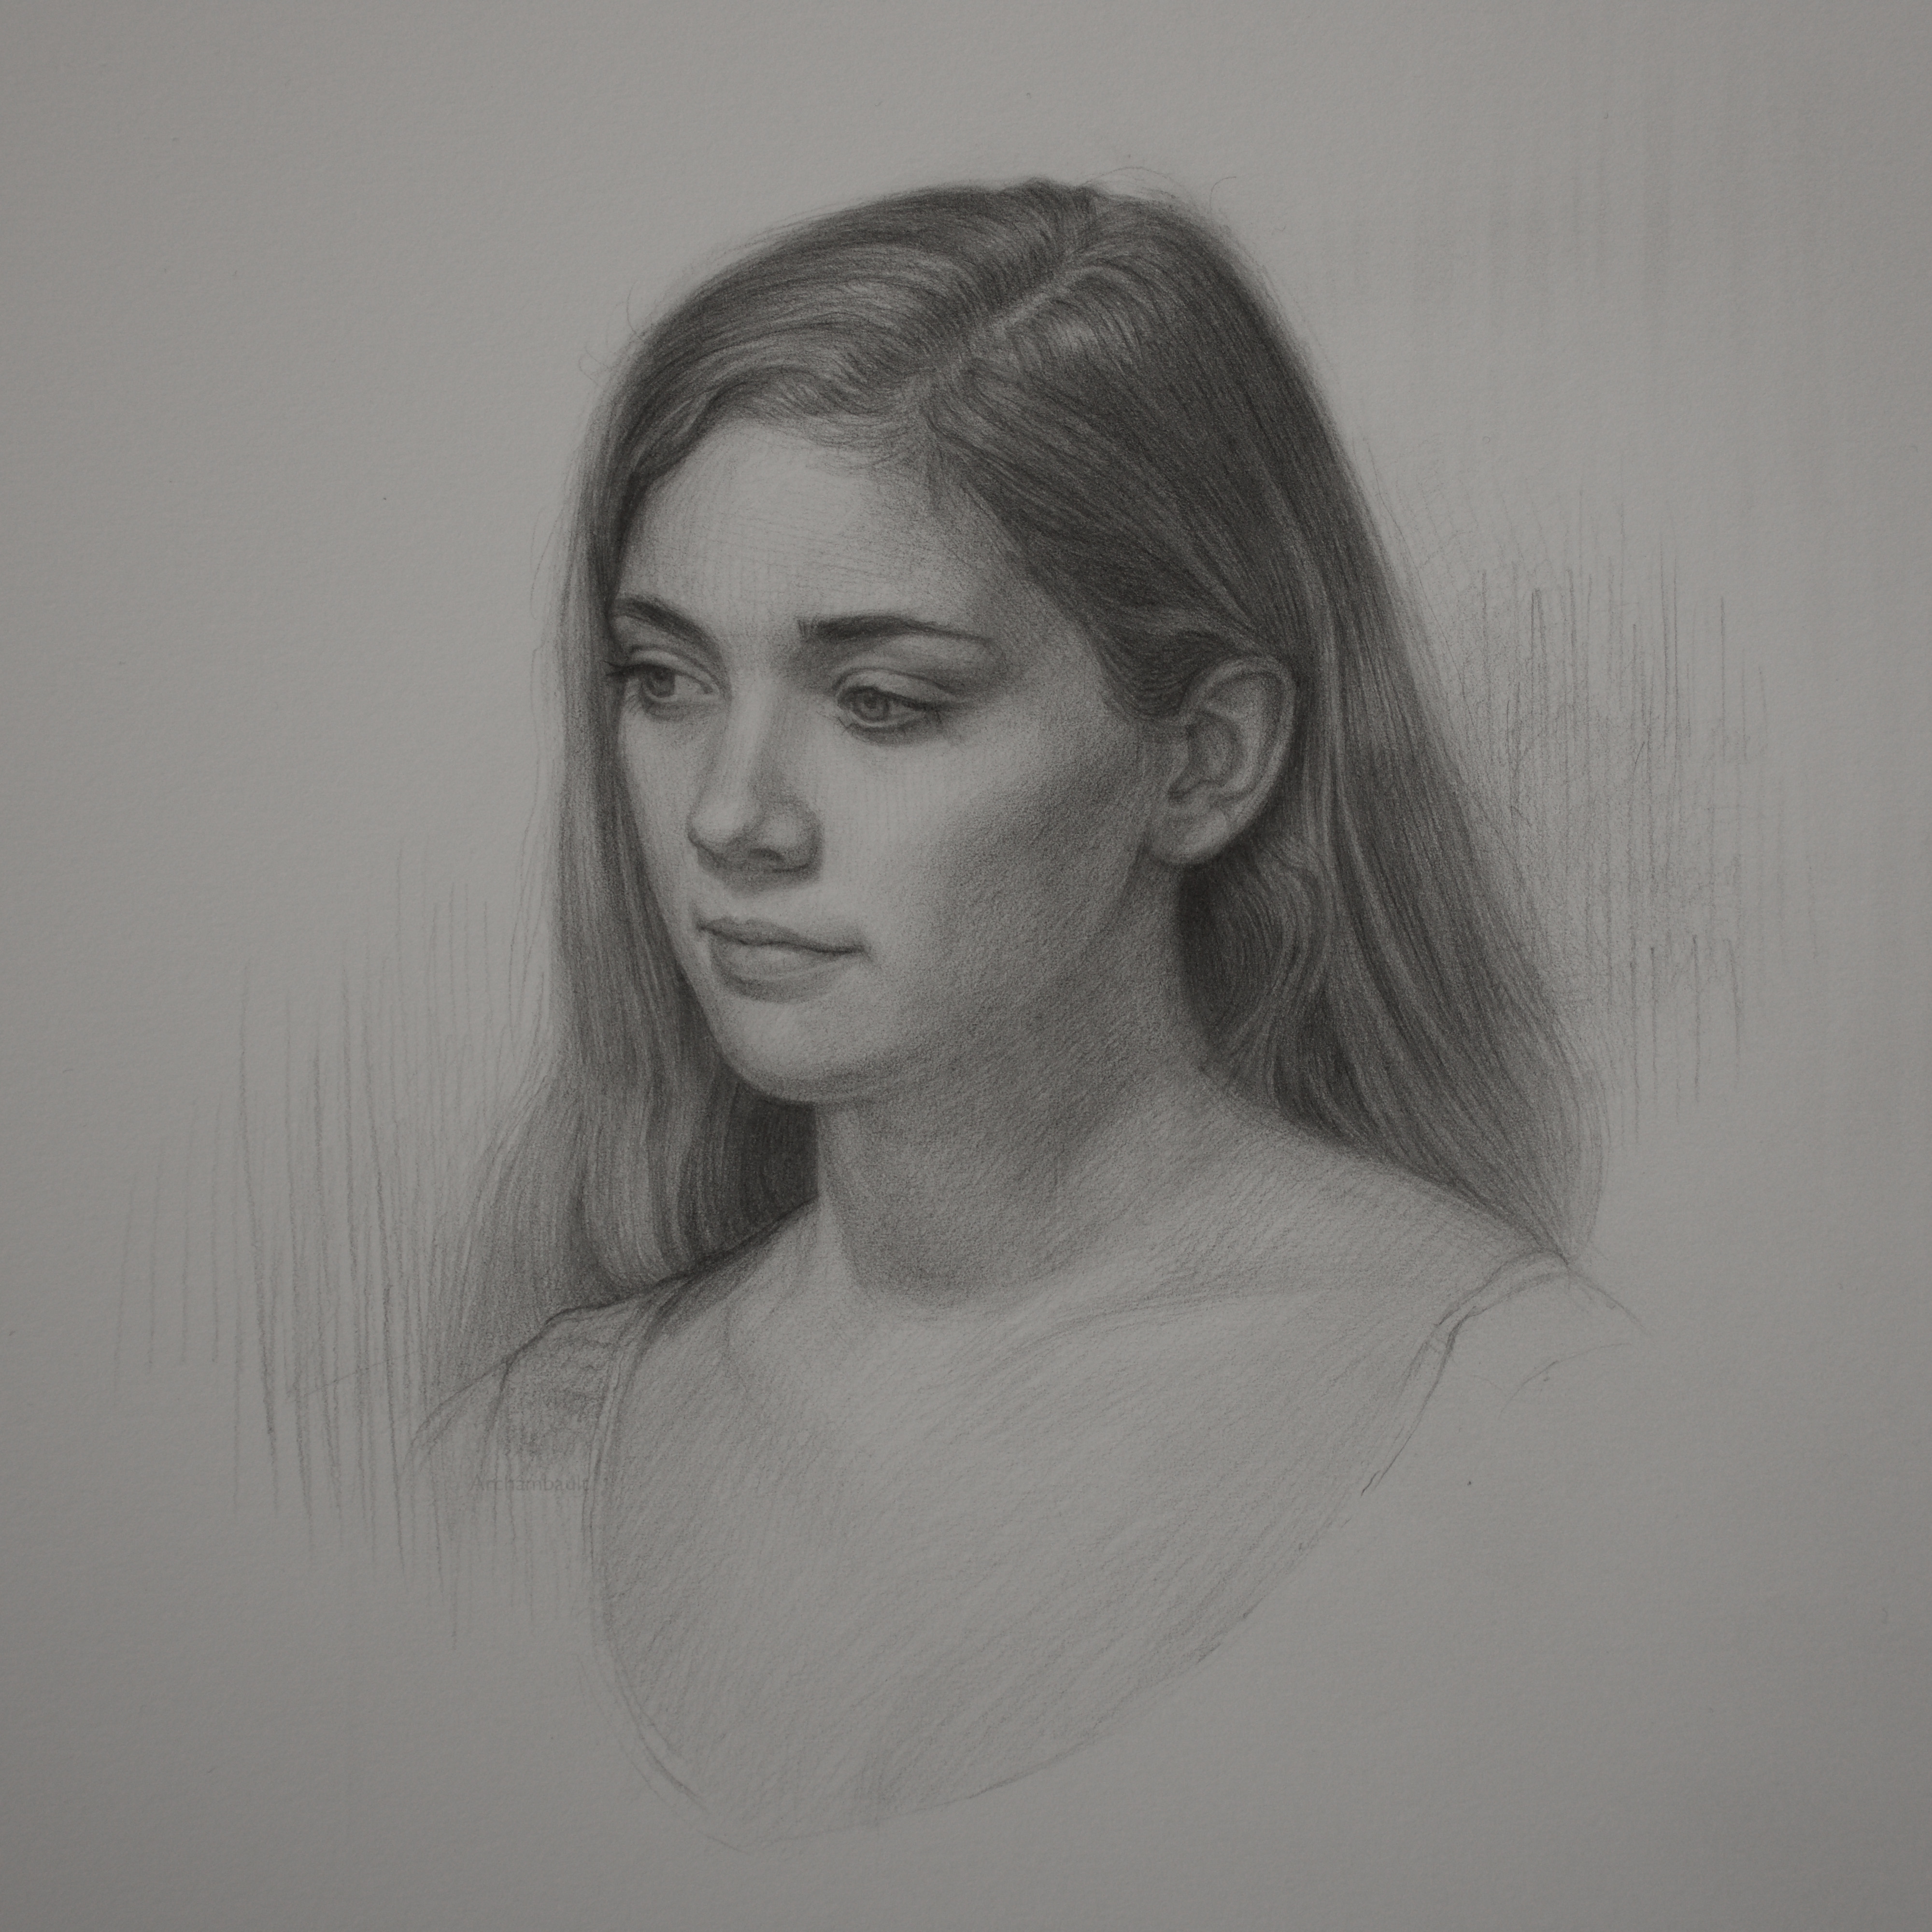
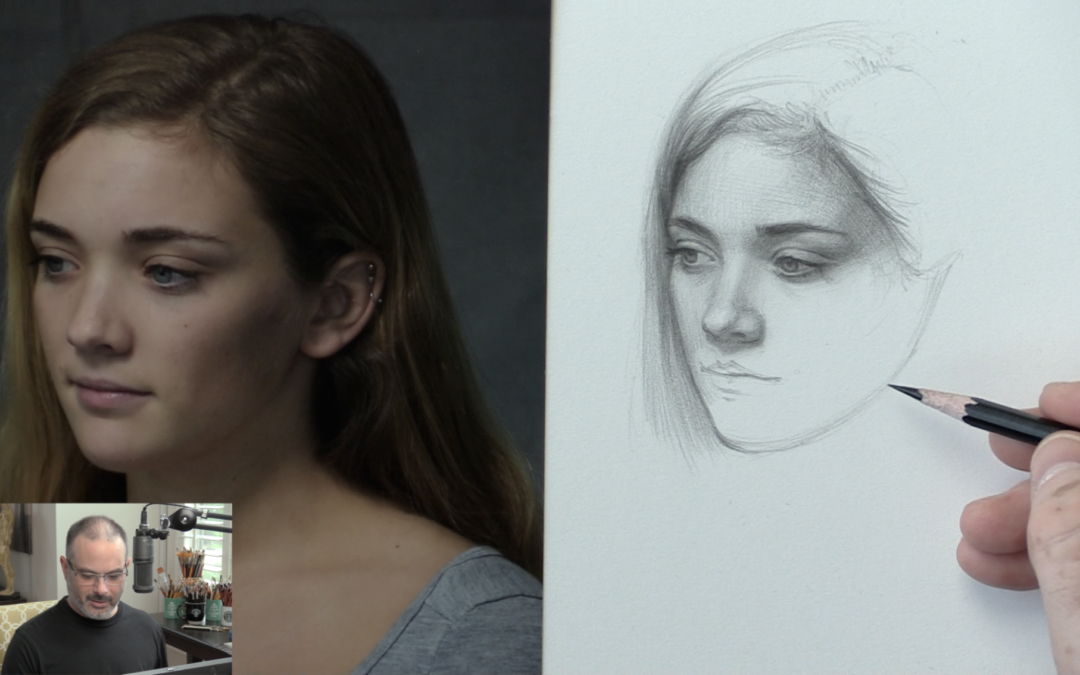
I wanted to share this particular lesson with you because it is short and to the point. You really want to draw the eye in a loose, curvy organic sort of way. You do not want to incorporate any straight lines when drawing the eye, everything about the eye should look rough and organic.

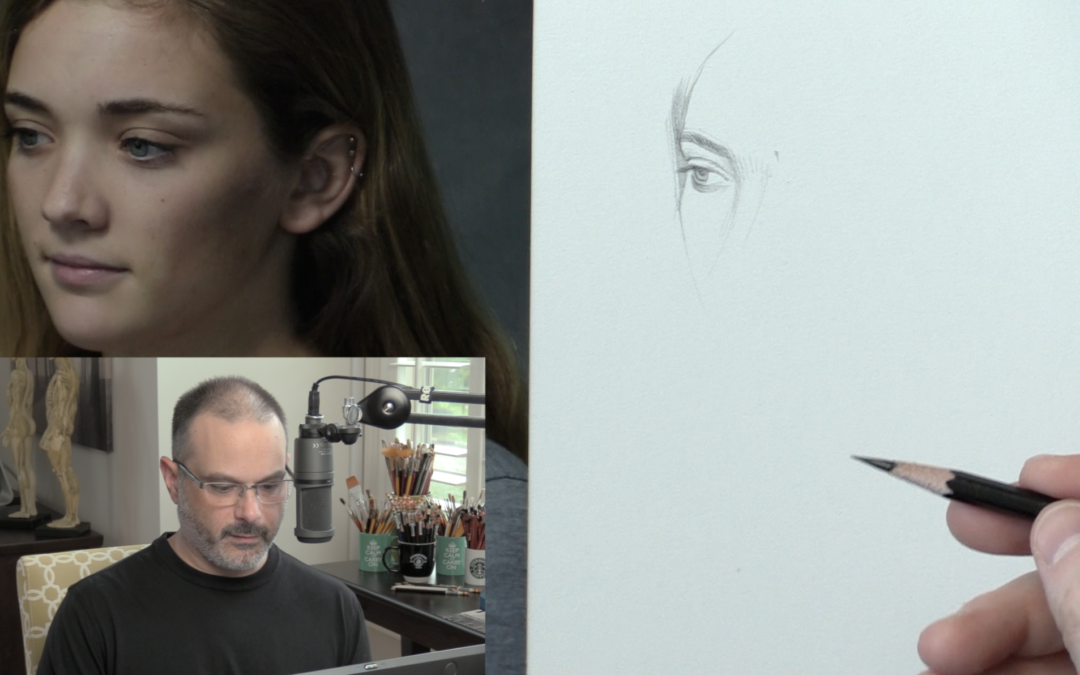
As you can see in this rough sketch of the eye I did not really focus too much of my time on the lashes. Do your very best to draw along with me, avoiding the lashes for now. Think more about the structure of the eye, not the lashes.

When drawing the lashes do not draw them with straight lines, instead, try to group all of the lashes into a shape.

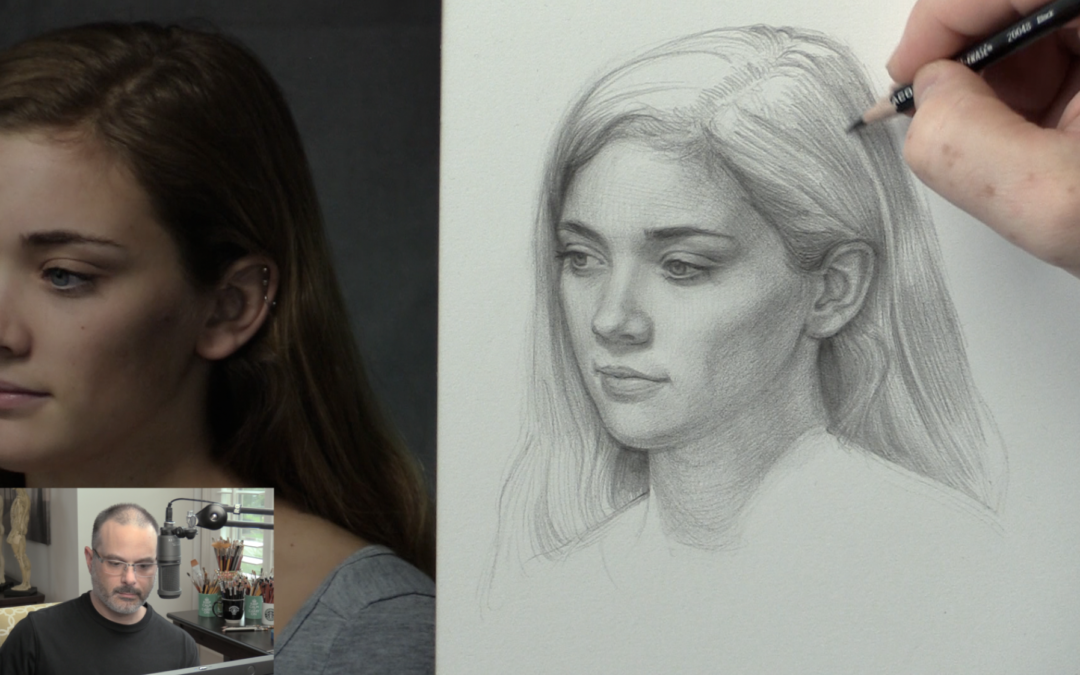
I’m really happy with the way this course turned out. It’s really helping people improve their portrait drawings.

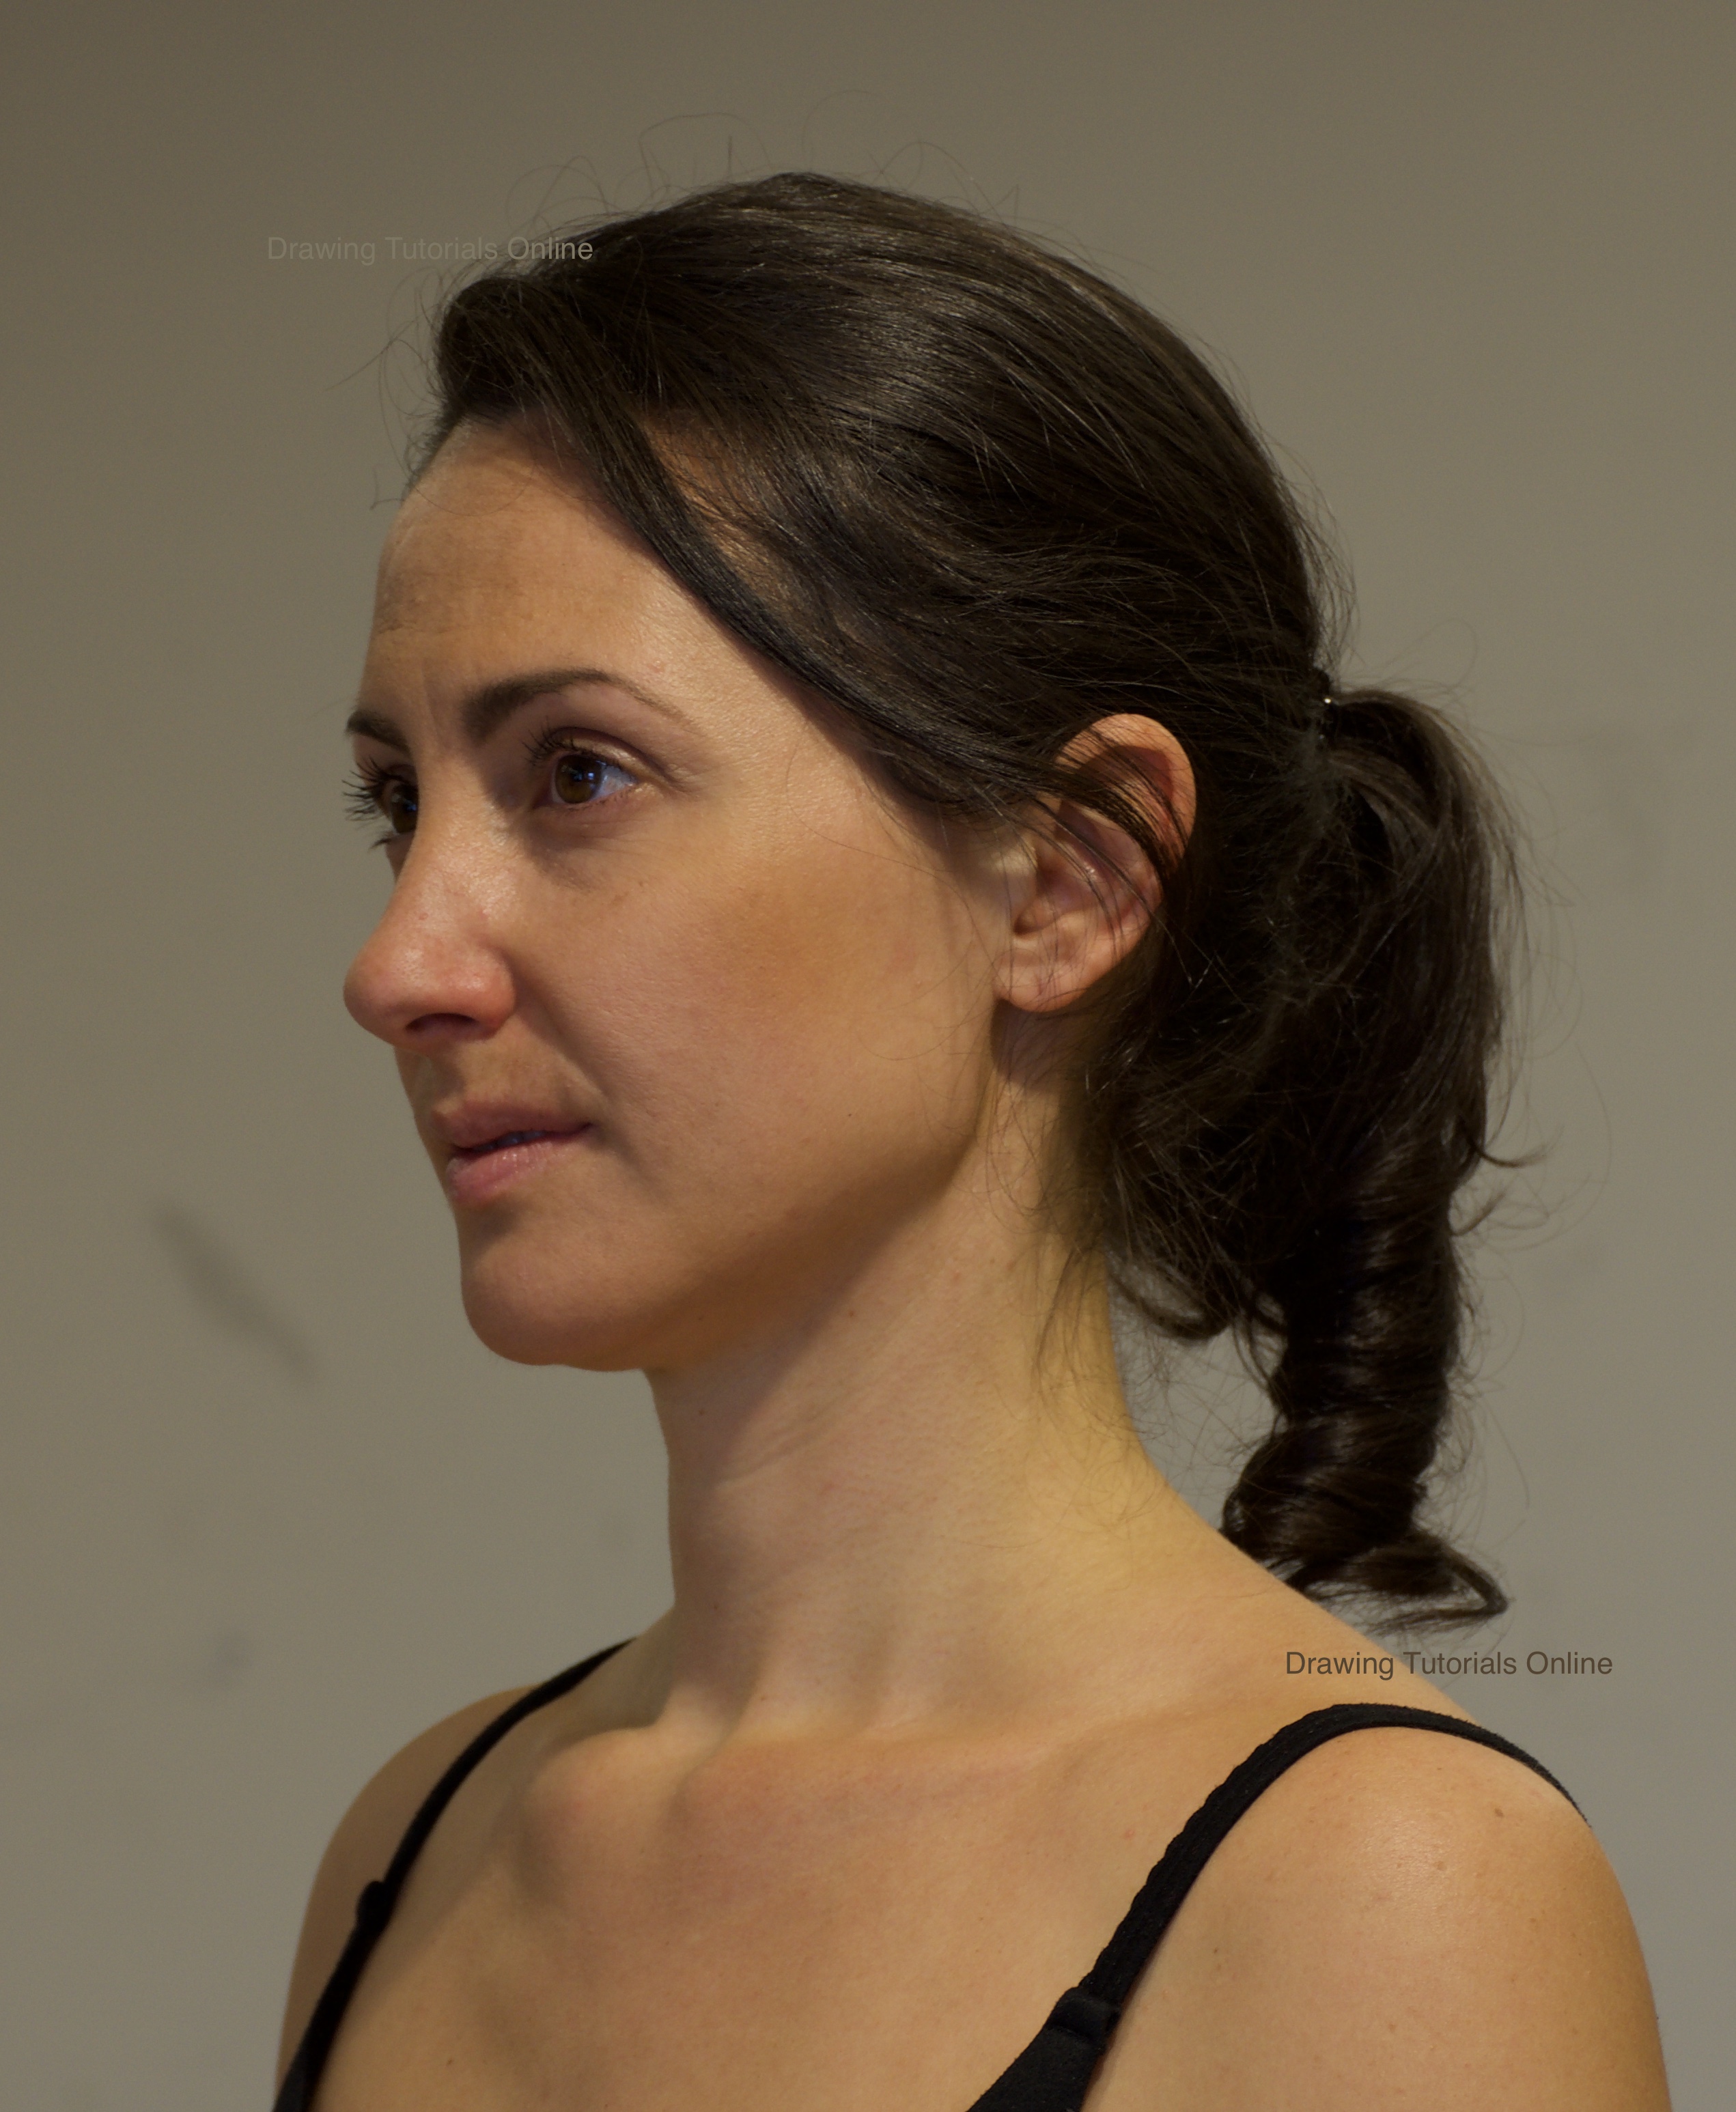
Download the Photo reference.


Thank you so much for watching the drawing lesson above. If you are interested in seeing the rest of the course consider a membership to Drawing Tutorials Online. Not only will you gain access to this course and many more, but, you will also be able to get feedback on your portrait drawings in our member critique gallery.


Drawing A Small Portrait

Drawing A Small Portrait

Have you ever worked on a figure drawing where the head was really small? Did you ask yourself, how am I supposed to draw so small? The eye is the size of my pencil point.

I’ve been there too, many times. What I have learned over the years of painting smaller portraits on book covers is that shadow shapes are your best friend. 

You really do not want to start outlining little details like the bottom of the nose or say the eye lashes. You first want to block in shapes of shadow. Then you can gradually build up some softer tonal shifts to resolve the features. As you progress you can then start to use some crisper line.

Now I completely understand not every artist works with tone. If this is the case you’ll still want to draw shapes first, not features. If you work with line only you do not have to shade in these shapes.

The key takeaway from this short video, use light and shade to your advantage when drawing small. Also less is best. With a smaller portrait you have to know when to stop. Adding too much detail can take you down a road of heartache.


If you are interesting in learning more, you can check out the full course within the members area of Drawing Tutorials Online. Consider signing up to DTO. You will immediately gain access to all of our comprehensive course listing.


Shea Portrait – Shading In The Hair

Shea Portrait – Shading In The Hair

This may not be my most exciting lesson, however it is an important one. Sometimes drawing a realistic portrait takes time. In this short three minute YouTube world that we live in it’s easy to loose sight of the fact that quality takes time.

Now every artist obviously is different. Every artist has their own personal style. For my portrait drawings I really do enjoy spending long hours working on blocking in the tone.

In this particular video tutorial I’m sharing with you how I start blocking in the soft tone of the hair on the shadow side of the head. When drawing hair it’s important to build up your middle tones first before diving into pressing down super hard on your pencil.

The key takeaways from this portrait drawing lesson, hair is soft, draw it in a soft way. If hair is long, use long pencil strokes. Hair is made up of many cylindrical shapes, think of how the light is hitting those cylinders.

It’s so very important to be clear on your personal style of portrait drawing. You might decide that you really don’t want to draw every strand of hair. You might want to leave some areas of the hair void of detail. Remember, make it fun and keep it original.

If you got something from this very quiet video please leave a comment below.


Improve your portrait drawing skills to today with a membership to Drawing Tutorials Online. Select from a monthly or annual plan, cancel anytime.


Shea Portrait – Drawing The Mouth

Shea Portrait – Drawing The Mouth

In this portrait drawing lesson I share with you how to carefully lay in the mouth. By using a series of targets you can make sure you get proper placement of the lips. Simply put targets are little marks you place on paper. They help you to place the features of the face without fully committing to using super dark line.

In this video tutorial you will learn how to place the corner of the mouth with little light targets. You will also see how to map out the ear and edge of the head. Unfortunately a lot of artists press down hard on their pencil immediately with out using targets. I know I was one of them. My best friend was the eraser.

This style of drawing is a light to dark style of drawing. It’s very different than say completing a gesture drawing. In that case you want to press down on your pencil immediately in order to create a confident powerful gesture.

If this style of drawing interests you definitely consider a membership to Drawing Tutorials Online. You will gain access to multiple drawing courses just like the one up above. Plus you can post your portrait drawing up for a critique ensuring that you receive timely feedback on your work.


Improve your portrait drawing skills to today with a membership to Drawing Tutorials Online. Select from a monthly or annual plan, cancel anytime.


Shea Portrait – Starting With The Eyes

Shea Portrait – Starting With The Eyes

I wanted to share with you lesson one from my latest portrait drawing course titled “Shea Portrait”. A few members had asked the question, can you start a portrait drawing with the eye first? The answer is of course. Diving deeper the real answer is that you can start a portrait wherever you see fit.

Every portrait that you draw presents different obstacles. You certainly do not want to place too many rules on yourself in terms of where to start. Take a look at the portrait subject, what can you wrap your mind around? What looks easy to start with first?

I’m a big believer of utilizing the angels to start drawing the edge of the hair first, moving onto drawing the face next. Drawing the shape of hair versus the shape of the face is a logical way to go about drawing a portrait. However there will be times that branching out from drawing the eyes first is a better solution.

In the portrait drawing lesson below I share with you what to look out for when starting with the eyes. I talk to the importance of making it so both eyes work together, making sure that they are looking in the same direction.

This fifteen lesson course has so much to offer. However I thought I would share with you this very important lesson one.


If you would like to get started watching get entire course check out Drawing Tutorials Online.