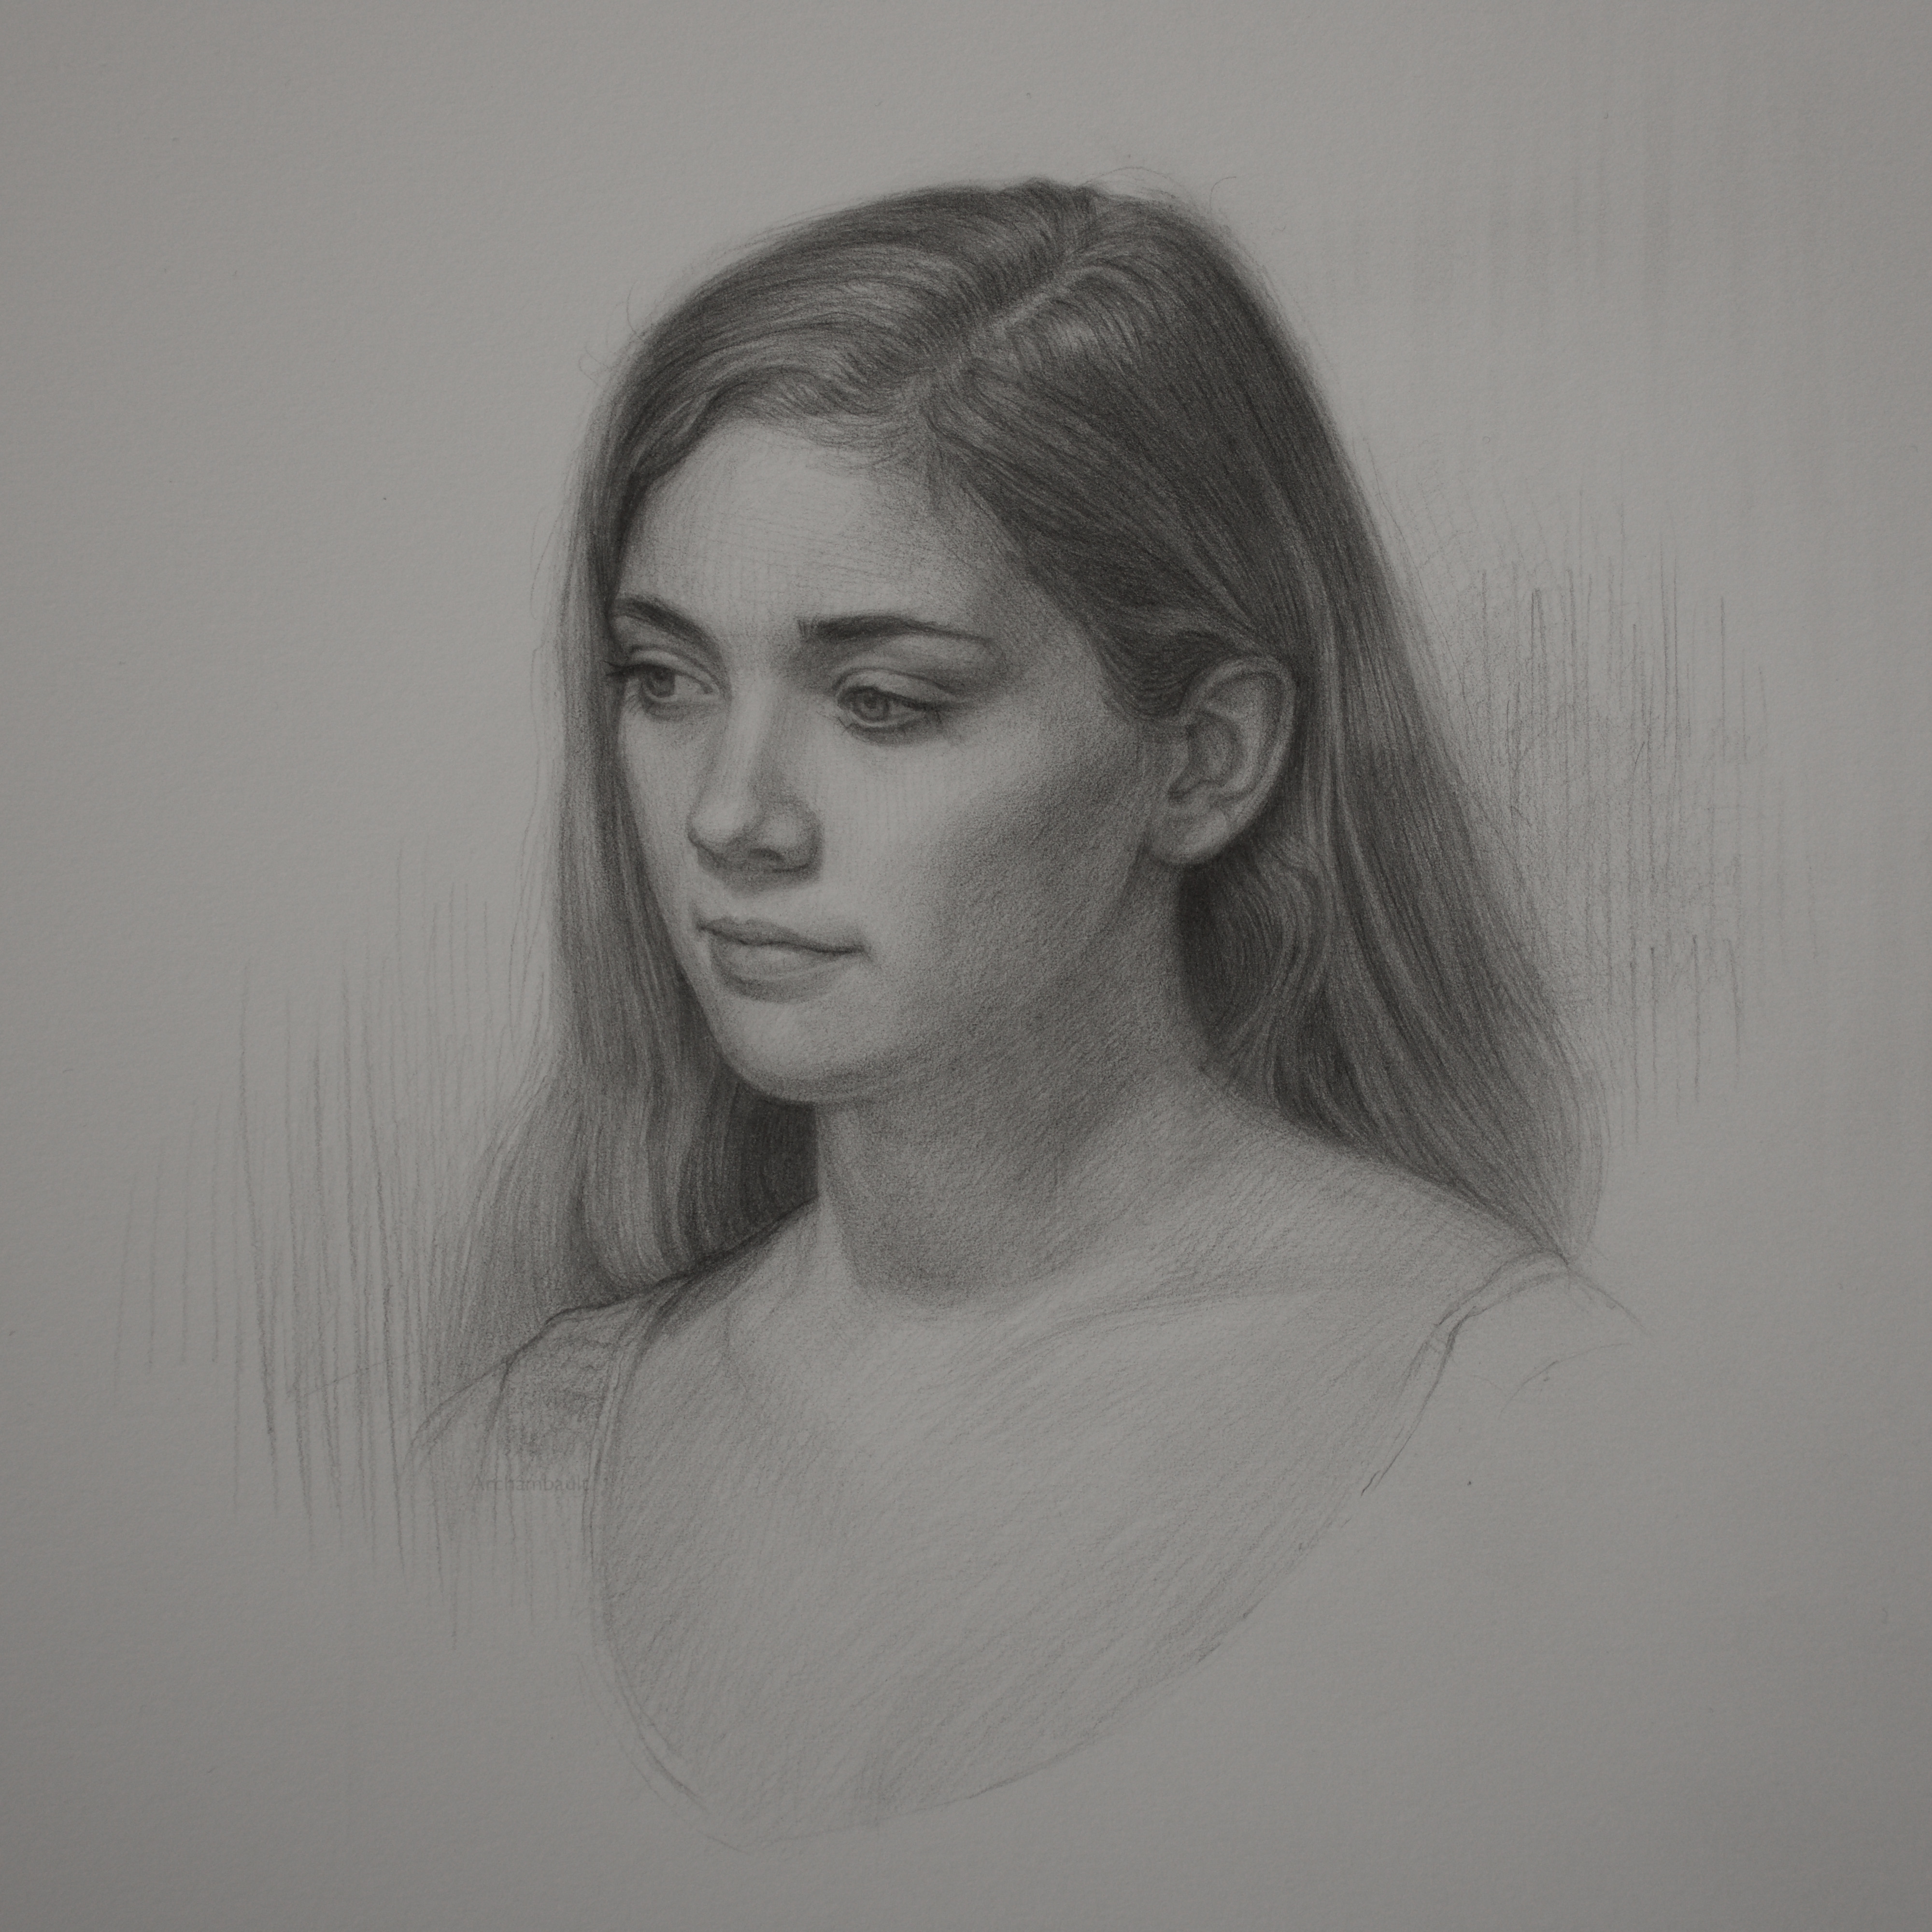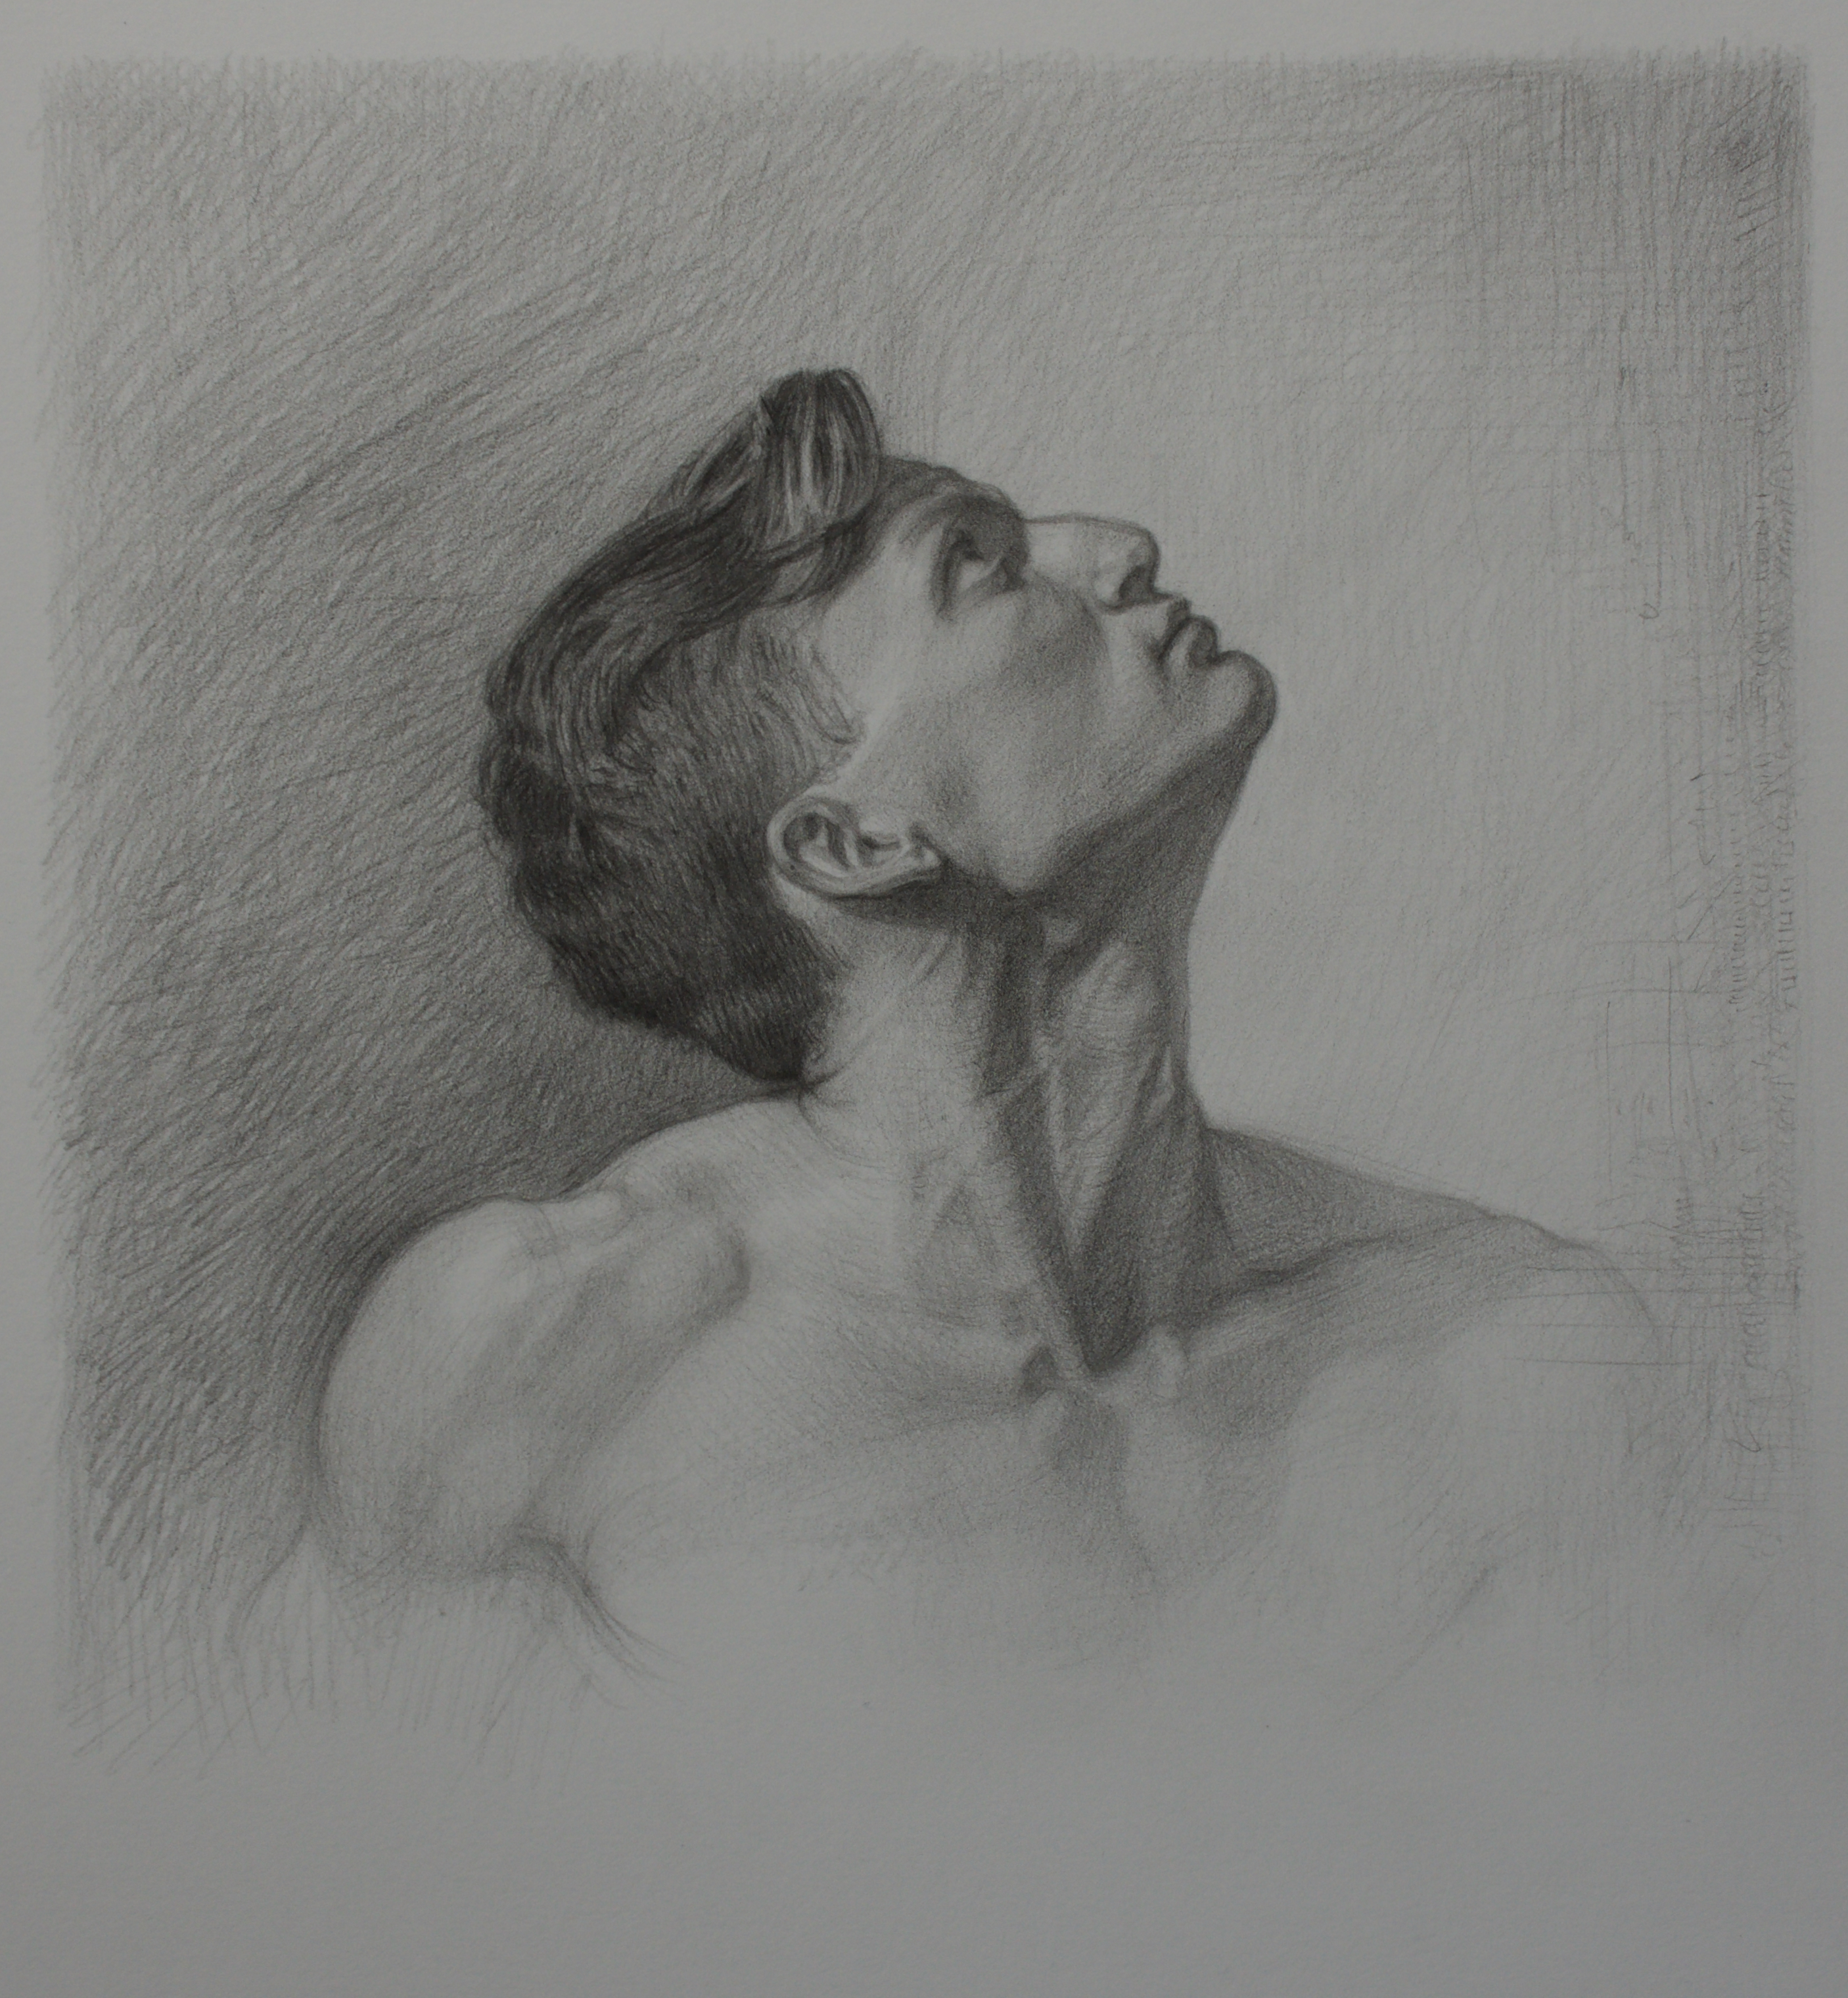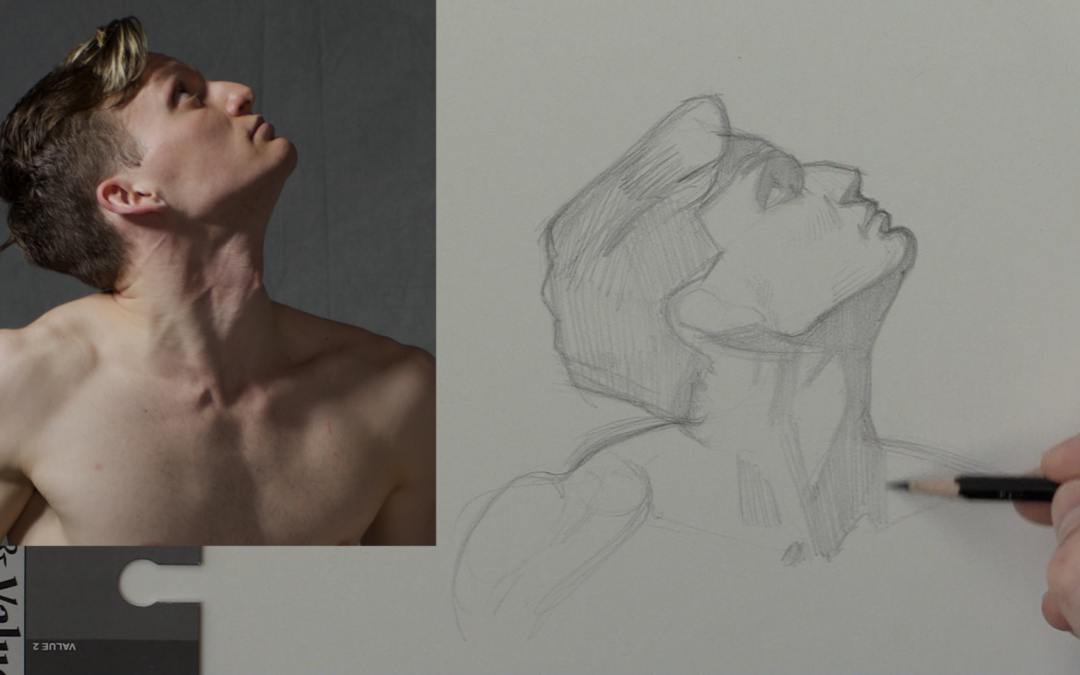
Shea Portrait – Drawing The Mouth
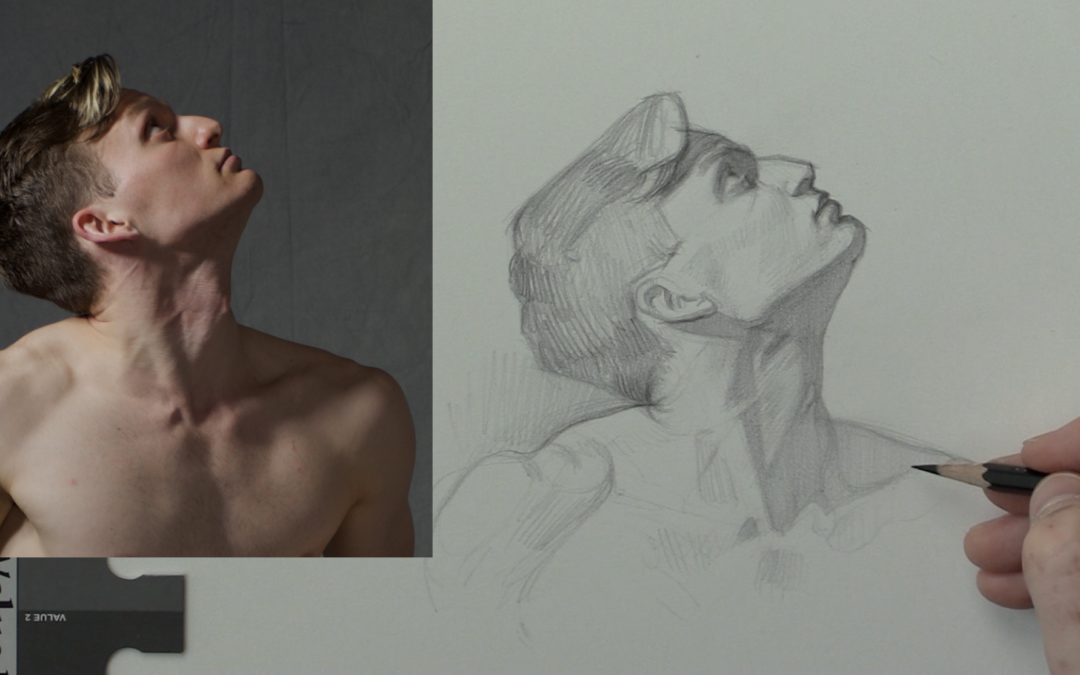
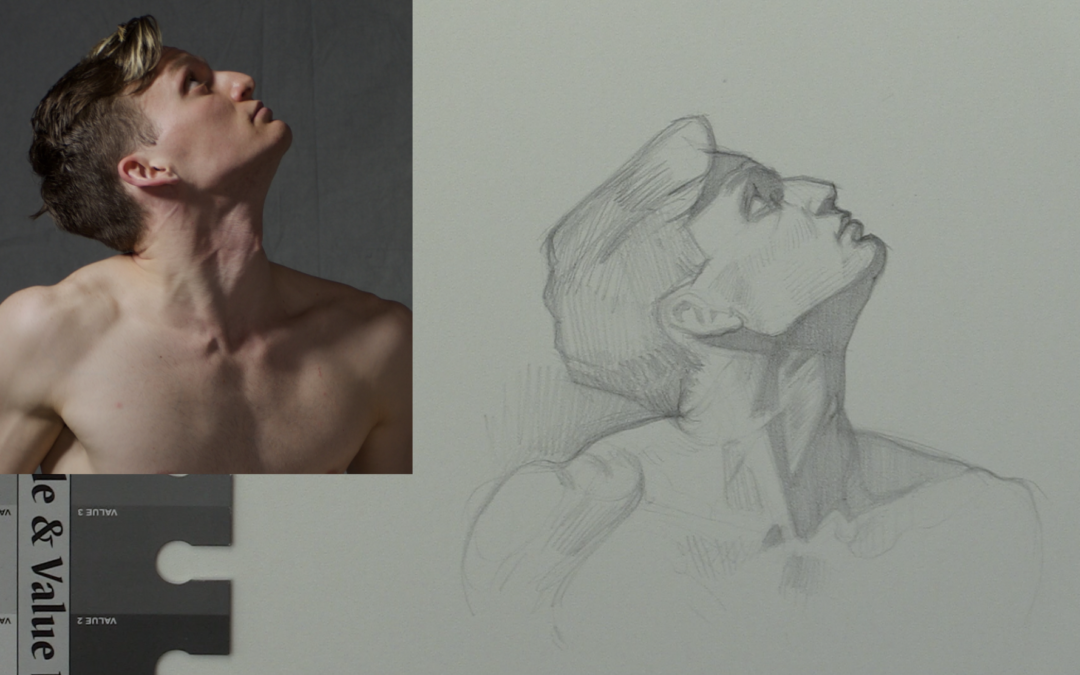
In this portrait drawing lesson I share with you how to carefully lay in the mouth. By using a series of targets you can make sure you get proper placement of the lips. Simply put targets are little marks you place on paper. They help you to place the features of the face without fully committing to using super dark line.
In this video tutorial you will learn how to place the corner of the mouth with little light targets. You will also see how to map out the ear and edge of the head. Unfortunately a lot of artists press down hard on their pencil immediately with out using targets. I know I was one of them. My best friend was the eraser.
This style of drawing is a light to dark style of drawing. It’s very different than say completing a gesture drawing. In that case you want to press down on your pencil immediately in order to create a confident powerful gesture.
If this style of drawing interests you definitely consider a membership to Drawing Tutorials Online. You will gain access to multiple drawing courses just like the one up above. Plus you can post your portrait drawing up for a critique ensuring that you receive timely feedback on your work.
Improve your portrait drawing skills to today with a membership to Drawing Tutorials Online. Select from a monthly or annual plan, cancel anytime.