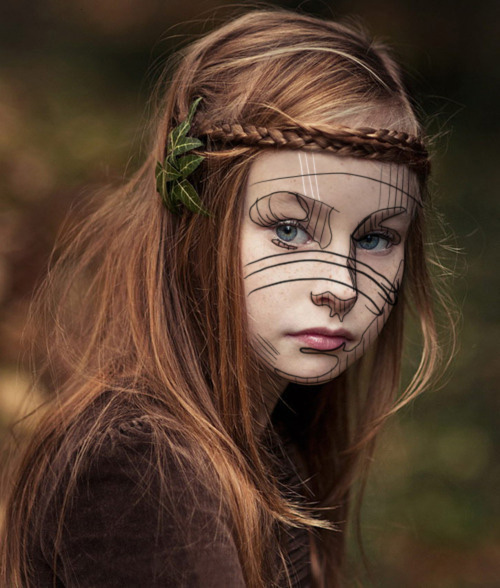
How To Simplify Light & Shade When Drawing A Portrait
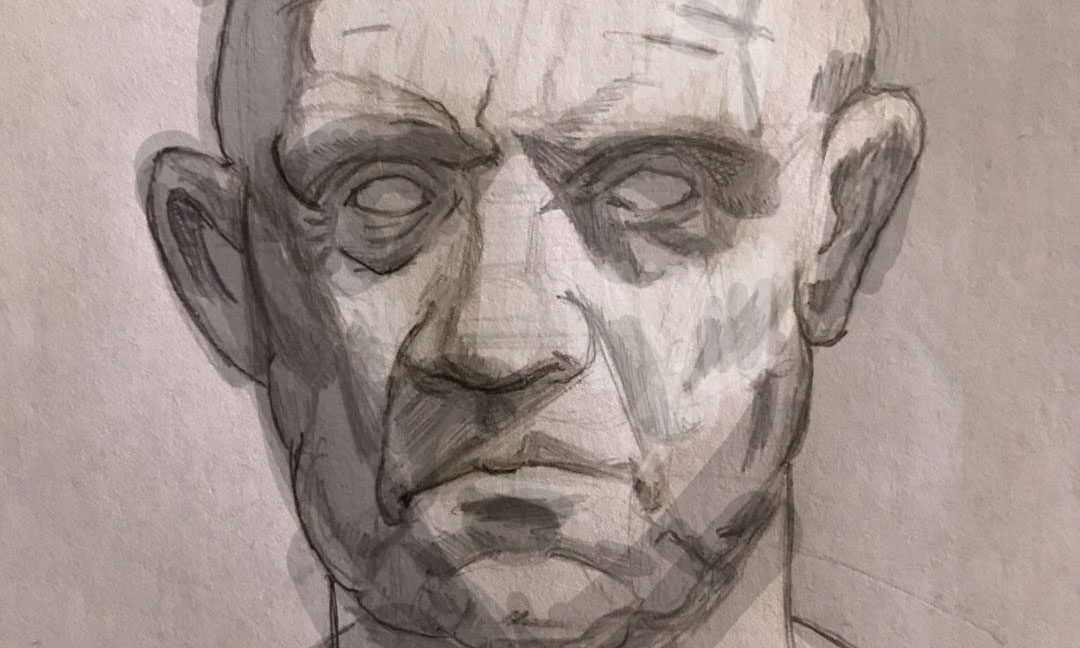
Milos recently uploaded his art to our critique gallery for the first time. I thought his drawing was pretty cool.
The main suggestion was to simplify how to apply shadow shapes. When you place shadow shapes everywhere in essence you muddy up your portrait drawing. It’s always best to simplify where you decide to put your shadow shapes.
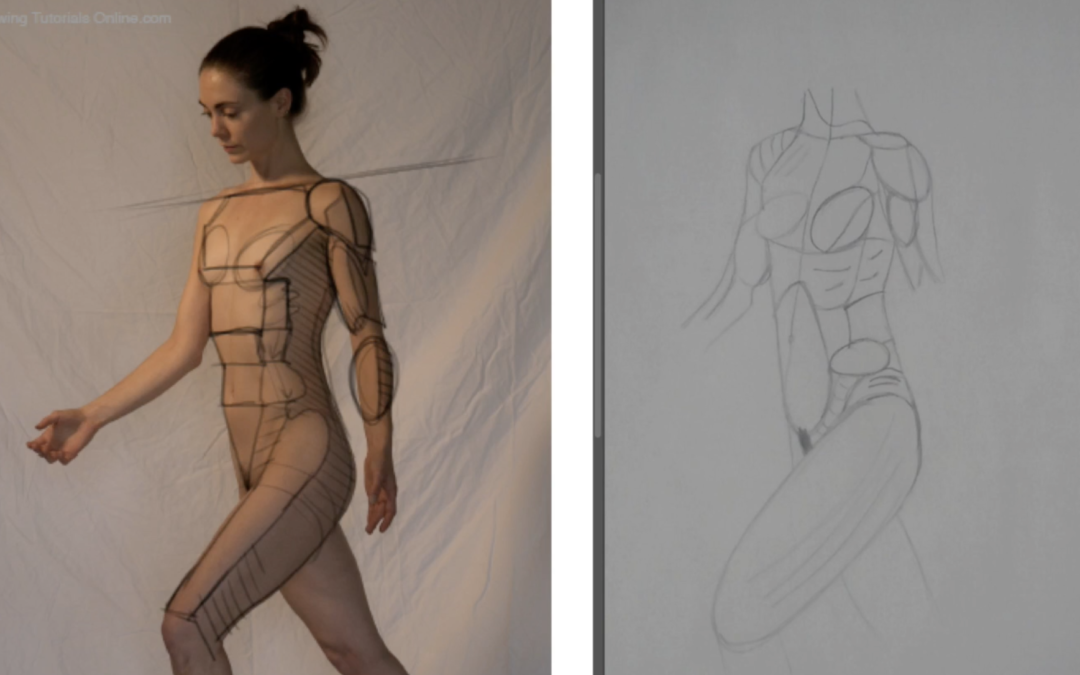
Use a minimalistic approach when thinking about light direction. Where is the light coming from? Is it front light, side light, rim light, or form light? Form light is best for three dimension.
Once you make a decision on which direction the light is hitting your subject you start heading in the right direction.
Enjoy the video critique.
Thank so much for watching. If you are looking for a video critique just like this one for your work read more about what Drawing Tutorials Online has to offer you.