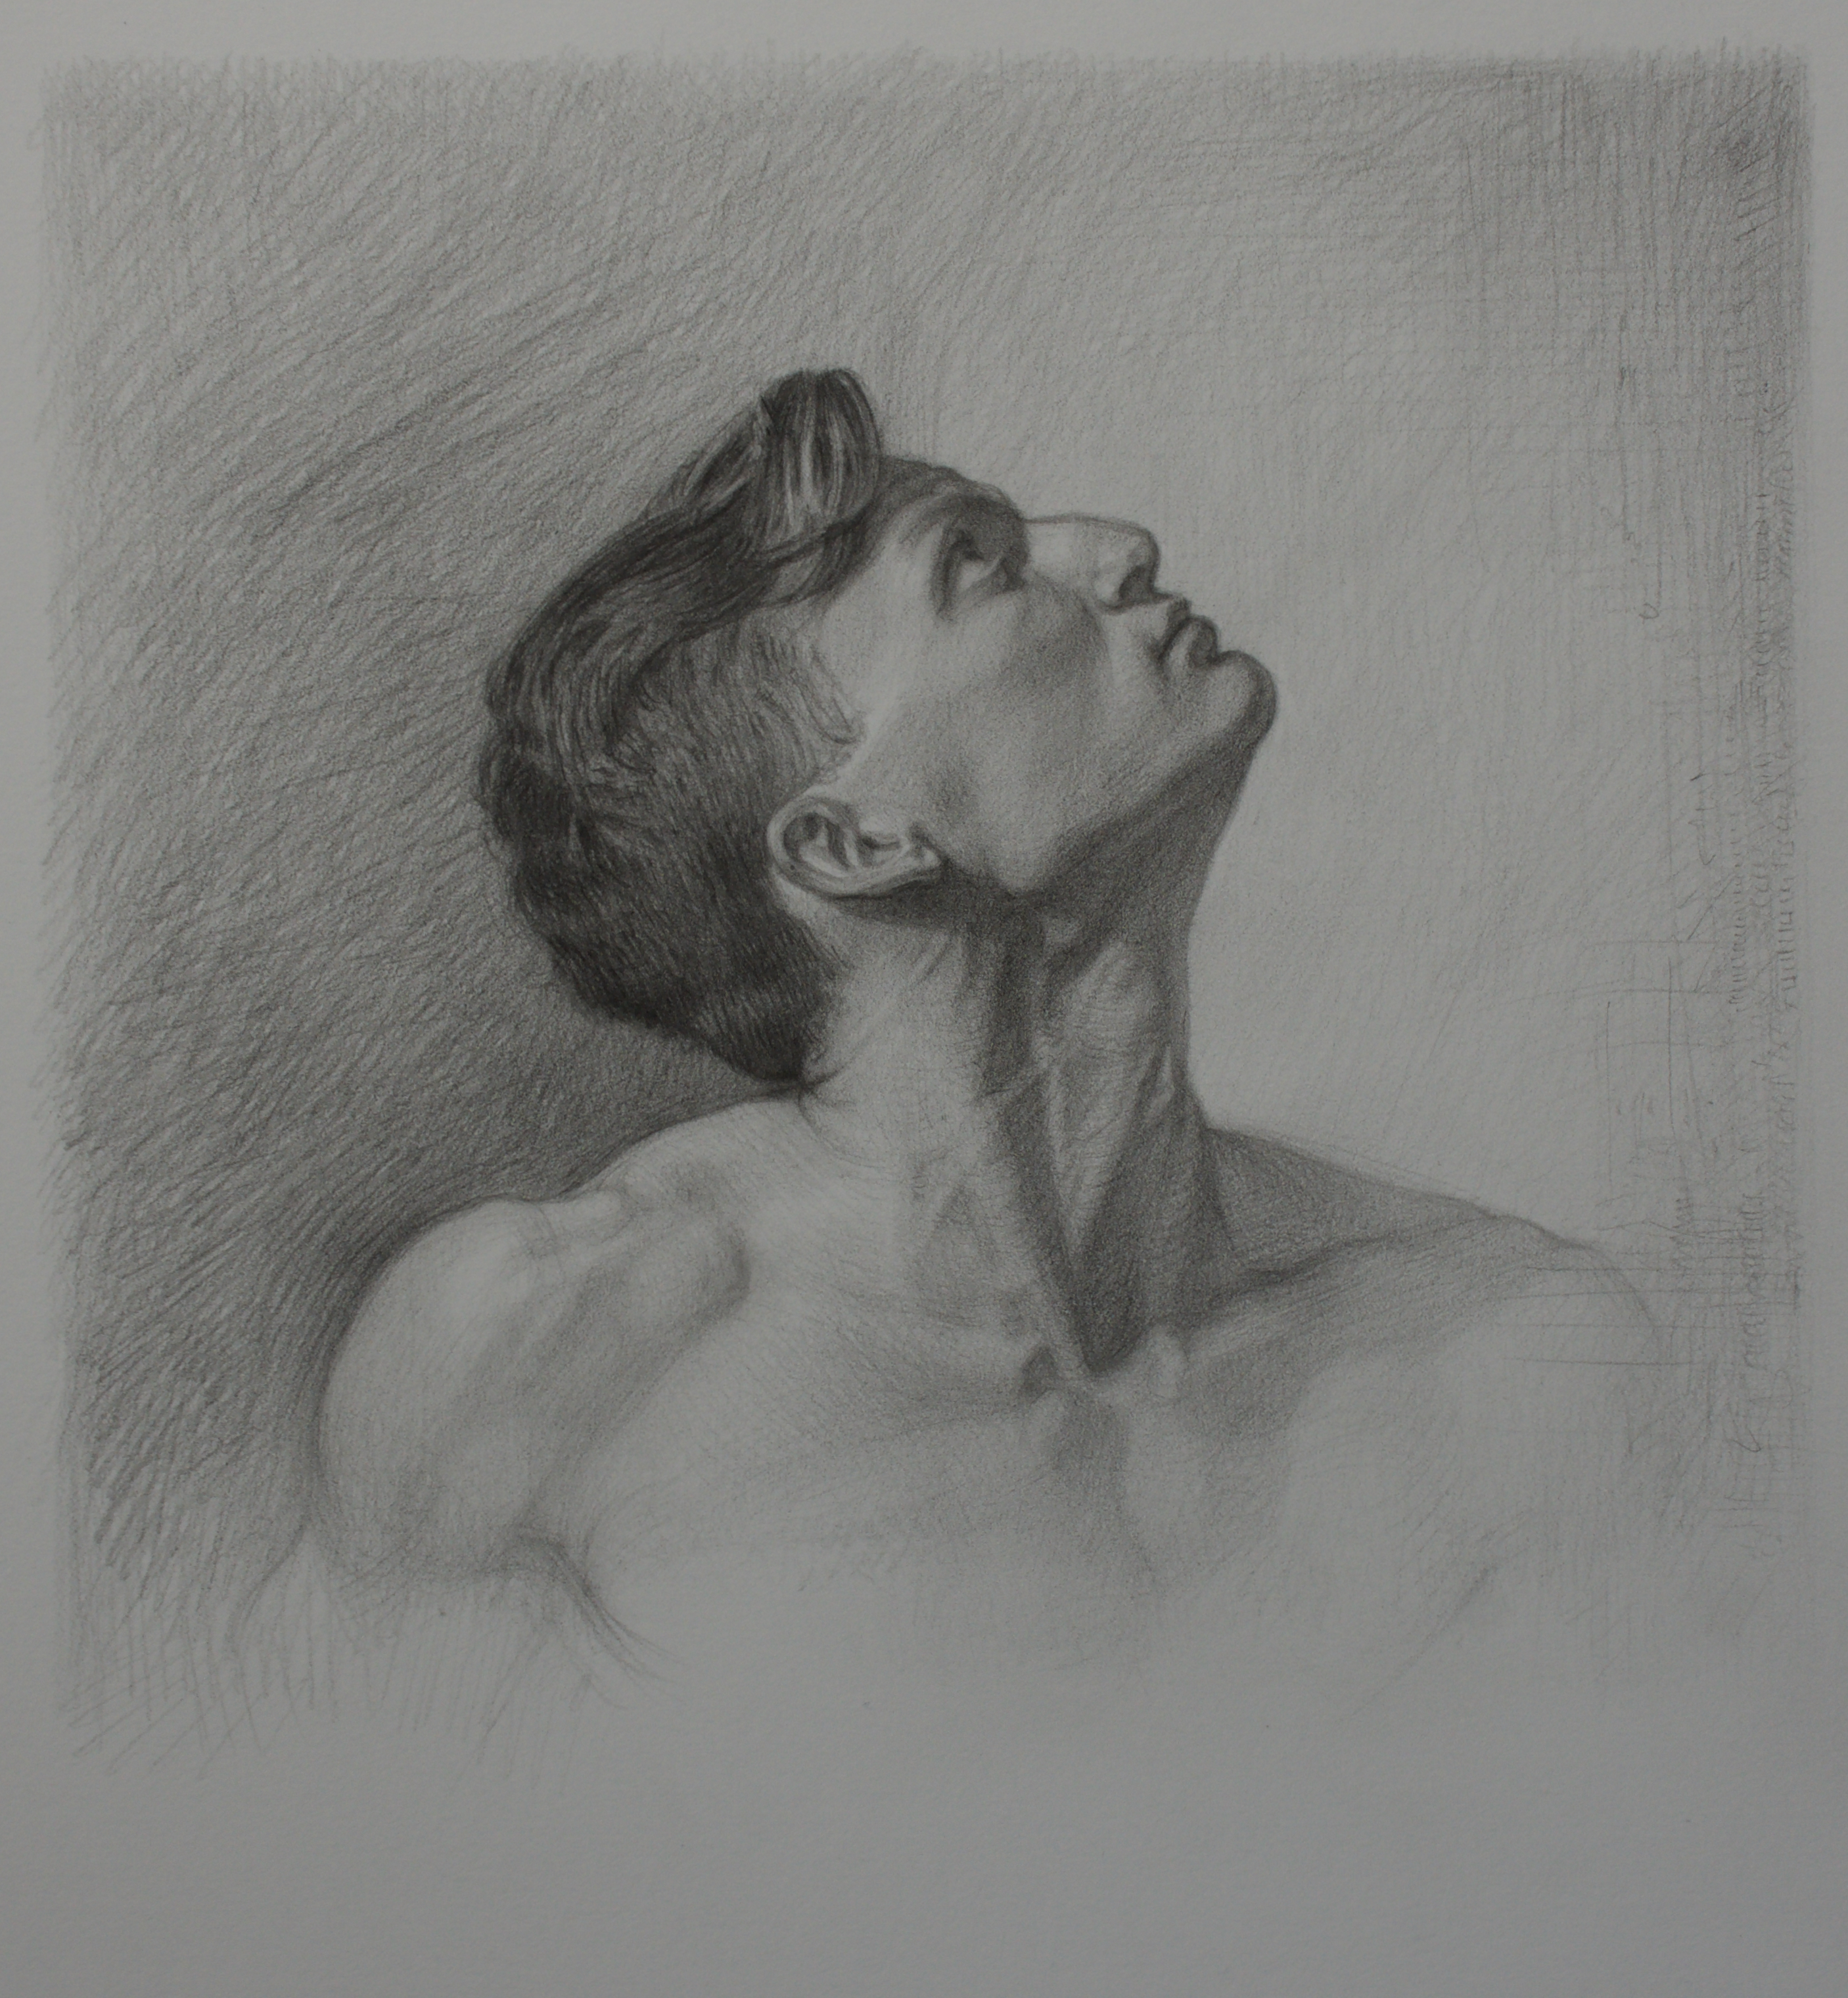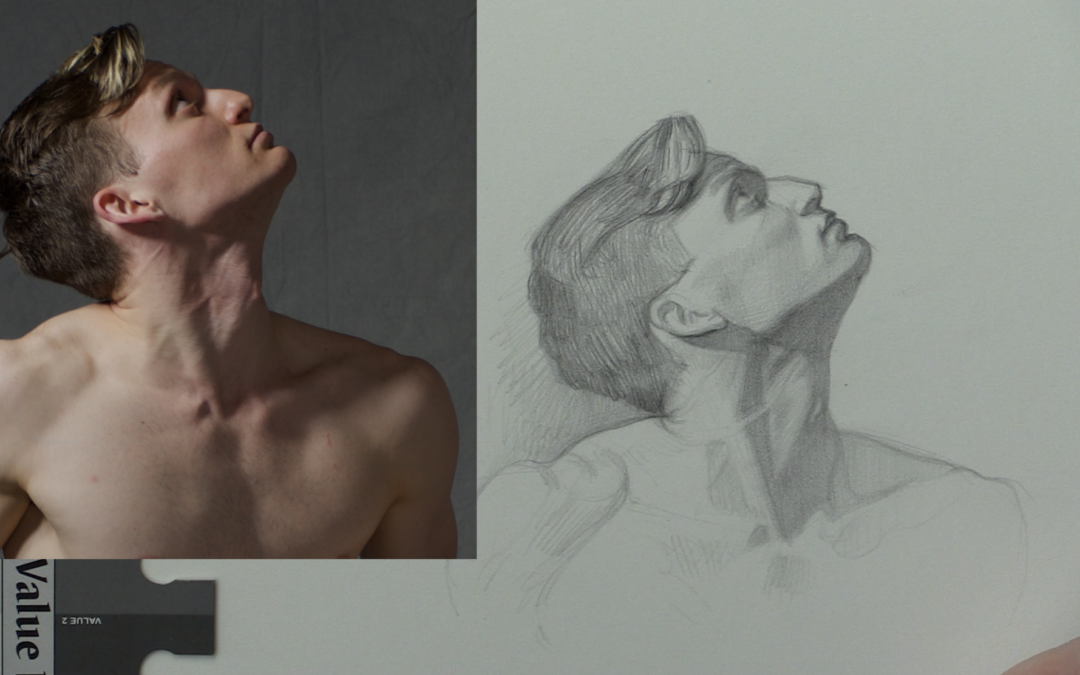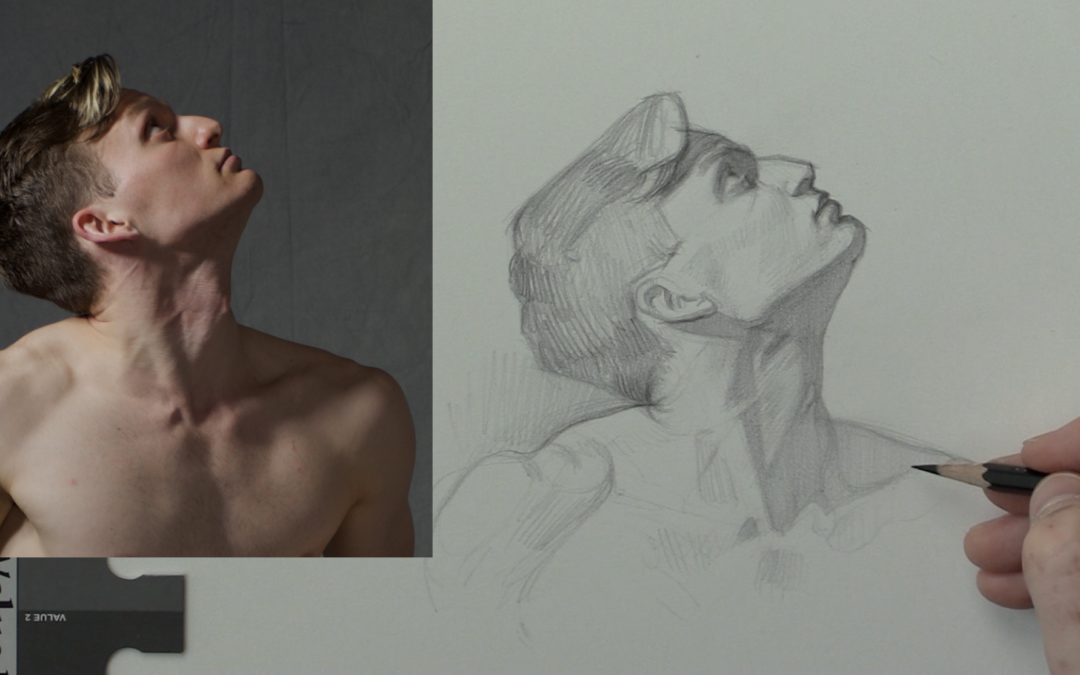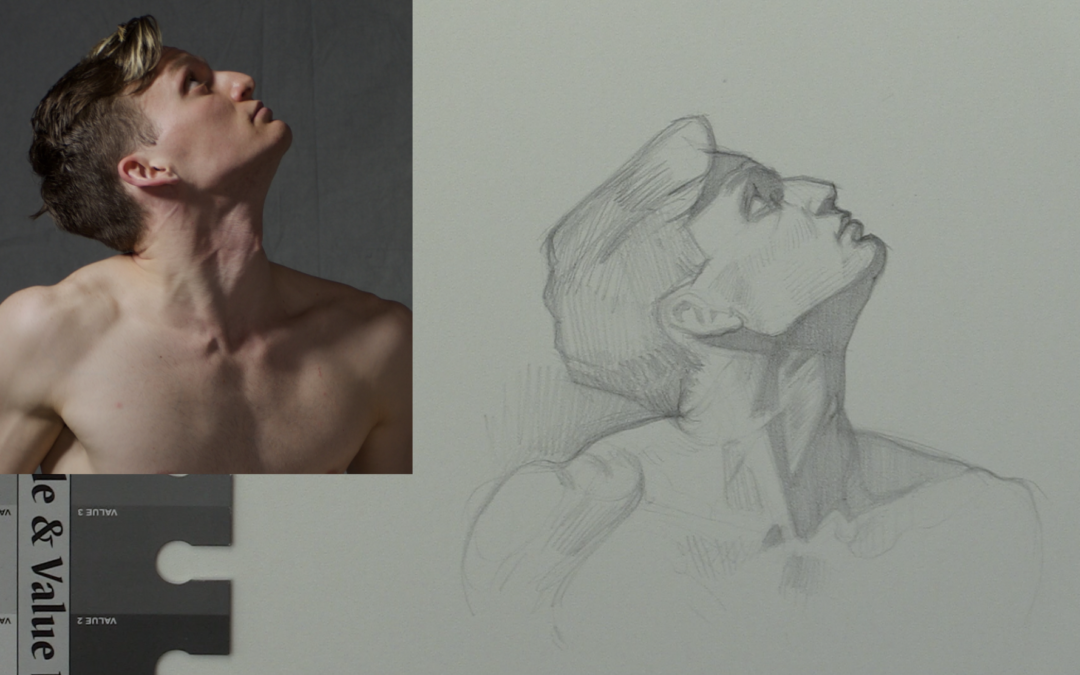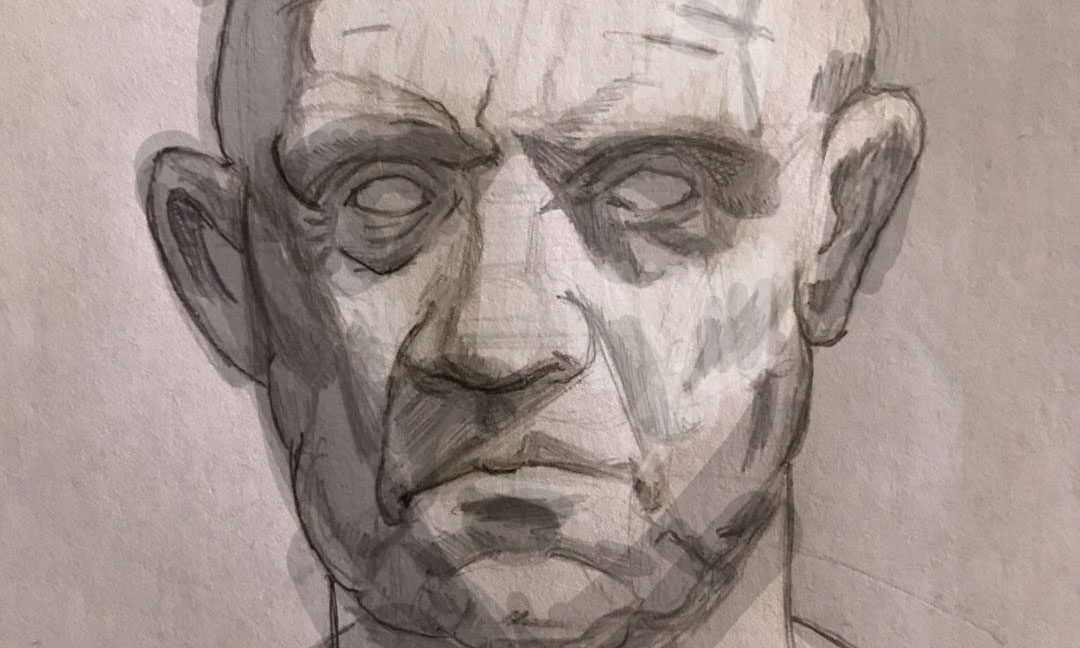
Portrait Drawing – Lesson Twelve
In this last lesson twelve I share with you how I finish up the portrait drawing. The one key takeaway from this last lesson, good things take time.
Now please don’t take this out of context. Some of my favorite drawings are ten minute gesture drawings. What I’m talking too here is in direct relation to a style associated with drawing in a realistic way utilizing tone.
If you like a drawing style that is somewhat realistic you have to put in the time. An hour just won’t cut it. So know what you like, know what you aspire to. Be realistic with the time it takes to get there. This quite frankly is half the battle to creating a realistic looking portrait.
Thanks so much for taking the time to watch these lessons. I’m currently working on a new portrait drawing course. I hope to share that with you soon.