How To Draw Soft Hair

How To Draw Soft Hair

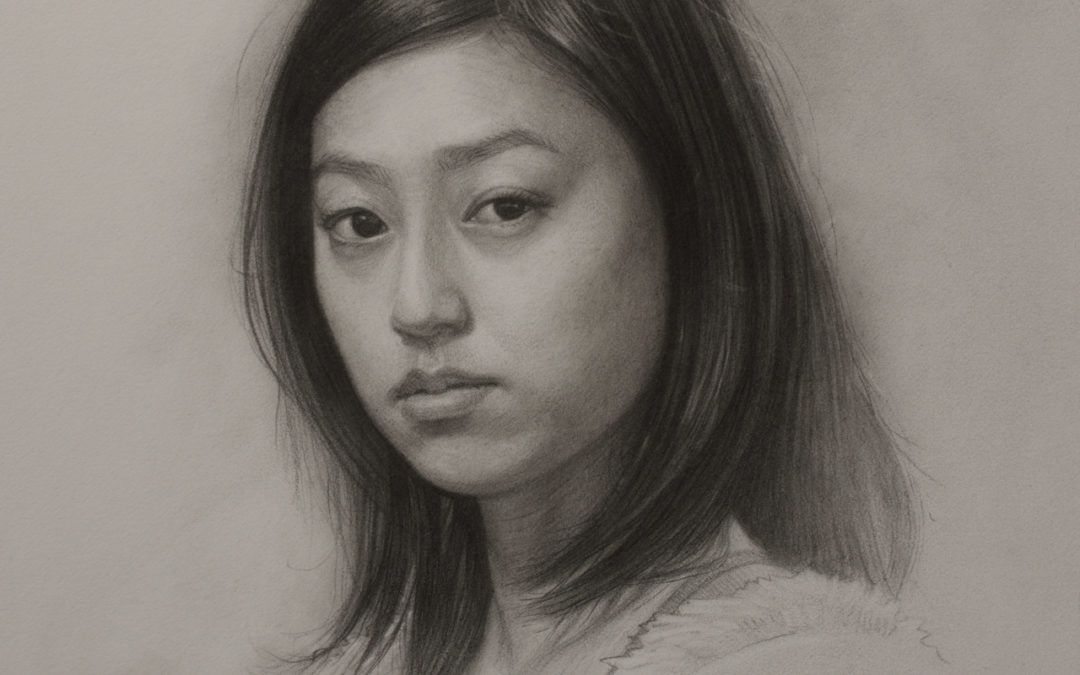
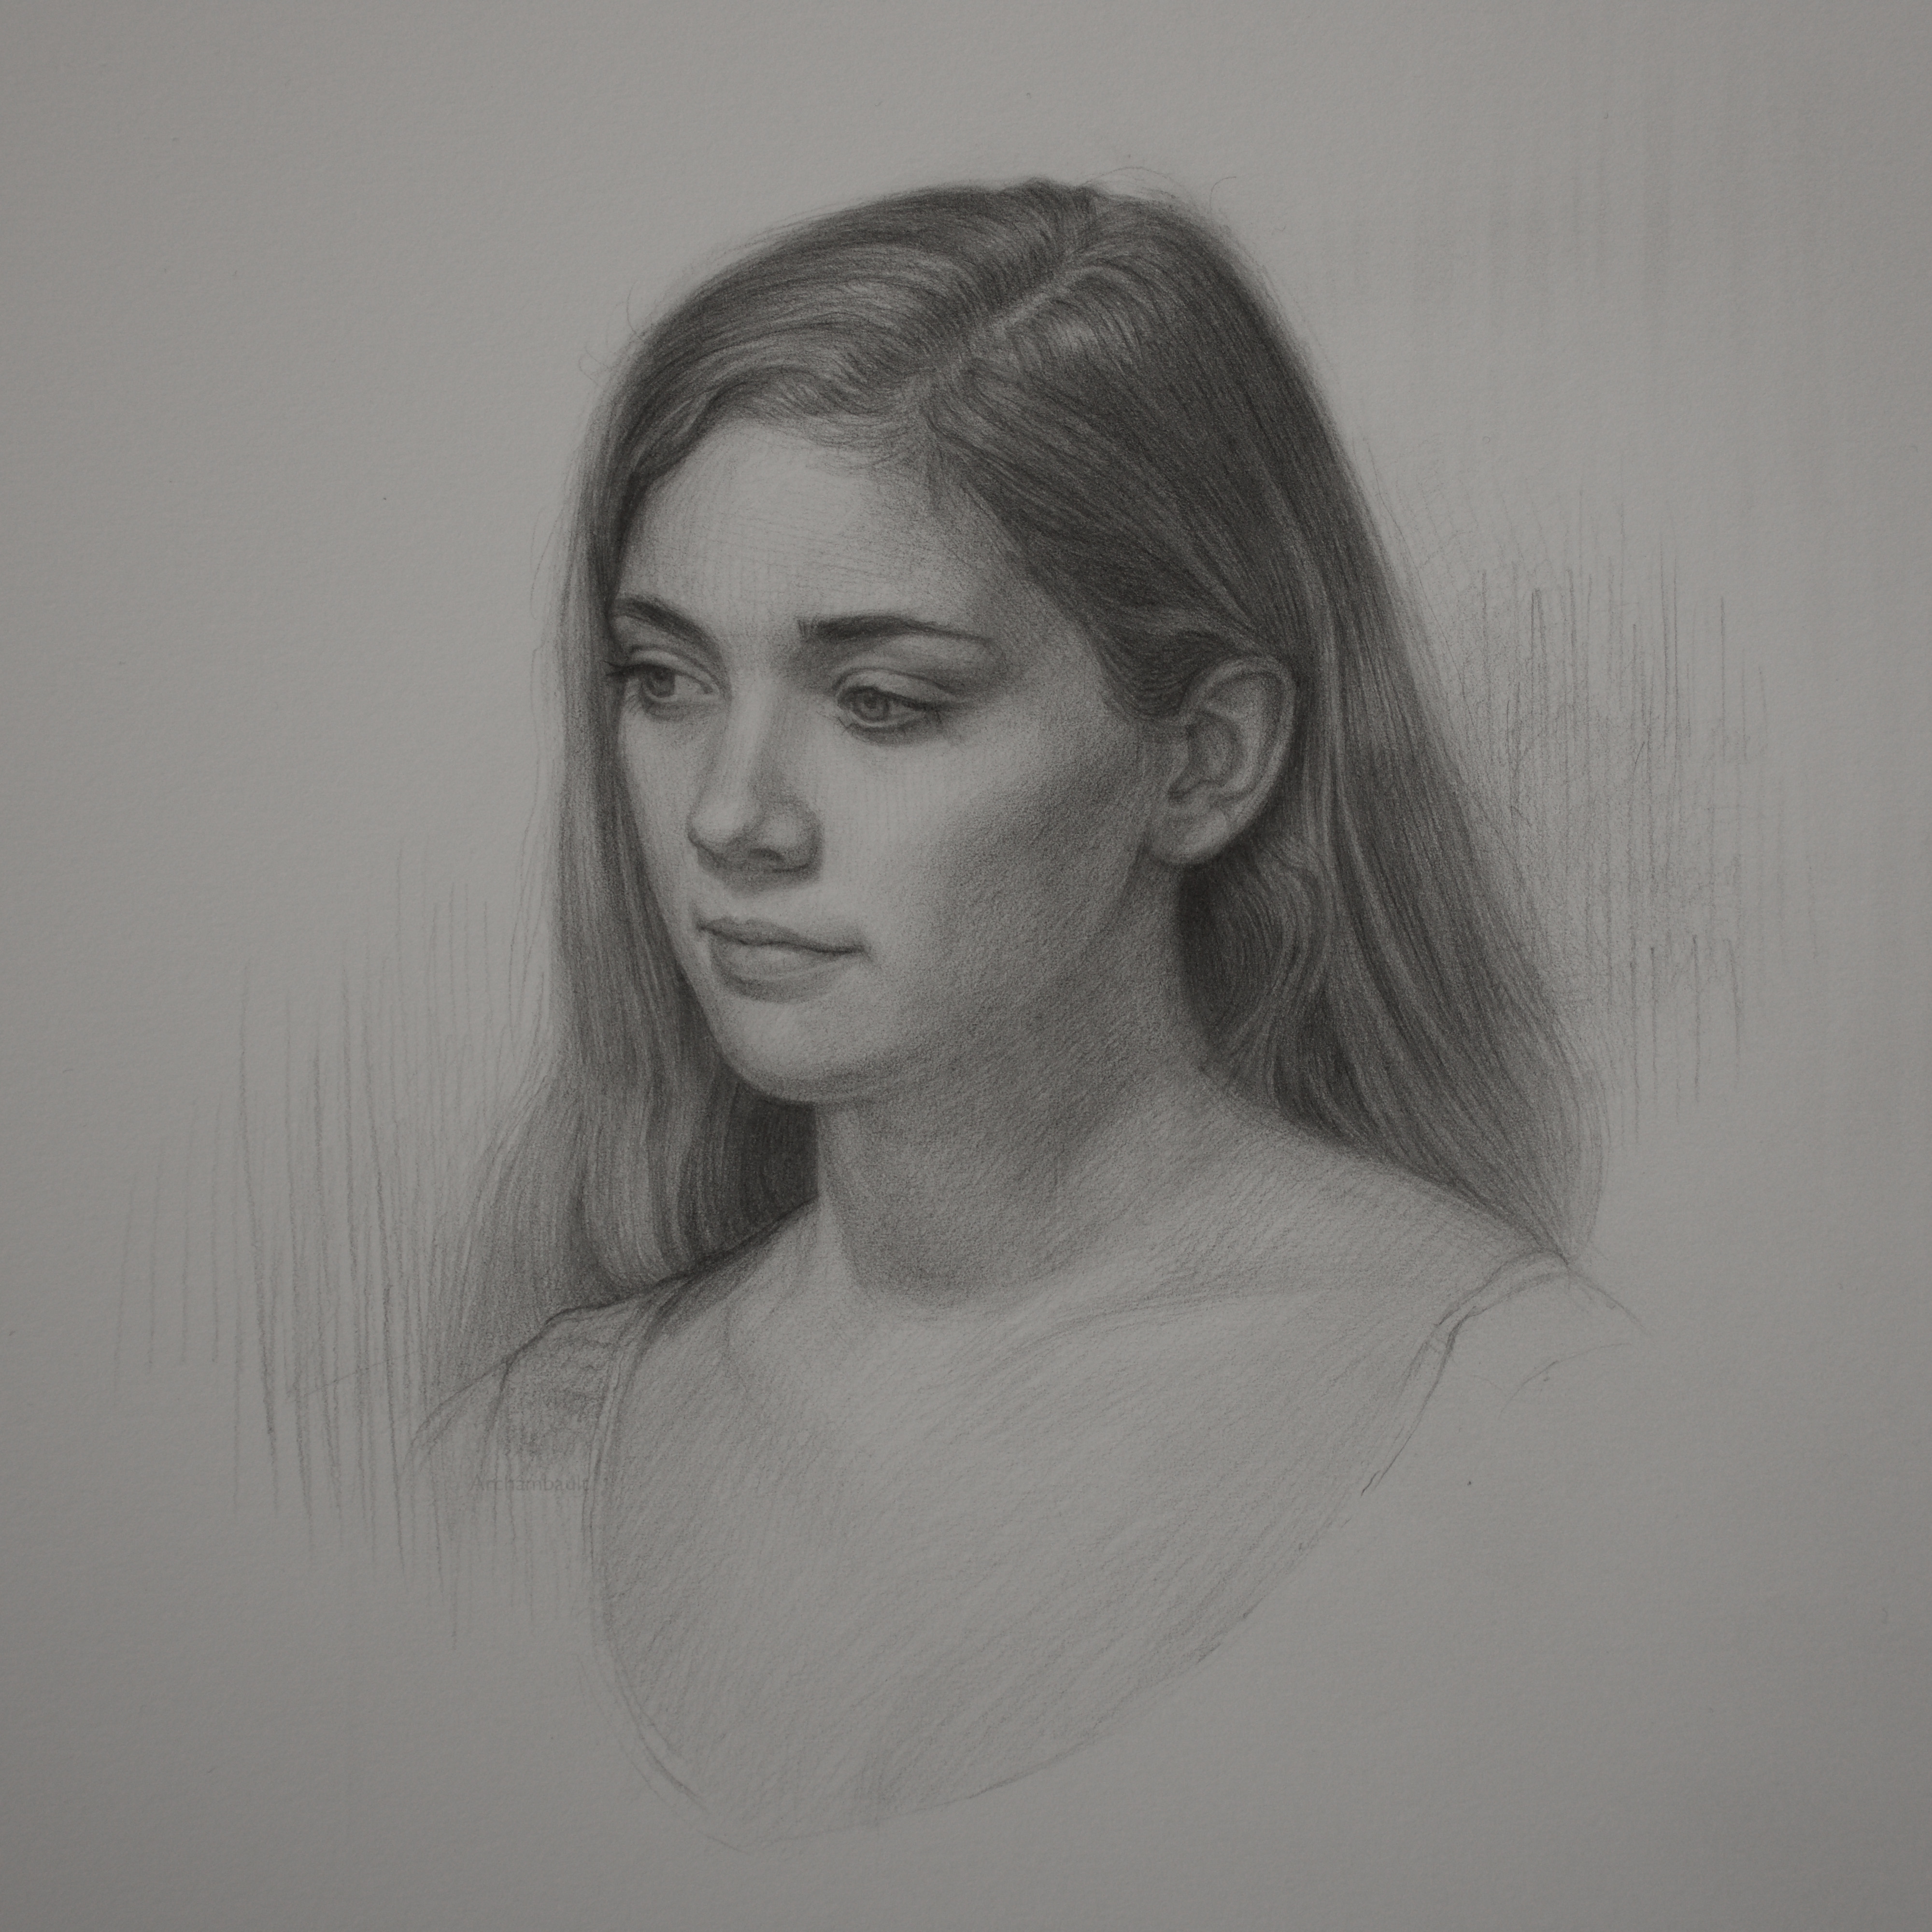
I just recently finished up a new portrait drawing course. I wanted to share with you a technique for drawing soft hair.

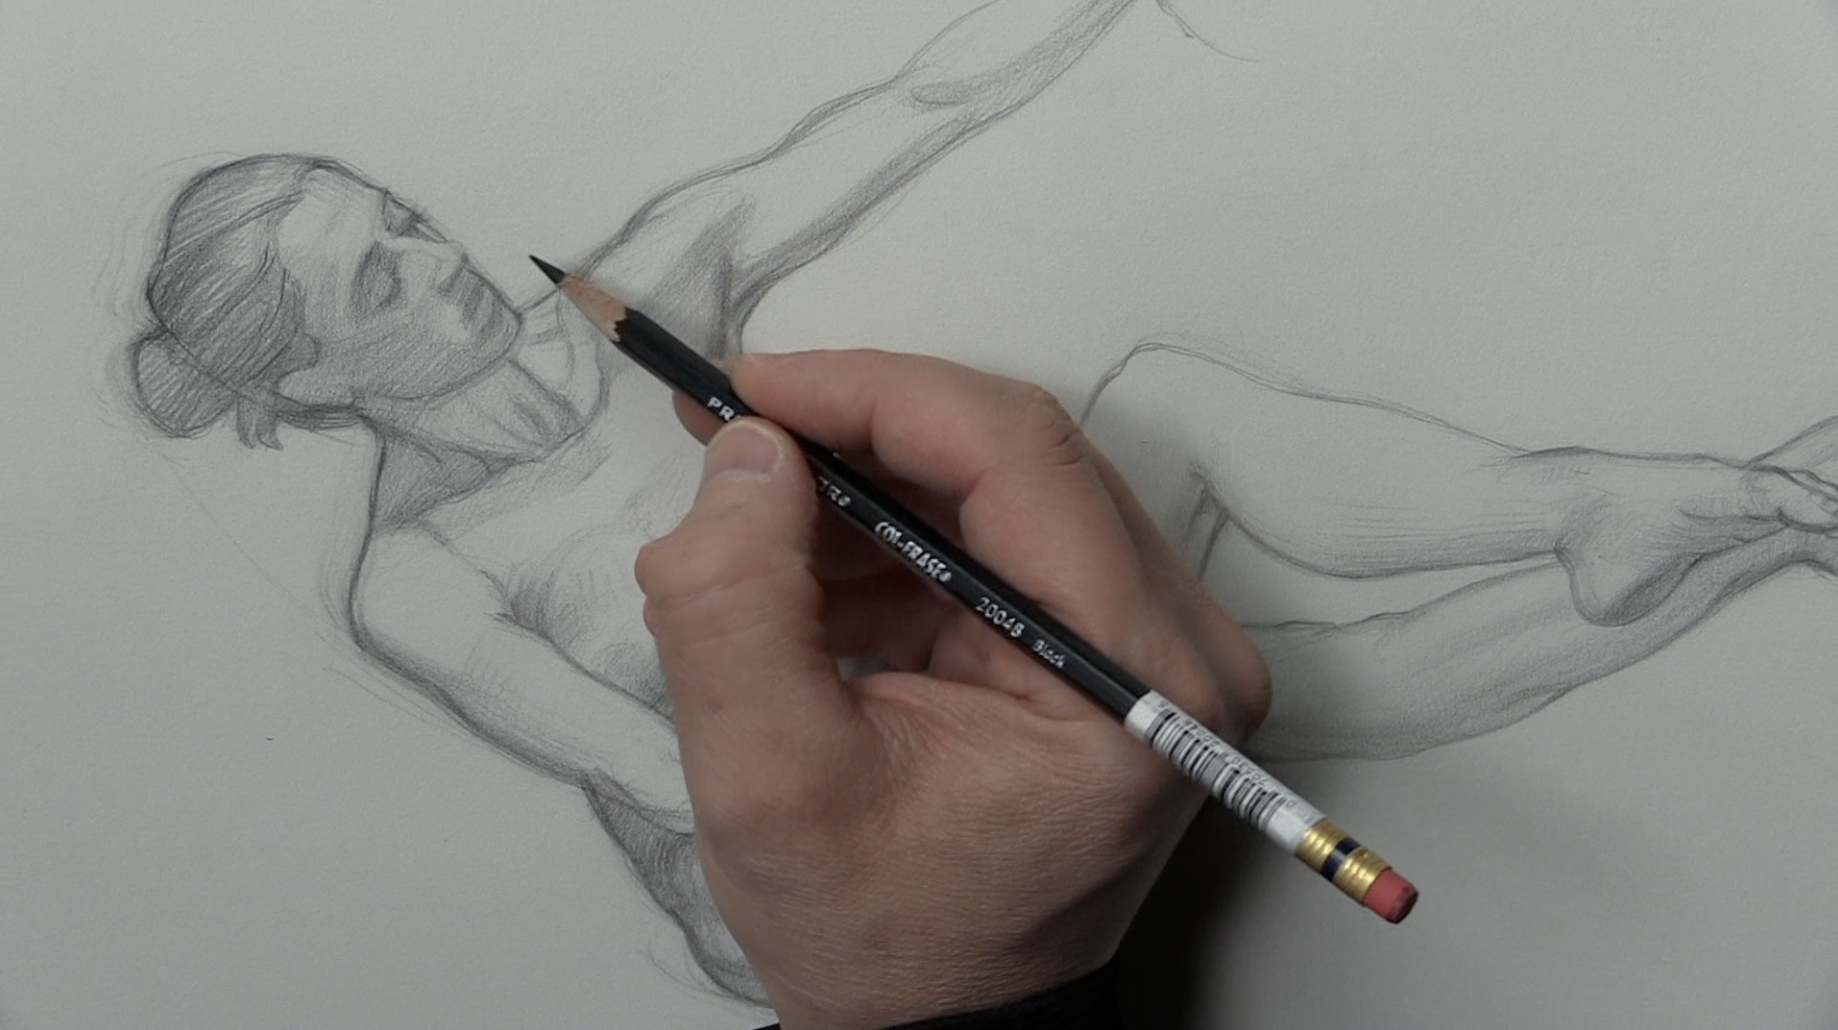
You want to work in layers. Your first layer in terms of drawing hair is to block in tone. Don’t try to put in your darkest dark all at one time. You’ll want to gradually lay in tone.

With the technique shown in the video, I put down tone, then pushed the tone into the paper with a stiff bristle brush. What this does in push the pencil into the texture of the illustration board.

You will want to do this process a few times. Blocking in tone, using the brush to push it into the board. In the final layers that is where you will refine the details with both an eraser and your pencil.

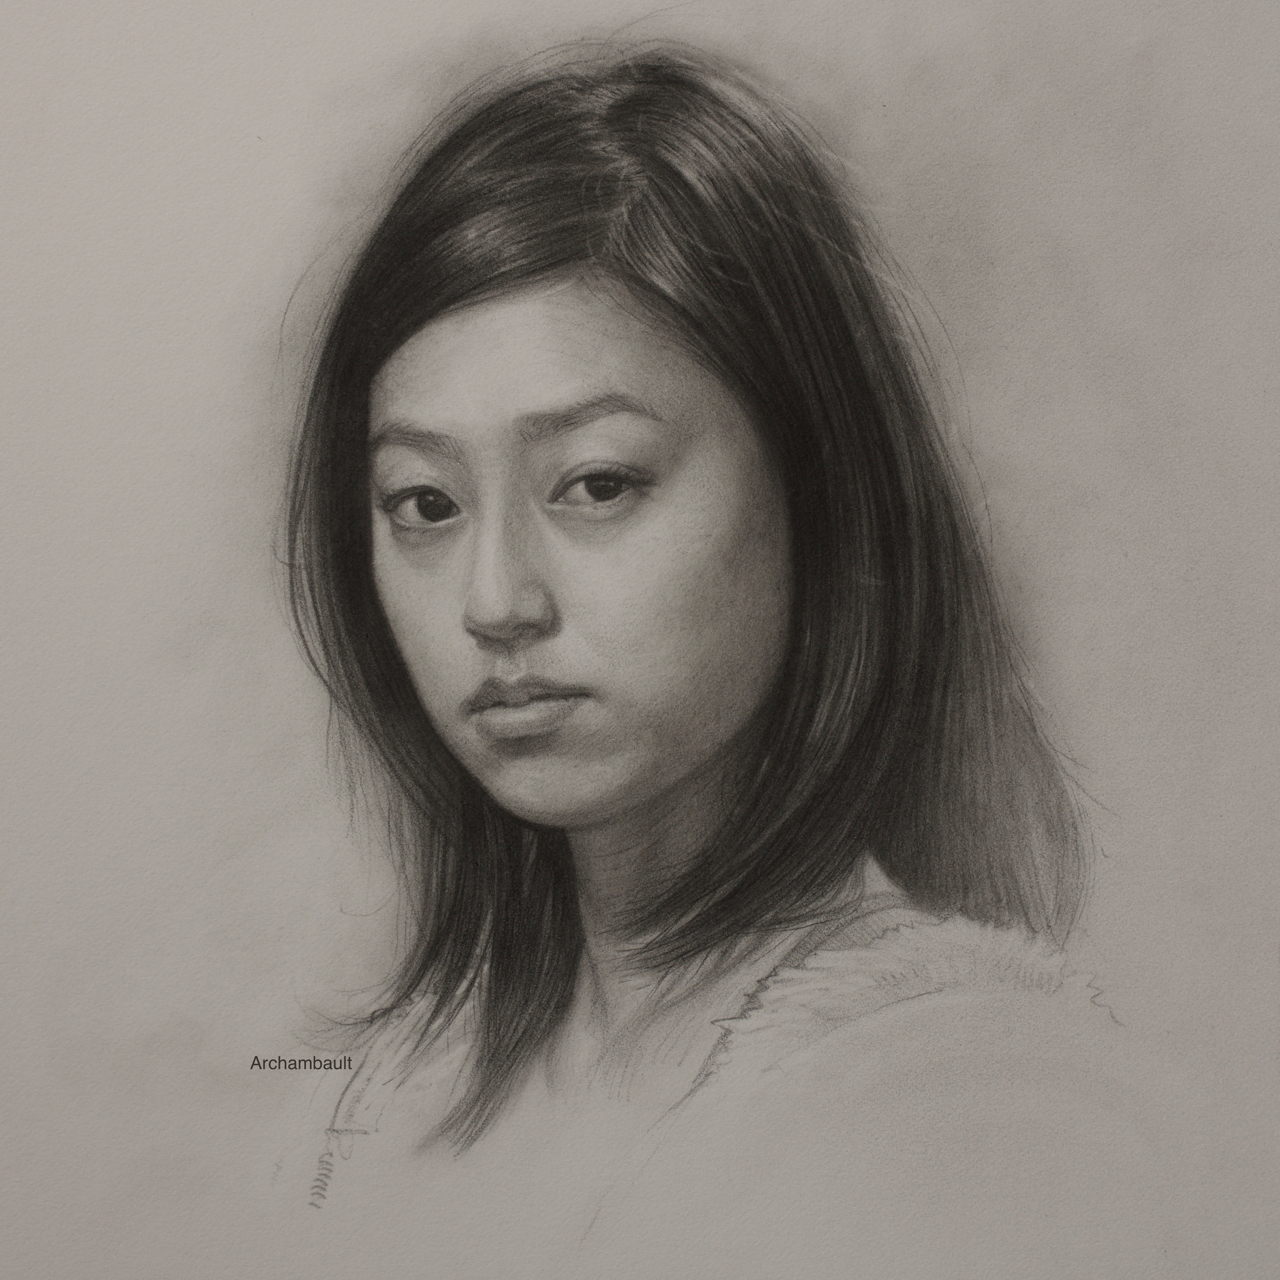
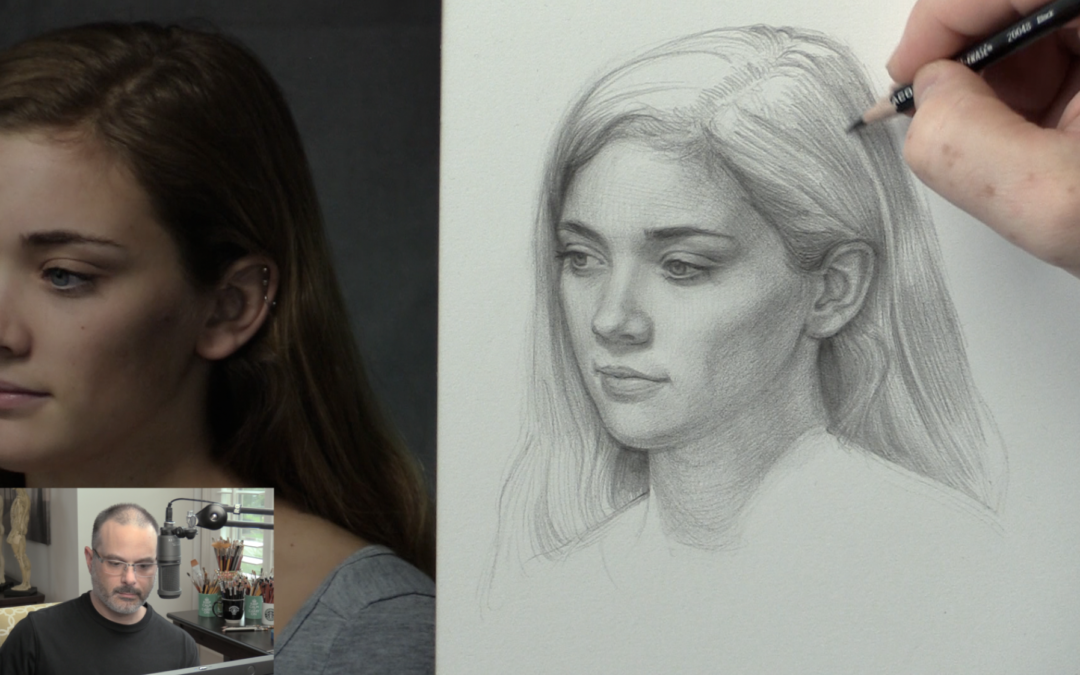
When working on the final layers you should use a more pliable brush. One that is more forgiving. You can then proceed to pull out the light with a thin eraser. With this drawing, I used a mono-zero cylindrical eraser.

When you use the bristle brush, not a blending stump, you can easily pull out lights with your eraser. Try it it’s a ton of fun.


Let me know what you thought about this technique. Leave a comment below.


Shapes Equal Likeness

Shapes Equal Likeness

I wanted to share with you Michael’s critique. This week Michael shared one of his drawings in our member critique gallery. He had mentioned that he might have chosen the wrong photo.

I mentioned to Michael at the beginning of the critique that the photo was a good one. It’s good because it has some pretty good shadow shapes to cling onto. Michael is off to great start with his drawing, he just needs to focus on shapes.

If I had to give one piece of advice to any artist who aspires to draw portraits with a likeness, it would be to focus on drawing shapes, not things. Don’t draw the eyelid, draw the shadow shape around the eyelid.

Do not draw the lips with an outline, draw the shadow shape that makes up the upper lip and the shadow shape under the lower lip. In order to capture a person’s likeness, you must capture and draw their shapes accurately.

Now some would say that I’ve said this before, many times. Yes, I have because it works. When it comes to portrait drawing you want to be repetitive with certain things. One, always work from a photo that has good light and shade. Two, capture the likeness not through outlines but through shapes.

The modeling comes after you have blocked in light and shadow shapes. You do not need to learn fifty portrait drawing techniques, instead, you just need to master a few.


Drawing Tutorials Online is coming up on eleven years in business helping artists pursue their passion for drawing. Now is a great time to join, I am doubling down on making the website even better with shorter more instructive lessons. I look forward to helping you improve your artwork!.


How To Draw The Eye

How To Draw The Eye

I recently completed a course titled How To Draw The Features Of The Face. In this new course, I break down the features of the face in a step by step process. I cover how to draw the eyes, nose, and lips.

I wanted to share this particular lesson with you because it is short and to the point. You really want to draw the eye in a loose, curvy organic sort of way. You do not want to incorporate any straight lines when drawing the eye, everything about the eye should look rough and organic.

As you can see in this rough sketch of the eye I did not really focus too much of my time on the lashes. Do your very best to draw along with me, avoiding the lashes for now. Think more about the structure of the eye, not the lashes.

When drawing the lashes do not draw them with straight lines, instead, try to group all of the lashes into a shape.

I’m really happy with the way this course turned out. It’s really helping people improve their portrait drawings.

Download the Photo reference.


Thank you so much for watching the drawing lesson above. If you are interested in seeing the rest of the course consider a membership to Drawing Tutorials Online. Not only will you gain access to this course and many more, but, you will also be able to get feedback on your portrait drawings in our member critique gallery.


Drawing Facial Features In An Impressionistic Way

Drawing Facial Features In An Impressionistic Way

Drawing a small head on a figure it can be pretty daunting. However when it comes to drawing facial features that are mainly on the shadow side of the head, that can be even more daunting.

The key to drawing facial features that are mainly on the shadow side of the face is to draw them in an impressionistic way. I’m a big believer of drawing shadow shapes, not facial features. Think of them as one in the same. Getting a likeness is about seeing the shadow shapes within the features, then drawing them accurately.

You also want to think and draw in layers. Start off with blocking in light tone. Feel your way through the facial features with very soft light tone. This is where you want to practice your light touch. Diving into drawing the features with heavy dark tone at first will only create a mess.

Especially if you are struggling with measurements.

There are three key takeaways from this lesson. First, work from light to dark when applying tone. Second, don’t draw facial features, draw soft accurate shadow shapes. Third, think layers, build up the dark tone and detail gradually.

These initial soft layers of tone are a foundation for the detail that will come later.


To watch the course in it’s entirety consider a membership to Drawing Tutorials Online. Not only will you learn many new drawing techniques, you can also get your figure drawings critiqued weekly.


Shea Portrait – Shading In The Hair

Shea Portrait – Shading In The Hair

This may not be my most exciting lesson, however it is an important one. Sometimes drawing a realistic portrait takes time. In this short three minute YouTube world that we live in it’s easy to loose sight of the fact that quality takes time.

Now every artist obviously is different. Every artist has their own personal style. For my portrait drawings I really do enjoy spending long hours working on blocking in the tone.

In this particular video tutorial I’m sharing with you how I start blocking in the soft tone of the hair on the shadow side of the head. When drawing hair it’s important to build up your middle tones first before diving into pressing down super hard on your pencil.

The key takeaways from this portrait drawing lesson, hair is soft, draw it in a soft way. If hair is long, use long pencil strokes. Hair is made up of many cylindrical shapes, think of how the light is hitting those cylinders.

It’s so very important to be clear on your personal style of portrait drawing. You might decide that you really don’t want to draw every strand of hair. You might want to leave some areas of the hair void of detail. Remember, make it fun and keep it original.

If you got something from this very quiet video please leave a comment below.


Improve your portrait drawing skills to today with a membership to Drawing Tutorials Online. Select from a monthly or annual plan, cancel anytime.