Digital Painting Critique
It does not matter what medium you work in, digital, traditional, watercolor or pencil, it’s super important to get feedback on your artwork. Sure watching high-quality video tutorials online is a must.
However, what will push you to a higher place of learning is getting feedback from a teacher you trust and like. Some teachers are highly skilled and competent, however, they might not be the right fit for you.
It’s also very important that just because the teacher says you should do a, b, and c, does not mean you have to do a, b, and c. Let your voice come through, cherry-pick what works best for you and use that.
There have been many times where I had two teachers contradict each other, it can get confusing as to who to listen to. Most teachers have very good intentions in mind. Just trust your gut and utilize techniques that feel right.
It’s also very important to tweak and modify what teachers offer up in the classroom and online. Think to yourself, how can I take what this teacher is teaching and make it my own.
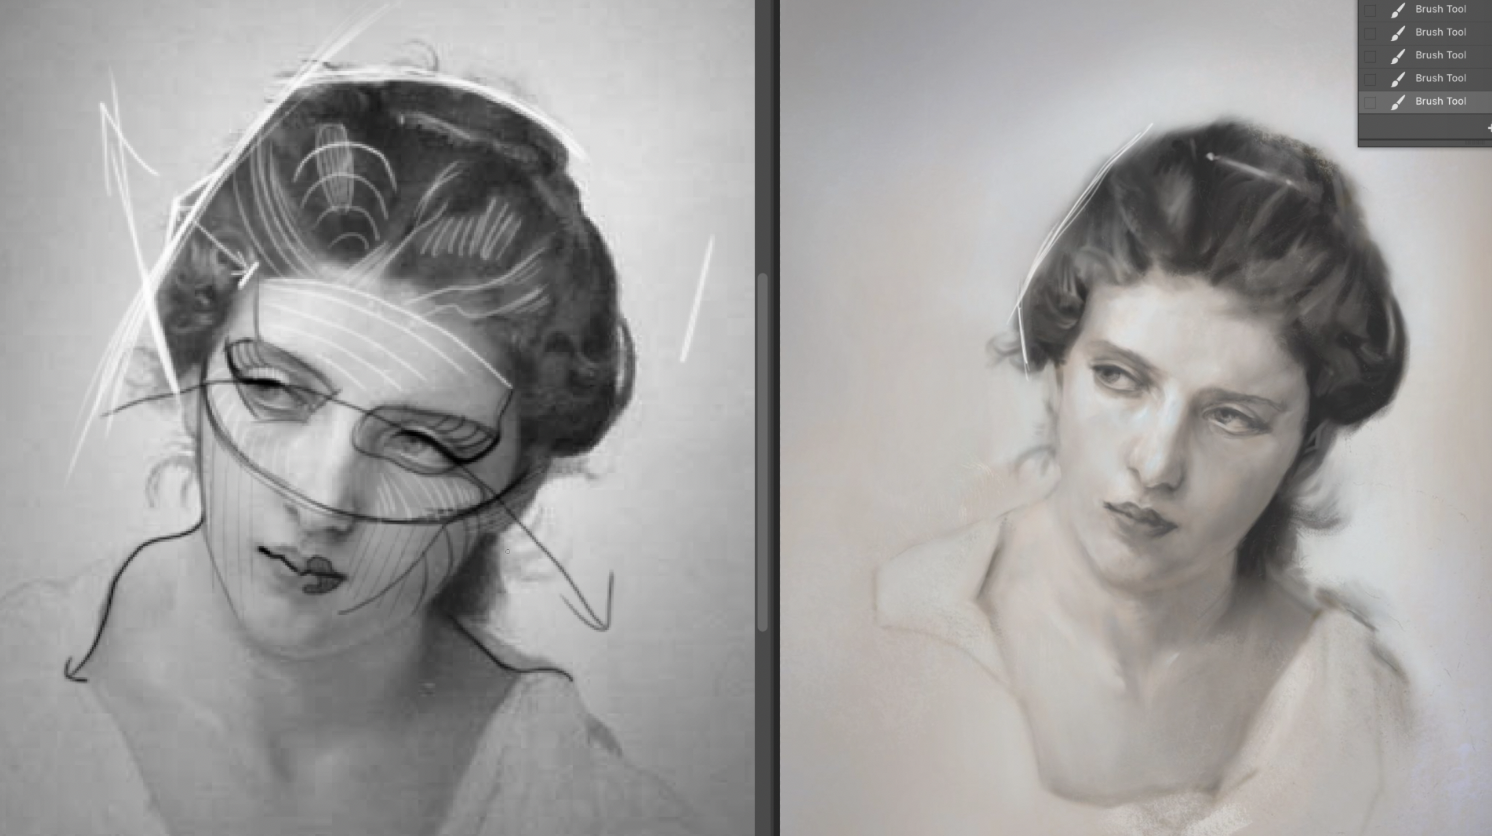
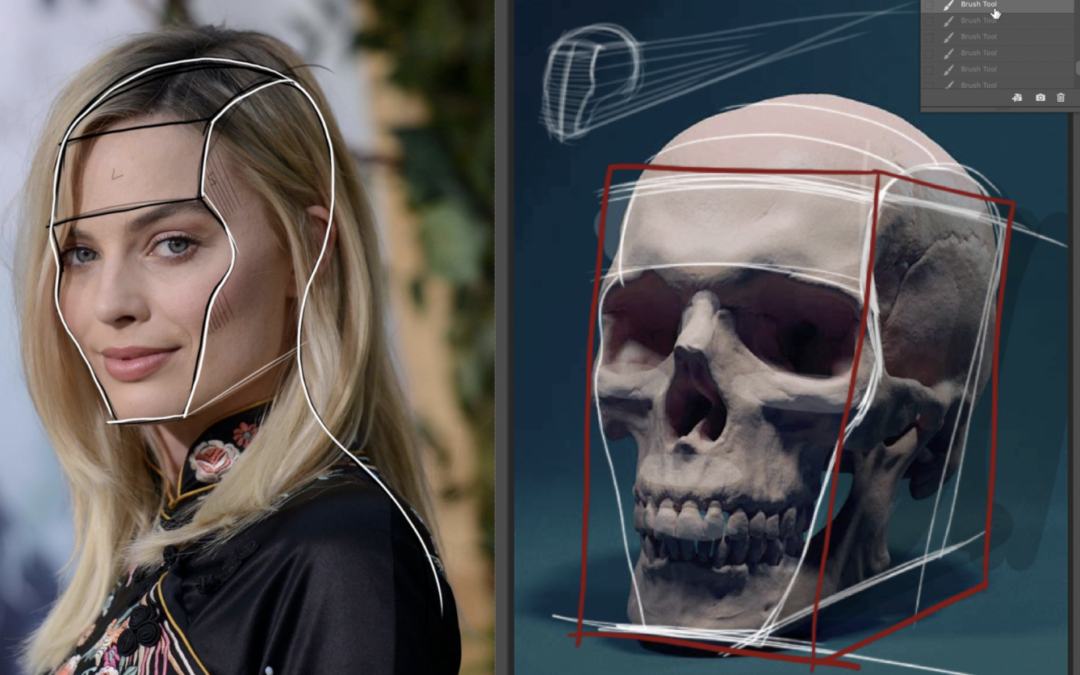
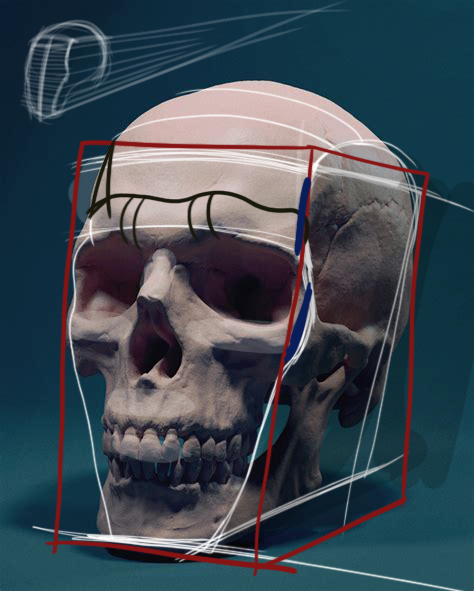
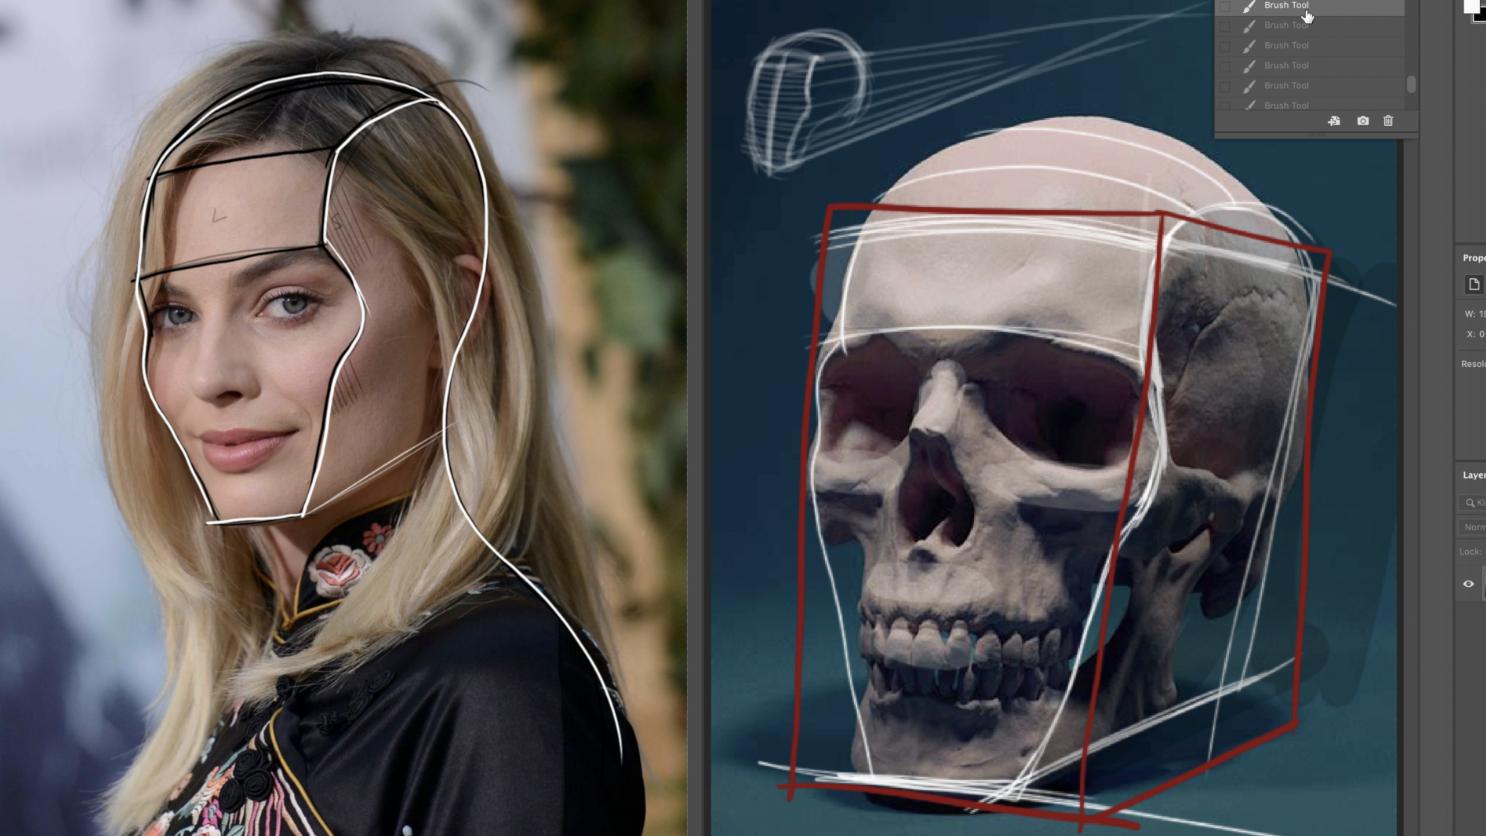
In Arjun’s critique, I certainly do not expect him to listen to everything I say. If he takes one lesson from the critique, then I feel I did my job.
Be selective in which teachers you learn from. Anyone can grab their iPhone nowadays, film themselves drawing, and call it a tutorial. Do your homework, see how much classroom experience the teacher has. Do they teach in a kind way, or is it all ego-based. Are they good at communicating techniques to you in a way that makes sense?
It can be hard sometimes to put your work out there for a critique. That’s why I say learn from people that you feel comfortable with. Getting feedback is something you must strive for.
Thanks so much for checking out Arjun’s critique!