Portrait Drawing Livestream
In this live stream we start a portrait drawing and take close to completion. The material used were a Blackwing 602 pencil and Stratmore 400 Series 80 LBS paper.
Be sure to join out weekly livestreams on YouTube.
In this live stream we start a portrait drawing and take close to completion. The material used were a Blackwing 602 pencil and Stratmore 400 Series 80 LBS paper.
Be sure to join out weekly livestreams on YouTube.
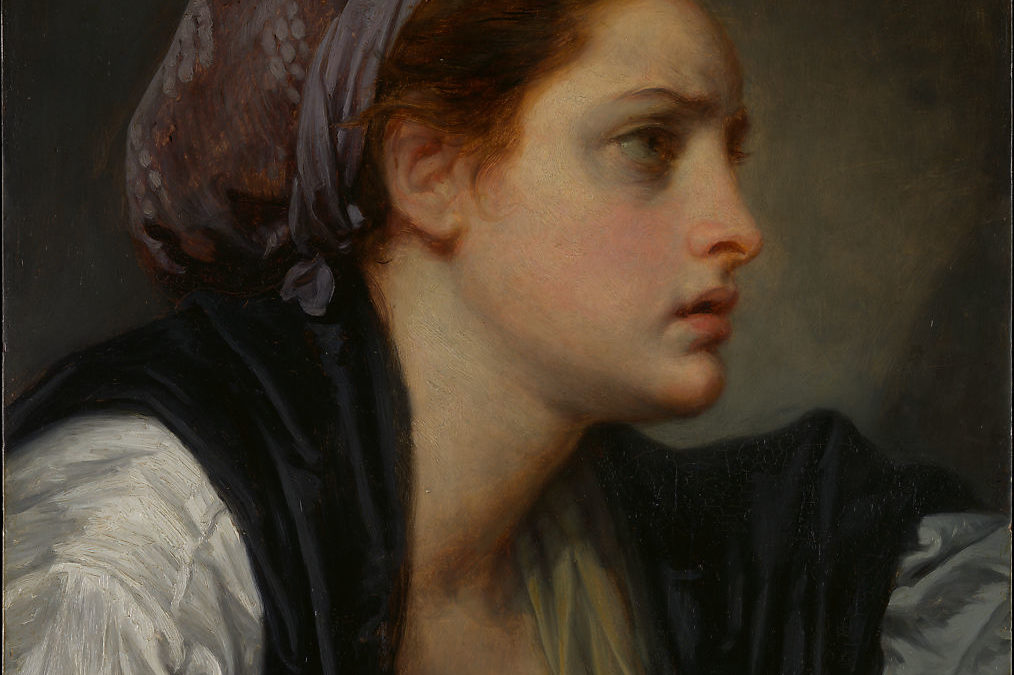
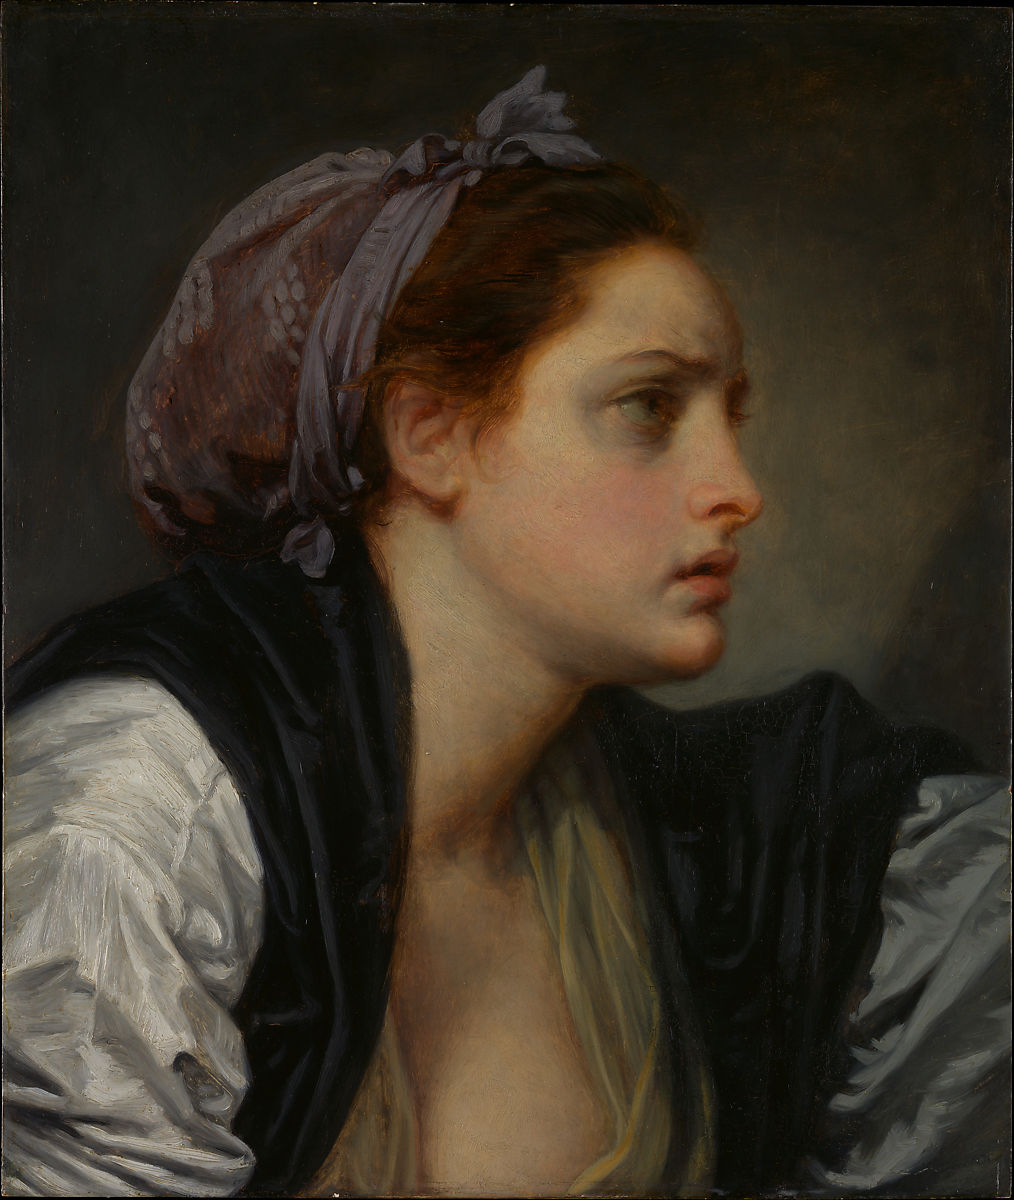
In this live stream scheduled for Saturday September 19 at 10 AM we complete a drawing from a John-Baptiste Greuze. From start to finish we will cover multiple portrait drawing techniques.
John-Baptiste Greuze has some amazing paintings and drawings that we all can learn from.
Thanks so much for watching.
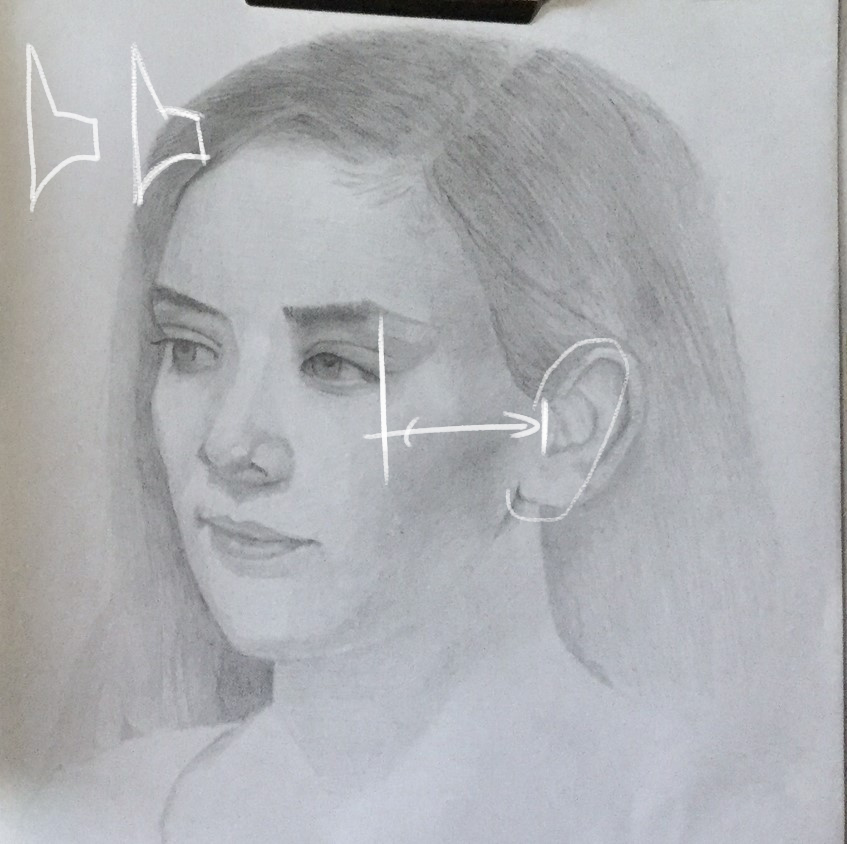
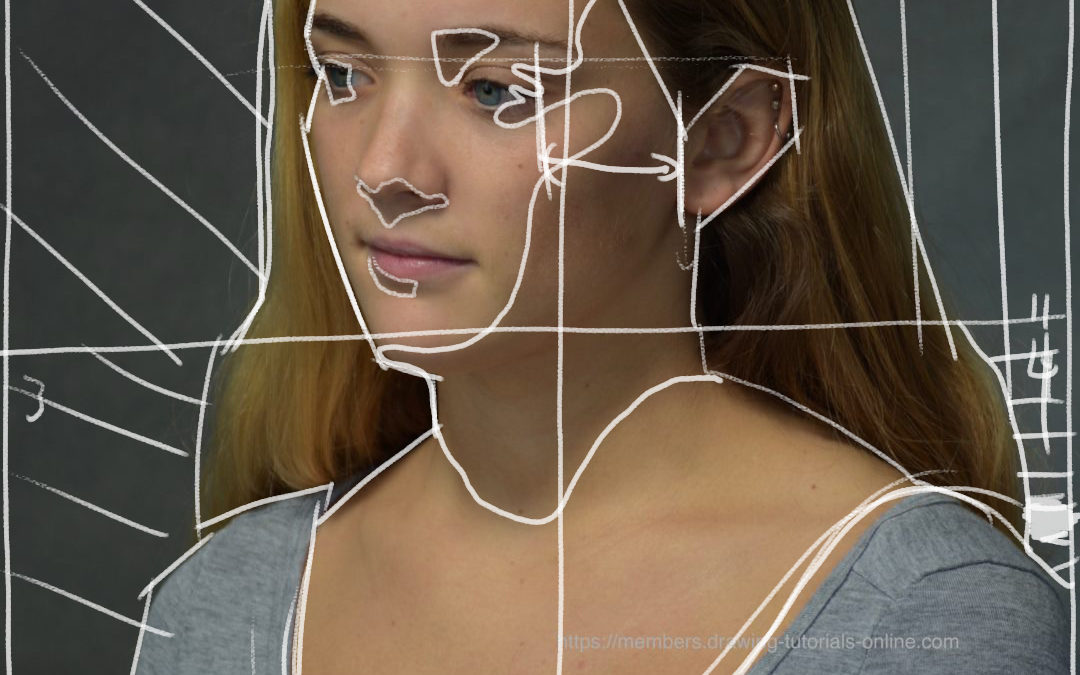
This live class was held on August 22, 2020. The focus of this class was to say that there are many ways to start a portrait drawing. In this class I started with the eye.
Starting a portrait drawing from the eye is a great option. It’s called spiraling out from a place that you understand.
It’s important that you take some time to practice portrait drawing using diverse technique. This way you will find the one that works best for you.

Nancy has been getting her artwork critiqued weekly for a while now. The biggest struggle I see for Nancy is her photo reference choices.
Nancy usually takes screenshots from her favorite Netflix series. Sometimes the lighting is just , well, horrible. However, as of late Nancy has been making better picks in terms of photos
What I stress over and over again in the critique gallery is repetition. I’m a big believer in systems. Most artists hate systems, they think they are too restrictive.
I find the opposite to be true. Let’s use portrait drawing as an example. When you start a portrait draw the same way every time, you will improve faster.
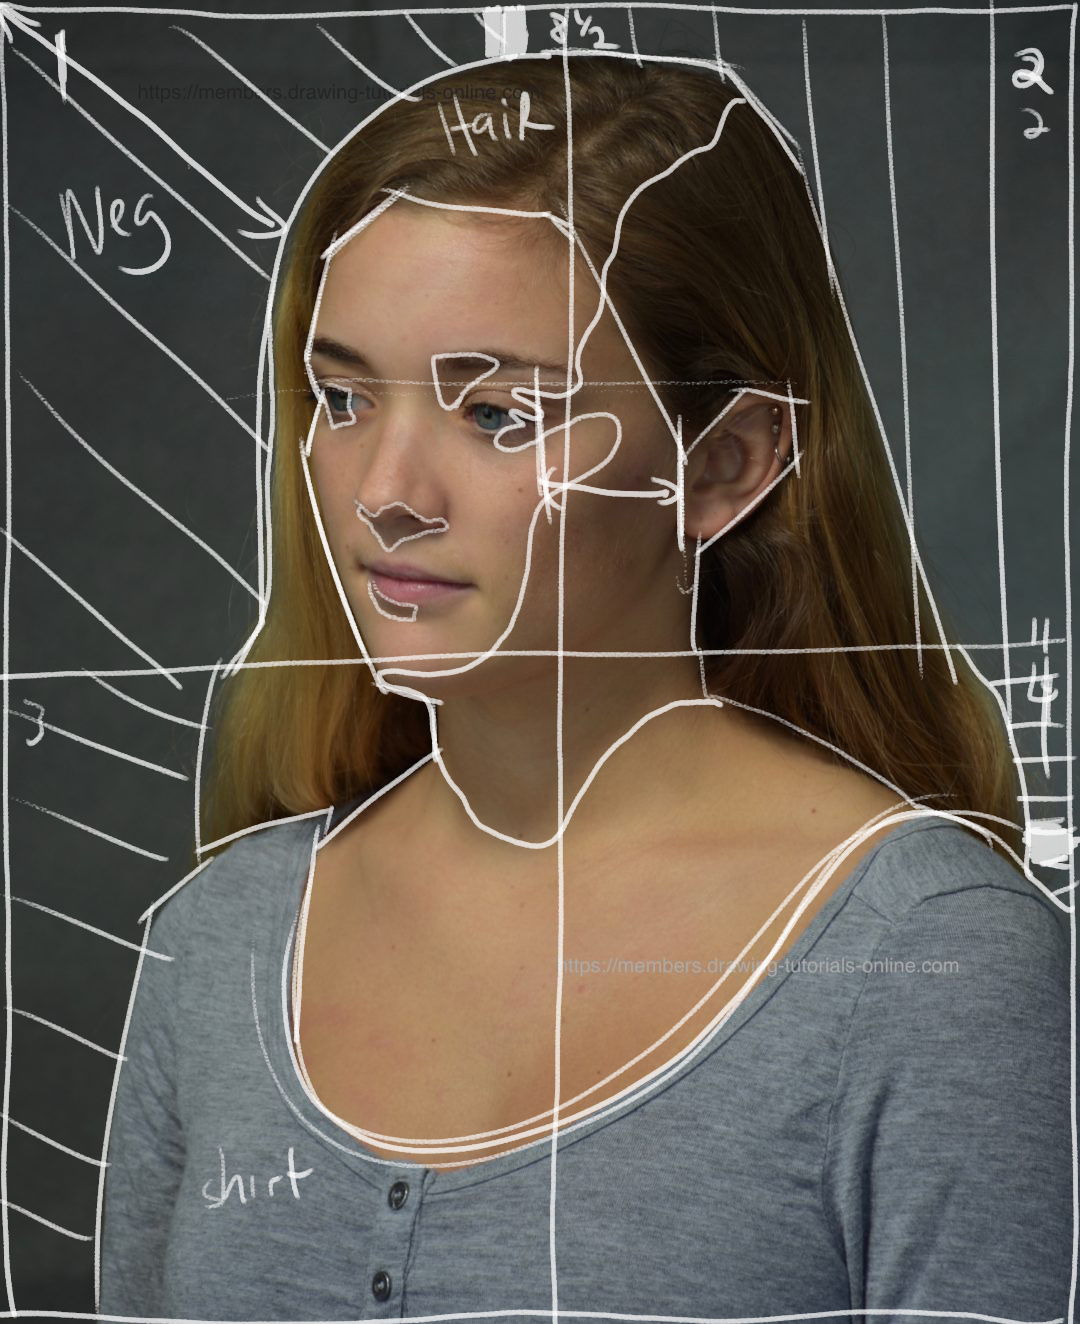
My system for portrait drawing is simple, first draw the outer edge hair, second draw the inner edge of the hair where it touches the skin. Then draw the shape of the face. The features should fit inside the container of the face.
In Nancy’s portrait drawing the features did not fit inside the container of the face. After a couple of tweaks we can see that Nancy was not that far off. Looking forward to the next one Nancy.
Sometimes it is the little things that make a huge difference. I am here to help you improve your artwork. You can get feedback in Drawing Tutorials Online member critique gallery. I also offer one to one coaching if you prefer that route.
Thanks Nancy!
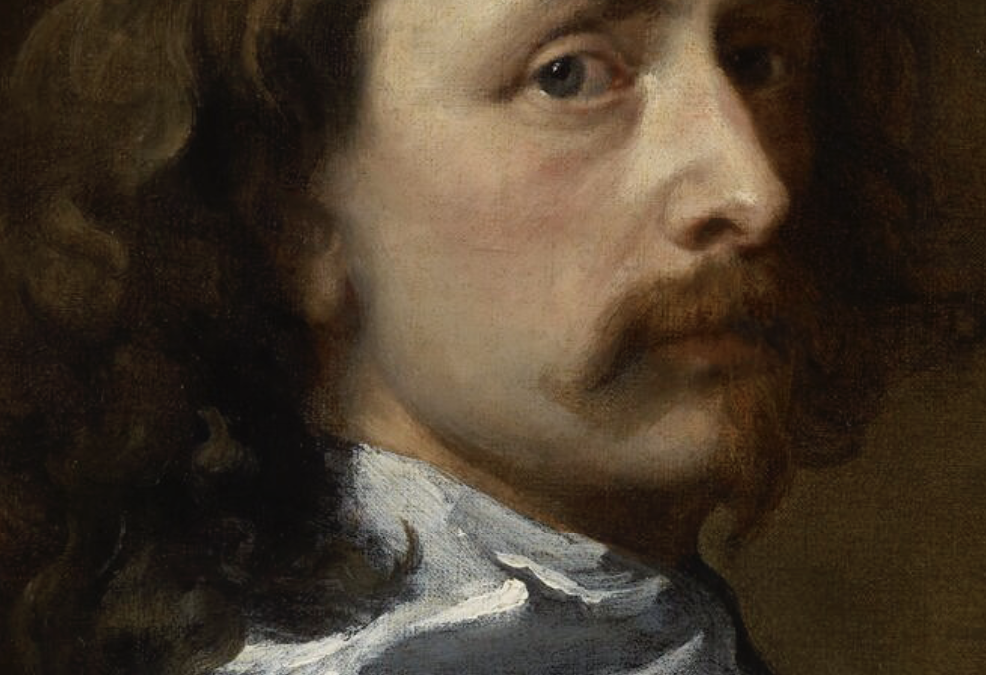
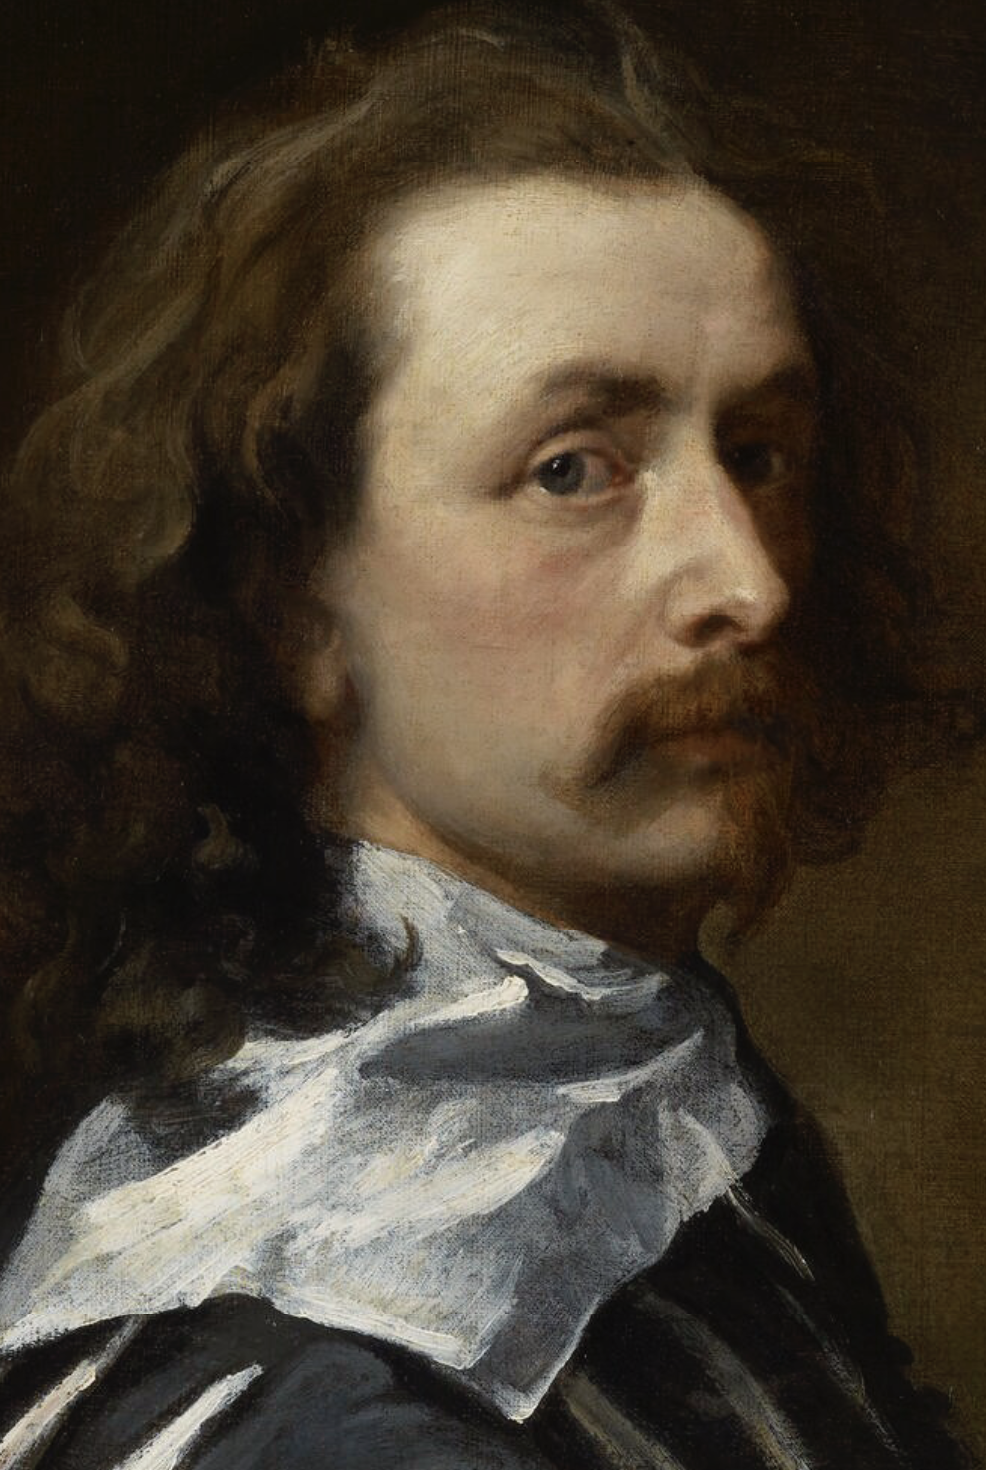
Jan recently posted up this portrait drawing for a critique. It was from my Shea Portrait course. Jan is looking to get a likeness when drawing a portrait.
Being able to get a likeness is difficult. Sometimes a student will need to use many diverse techniques. Some techniques click with certain students while others do not. You will need to experiment with multiple techniques until you find the one that works for you.
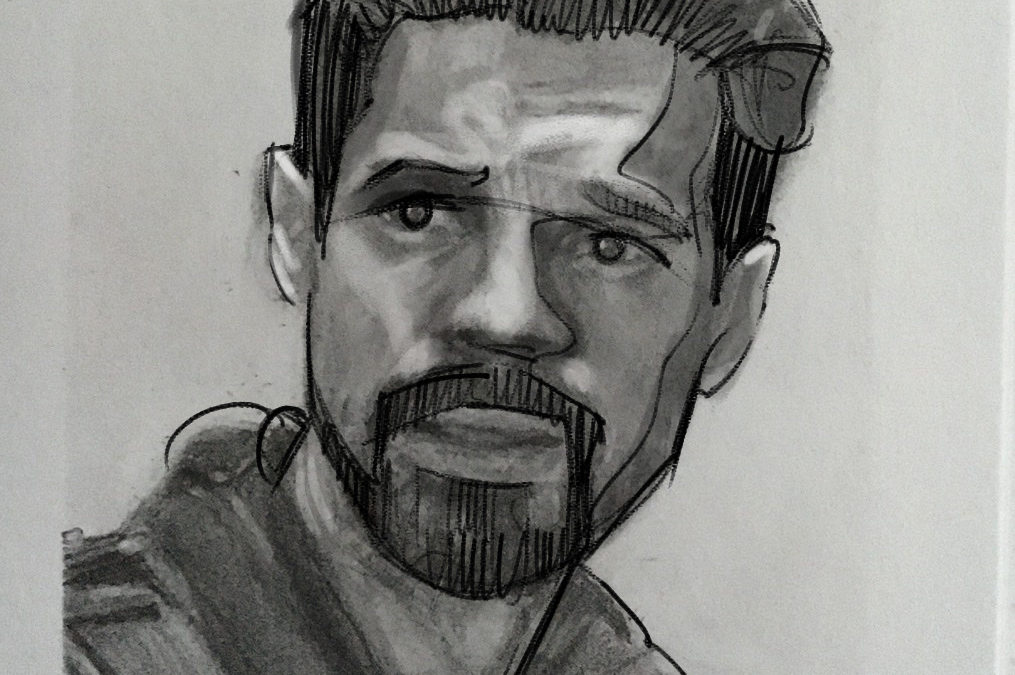
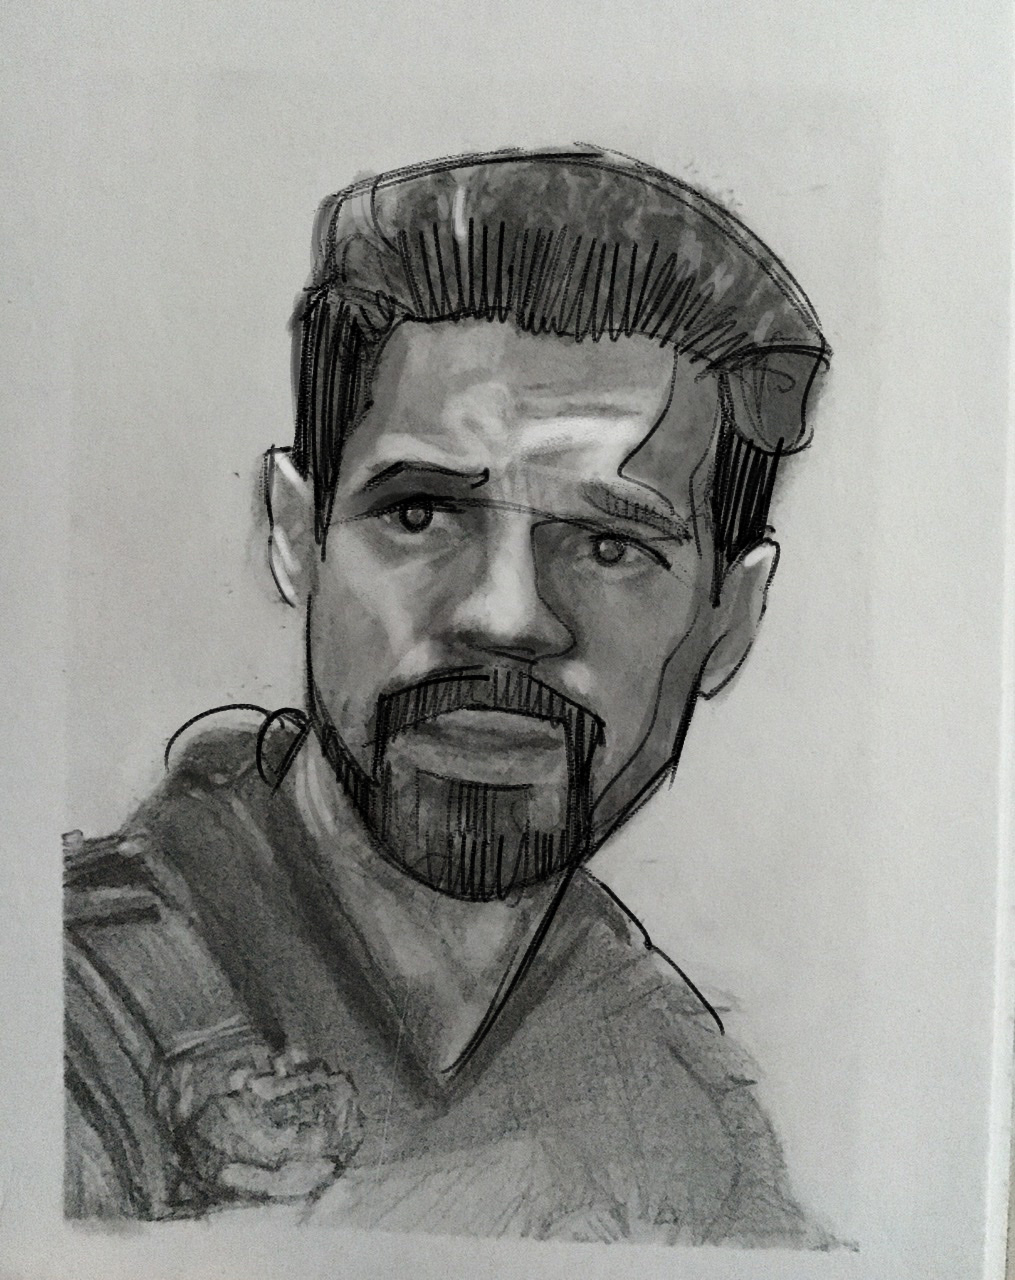
In this video, I share with Jan the Four Boxes Technique. It’s pretty simple. First, you should draw the exact size of your photo reference frame. So if your reference is 8 x 10 inches, draw an 8 x 10-inch boarder on your piece of paper.
You will need to split the frame vertically down the middle, then across the middle. This will leave you with four boxes. You then draw what is in each box. Nothing earth -shattering here.
this is just a drawing technique that will help you look at drawing a portrait differently. Again, this is just an exercise. This four boxes technique just give you a different perspective on drawing correct proportions.
Thanks so much, Jan for sharing your artwork in DTO’s member critique gallery.
If you are looking to get your artwork critique definitely check out