How To Draw A Ten Minute Gesture Of The Figure
I just recently added a new figure drawing to the members area of Drawing Tutorials Online. This course is title Figure Drawing Class Exercises.
There are so many more diverse ways of teaching in the classroom versus online. The options for creativity in the classroom is endless. You can incorporate the student in activities you just cannot do online.
The purpose of this course is not to complete the perfect drawing, quite the contrary. The purpose of this course is to share with you many of the short style twenty minute exercises completed in class.
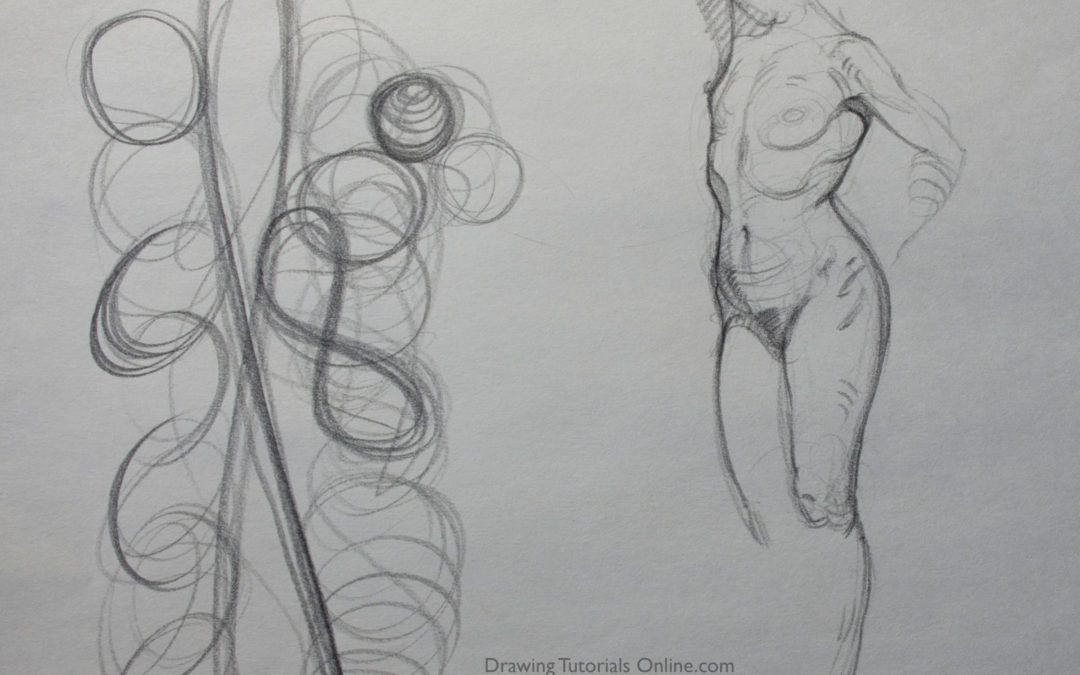
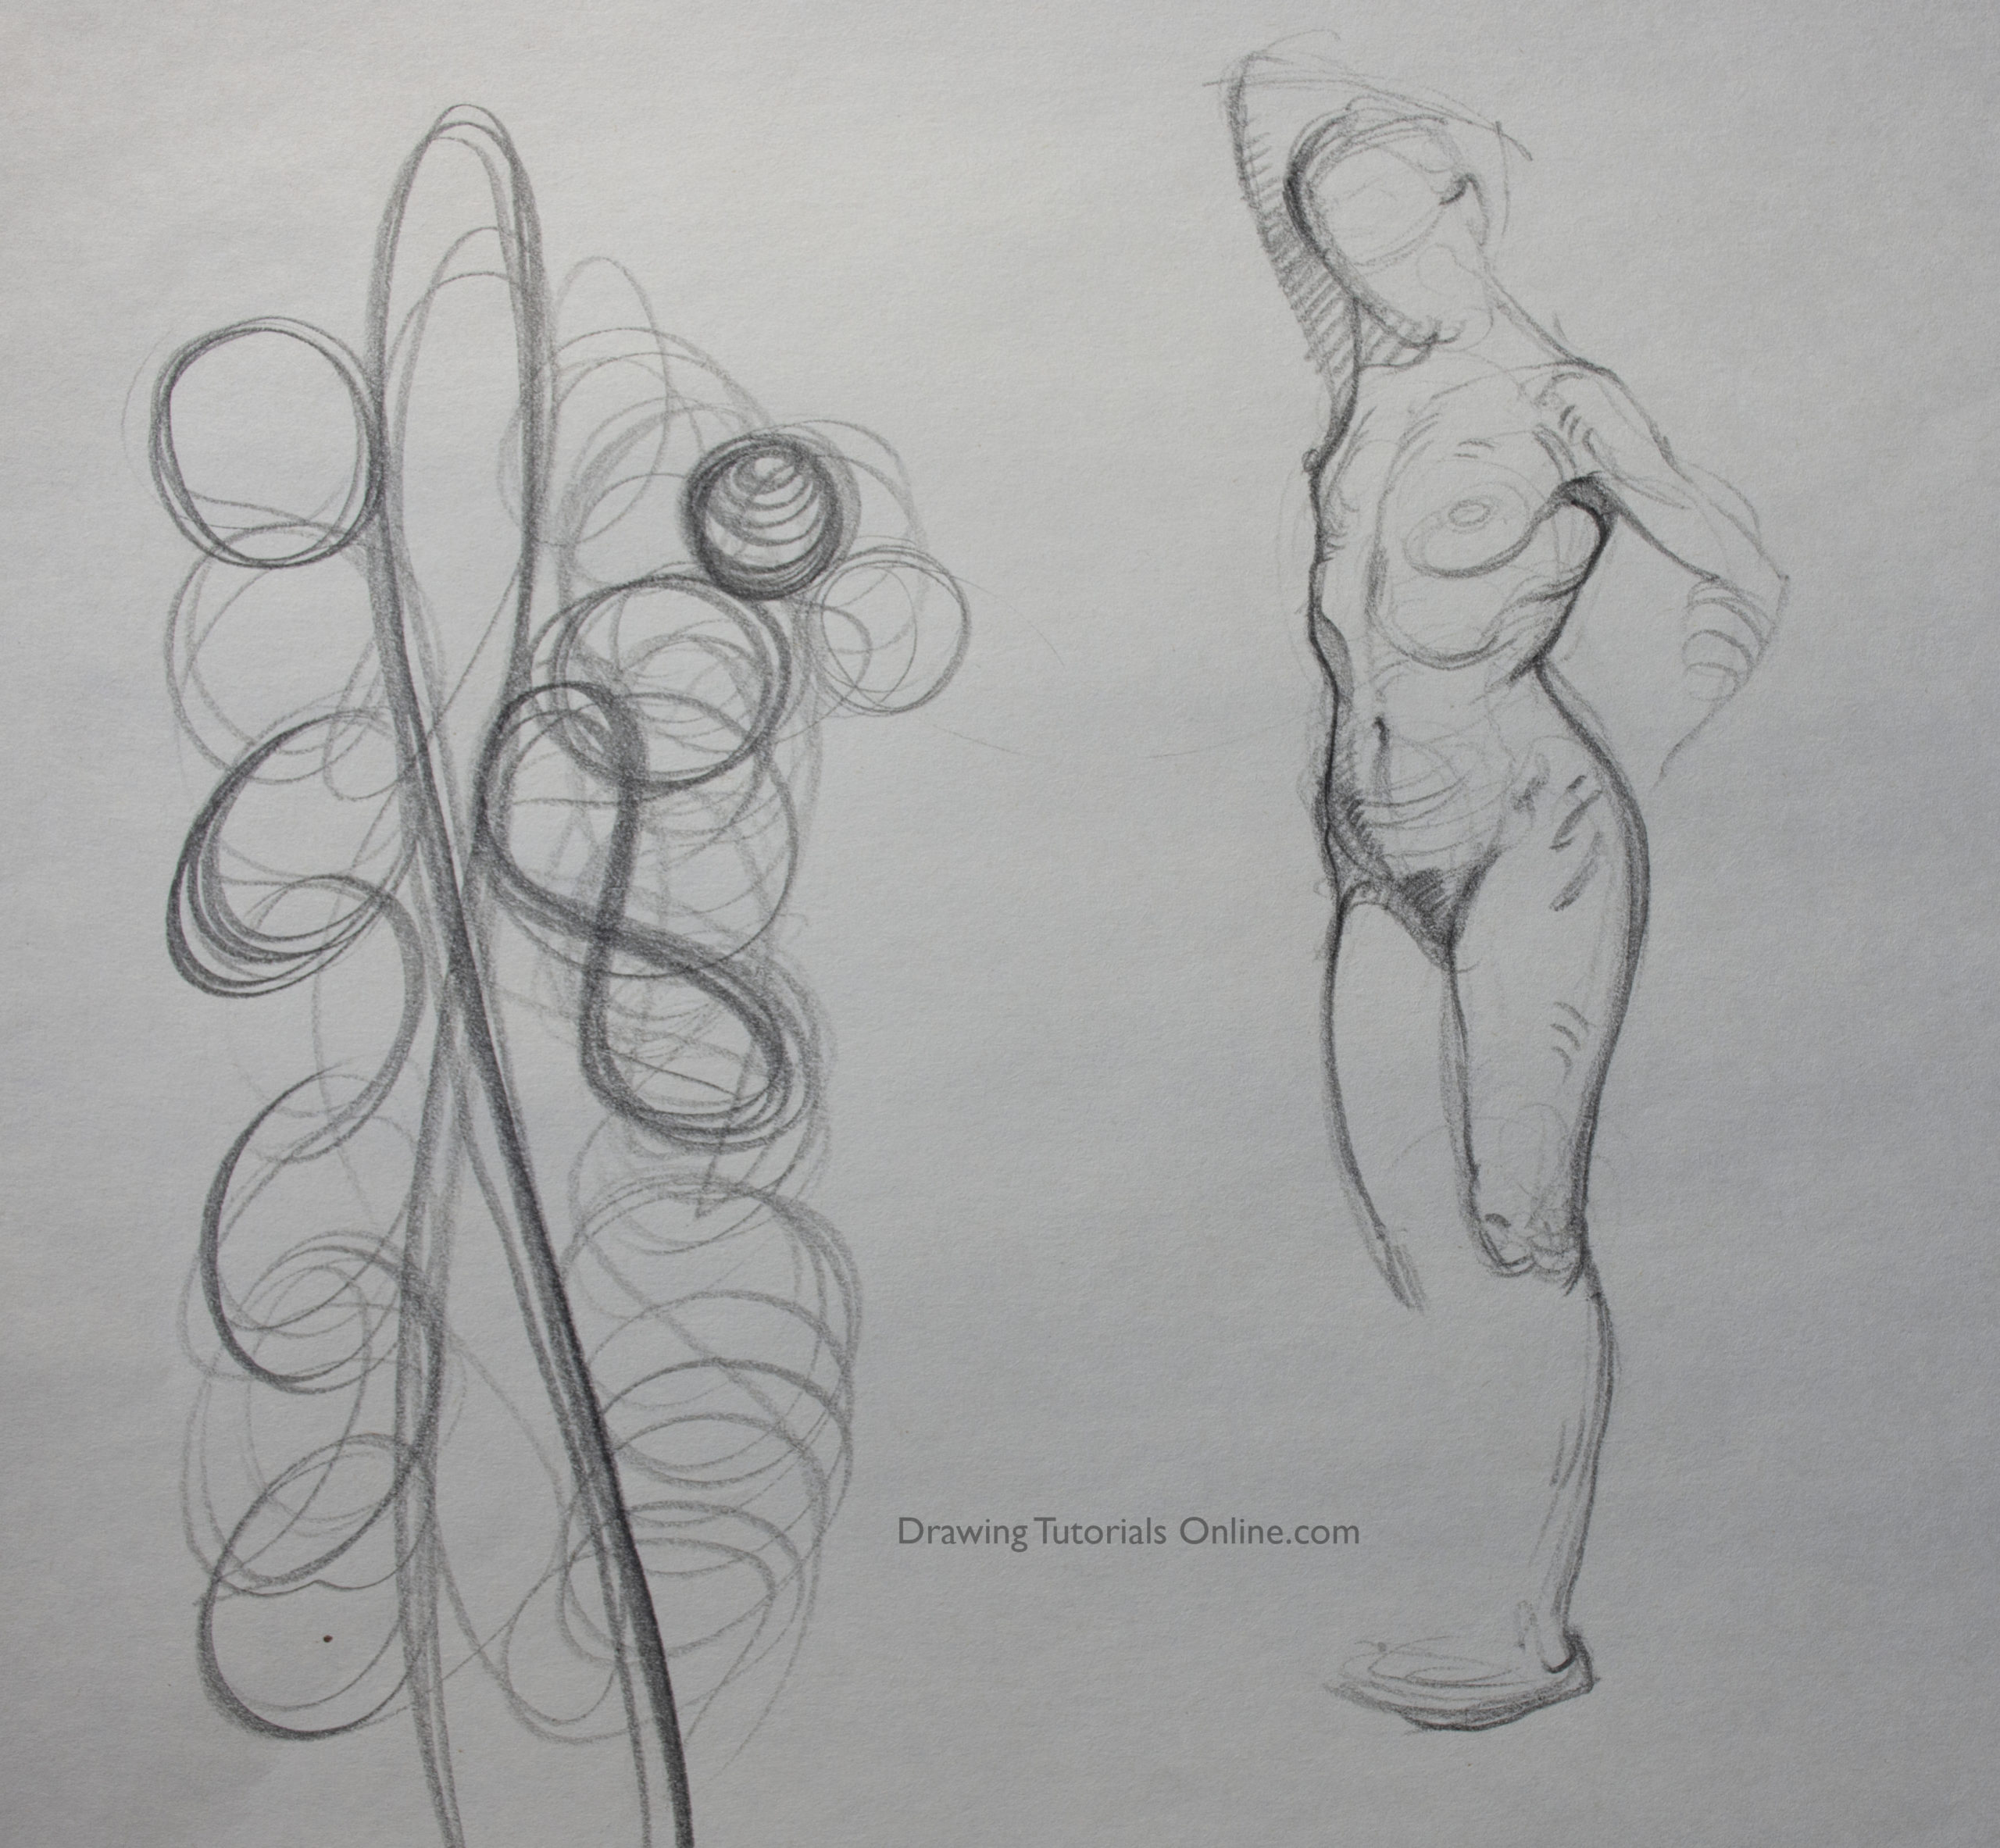
The drawing in the video below is the type of drawing I have my students do often in the classroom. A simple top to bottom line/gesture drawing of the model using minimal shape.
The goal of this exercise to gain confidence by constantly drawing the figure from head to toe in ten minutes. Starting again, starting another one, and then another one. Kind of like doing drills.
Thank you so much for taking the time to watch this video. Make sure you get to a life drawing class and draw some quick ones. Don’t be perfect, just have fun.
