Have you ever looked at your drawings and something seemed not quite right? The drawing was beautiful but a touch flat. I know I certainly have. Both my paintings and drawings had a flat look at one time.
After many years of trial and error I finally learned why my paintings and drawings looked flat. I was putting much too much detail everywhere. I was putting detail in the light, I was also rendering detail in the shadows. I was putting details in the background as well as the foreground.
If you are detail orientated like me you most likely love to render. You love to put details all over your images. You might want to consider using less detail to create more depth and atmosphere.
For example keep your shadows shapes fairly simple. Add details and texture in the light instead. Another tip, don’t put too many details in the background of your images. Think more shapes in the background, less texture. Render most of the texture and detail in the foreground.
These are simple tips for you to consider in order to create a well balanced drawing or painting. Letting go of detail in these two specific areas, the shadows and background will enable you to create an image that has depth and atmosphere.
If you have questions about this topic leave them in the comments section below.
Are you looking for feedback on your artwork? If you are check out what we have to offer in our membership area.
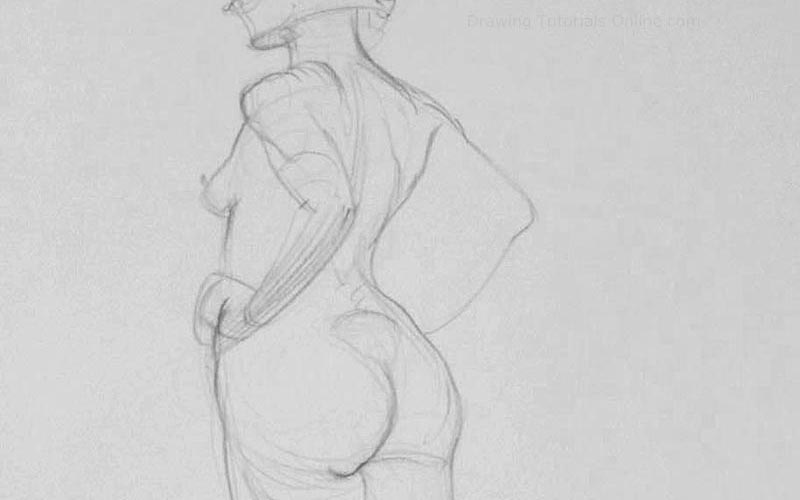
Okay so you are struggling with drawing correct proportions. Maybe when you draw the figure the head is two big, or the legs to long. Frustrating I know, trust me.
Through many bad figure drawings I learned that it is best to see the figure in three simple shapes.
1. You should consider starting with the biggest part of the body, the torso. Don’t get all hung up on drawing the head first. Remember there is no one way to draw the figure. Every pose you draw presents a new problem to solve. You choose the best technique to solve the problem.
2. The second shape is truly up to you. I like to draw the legs together first. Again we are going for big shapes. It’s super important to connect the feet with an imaginary line. Doing so closes the second shape. The legs should start at the top of the butt. Basically the iliac crest of the pelvis.
3. The third shape completely depends on the pose. At this point I usually draw in the shape of the hair and face together as one unit. You could also draw the models upper arm and lower arm together as an organic triangle.
All of the shapes you draw should be organic. Round all of the corners of every shape basically. There are no straight lines on the figure.
Practice this technique when ever you get the chance. This drawing technique can also be used when designing characters. Making them easy to draw in just about any pose.
Thanks for stopping by and visiting the blog. Leave us a comment below. We would love to hear from you.