First Lines When Drawing A Portrait – Process

First Lines When Drawing A Portrait – Process

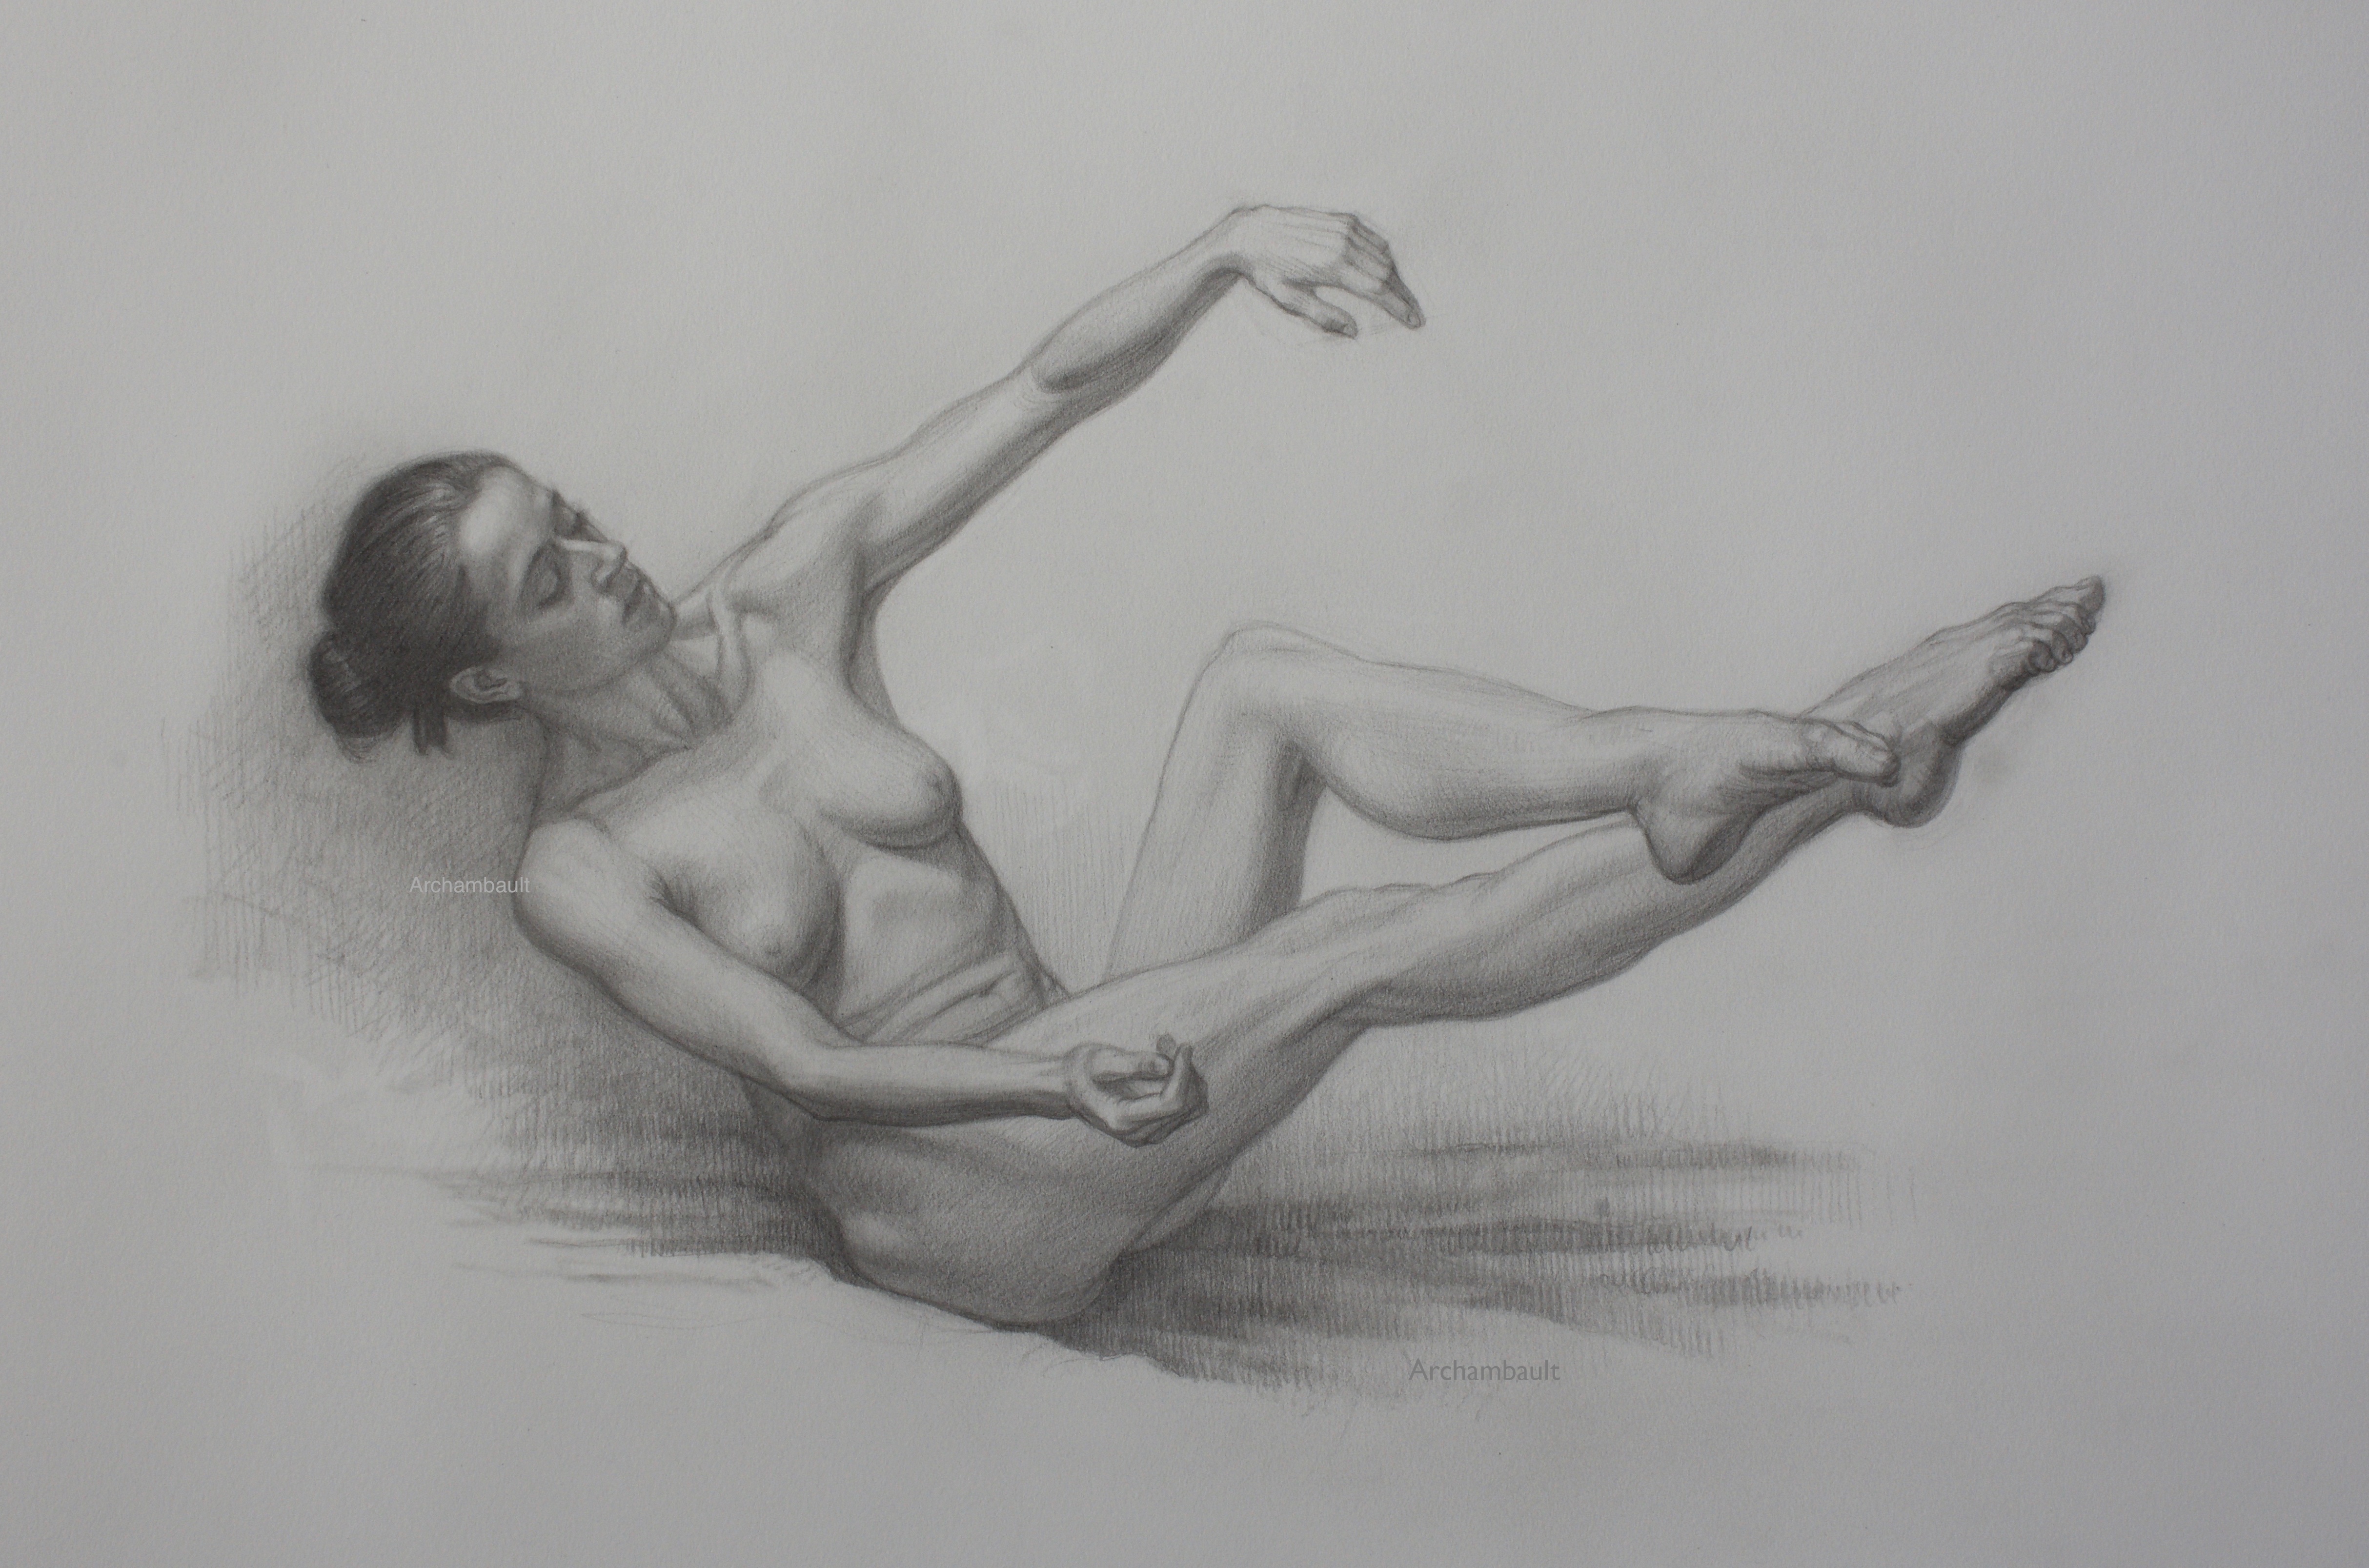
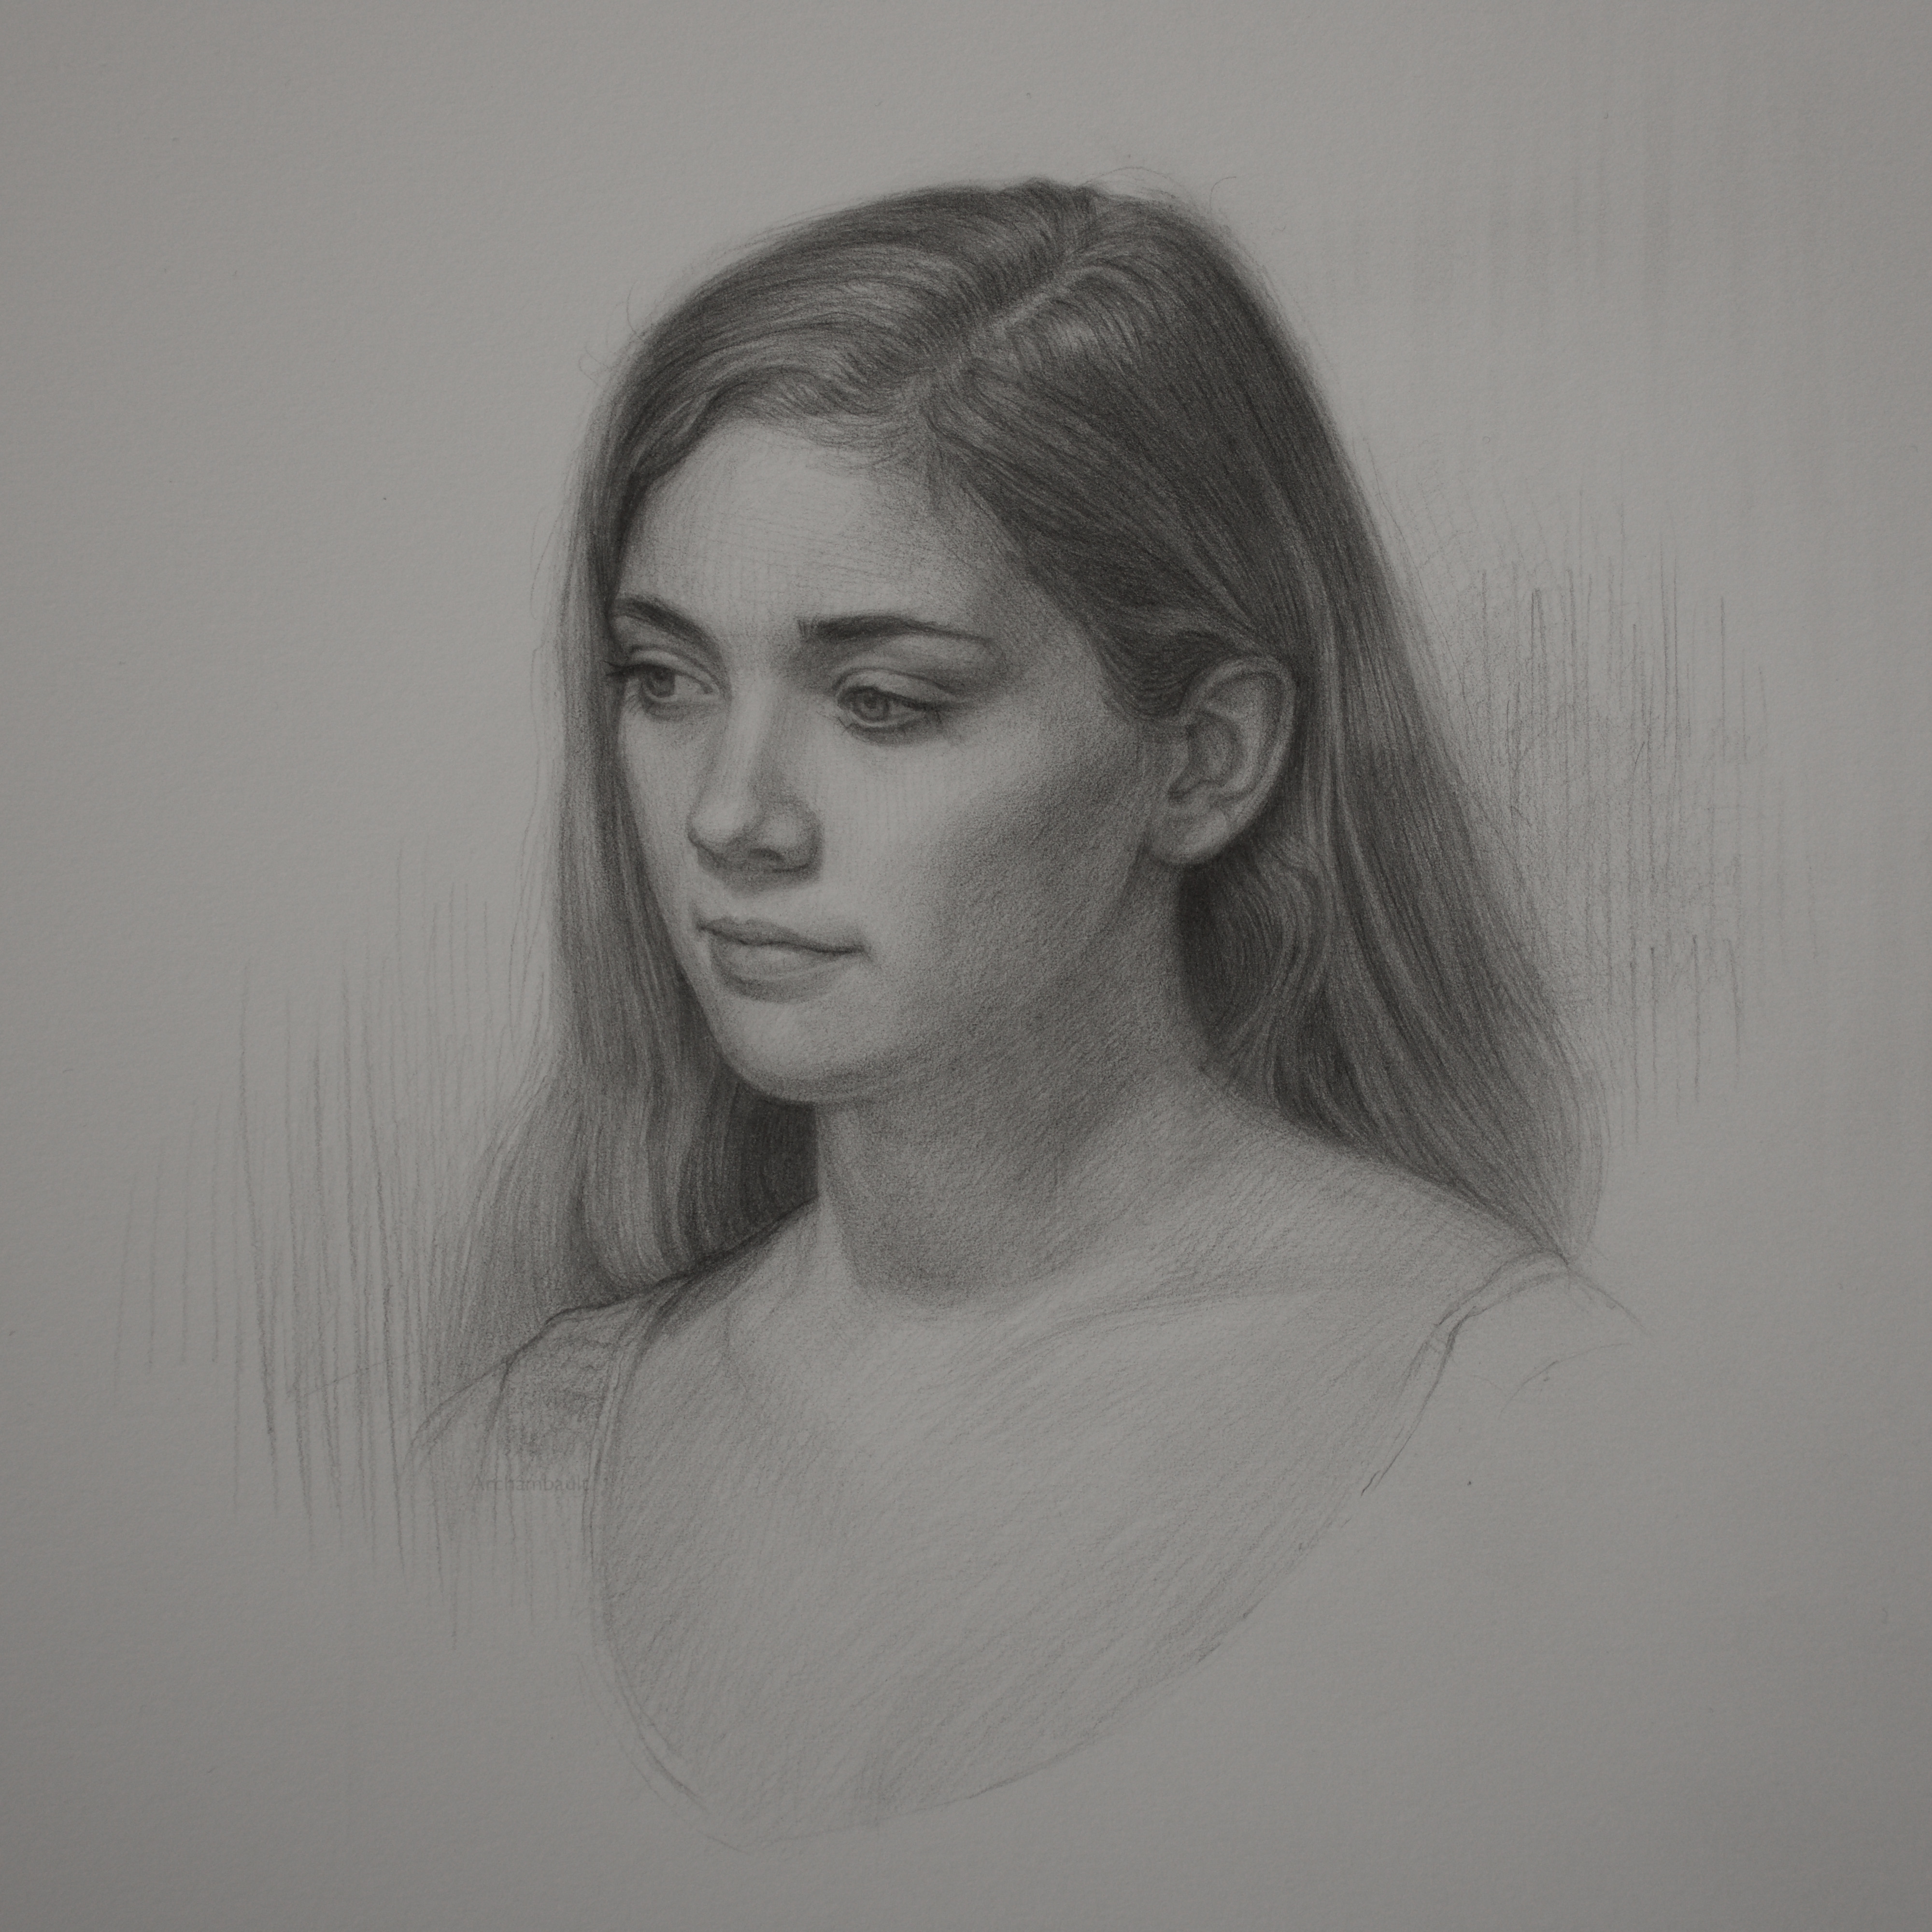
I just recently added a brand new portrait drawing course in the member’s area over at Drawings Tutorials Online. This particular course focuses on drawing smaller portraits.

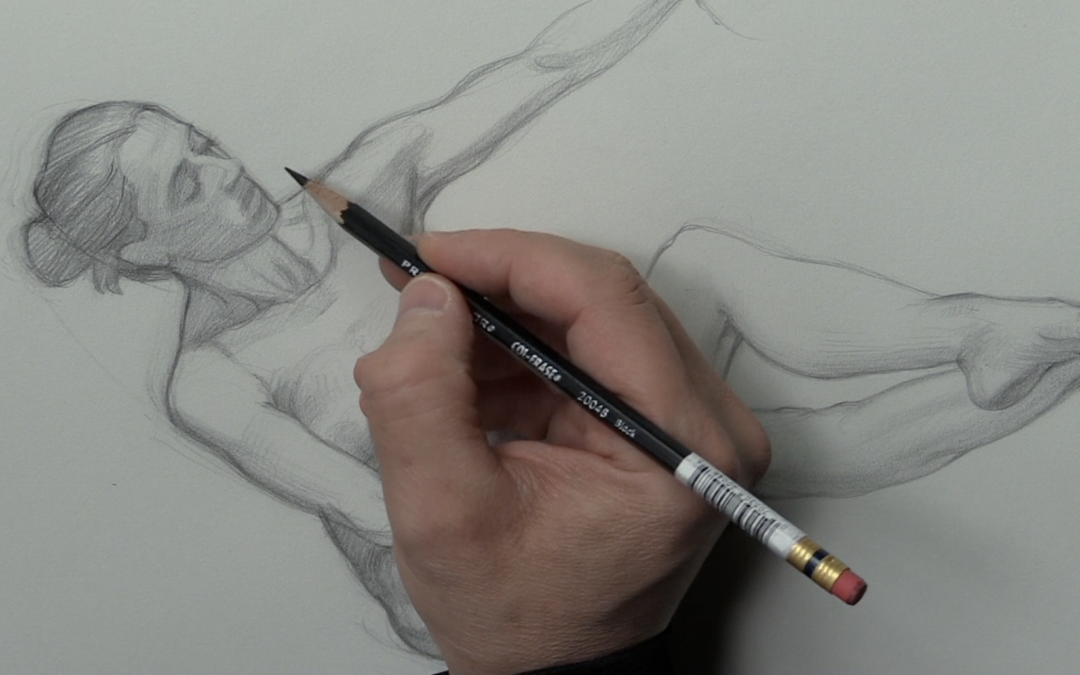
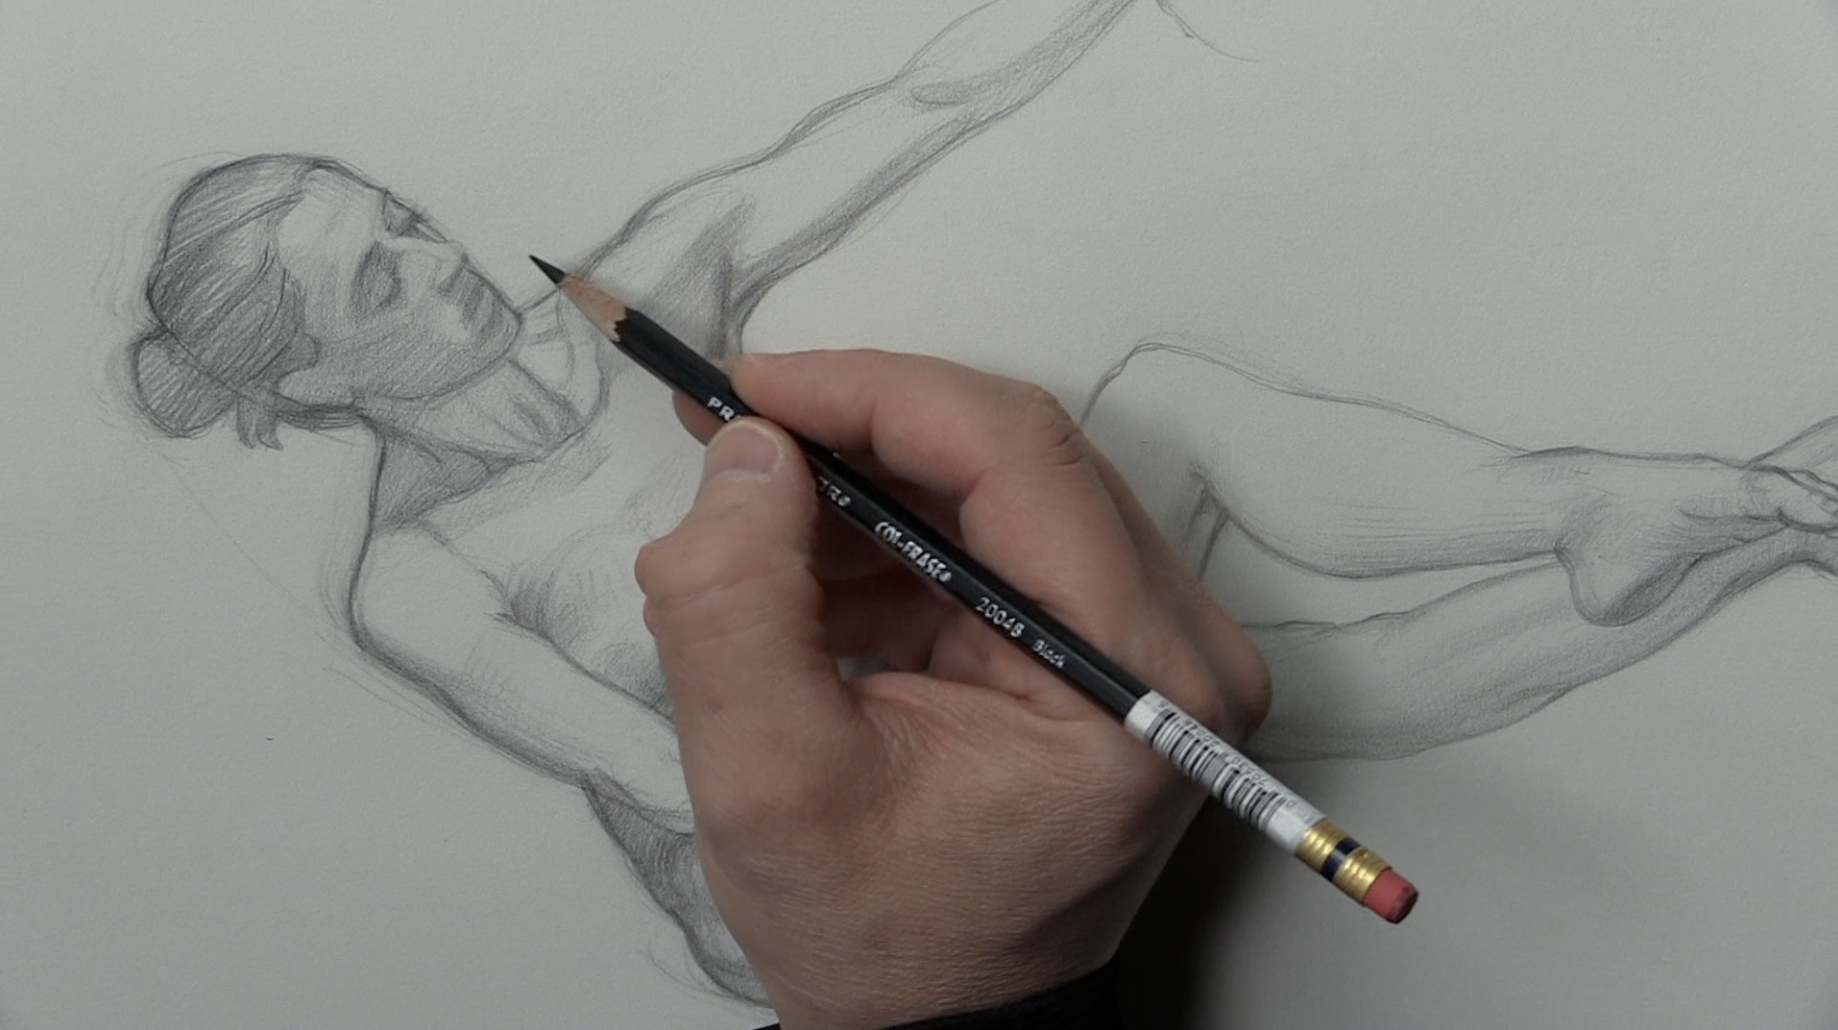
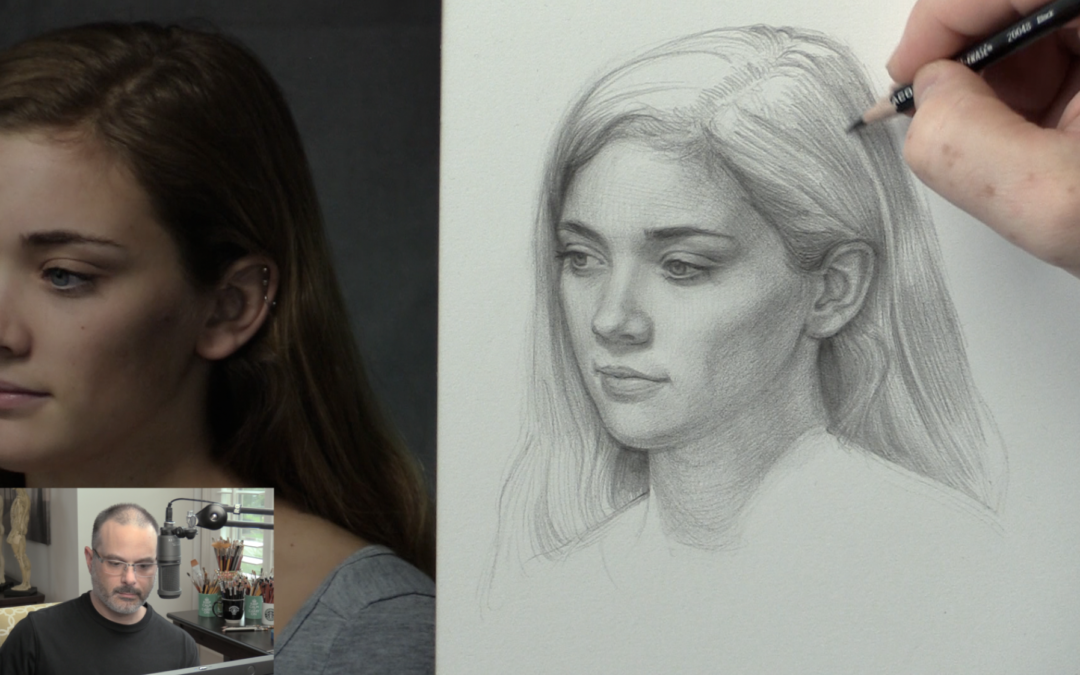
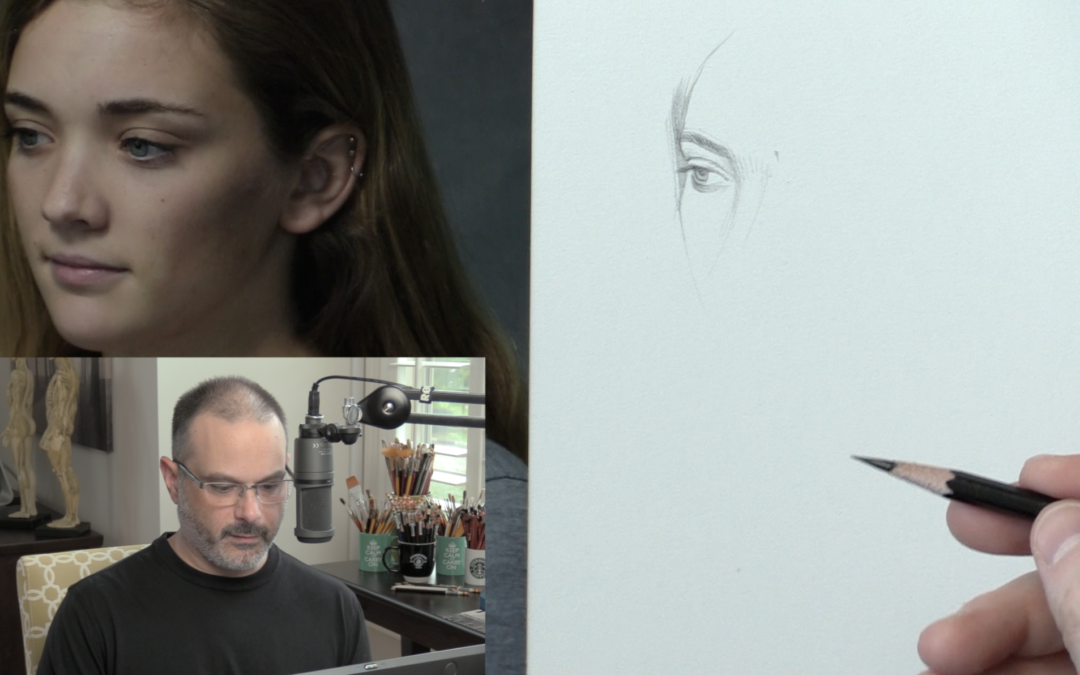
With every course, I like to review certain techniques via a screencast video. This particular video reviewed how I start a portrait drawing. Especially a smaller one, say about two inches tall.

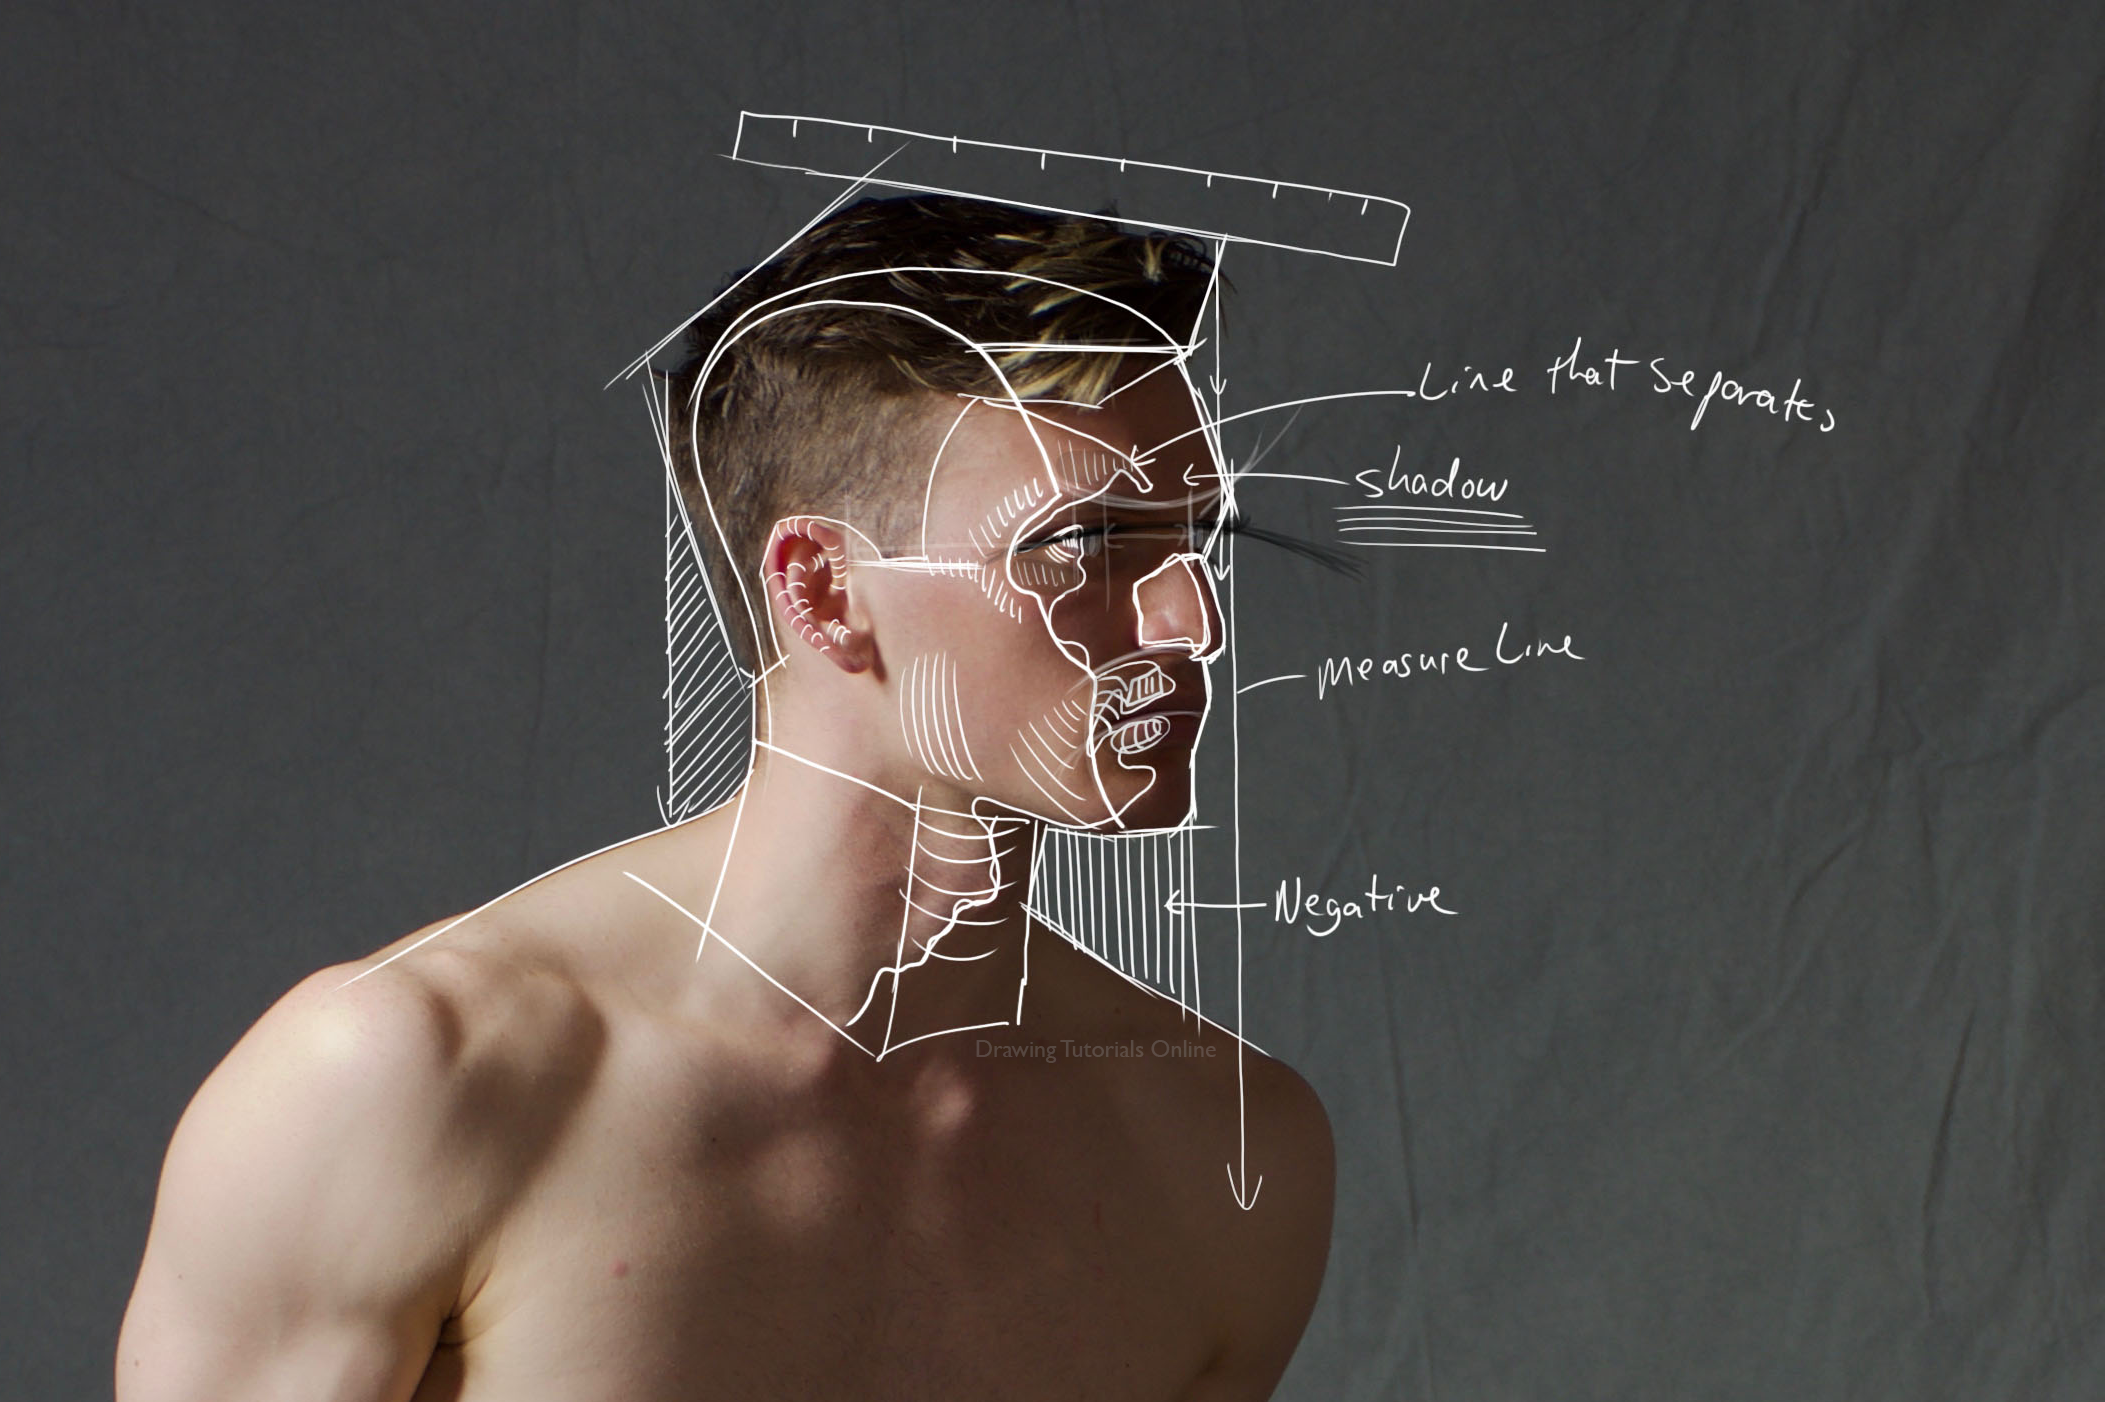
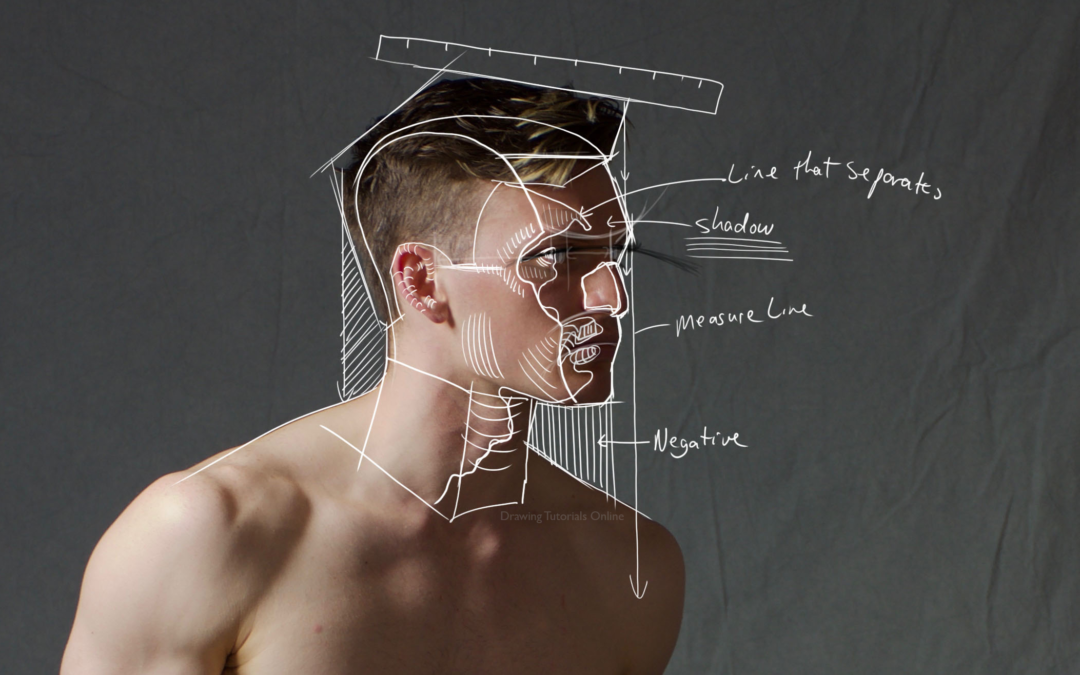
I always start with the angles, combined with measure lines and negative space. Nothing new right?

No, it’s not new, I have been teaching these same techniques for many years. Unfortunately, I still see many artists who struggle with drawing a likeness. Don’t fall into the trap of just knowing the techniques because you have heard about them.

You have to constantly practice these portrait drawing techniques over and over again until you master them. It’s not enough to just know them in theory. You need to put them into practice.

Just replace the white lines in the video within photoshop with pencil lines on your drawing pad. Start off with light pressure at first.

Enjoy the video.


If you are interested in learning many more techniques similar to these consider a membership to Drawing Tutorials Online.


Drawing Facial Features In An Impressionistic Way

Drawing Facial Features In An Impressionistic Way

Drawing a small head on a figure it can be pretty daunting. However when it comes to drawing facial features that are mainly on the shadow side of the head, that can be even more daunting.

The key to drawing facial features that are mainly on the shadow side of the face is to draw them in an impressionistic way. I’m a big believer of drawing shadow shapes, not facial features. Think of them as one in the same. Getting a likeness is about seeing the shadow shapes within the features, then drawing them accurately.

You also want to think and draw in layers. Start off with blocking in light tone. Feel your way through the facial features with very soft light tone. This is where you want to practice your light touch. Diving into drawing the features with heavy dark tone at first will only create a mess.

Especially if you are struggling with measurements.

There are three key takeaways from this lesson. First, work from light to dark when applying tone. Second, don’t draw facial features, draw soft accurate shadow shapes. Third, think layers, build up the dark tone and detail gradually.

These initial soft layers of tone are a foundation for the detail that will come later.


To watch the course in it’s entirety consider a membership to Drawing Tutorials Online. Not only will you learn many new drawing techniques, you can also get your figure drawings critiqued weekly.


Fitting The Head Onto The Body

Fitting The Head Onto The Body

In this very short figure drawing lesson I’d like to share with you how I begin to fit the head onto the shoulders. The two key words are short and begin.

In case you have not noticed I am a big believer in repetition in the mother of skill. I tend to teach the same things over and over again because they work for me. I have also seen these techniques work in the classroom on a weekly basis.

The main crux is to use targets to start fitting the head onto the shoulders. There are few other little techniques you can incorporate into the mix.

One, do your best to gesture into the head. In the video you can see How I use a gesture line from the side of the breast into the side of the face. Use long gesture lines whens fitting the head.

Two after the first few lines stop and get up off of your chair. Reset your eyes, looking out the window at something far away is a great way to do this. After you have reset your eyes come back to the drawing. You will immediately see what is working and what is not.

When we sit down for long period of time we loose site of the drawing in terms of proportions.

So the three keys, use some light target lines to start placing the head onto the shoulders. Incorporate one or two gesture lines to flow into the head as well. Within a minute or two of placing these initial lines get up and look at your drawing from far away.

Try these three techniques the next time you are working on a figure drawing.


If this technique helps you please leave a comment below. I’d love to hear anything you can add to conversation. If you have tried this technique and are still having issues with fitting the head onto the body I would like to help.

I would be happy to critique your work each and every Monday in our members Critique Gallery. It’s a cool place to get feedback on your work without all of the negative commentary you find on social media.


Shea Portrait – Shading In The Hair

Shea Portrait – Shading In The Hair

This may not be my most exciting lesson, however it is an important one. Sometimes drawing a realistic portrait takes time. In this short three minute YouTube world that we live in it’s easy to loose sight of the fact that quality takes time.

Now every artist obviously is different. Every artist has their own personal style. For my portrait drawings I really do enjoy spending long hours working on blocking in the tone.

In this particular video tutorial I’m sharing with you how I start blocking in the soft tone of the hair on the shadow side of the head. When drawing hair it’s important to build up your middle tones first before diving into pressing down super hard on your pencil.

The key takeaways from this portrait drawing lesson, hair is soft, draw it in a soft way. If hair is long, use long pencil strokes. Hair is made up of many cylindrical shapes, think of how the light is hitting those cylinders.

It’s so very important to be clear on your personal style of portrait drawing. You might decide that you really don’t want to draw every strand of hair. You might want to leave some areas of the hair void of detail. Remember, make it fun and keep it original.

If you got something from this very quiet video please leave a comment below.


Improve your portrait drawing skills to today with a membership to Drawing Tutorials Online. Select from a monthly or annual plan, cancel anytime.


Shea Portrait – Starting With The Eyes

Shea Portrait – Starting With The Eyes

I wanted to share with you lesson one from my latest portrait drawing course titled “Shea Portrait”. A few members had asked the question, can you start a portrait drawing with the eye first? The answer is of course. Diving deeper the real answer is that you can start a portrait wherever you see fit.

Every portrait that you draw presents different obstacles. You certainly do not want to place too many rules on yourself in terms of where to start. Take a look at the portrait subject, what can you wrap your mind around? What looks easy to start with first?

I’m a big believer of utilizing the angels to start drawing the edge of the hair first, moving onto drawing the face next. Drawing the shape of hair versus the shape of the face is a logical way to go about drawing a portrait. However there will be times that branching out from drawing the eyes first is a better solution.

In the portrait drawing lesson below I share with you what to look out for when starting with the eyes. I talk to the importance of making it so both eyes work together, making sure that they are looking in the same direction.

This fifteen lesson course has so much to offer. However I thought I would share with you this very important lesson one.


If you would like to get started watching get entire course check out Drawing Tutorials Online.