Portrait Drawing – Lesson Five

Portrait Drawing – Lesson Five

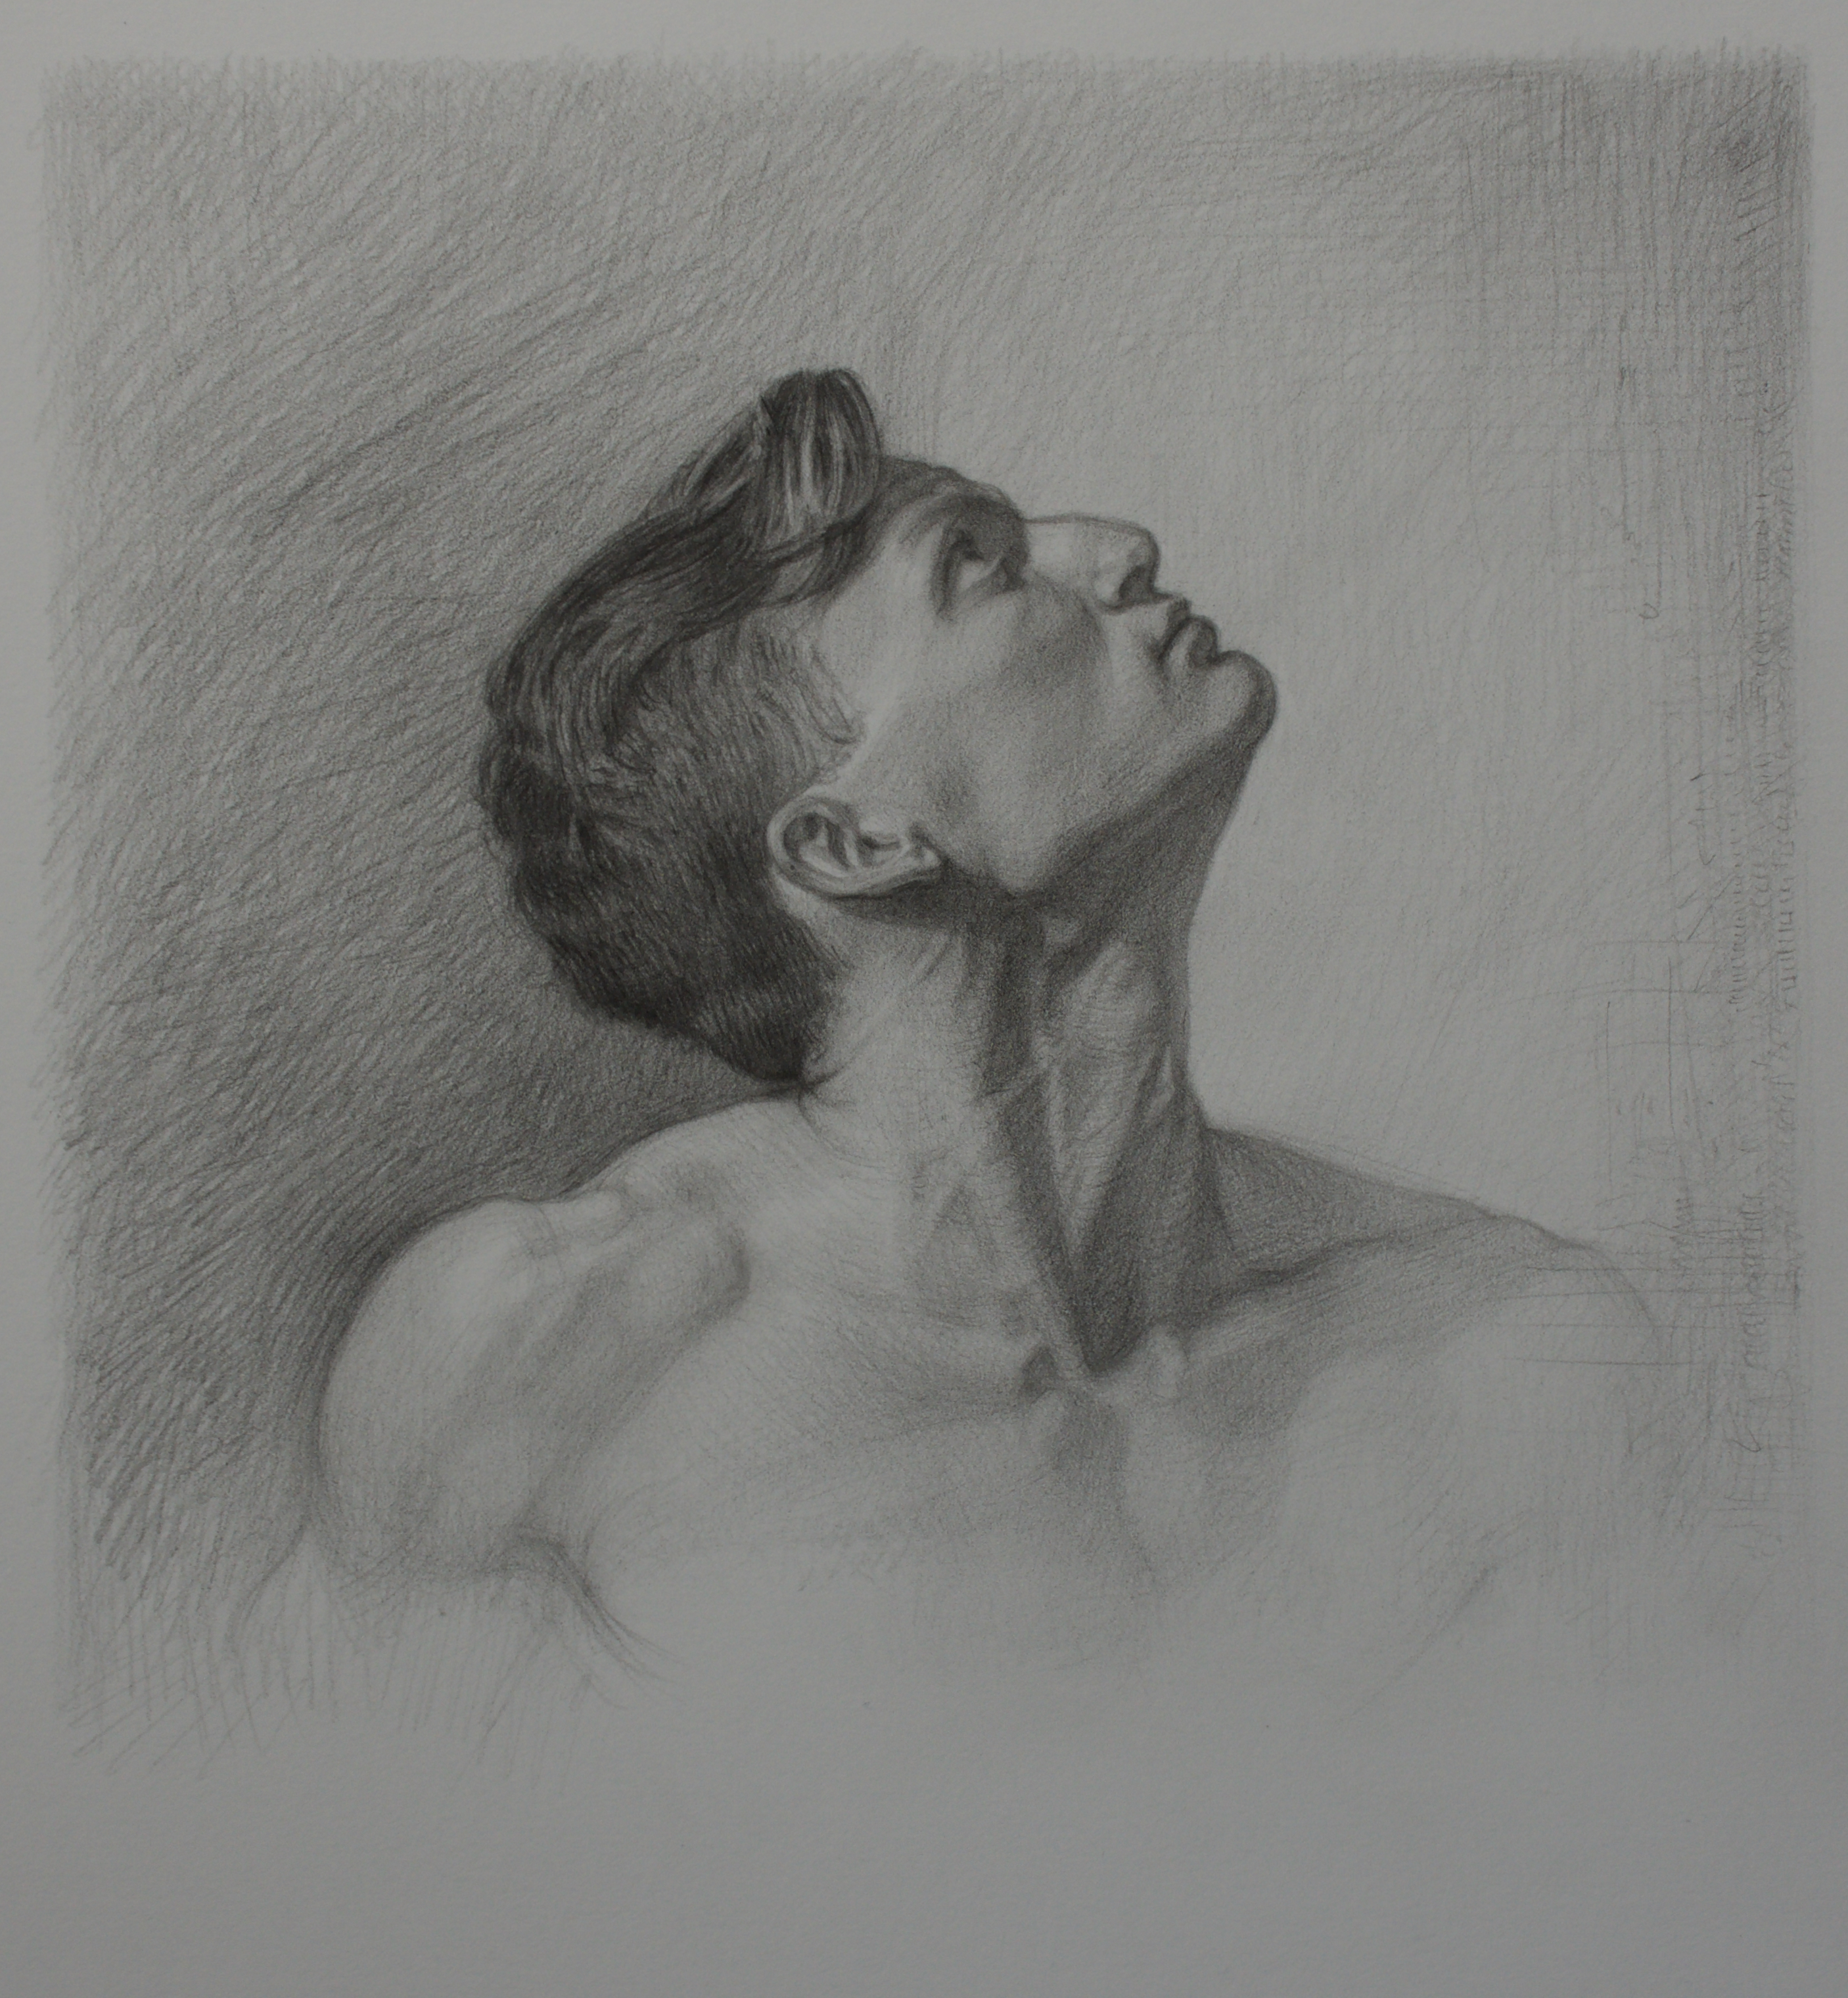
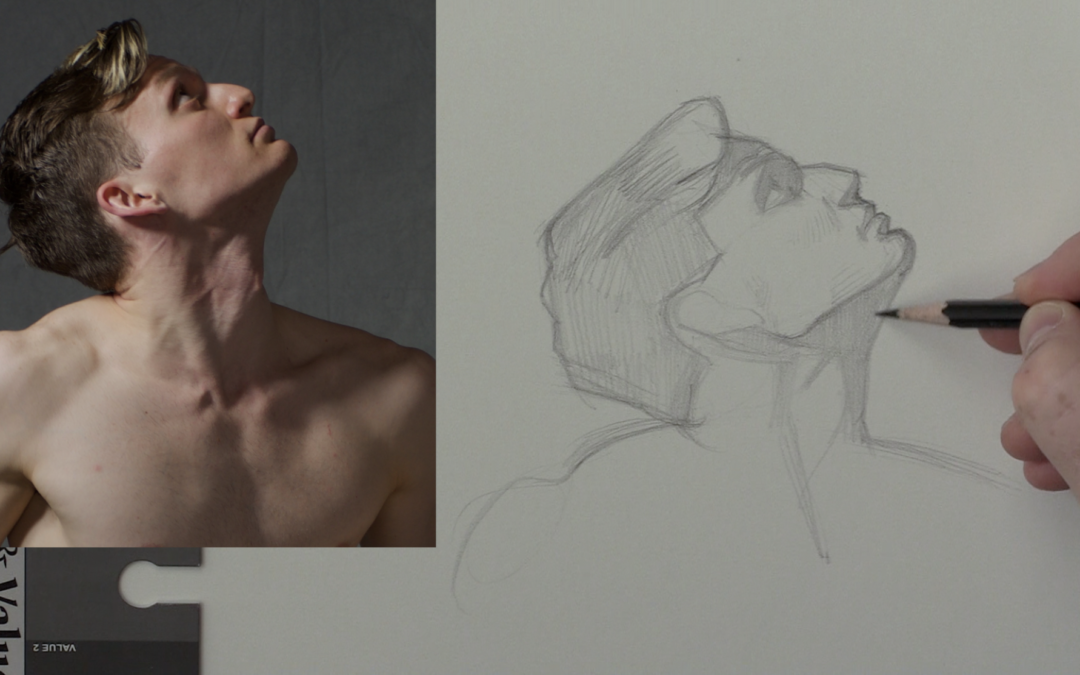
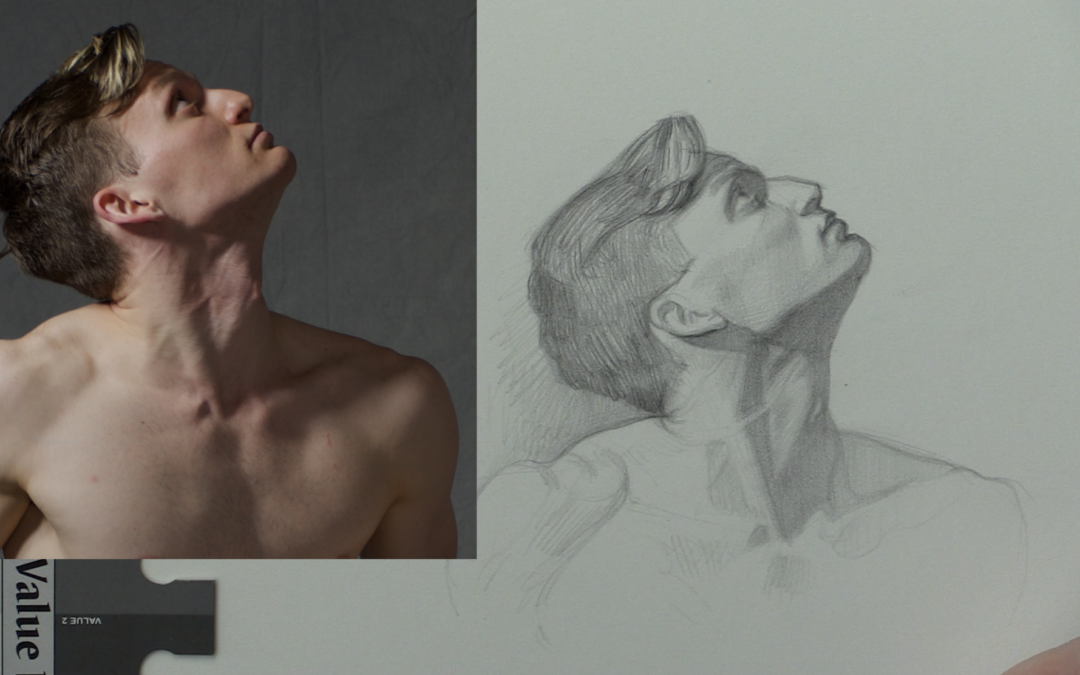
Okay lesson five, this video will show you the importance of solid shapes. It seems so simplistic, shading in a solid way. However I cannot stress the importance of being able to squint and see shapes, then shading them their appropriate value.

I have critiques literally thousands of portrait drawing in the member gallery at Drawing Tutorials Online. The biggest struggle many artists have is having no shapes within their portrait drawing. If they have shapes they are soft and fuzzy without the proper value.

I absolutely love to draw with both line and shape. However likeness really comes with shape when it comes to drawing with both line and tone.

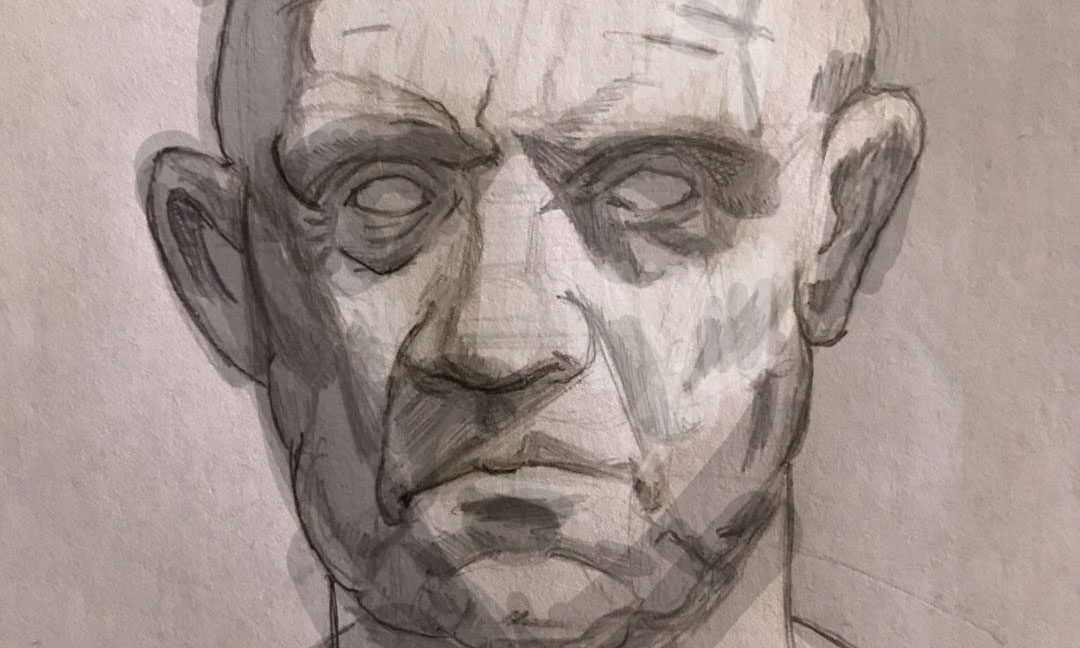
In your daily practice continue to shade shapes in a solid way. Sometimes what we think is complicated is actually pretty simple. It’s all about drawing accurate and shapes and shading them with the correct value.>/p>


Thanks so much for watching!


Portrait Drawing – Lesson One

Portrait Drawing – Lesson One

I just recently finished a brand new portrait drawing course over at Drawing Tutorials Online. I wanted to share with you a few of the chapters since the drawing has gotten a lot of positive feedback.

It’s been while since I’ve posted any drawing tutorials outside of the members area. The six lessons to be posted here at the blog should give you some insight as to how to get started drawing a portrait.

The drawing took me roughly seven to eight hours to complete. My process is quite slow, however if there is a technique within the video that helps you by all means run with it.


This is lesson one, I will be posting six lessons in total here at the blog. Thank you so much for watching.

Please leave a comment below. I’d love to hear your thoughts.

If you would like to jump ahead and watch the course in it’s entirety visit our sign up page at Drawing Tutorials Online. The course comes with a PDF, screencast tutorial and photo reference. Plus when you sign up to Drawing Tutorials Online you will be able to receive feedback on your portrait drawings. 


How To Simplify Light & Shade When Drawing A Portrait

How To Simplify Light & Shade When Drawing A Portrait

Milos recently uploaded his art to our critique gallery for the first time. I thought his drawing was pretty cool.

The main suggestion was to simplify how to apply shadow shapes. When you place shadow shapes everywhere in essence you muddy up your portrait drawing. It’s always best to simplify where you decide to put your shadow shapes.

Use a minimalistic approach when thinking about light direction. Where is the light coming from? Is it front light, side light, rim light, or form light? Form light is best for three dimension.

Once you make a decision on which direction the light is hitting your subject you start heading in the right direction.

Enjoy the video critique.

Thank so much for watching. If you are looking for a video critique just like this one for your work read more about what Drawing Tutorials Online has to offer you.

Why Are My Portrait Drawings Flat?

Why Are My Portrait Drawings Flat?

Recently Maria, a member of Drawing Tutorials Online, posted up a portrait drawing for feedback. Her main question, why is the drawing flat?

First off I want to thank you Maria for presenting this awesome teaching opportunity. There are many reasons why a portrait drawing can look flat. Let’s touch on four of them.

  • There is no background tone. With no tone in the background you have no foreground and background. Thus your portrait drawing is just sitting on white paper. Plus a tone or gradation placed in the background can provide you with an opportunity to soften the hair’s edge. Soft hair equals depth.
  • There are no gradations within the skin tone. When you have no shading from the light side to the dark side of the face your portrait drawings will look flat. There is most likely always a light hitting the model. If there is a light source there is definitely a gradation from side to side or top to bottom. Including gradations with create much more three dimension in your portrait drawings.
  • There are too many outlines. Line is awesome. However line alone can be flat in some cases. Drawing with a consistent outline will almost always create a flat outlined look. Combining tone with line promotes much more dimension.
  • There is no modeling with tone. Yes you can model with line. However modeling with line and tone is much better for creating dimension. What exactly are you modeling? You are modeling how light hits the form of the face. Understanding how surface planes work is super important. Understanding how to implement the modeling factors is vital as well.

I want to thank you so much for watching this video critique. If you are looking for a critique on your work just like this one consider a membership to Drawing Tutorials Online.

Our critique gallery is a kind nurturing place for you to learn and grow fast.

Thanks again for watching. Questions or comments, I would love to hear from you! Leave a comment below.