How To Draw The Structure Of The Lips

How To Draw The Structure Of The Lips

In this screencast portrait drawing lesson I share with you how I think about the structure of the lips. Thinking about the structure of the lips is completely different than using angles, shapes and tone to map out the lips on paper.


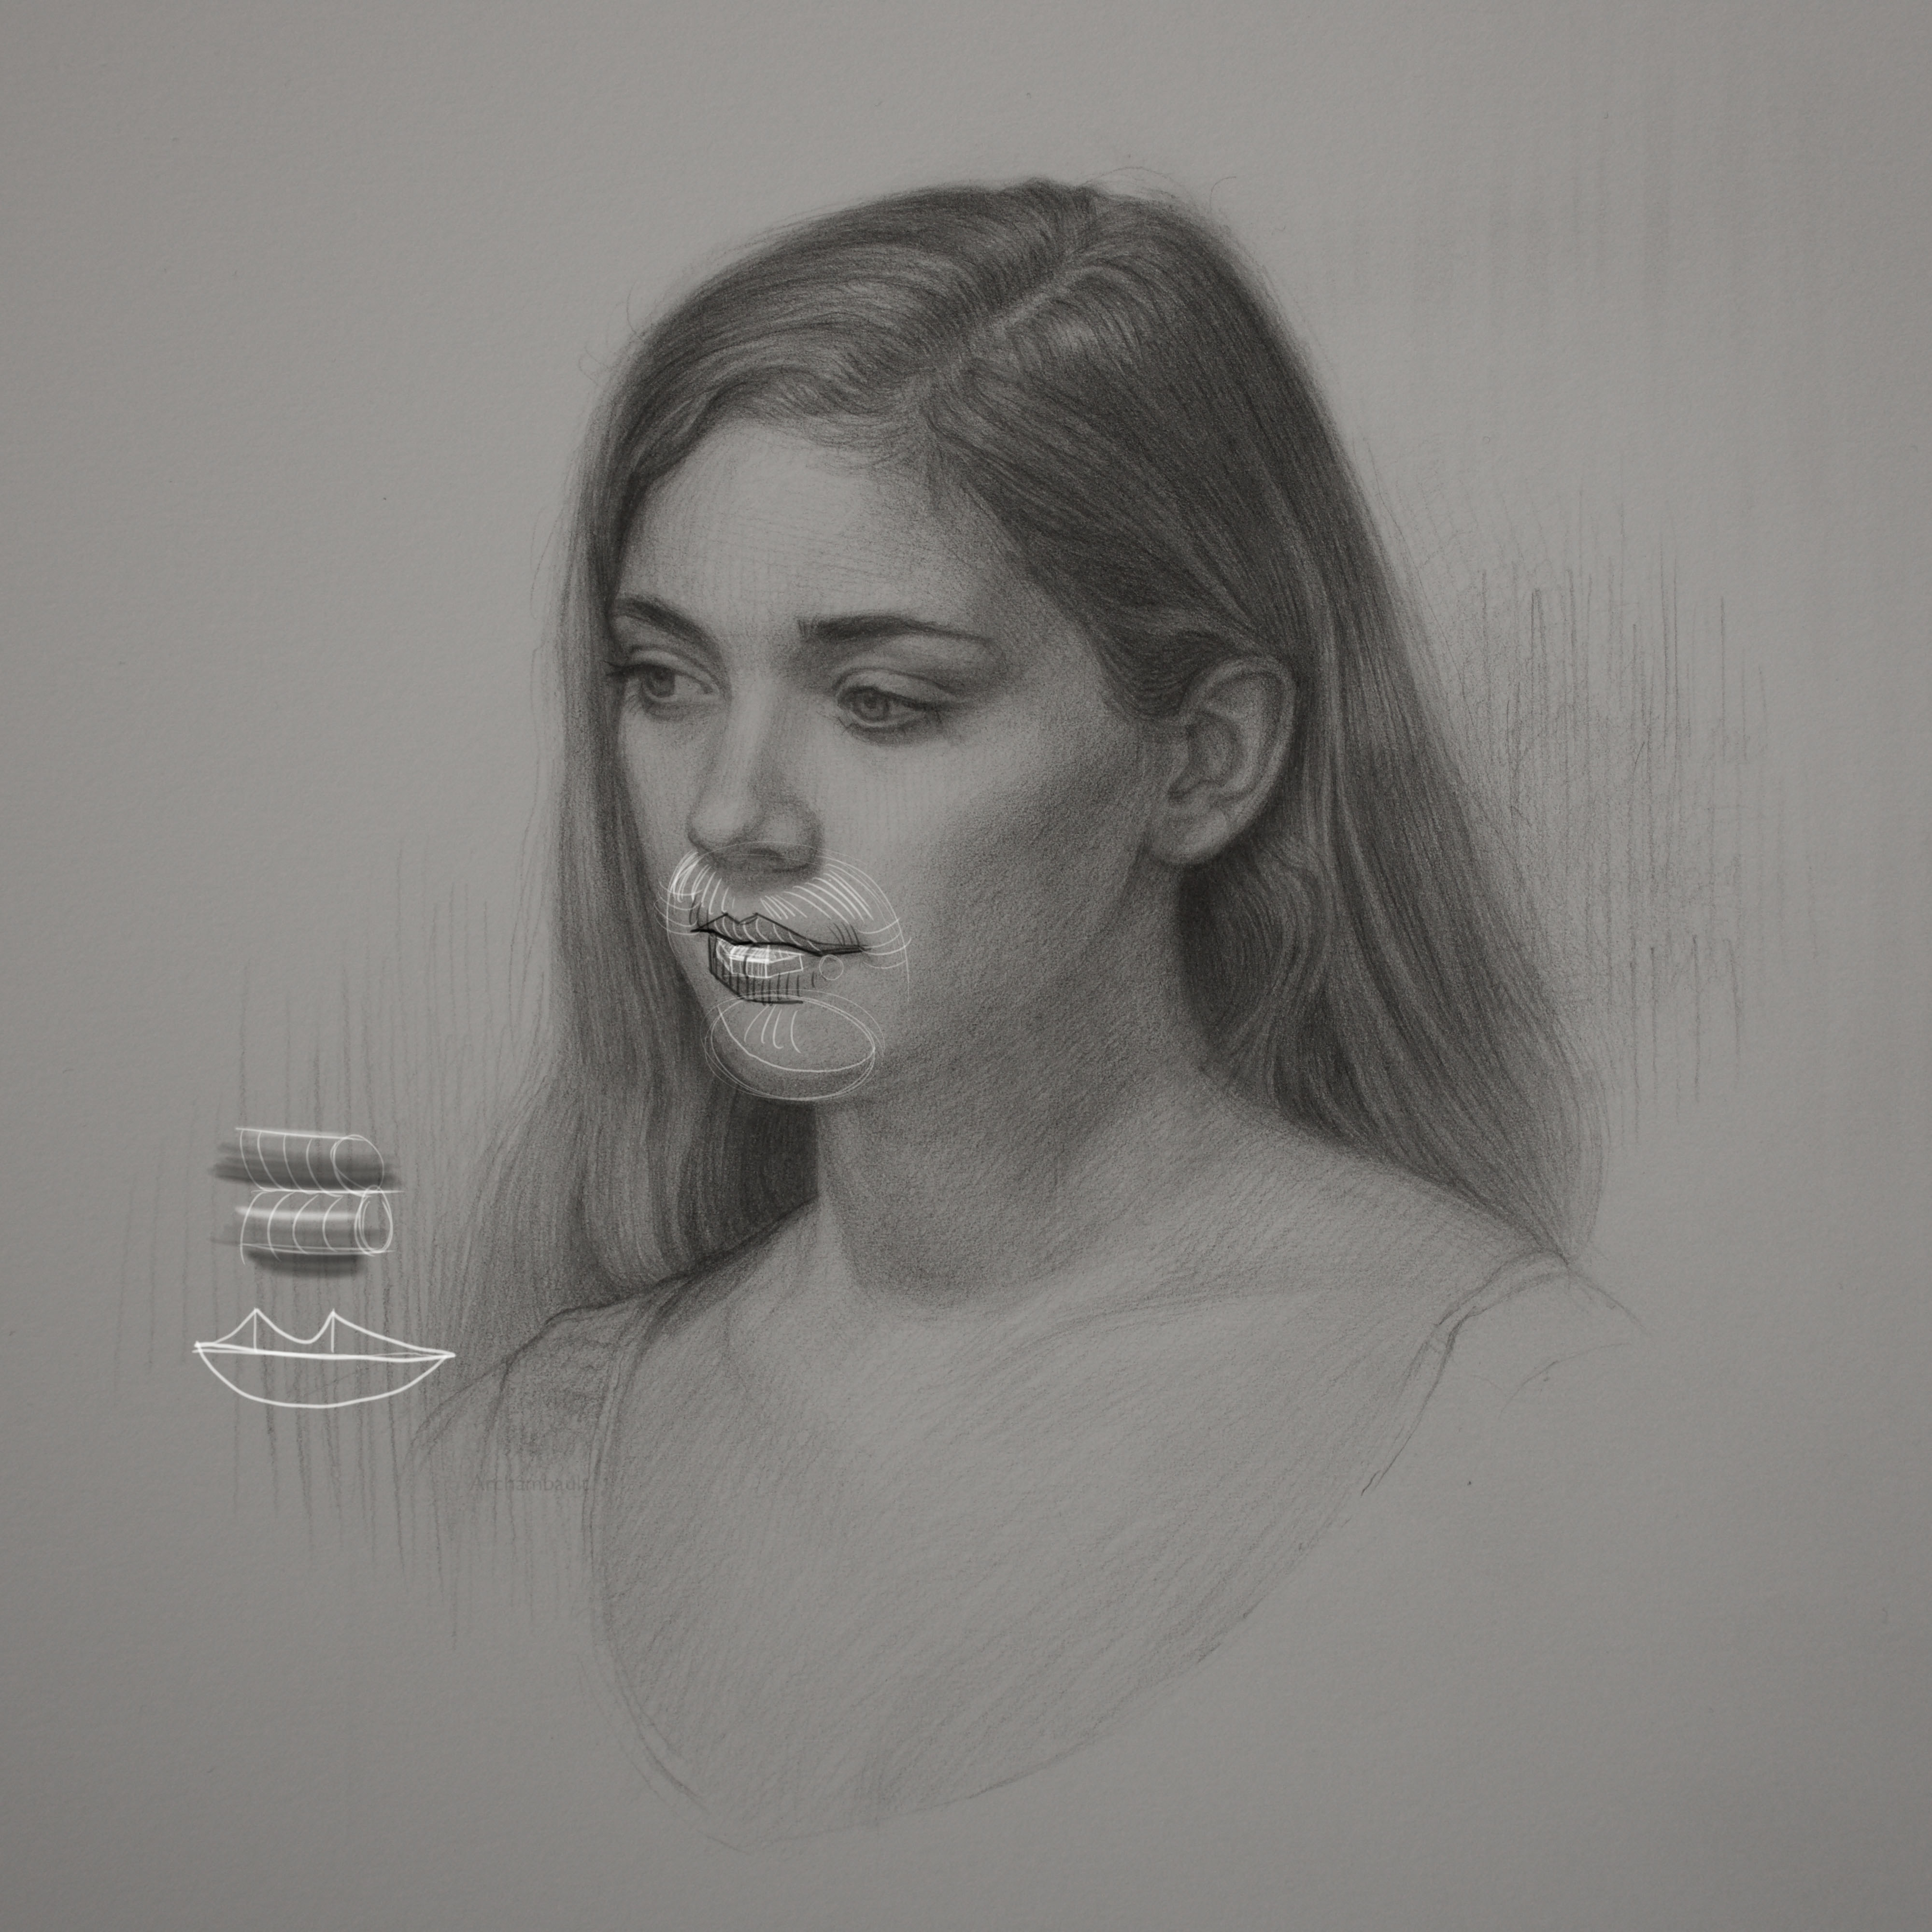
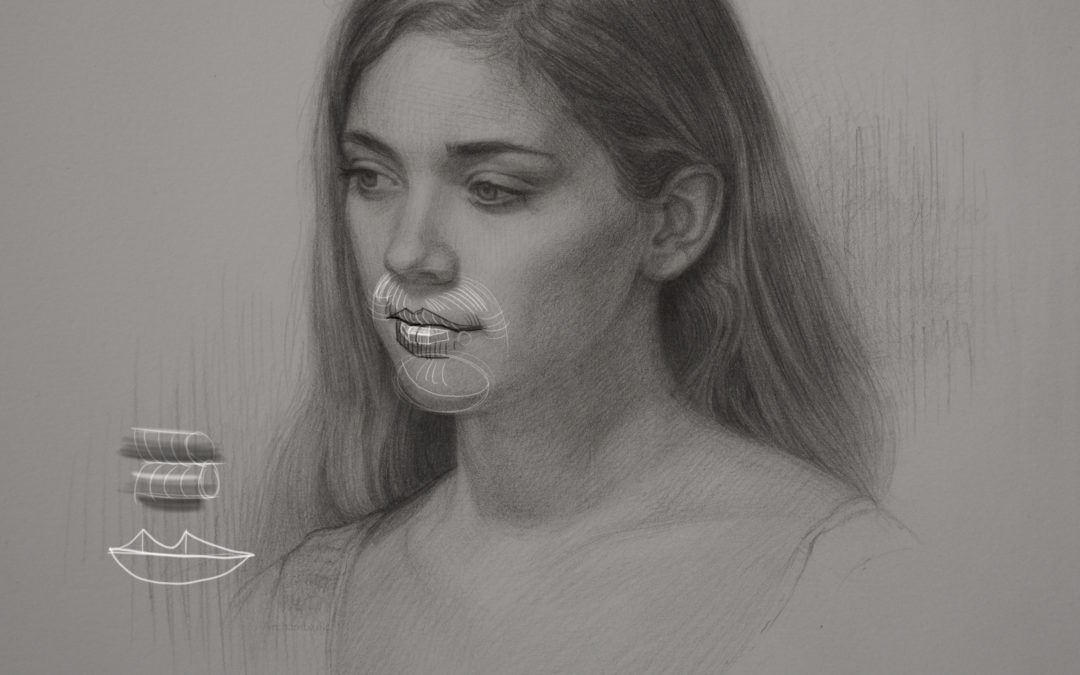
The key element to keep in mind when drawing lips is that you are simply drawing two horizontal cylinders on top of one another. You are not drawing lips via a harsh outline, you are drawing two soft cylinders.


The key element to look out for is how is the light hitting these two horizontal cylinders. Usually the light comes from up above. This places the upper lip in shadow, the lower lips usually catches a ton of light. The lower lips casts a shadow on the chin. Again avoid outlining the lips completely.


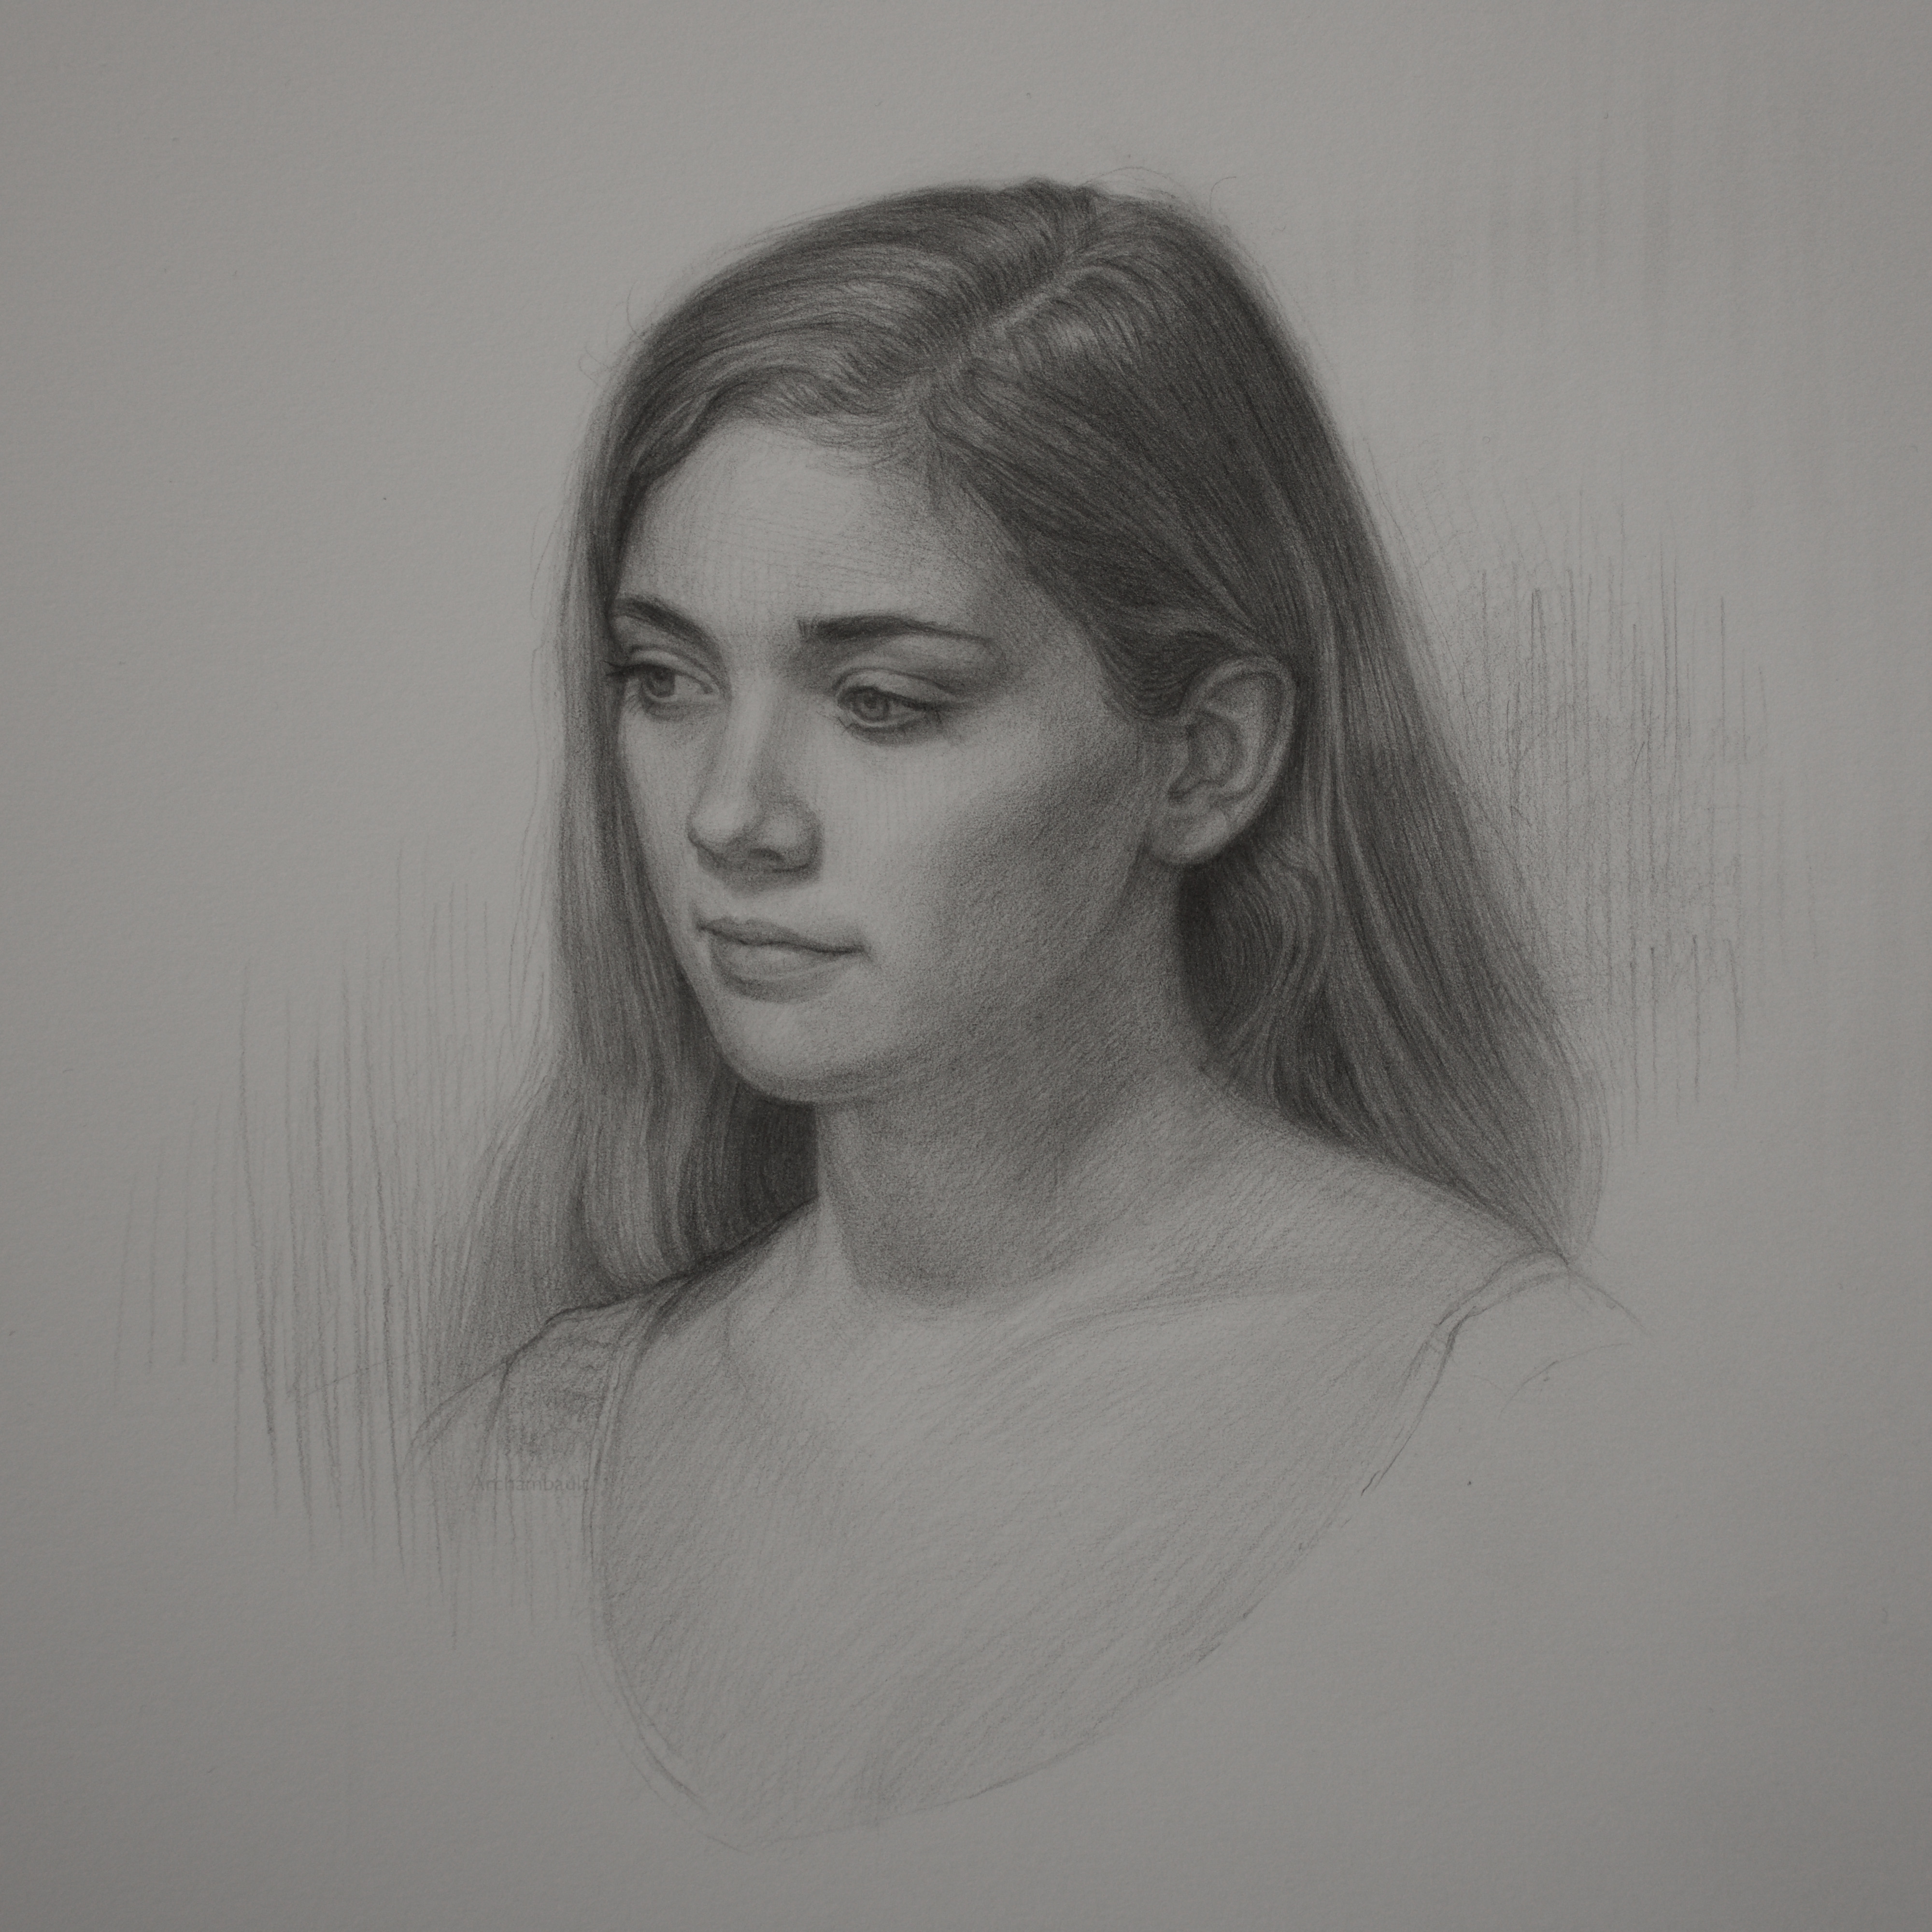
Too many artists tend to separate the lips from the face with a dark harsh outline. You will really want to allow the lower lip to merge with the skin tone. The value of the lips is just about the same value as one’s skin tone. Again their are no absolutes but this tends to be the case most of the time. Of course dark lipstick throws a monkey wrench into this theory.


You will also want to add multiple angles on the line that separates the two lips. Avoid using an overly simplistic straight line to separate the upper and lower lip. If you implement some of these techniques you should see improvement no doubt.


If you are interested in learning more consider a membership to Drawing Tutorials Online. You will gain access to every lesson in the course, plus be able to download the PDF that compliments this portrait drawing course immediately.

Thanks so much for taking the time to watch.


How To Draw The Structure Of The Eye

How To Draw The Structure Of The Eye

In this screencast portrait drawing lesson I share with you how I think about the structure of the eye. Thinking about the structure of the eye is completely different than using angles, shapes and tone to map out an eye on paper.

The key element to keep in mind when drawing an eye is that you are simply drawing a sphere. You are not drawing an eye, you are drawing a sphere. That sphere has lot’s of distractions, eye lashes and highlights. However if you can wrap your mind around the light that hits that sphere this will help you.

Too many artists cling onto the eye lashes like they are gospel. Worse yet many artists outline the eye with linear looking lashes. It’s super important that you approach drawing the eye from the standpoint of, what type of light source is hitting the sphere of the eye.

Most of the time light is coming from above. This simple fact will help you to see that the lower lid is in shadow and the upper lid is catching light. Stay away from using sharp outlines when drawing the eye. Definitely break your line on the lower eyelid. 

I can go on forever in this post, but I think I’ll let the video tutorial do the talking.


If you are interested in learning more consider a membership to Drawing Tutorials Online. You will gain access to every lesson in the course, plus be able to download the PDF that compliments this portrait drawing course immediately.

Thanks so much for taking the time to watch.


Shea Portrait – Shading In The Hair

Shea Portrait – Shading In The Hair

This may not be my most exciting lesson, however it is an important one. Sometimes drawing a realistic portrait takes time. In this short three minute YouTube world that we live in it’s easy to loose sight of the fact that quality takes time.

Now every artist obviously is different. Every artist has their own personal style. For my portrait drawings I really do enjoy spending long hours working on blocking in the tone.

In this particular video tutorial I’m sharing with you how I start blocking in the soft tone of the hair on the shadow side of the head. When drawing hair it’s important to build up your middle tones first before diving into pressing down super hard on your pencil.

The key takeaways from this portrait drawing lesson, hair is soft, draw it in a soft way. If hair is long, use long pencil strokes. Hair is made up of many cylindrical shapes, think of how the light is hitting those cylinders.

It’s so very important to be clear on your personal style of portrait drawing. You might decide that you really don’t want to draw every strand of hair. You might want to leave some areas of the hair void of detail. Remember, make it fun and keep it original.

If you got something from this very quiet video please leave a comment below.


Improve your portrait drawing skills to today with a membership to Drawing Tutorials Online. Select from a monthly or annual plan, cancel anytime.


Portrait Drawing – Lesson Four

Portrait Drawing – Lesson Four

Okay great you have made it to lesson four. Once you have taken the time to get the basic shape of the head with a light middle tone it’s now time to dive in deeper. In essence you have basically drawn big shapes, then drawn smaller shapes within the big shapes.

Start progressing into refining the features of the face, getting a bit more aggressive with a darker middle tone.

You can accomplish this by looking more at the photo reference than you look at your drawing. You also will want to have a value scale nearby to ensure that you are using the proper value structure. Not too dark, not too light.

You will also want to start adding more value to the shape of the hair as well. This will really start to balance your drawing out.


Thank you so much for watching. I appreciate you taking the time to watch these portrait drawing tutorials

If you like this style of drawing definitely consider a membership to Drawing Tutorials Online. My main goal for the website is to help members create better art, period. Learning through well thought out courses as well as getting your portrait drawings critiqued will help you to improve in a much faster way.


Portrait Drawing – Lesson Two

Portrait Drawing – Lesson Two

In this sped up drawing tutorial world that we see on YouTube and Instagram we tend to forget that a good drawing takes time. It really takes time for me. A fourteen minute video clip up is basically a nano second in my drawing world.

It’s really important that you figure out what about drawing makes you happy. For me it’s all about sitting in my studio and creating something worth while. I love rendering for hours with a pencil while listening to music and drinking good coffee. I also get satisfaction from doing a five minute gesture drawing from life.

However long drawings are where my passion is. What about you, what part of drawing makes you happy? Once you figure that out you are on your way to drawing success.


I want to thank you for taking the time for watching the portrait drawing tutorial above. I will be creating many new portrait drawing courses this Fall. If that sounds interesting to you definitely take a moment to check out Drawing Tutorials Online.

Now get out there and draw something that you love.