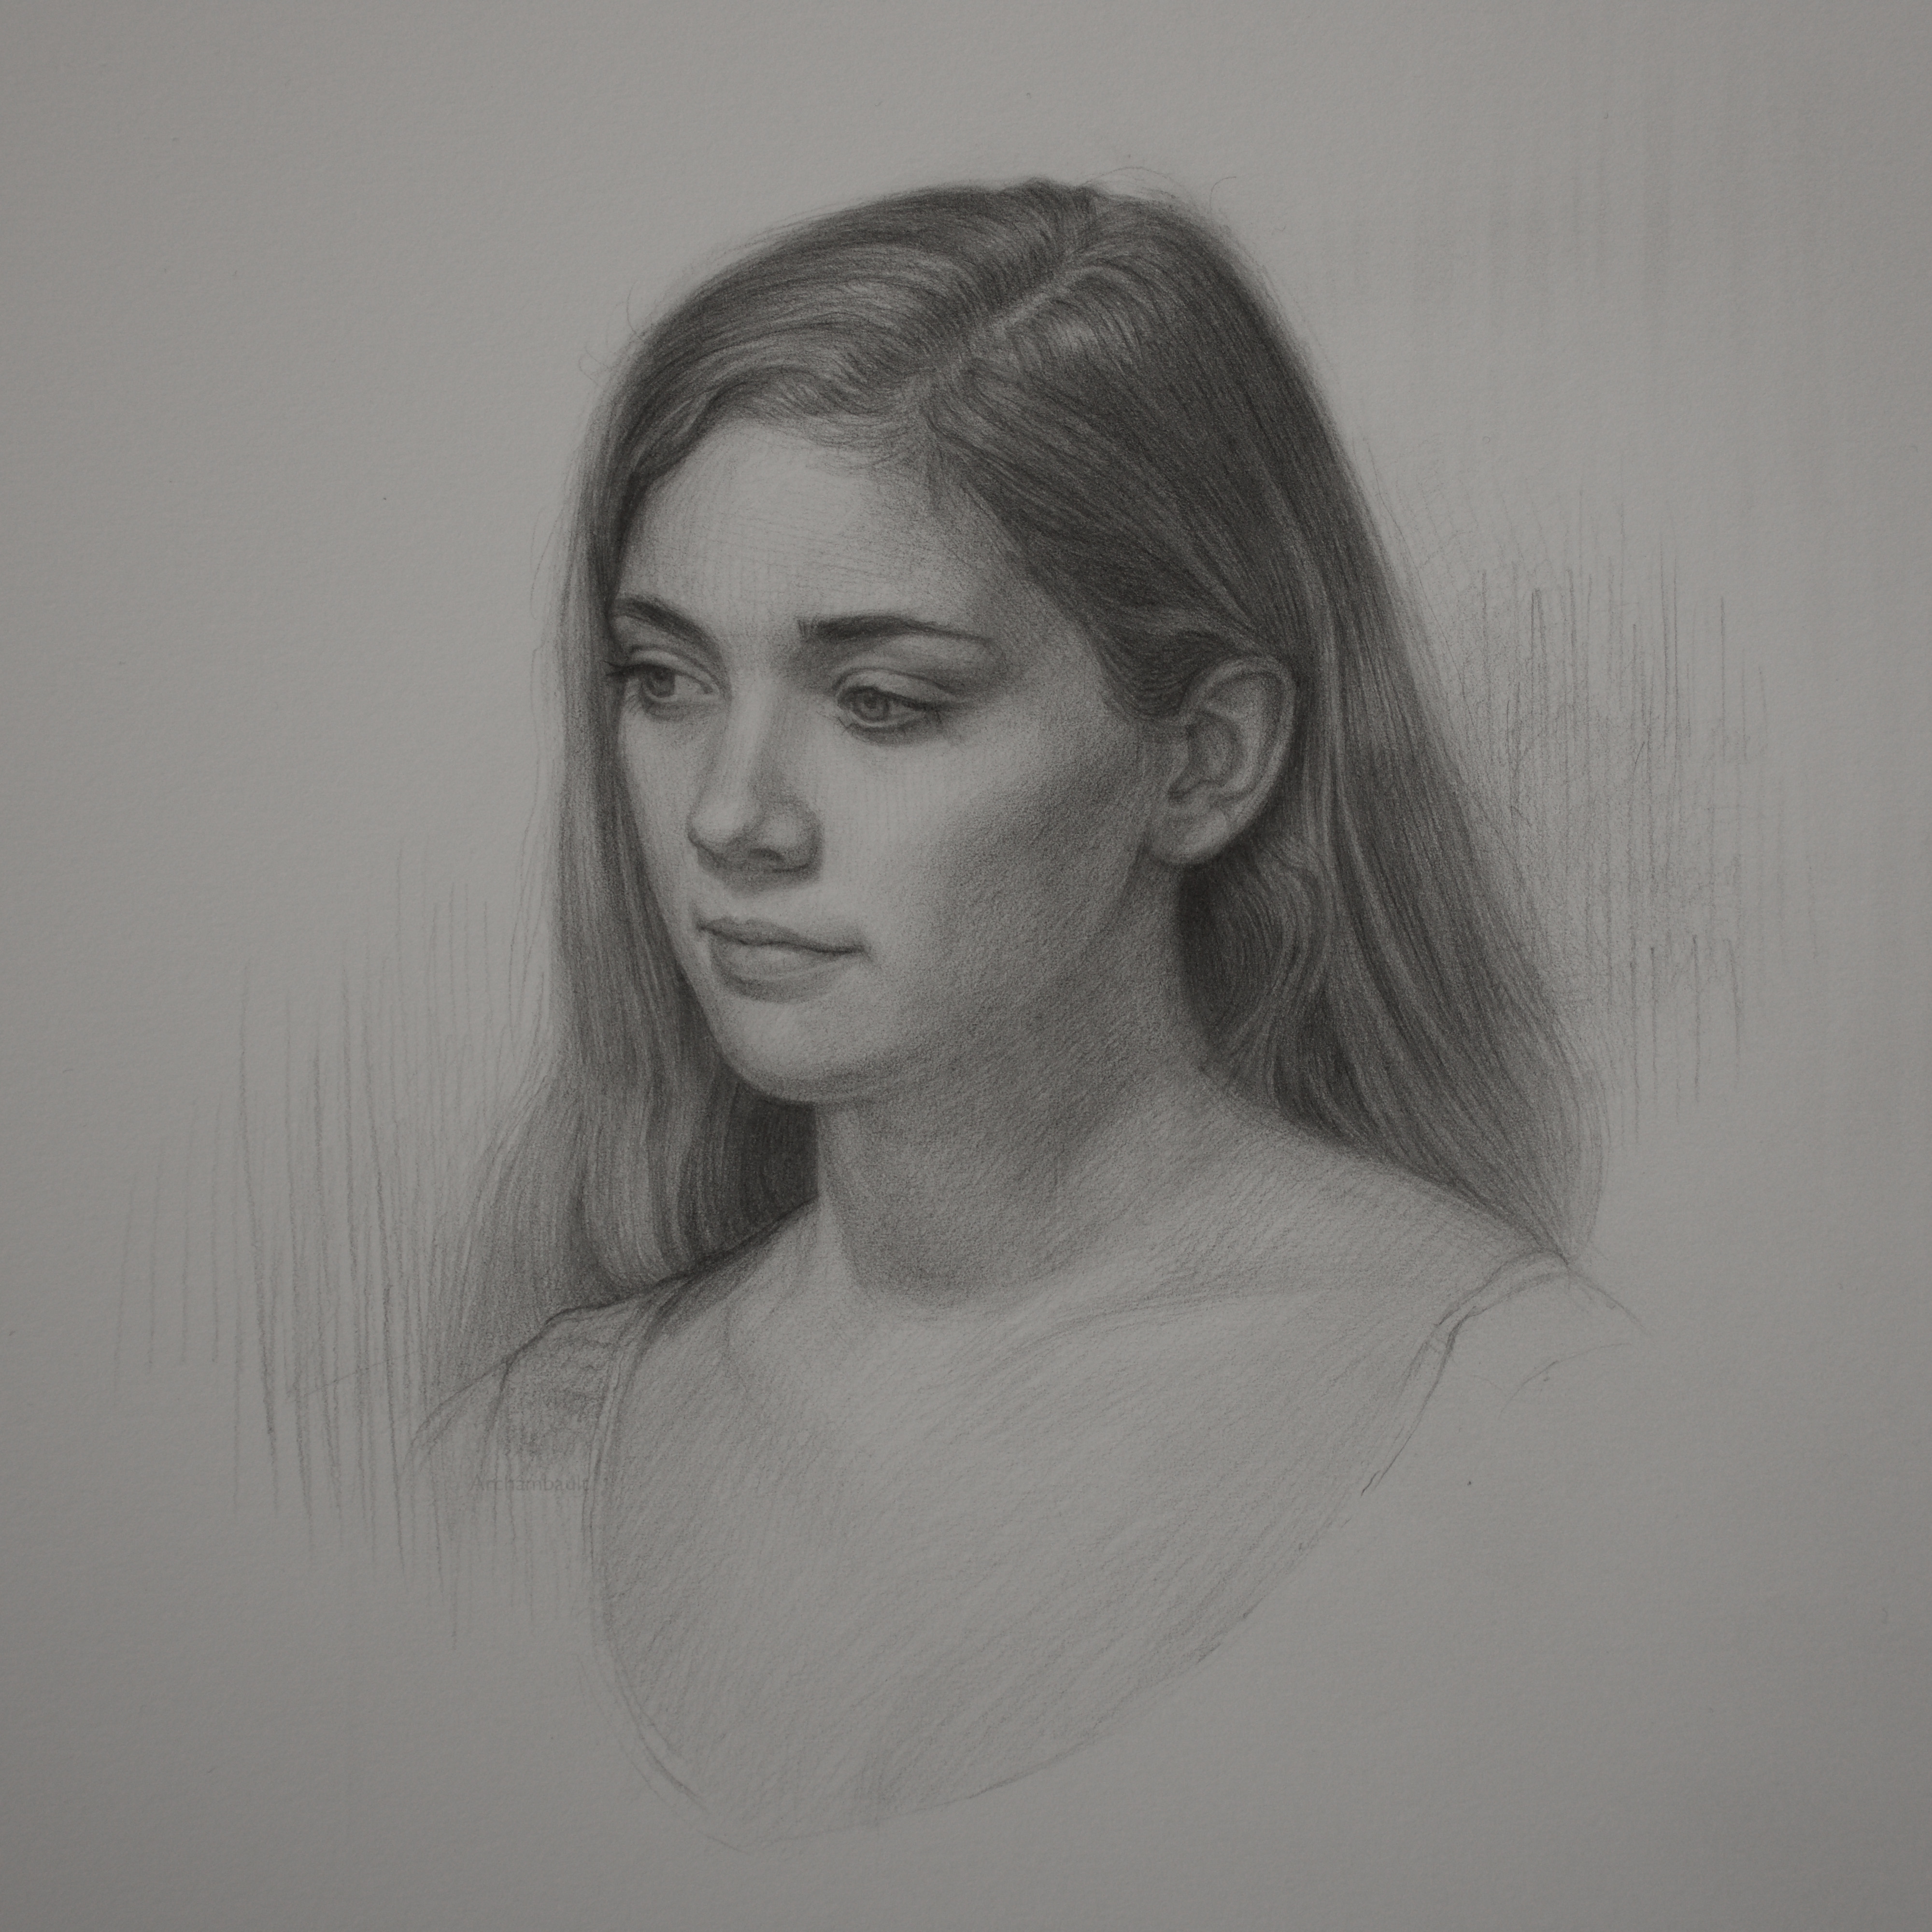
Thinking Technique – Drawing In Your Own Style
There is a time and a place to draw certain techniques physically on the paper. While other times you just will want to draw in your style. The key is to think about certain techniques as you are drawing in your style.
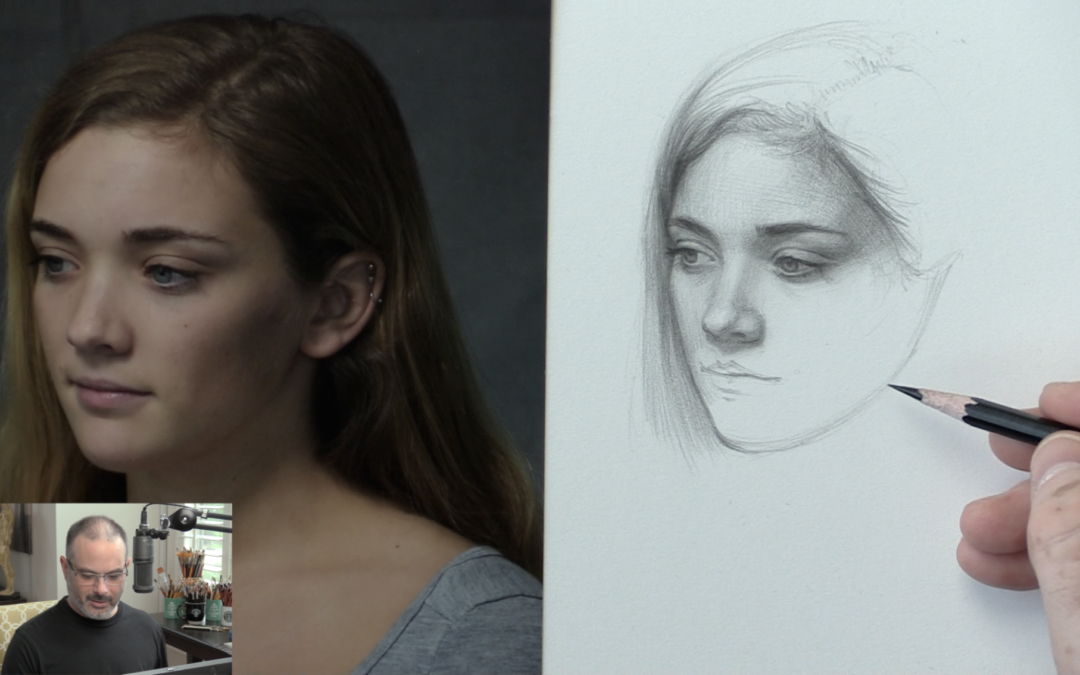
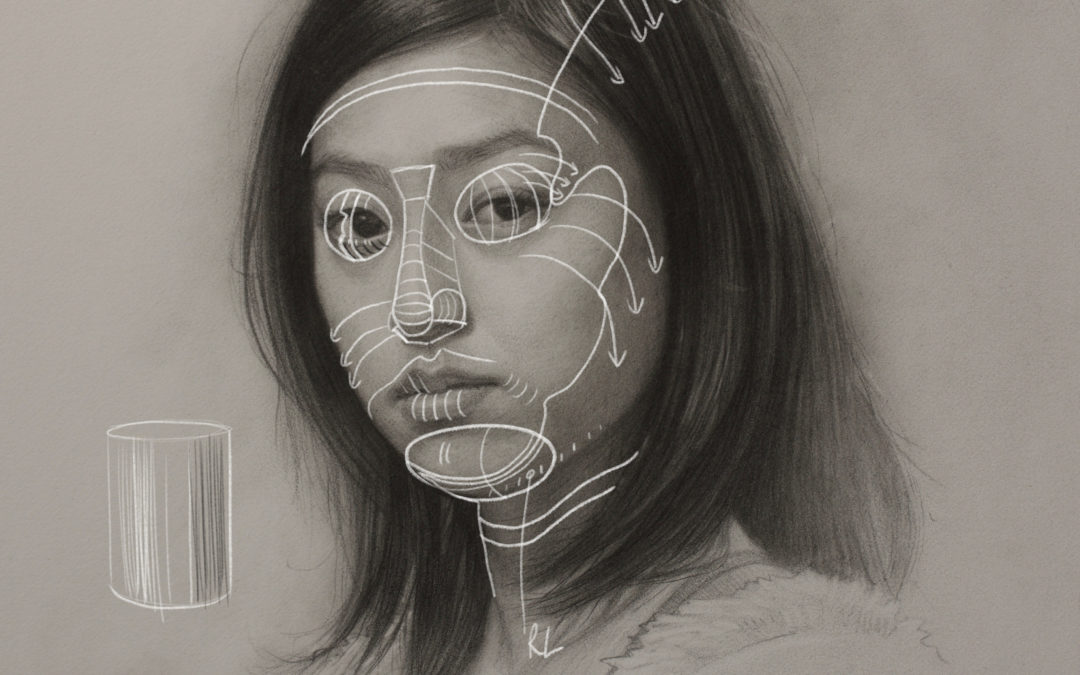
In terms of practice, I believe its a must to draw techniques in their purest form. I have my students do this in class. During the classes morning session, I have the students draw pure technique.
However, during the afternoon session, I have them develop their style of drawing. The point of this post is to get you thinking about the difference between style and technique.
If you just draw a portrait or the figure in traditional techniques, your drawing will not have their voice.
Make sure you practice both every week. Cultivate your style while practicing new techniques. This practice will serve you in the long run.
Thanks so much for taking the time to watch. Let me know your thoughts.