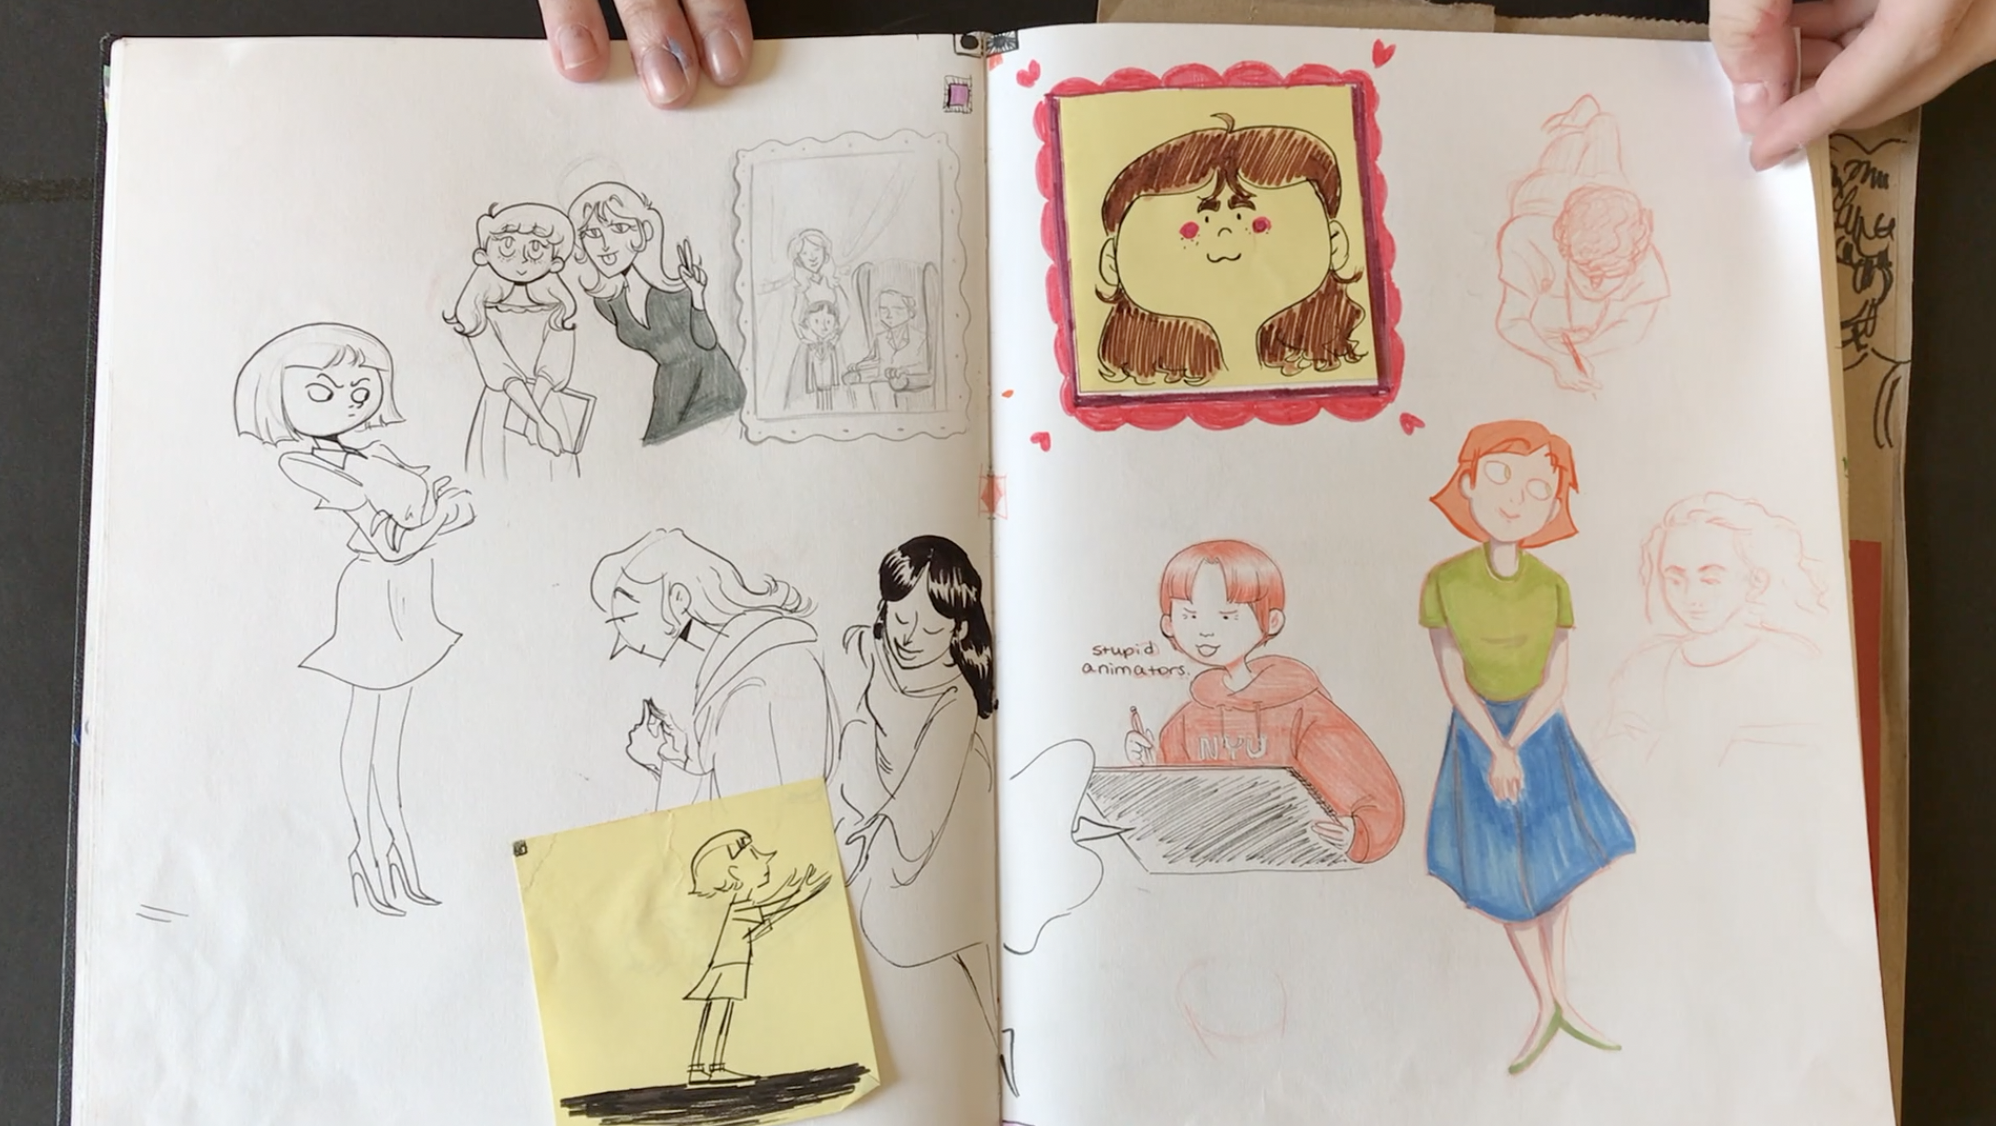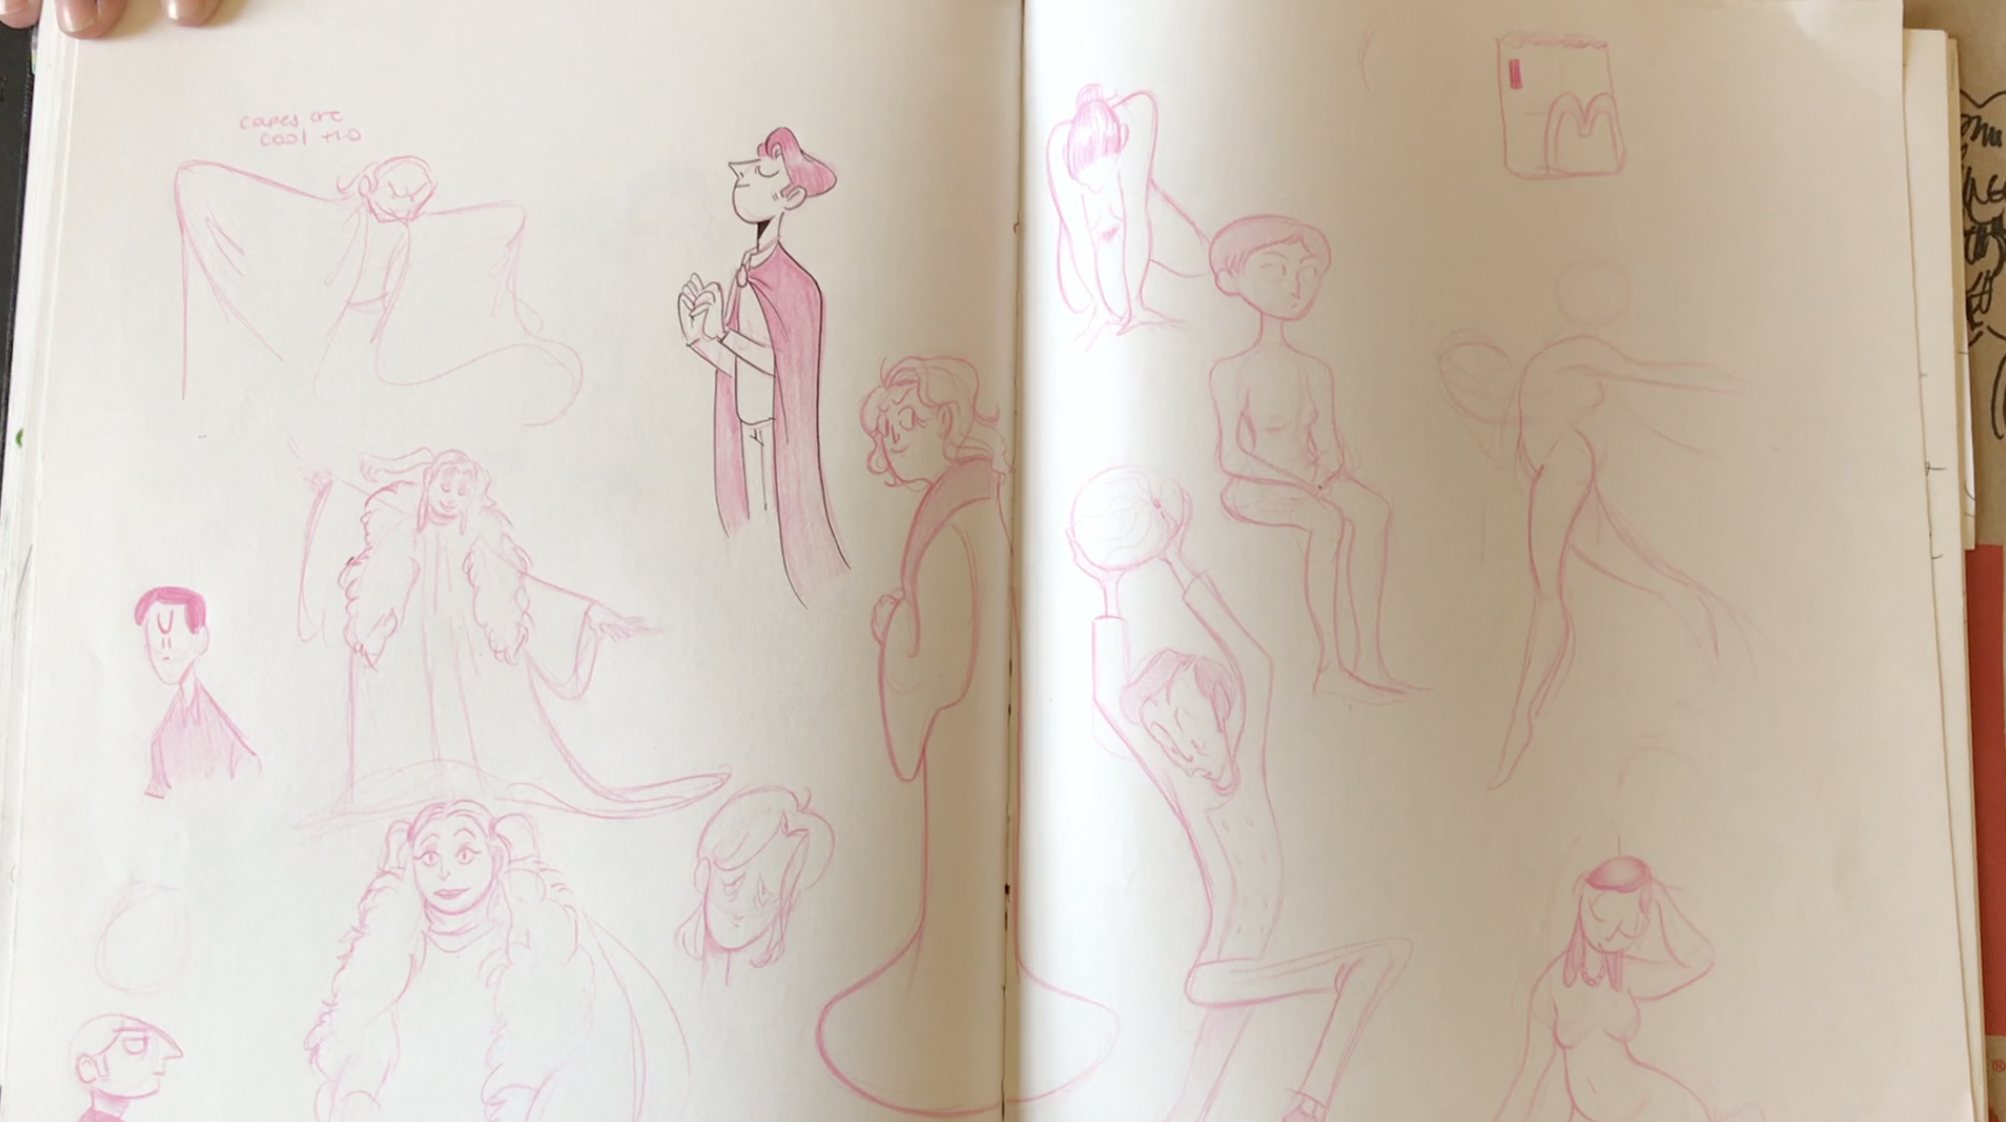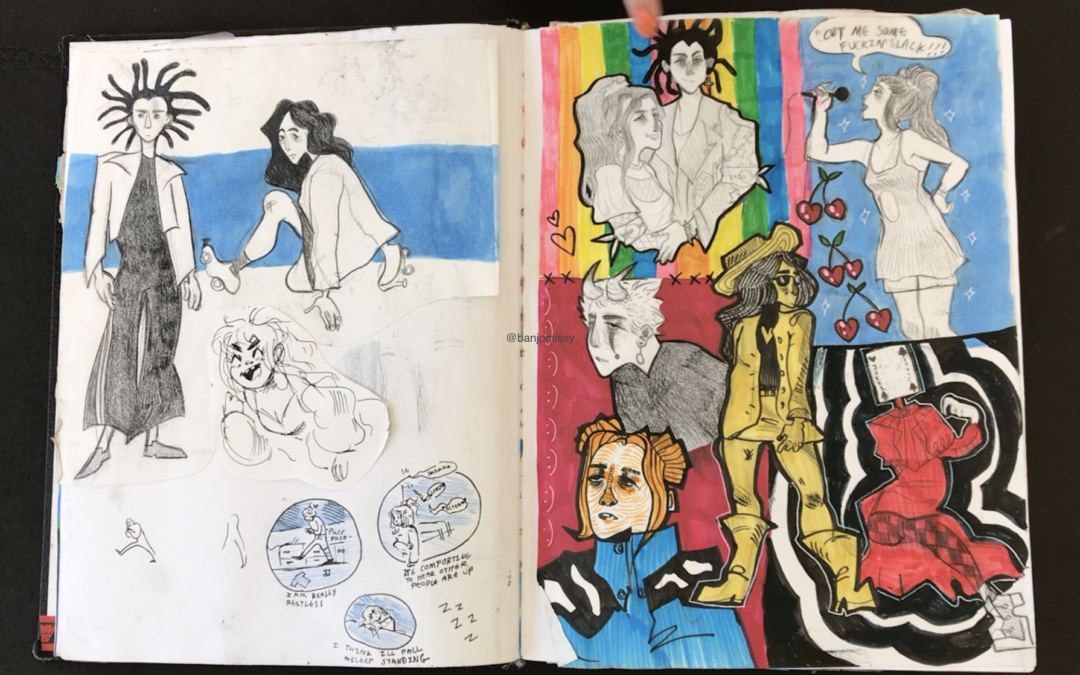
Delaney’s Sketchbook – Every Square Inch
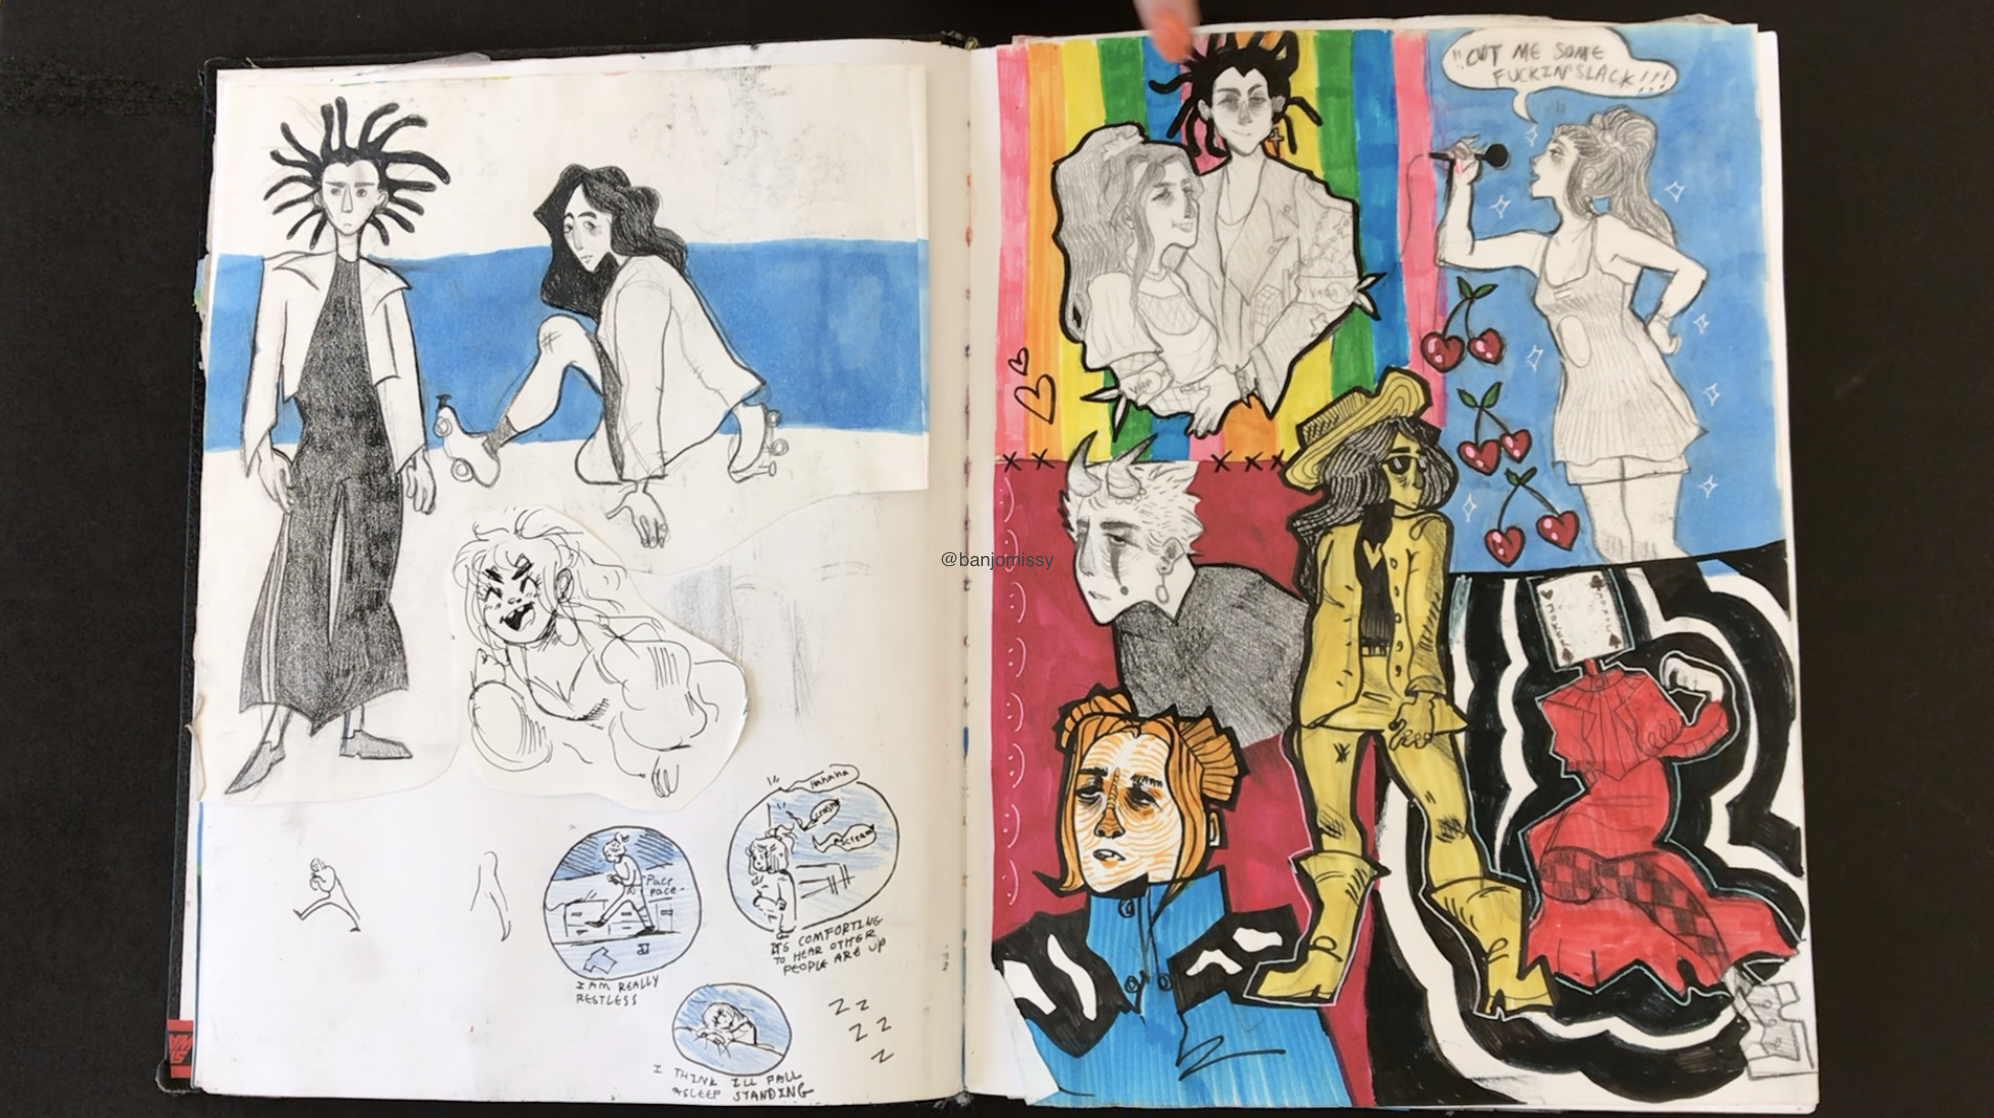
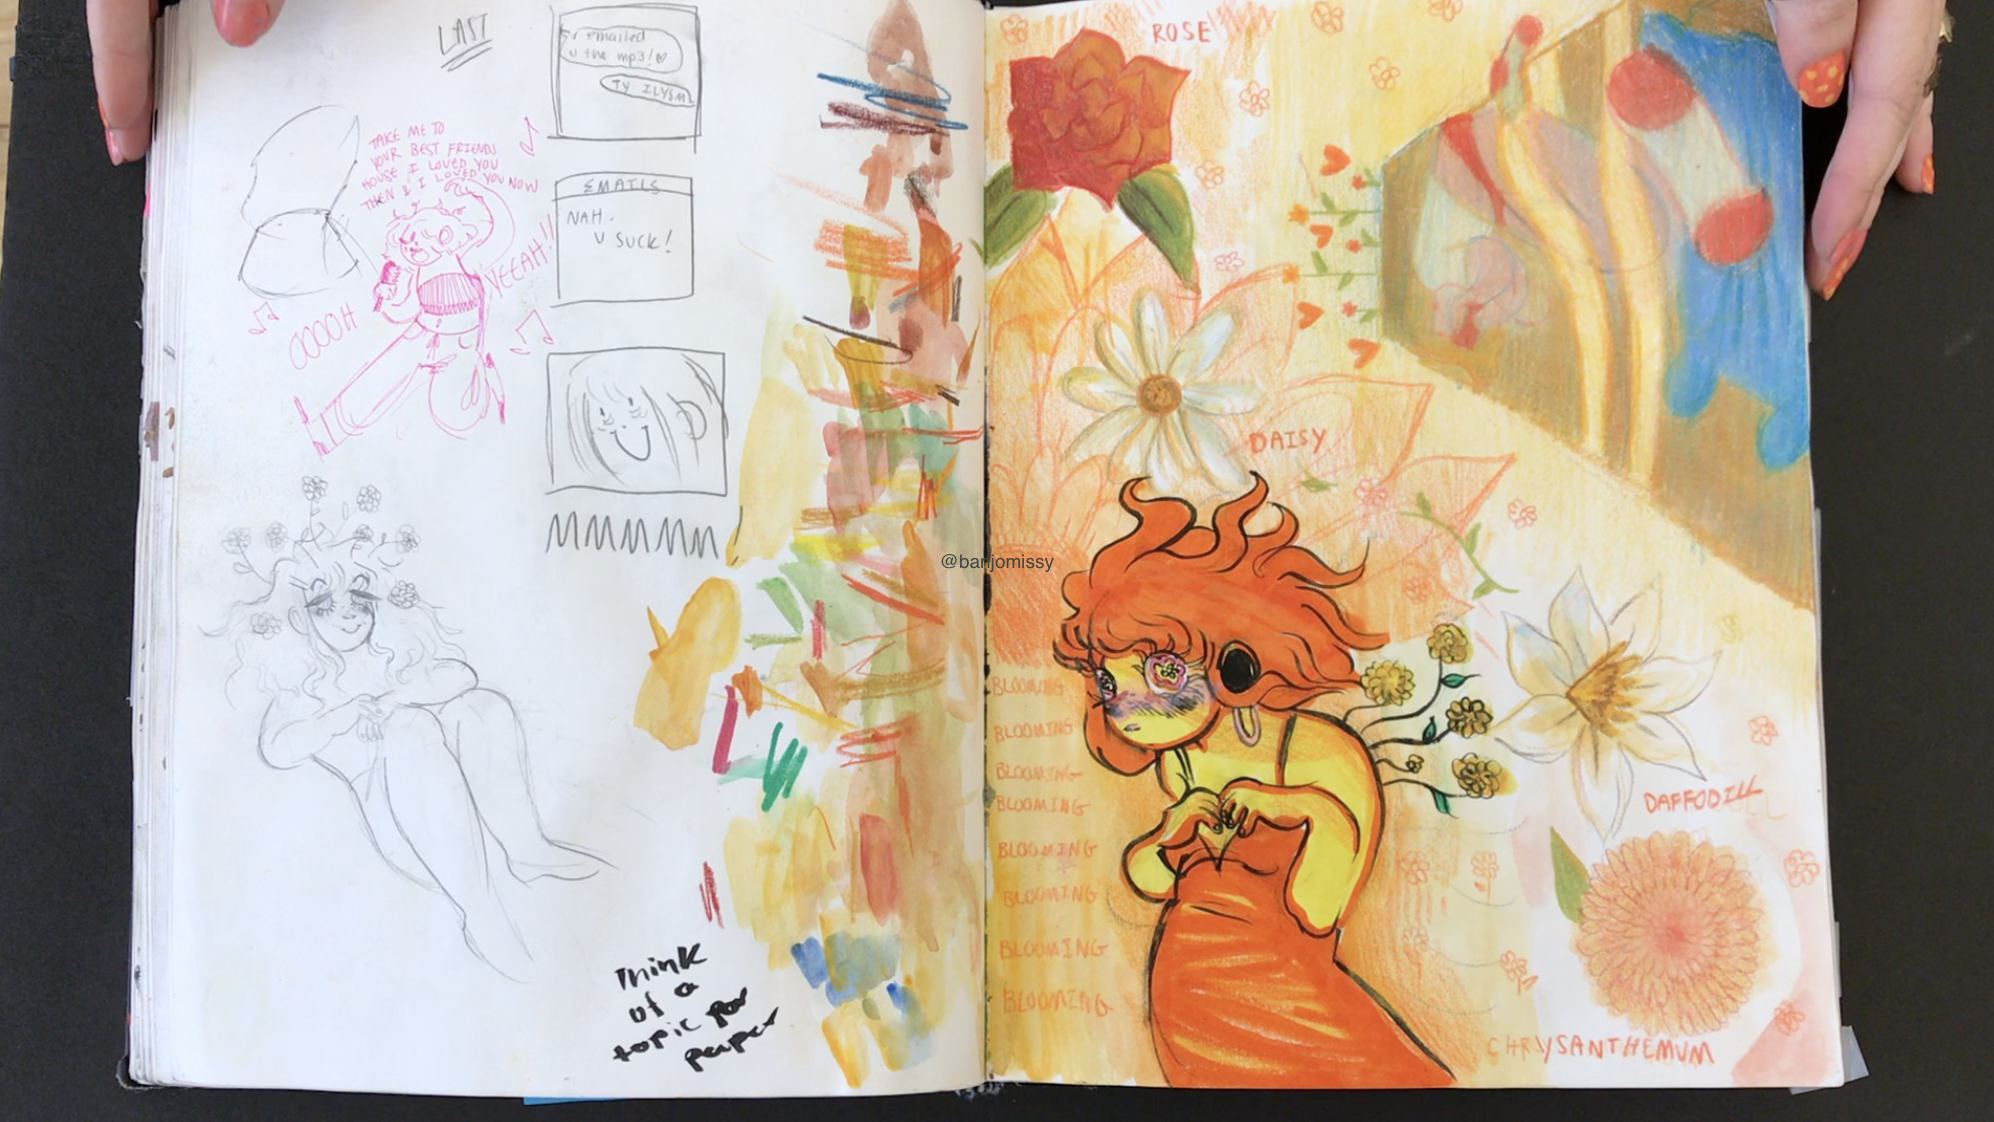
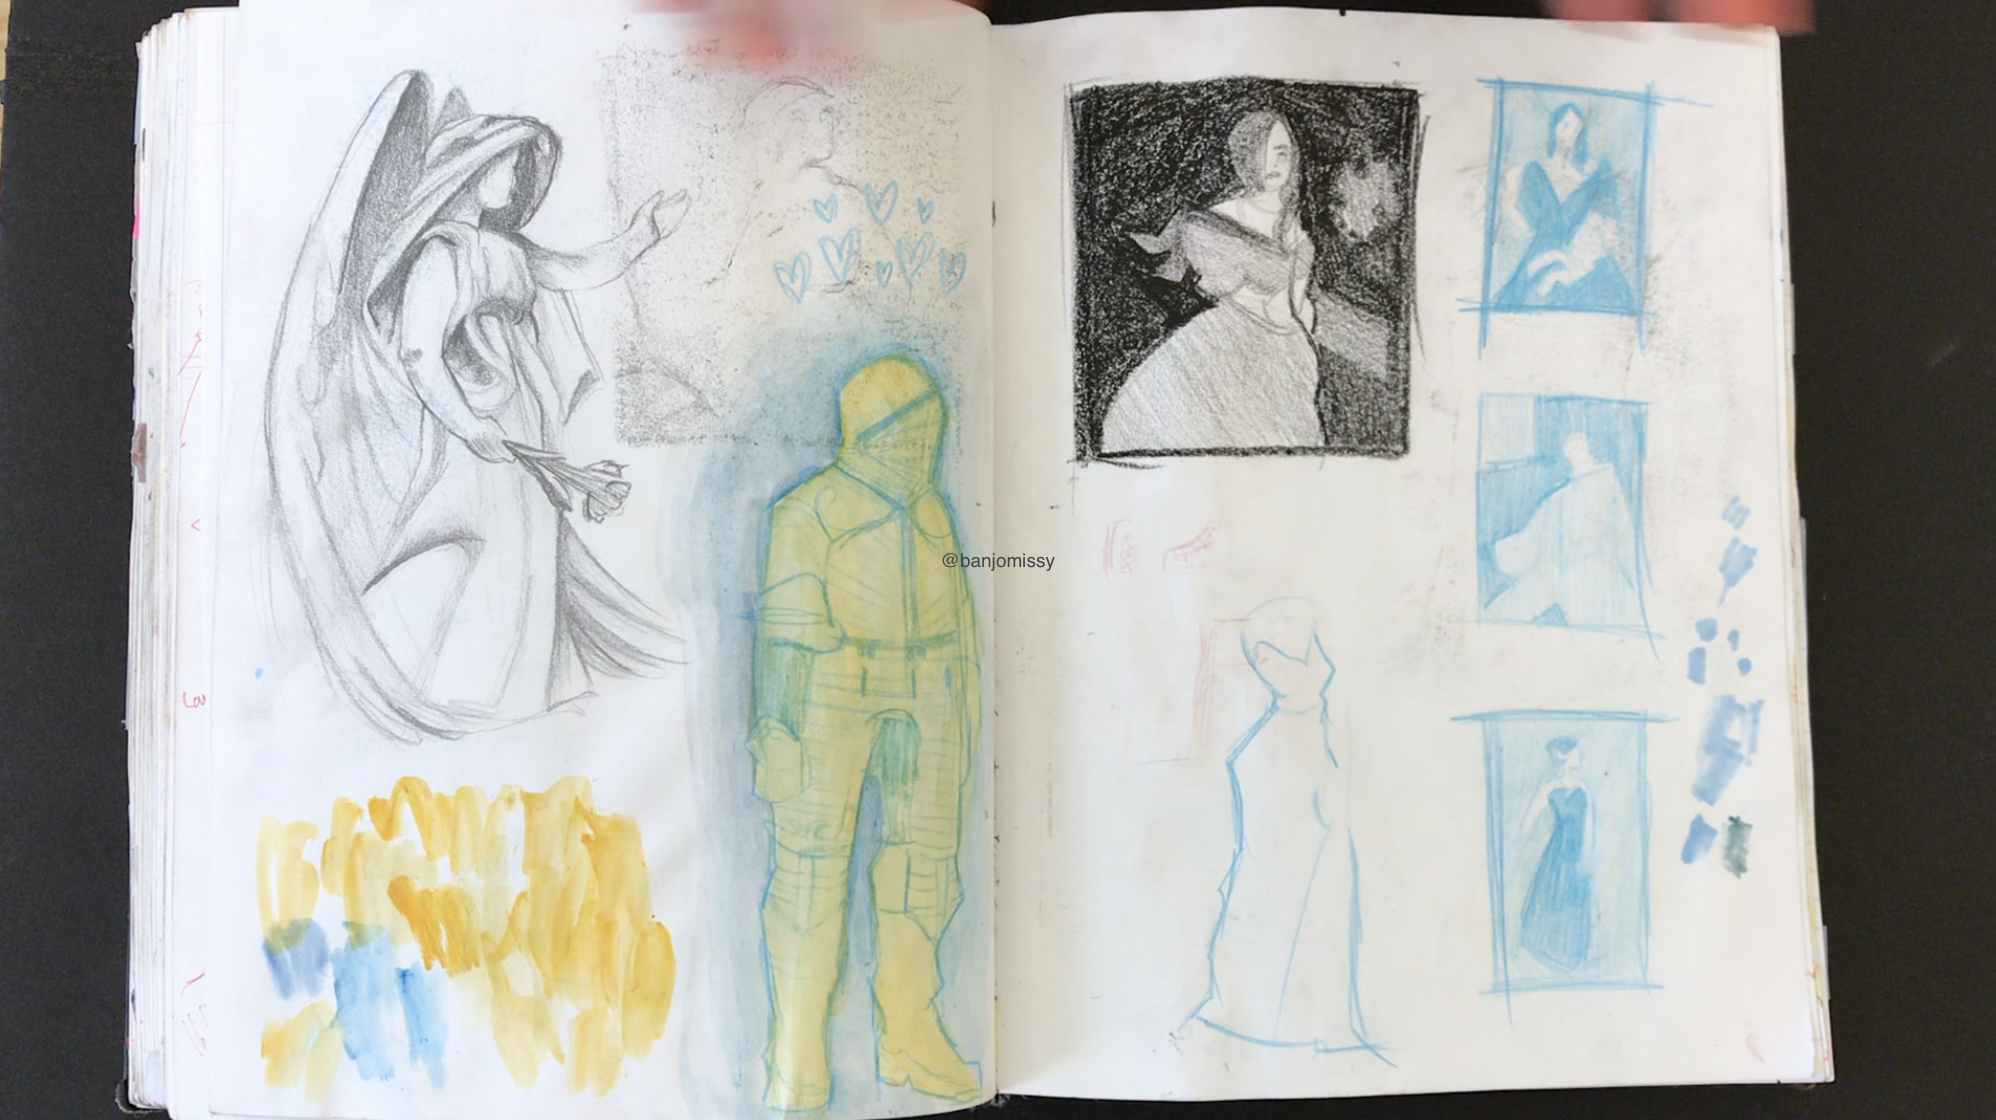
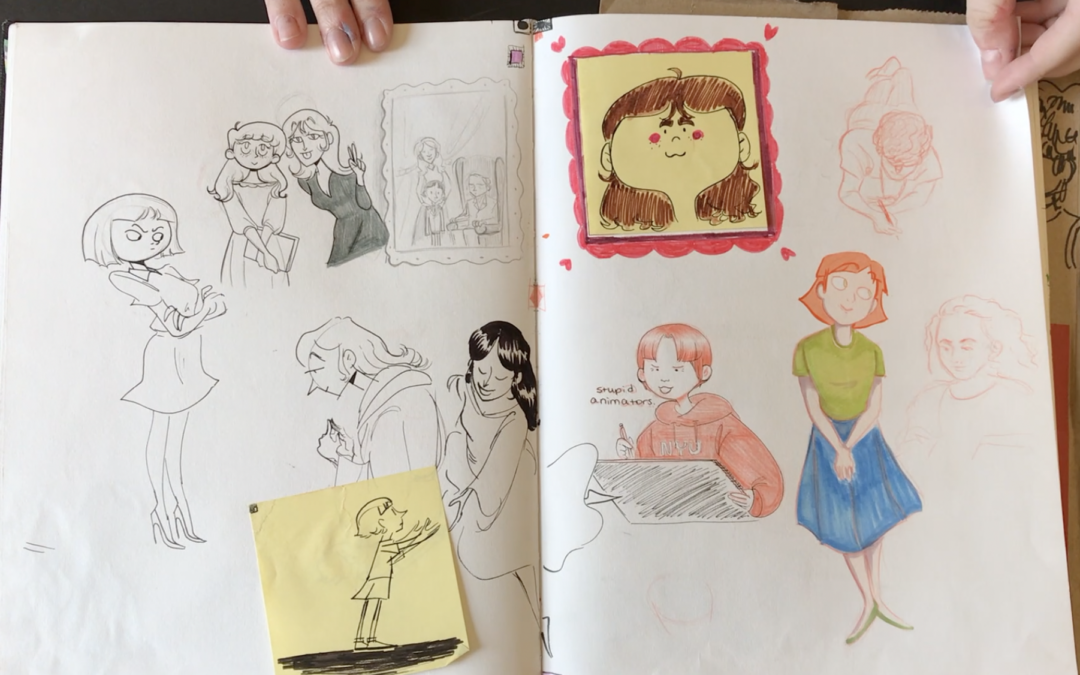
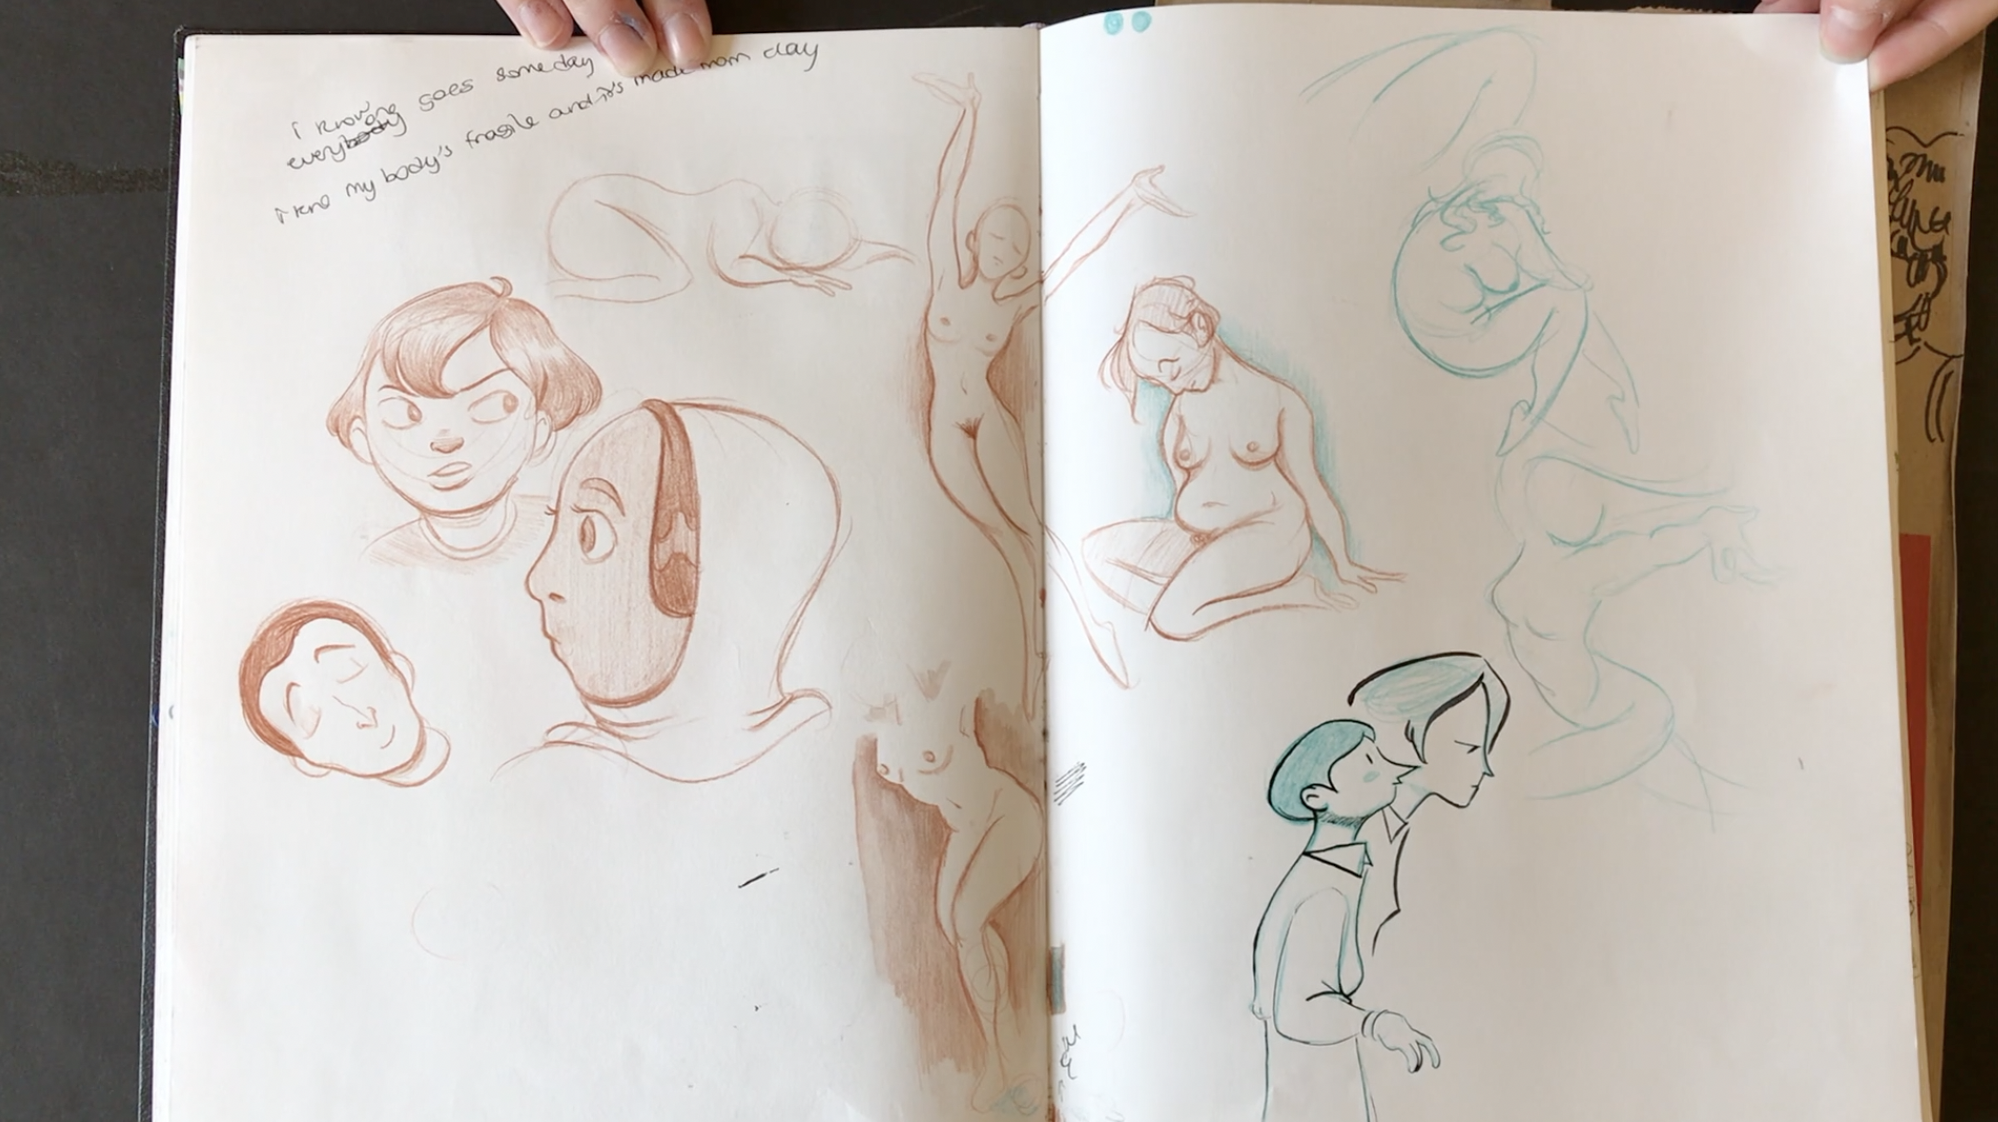
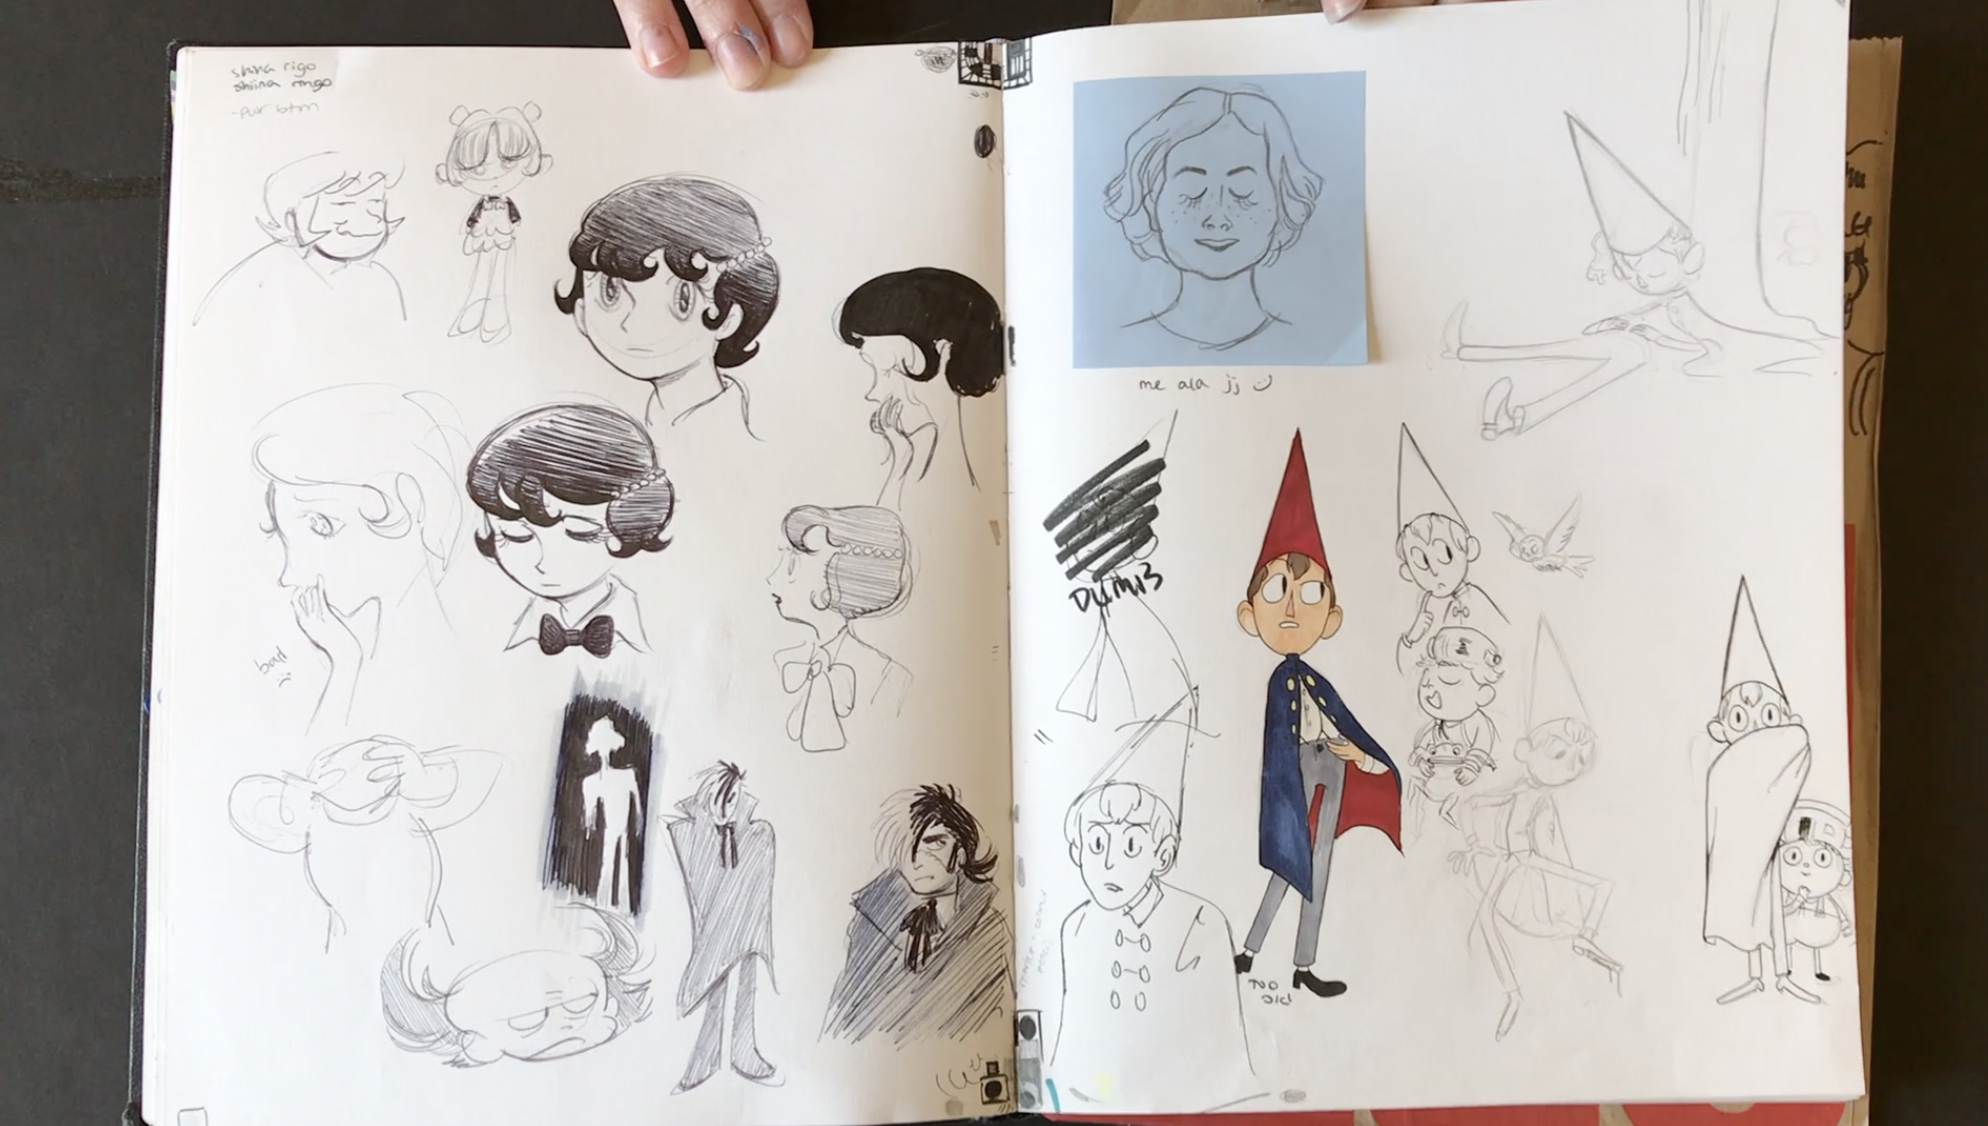
Wow, how time flies by. I remember back in September when Delaney’s class just started. I also remember seeing Delaney’s first sketchbook. I never saw anything like it. It was one big hot mess, it looked like it was dragged to school behind the School of Visual Arts bus.
Delaney is definitely different and she plays by her own rules. I love that about her. I love having students like Delaney in class who’s work is so dramatically different. It makes the classroom such an interesting place to learn and grow.
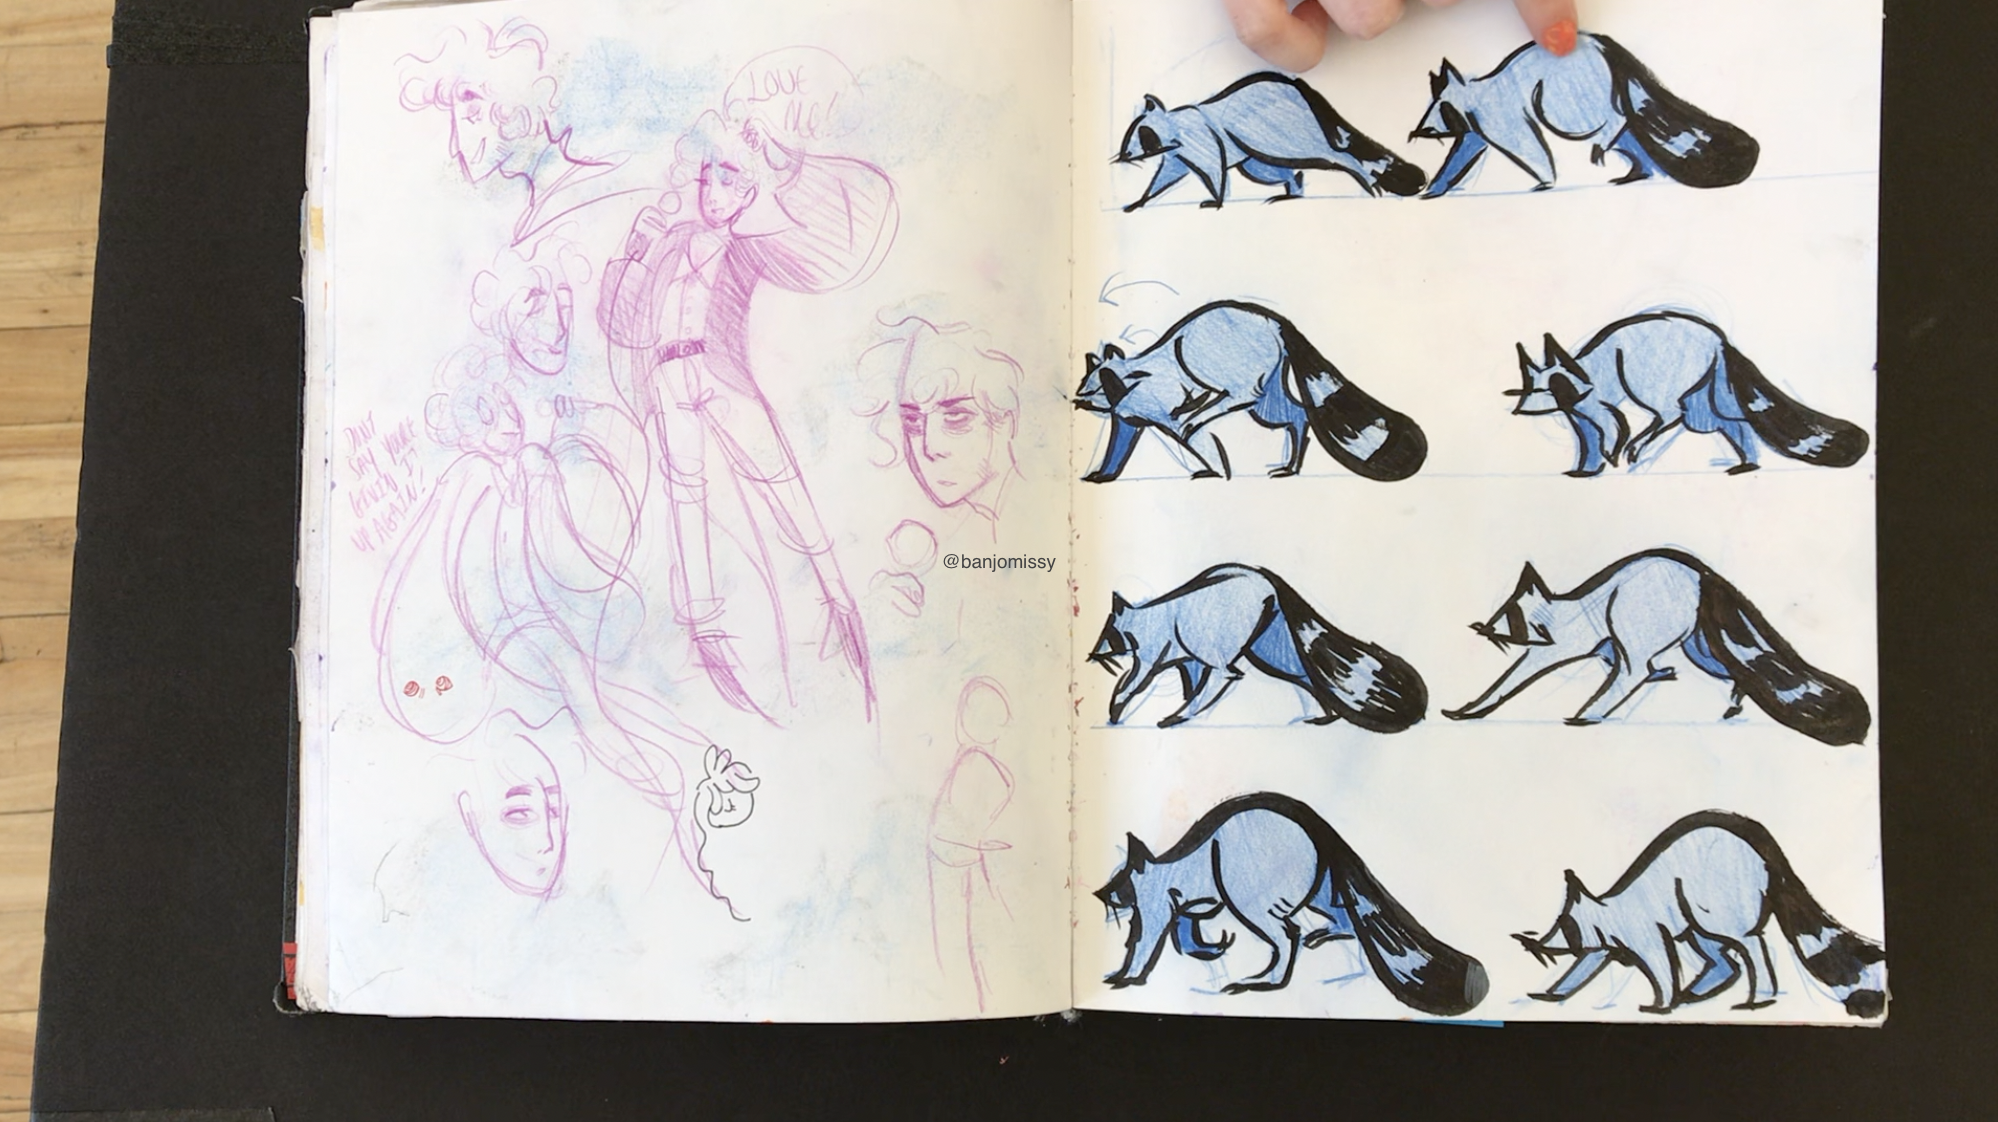
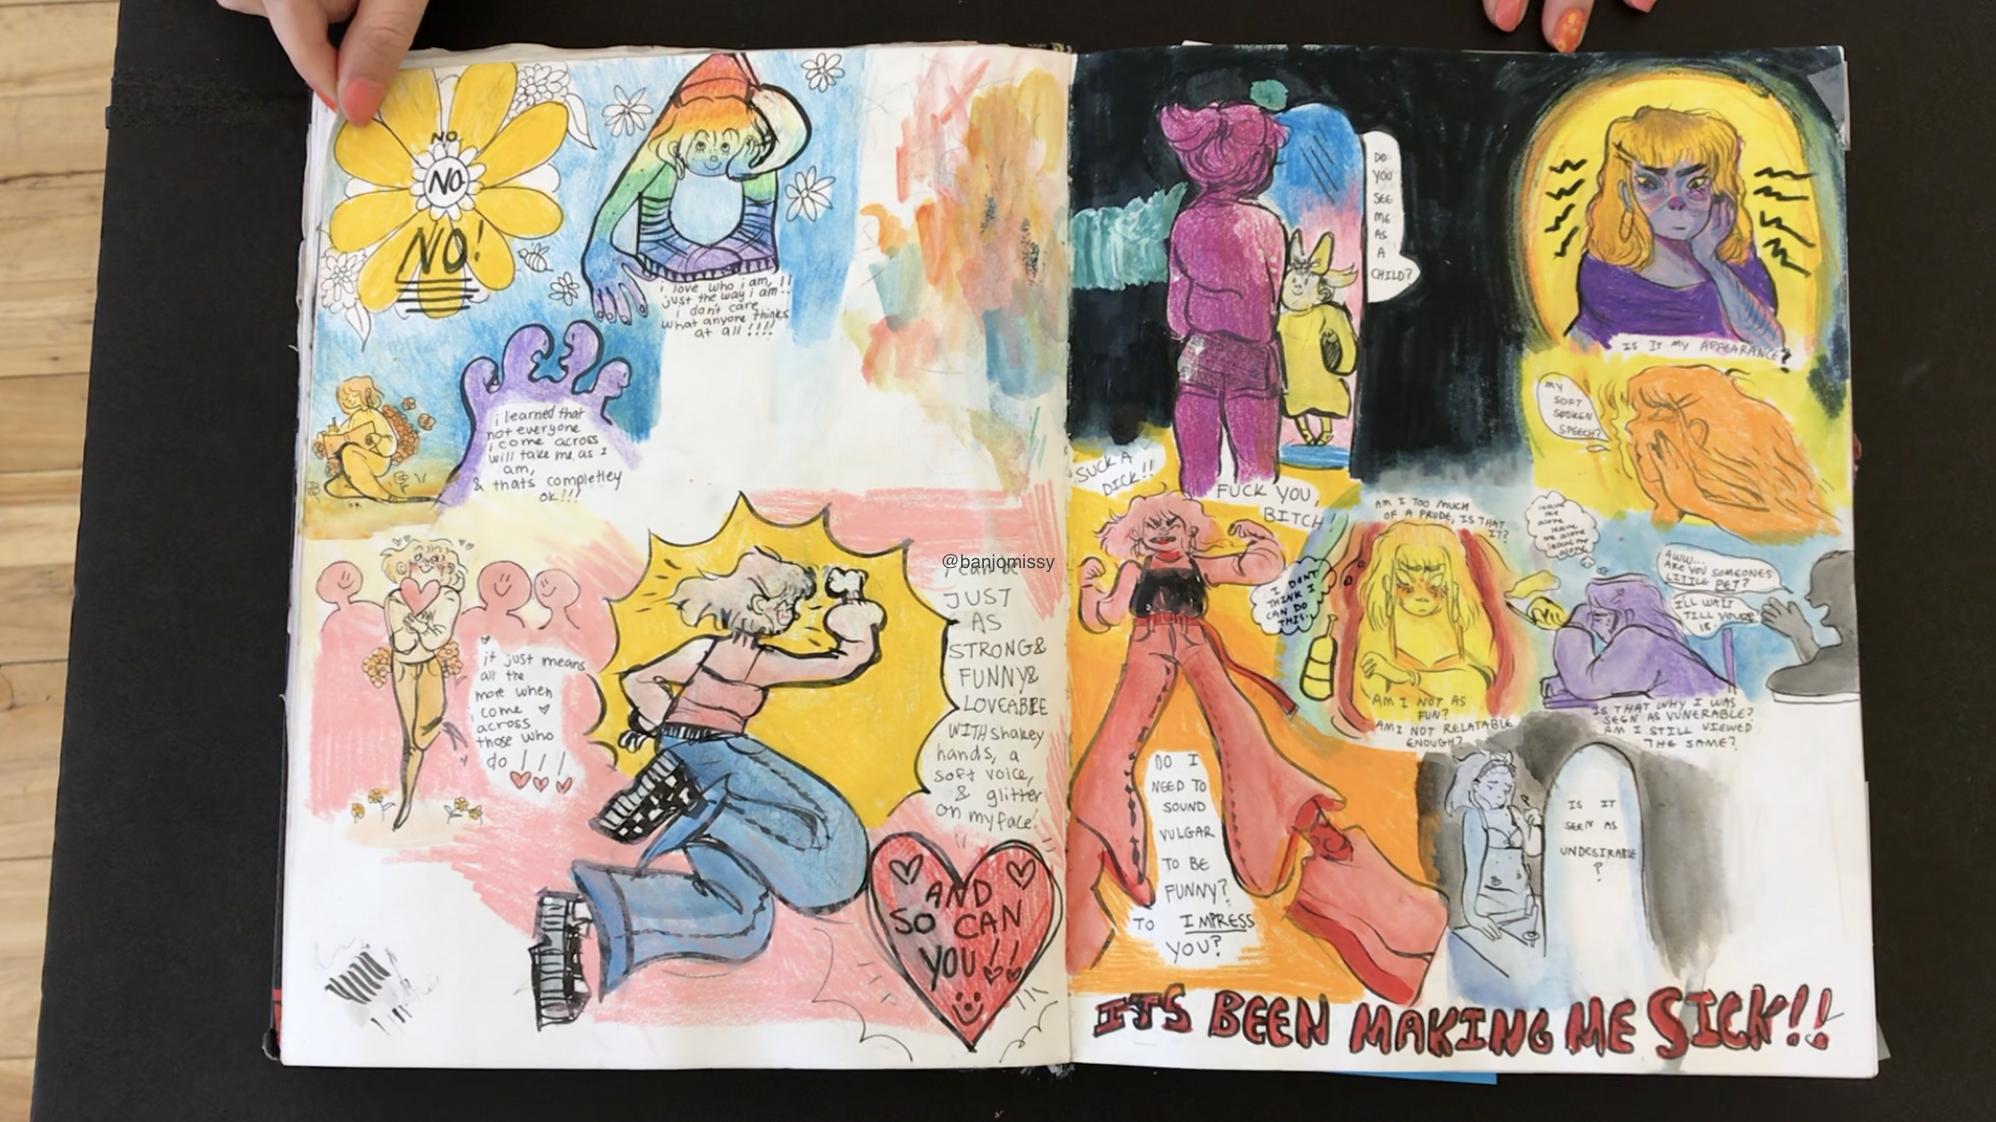
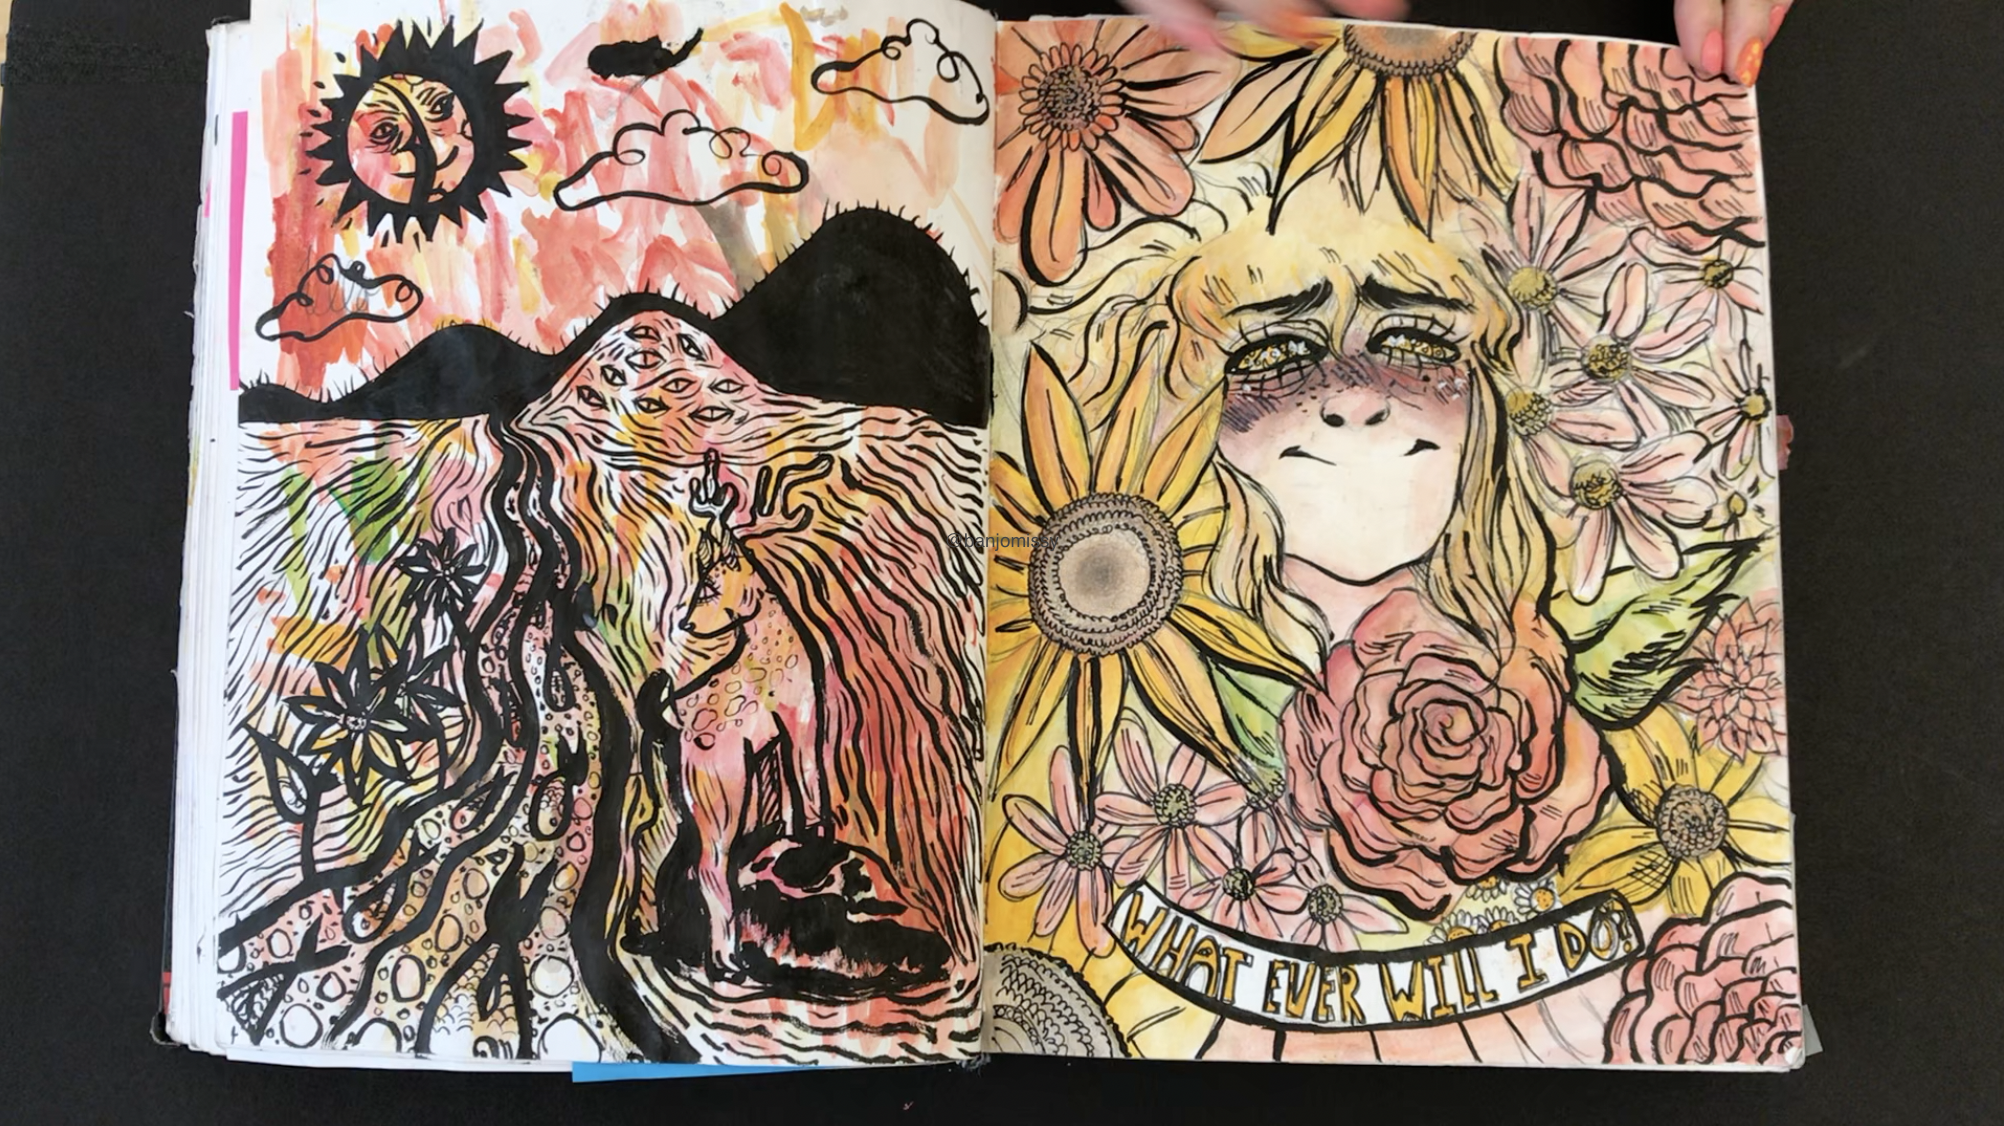
What I also like about Delaney is that she puts her heart and soul into each assignment in class. She tried every single traditional technique taught in class. She approached each traditional technique in her own style.
Even if you mainly love traditional realistic type drawings you have got to love Delaney’s passion. Every single square inch of her sketchbook is filled to the brim.
Check out her sketchbook, I trust you will definitely get inspired to start drawing today.