How To Draw The Figure In Ten Minutes

How To Draw The Figure In Ten Minutes

Well, here we are in this strange situation, Covid-19. I have basically turned off the news and have resorted to watching Tiger something on Netflix.

I have been super busy with this whole live class thing. Primarily teaching my college classes on Zoom. I have also been teaching live classes to members of DTO every Saturday.

Come mid to late April I will be teaching live classes to non-members of Drawing Tutorials Online. I’ve been working out the kinks in recording on Zoom. The quality is not great.

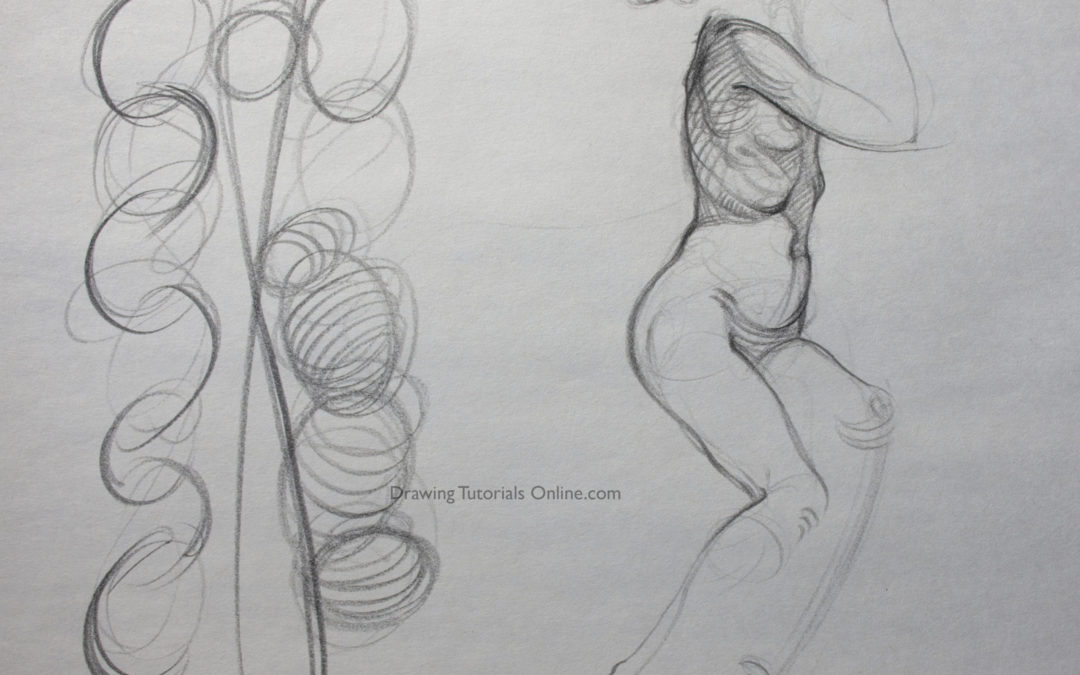
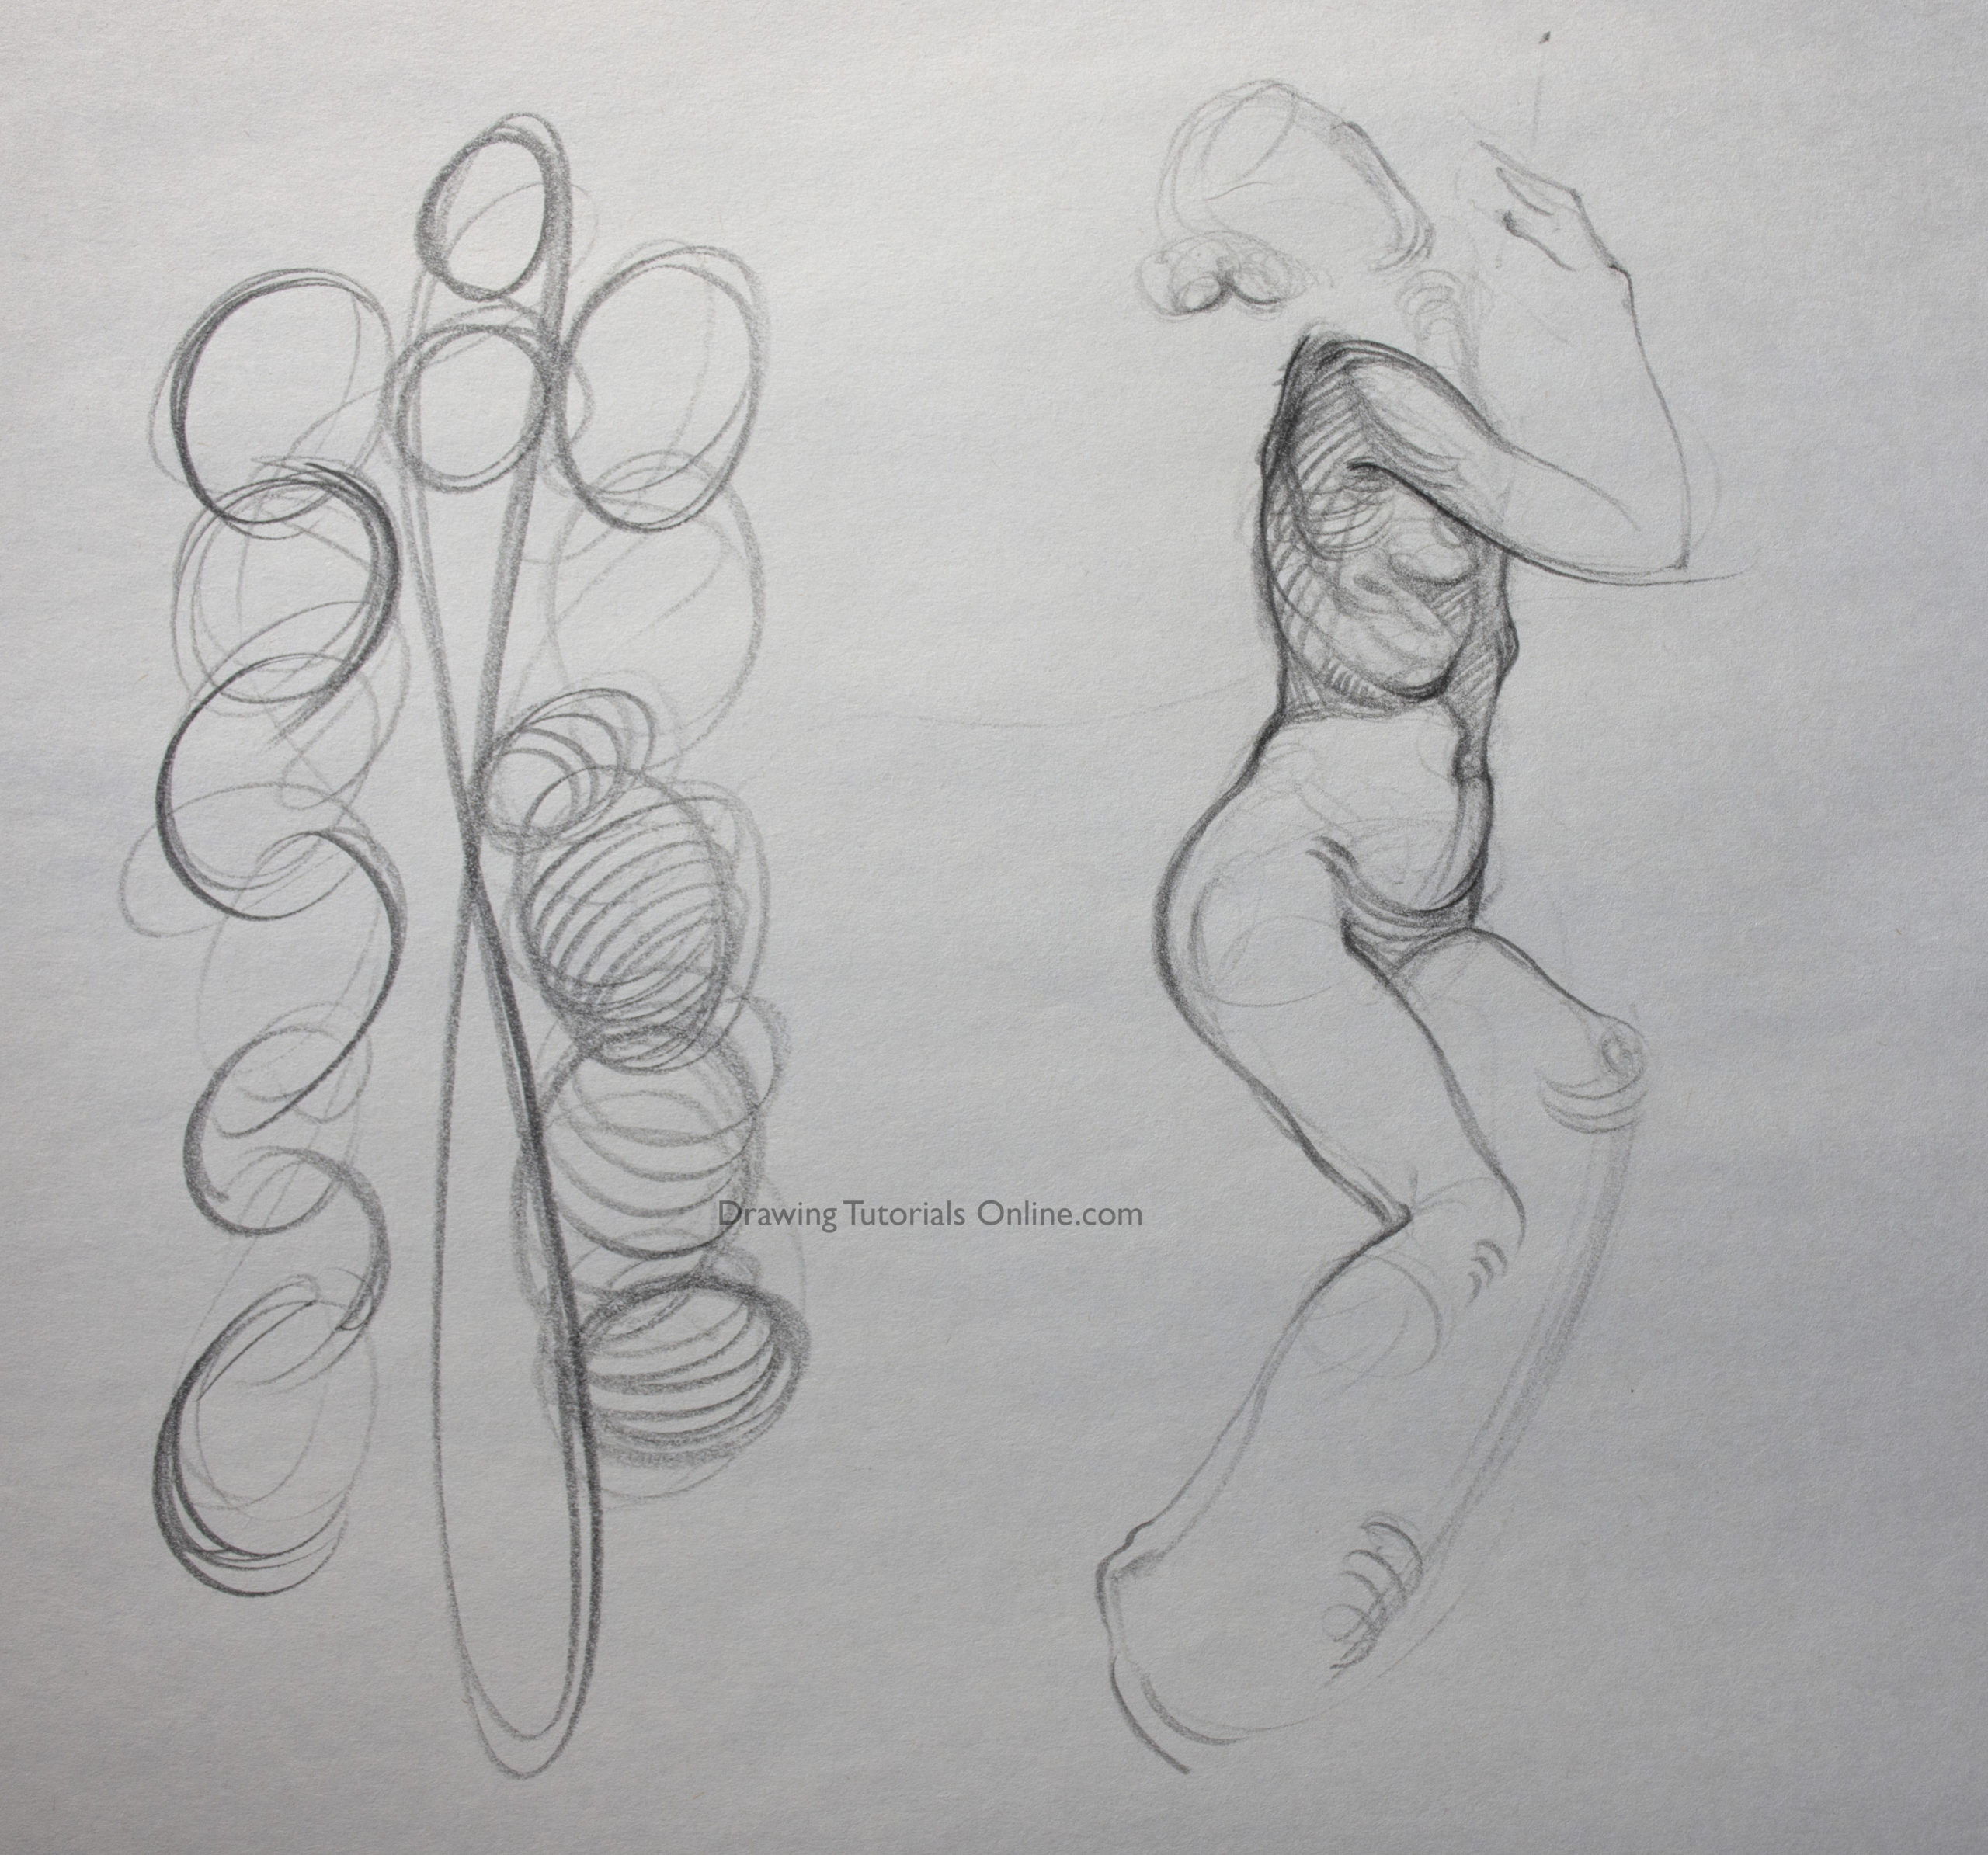
In the meantime I wanted to share with you this gesture drawing. I think you will most certainly get something out of watching this short figure drawing tutorial.

Please let me know if you have any questions about my technique.


Thank you so much for taking time to stop by and visit. Stay safe.


Mixed Media Figure Drawing

Mixed Media Figure Drawing

I recently uploaded a brand new course to the member’s area over at Drawing Tutorials Online. This course focuses on drawing the figure using diverse mixed media.

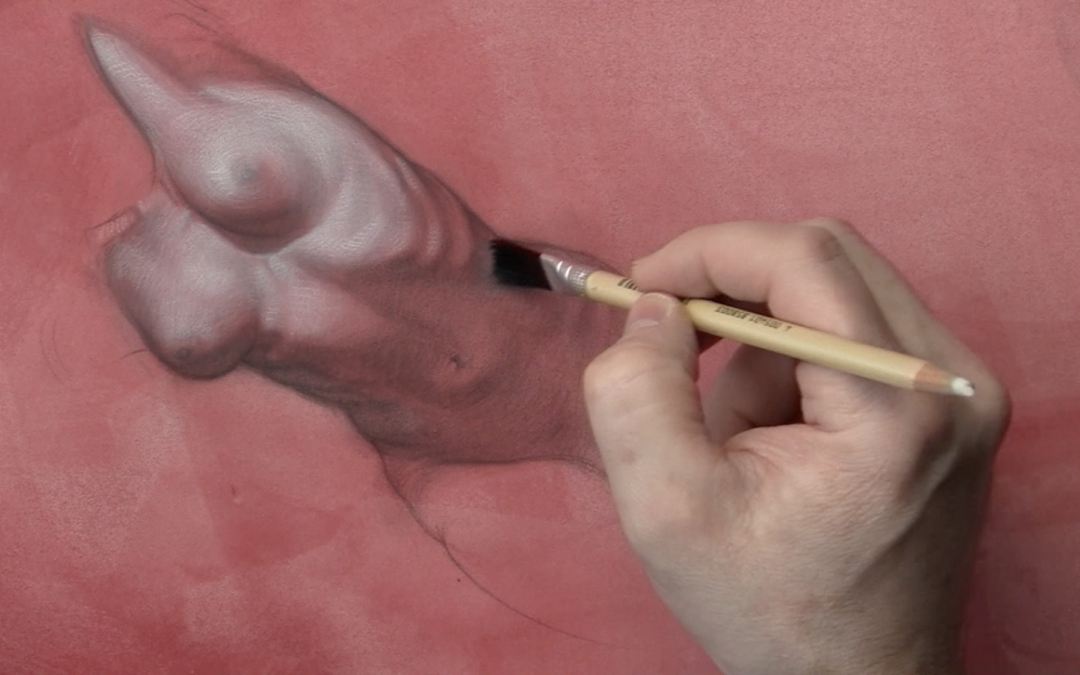
To start with I went old school and used my favorite Strathmore illustration board. I then painted the board using simple acrylic paint. Fifty percent water, fifty percent paint.

I then just started to draw on the board using my favorite black Prismacolor Col-Erase pencil. As I progressed I started to apply the white charcoal to the light area of the torso only. The concept is taken from oil painting, keep your light’s a bit more opaque and your shadows a bit more translucent.

As I started to build up the white charcoal pencil gradually, I then proceed to blend the white charcoal with a bristle brush. Using light pressure to soften all of the edges. Needless to say, this drawing technique is super fun.

The key is to be patient and work in layers. I also incorporated a blending stump in a minimal way. Too much blending stump can work against you making everything too soft.

I encourage you to sign up to see this course in its entirety. I am offering it as a free course with a downloadable PDF that explains my materials in much more detail than this blog post. You can sign up right below.


Don’t forget to sign up for my free course right below. Drawing the figure in a mixed media sort of way could be something new for you to explore.


Complicating Your Edge Line

Complicating Your Edge Line

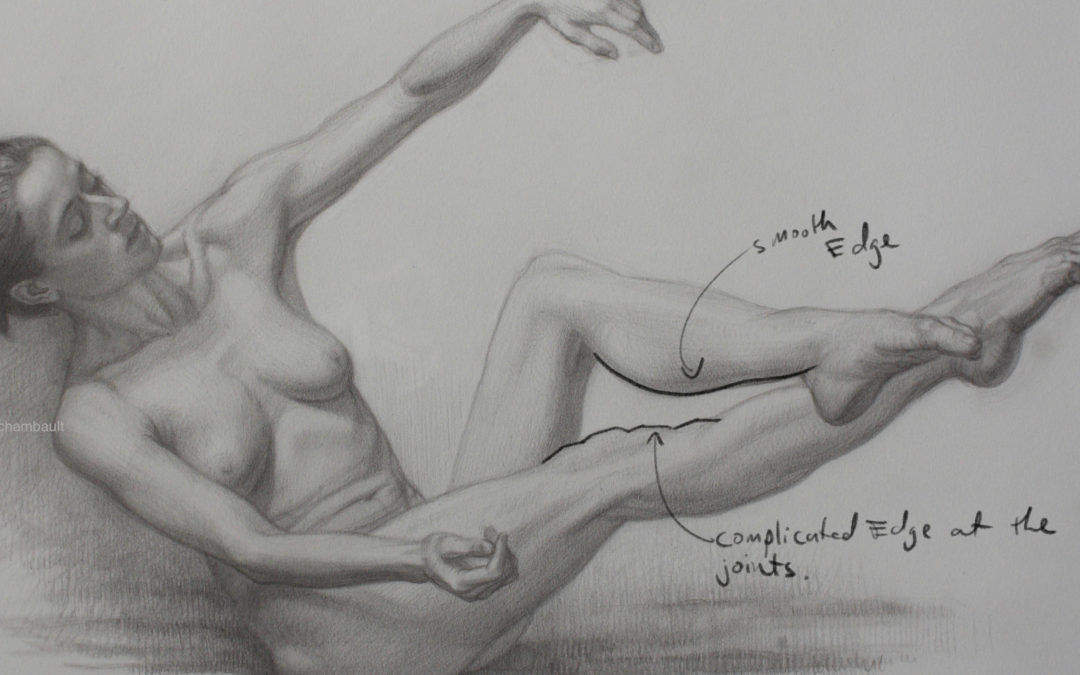
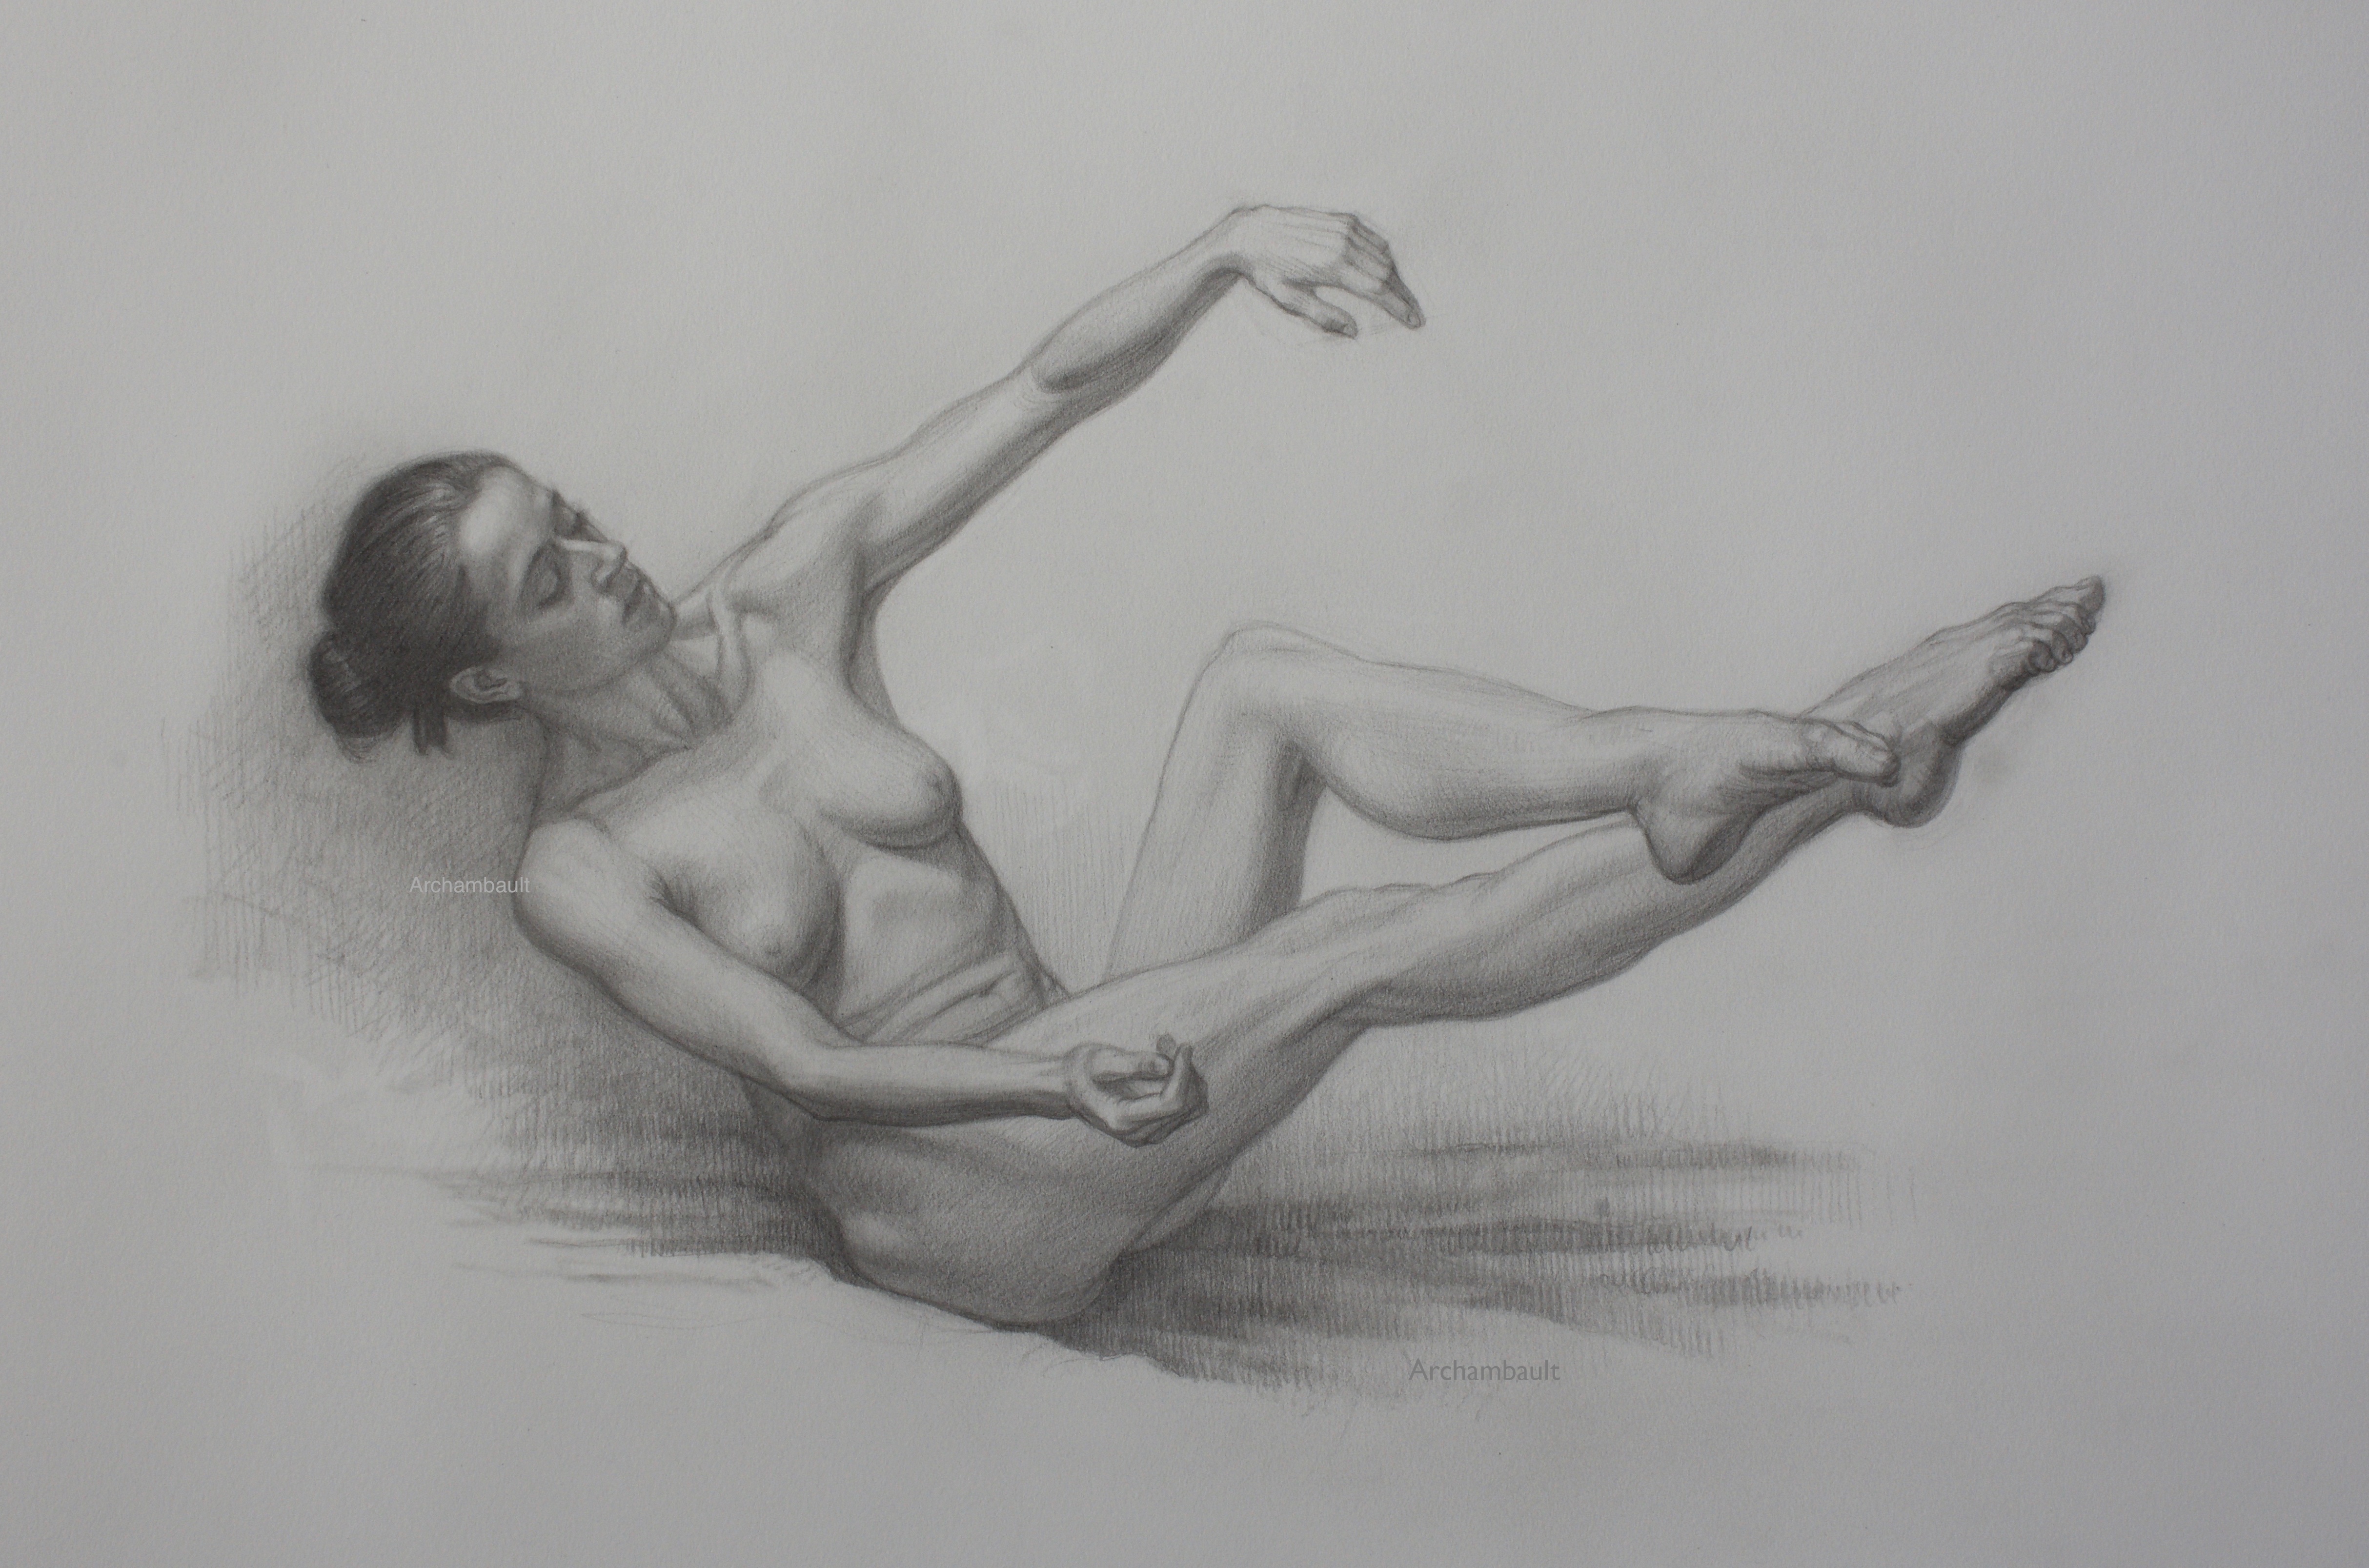
Have you ever wondered why your figure drawings look stiff? Perhaps they look too stylized for your liking. The antidote to stiffness is eliminating all straight lines.

Straight lines on the edge of your figure drawings without a doubt create a stiff look and feel. No doubtably there are no straight lines on an organic figure. Now if you are in a life drawing class sitting fifteen feet away the model, all of the edges will look straight.

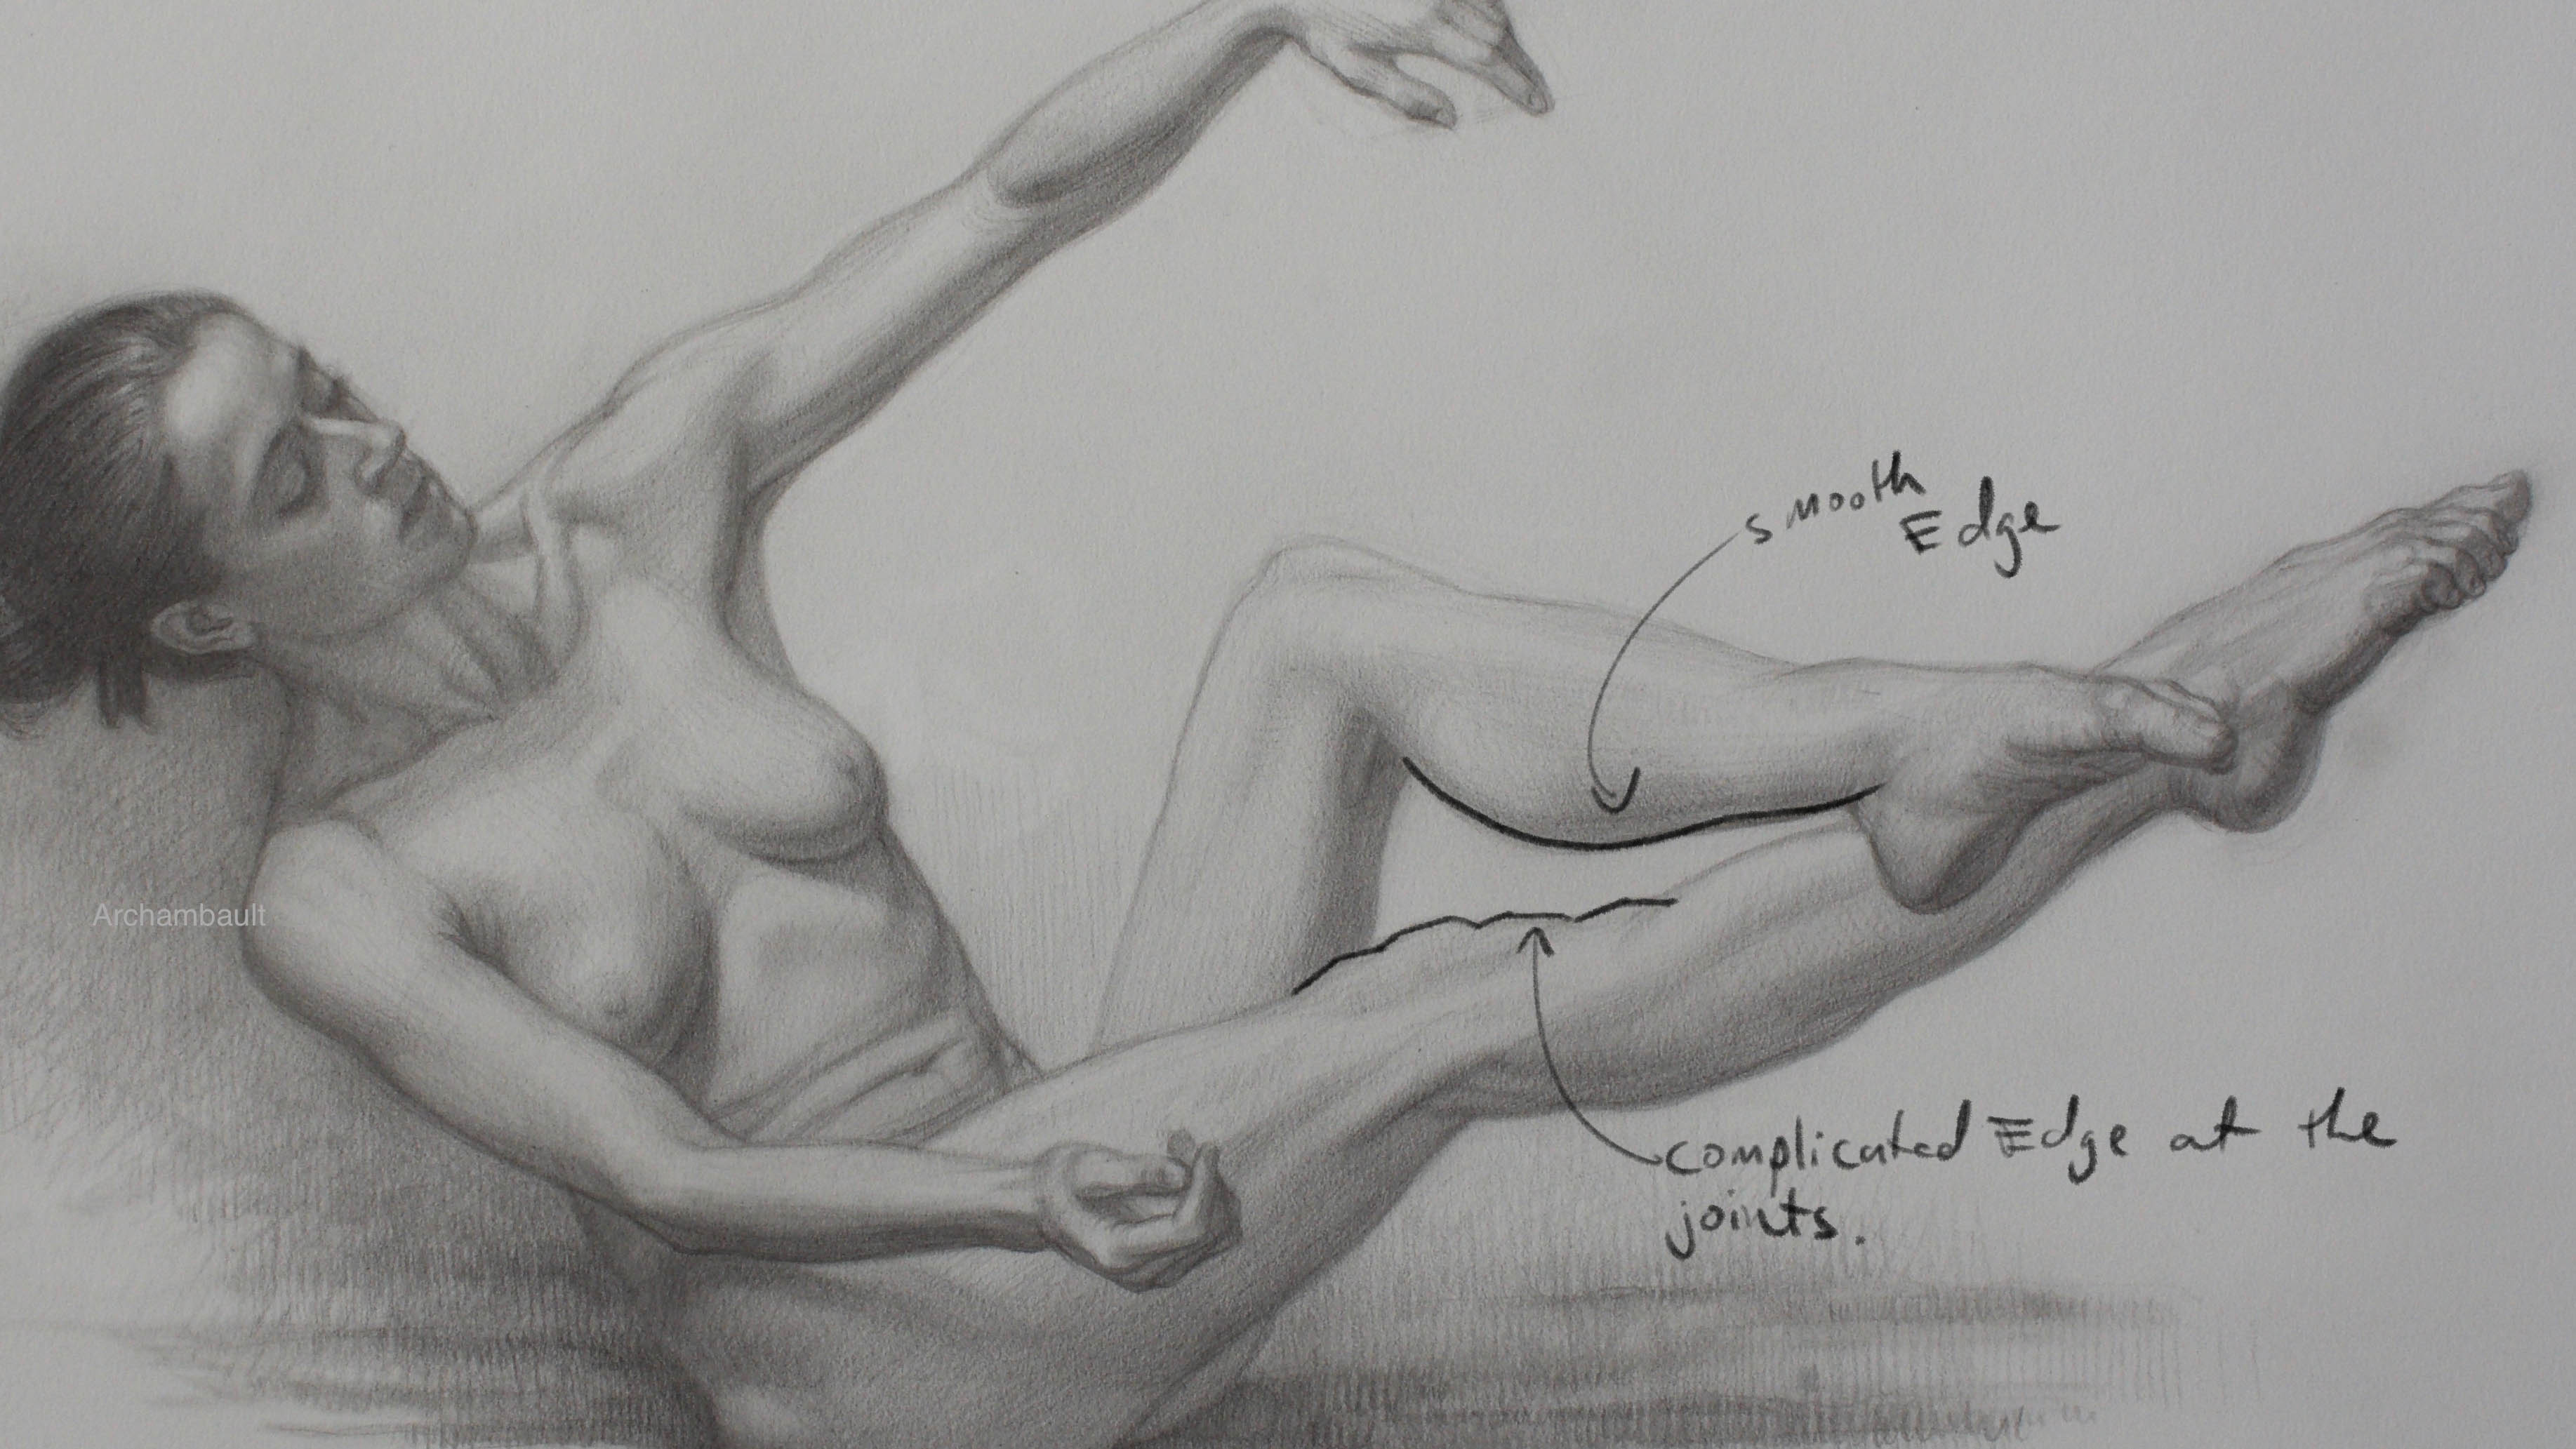
However armed with the knowledge that there should be no straight lines on the figure it’s your task to curve and complicate your edge line. There are specific areas to do this.

For instance you will want to complicate edge lines at the joints. Specifically the knee, ankle, elbow, shoulder etc. You do not want to complicate the middle of a limb. Keep the middle of the model’s limbs curvy and smooth, remember complicate at the joints.

Take a look at your work, tape of few of your figure drawing on the wall. Look at them as a unit, do they look stiff? Do you see a bunch of simplified edges? Do you see straight lines on the edge of your figure drawings?

Now you know what to incorporate into your drawings to to eliminate that stylized look. You now know how to create more of a realistic look and feel.


If you are looking to learn some new drawing techniques to help improve your figure drawing definitely consider a membership to Drawing Tutorials Online. I’m particularly proud of this new twenty-eight lesson course.

All of the lessons are really short, most under ten minutes. Each lesson focuses on a different technique. The course focuses on line, proportions, shading, structure as well as form.

Not to mention you can get your figure drawings critiqued on a weekly basis in our gallery. If the technique taught in the lesson above speaks to you please leave a comment below. Thanks for reading.


Start Your Figure Drawing From An Abstract Shape

Start Your Figure Drawing From An Abstract Shape

I recently added a twenty-eight lesson figure drawing course in the member area of Drawing Tutorials Online. I wanted to share with you some of the lessons over here at my blog. This first lesson in particular is very important.

Too many artists give themselves artificial rules. These rules can sometimes take the fun out of drawing, especially figure drawing. One of these rules is that you must start your figure drawing from the top of the head. I disagree completely.

Do I sometimes start my figure drawing at the top of the head, the short answer is yes. When do I do this, mainly when I am deliberately trying to draw the figure from head to toe. This is something you want to do especially when working on short duration gesture drawings.

Working from head to toe using the Opposite C technique enables you to see proportions in a quick way. However when I want to work on a long duration drawing I like to switch things up.

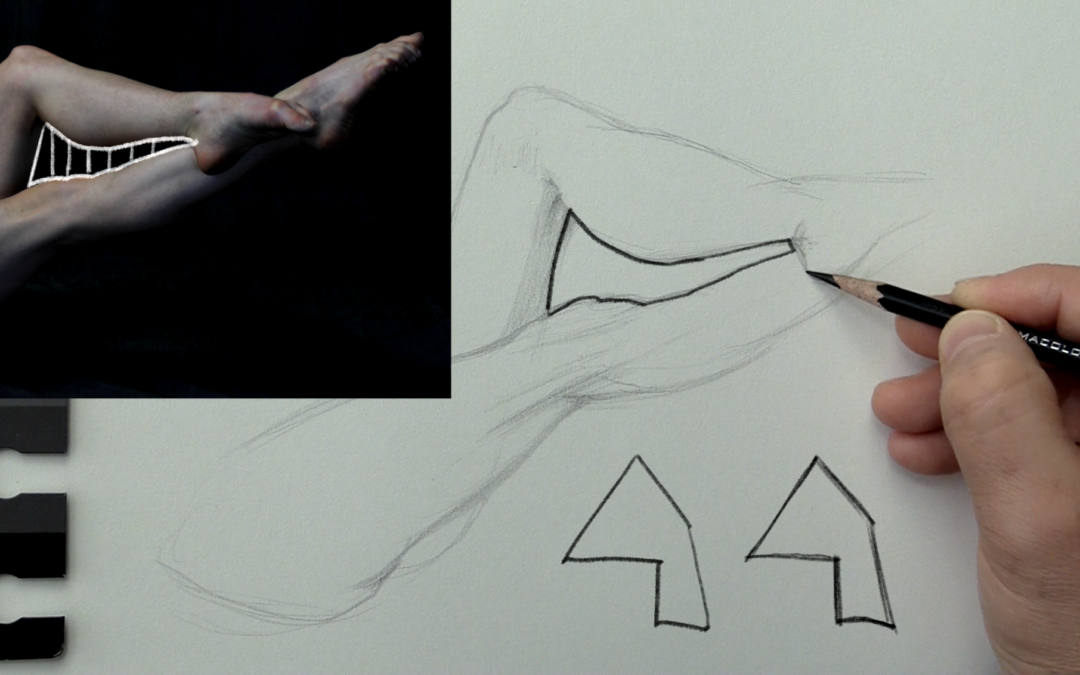
Starting your drawing from an abstract shape is a great way to begin. I have been drawing this way for years both from life and from photos. The idea here is that drawing an abstract shape is a whole lot easier then drawing an actual body part.

For instance in this particular figure drawing I start in essense with the abstract shape between the model’s legs. Some artists like to call this a negative shape or negative space. Either way it’s abstract.

Starting with an abstract shape is a great way to start because it allows you to start building up confidence. It allows you to see proportions in a different way.

I highly suggest that you give this technique a try. Practice drawing a bunch of abstract shapes. Try copying each shape exactly, this great practice and will help you with your accuracy.


If you are looking to learn some new drawing techniques to help improve your figure drawing definitely consider a membership to Drawing Tutorials Online. I’m particularly proud of this new twenty-eight lesson course.

All of the lessons are really short, most under ten minutes. Each lesson focuses on a different technique. The course focuses on line, proportions, shading, structure as well as form.

Not to mention you can get your figure drawings critiqued on a weekly basis in our gallery. If the technique taught in the lesson above speaks to you please leave a comment below. Thanks for reading.


How To See Gesture

How To See Gesture

This video will teach you how to see the gesture of just about any pose. It’s important to be able to see through complicated fabric folds. Fabric certainly will mask your ability to see the clean gesture lines within a figure.

You want to see gesture from the top of the figure to the bottom. Seeing what I like to call “Long Gesture” is crucial to drawing figures that have grace and flow.

Without gesture what you have is a stiff figure drawing. One technique that can really help you is the “Opposite C” technique. The “Opposite C” technique provides you with a physical way to draw the natural flow of the human body.

If you need help with your figure drawings consider a membership to Drawing Tutorials Online. Through our weekly video critiques we can help you to see the gesture in just about any pose that you try to draw.

Thanks so much much for visiting our blog. Enjoy the video below.

Read more about what Drawing Tutorials Online has to offer you.