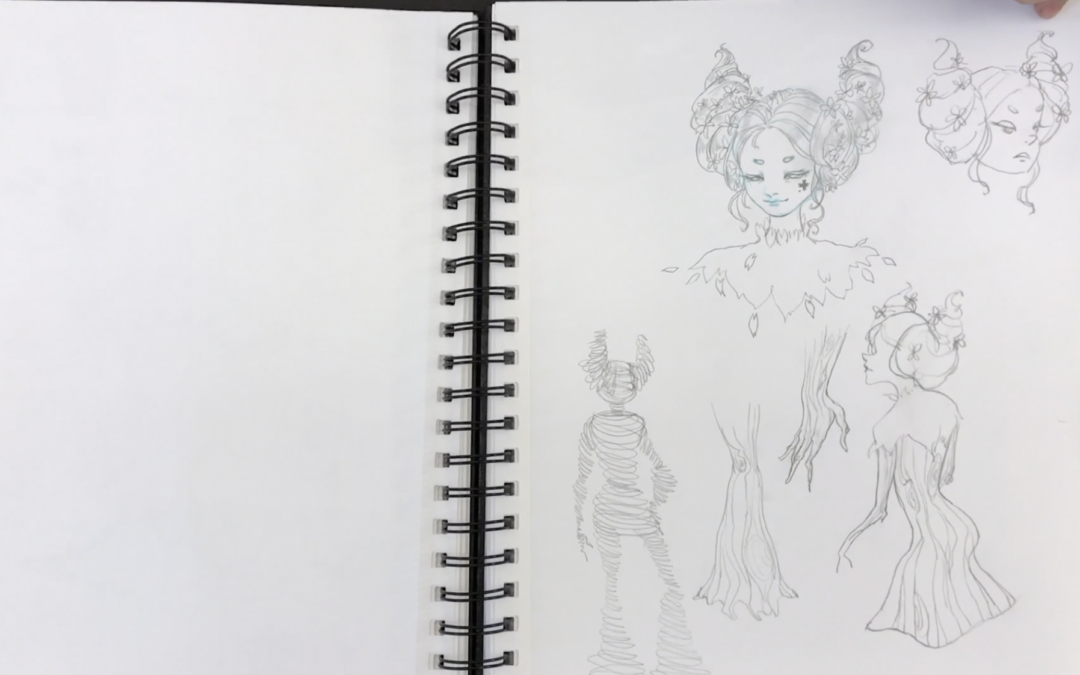
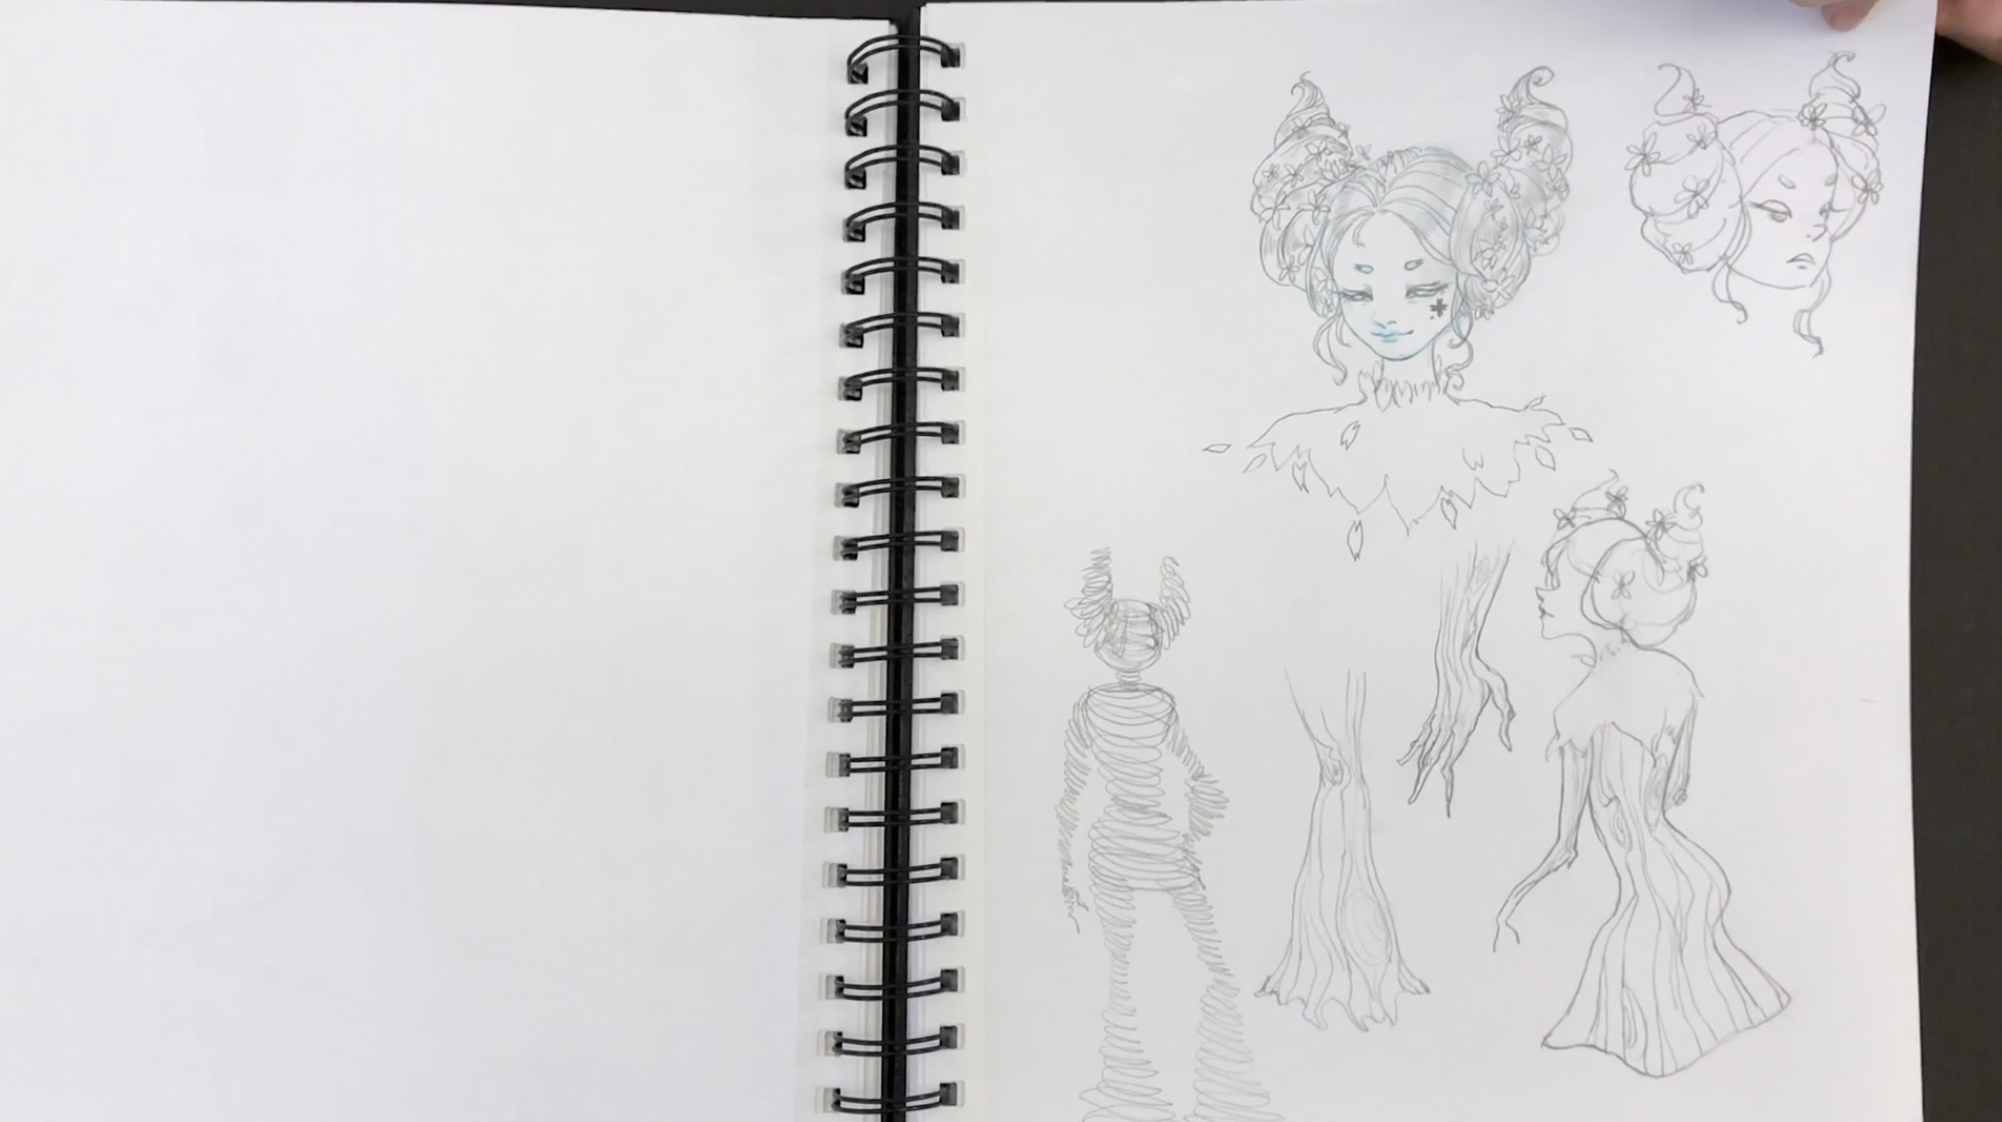
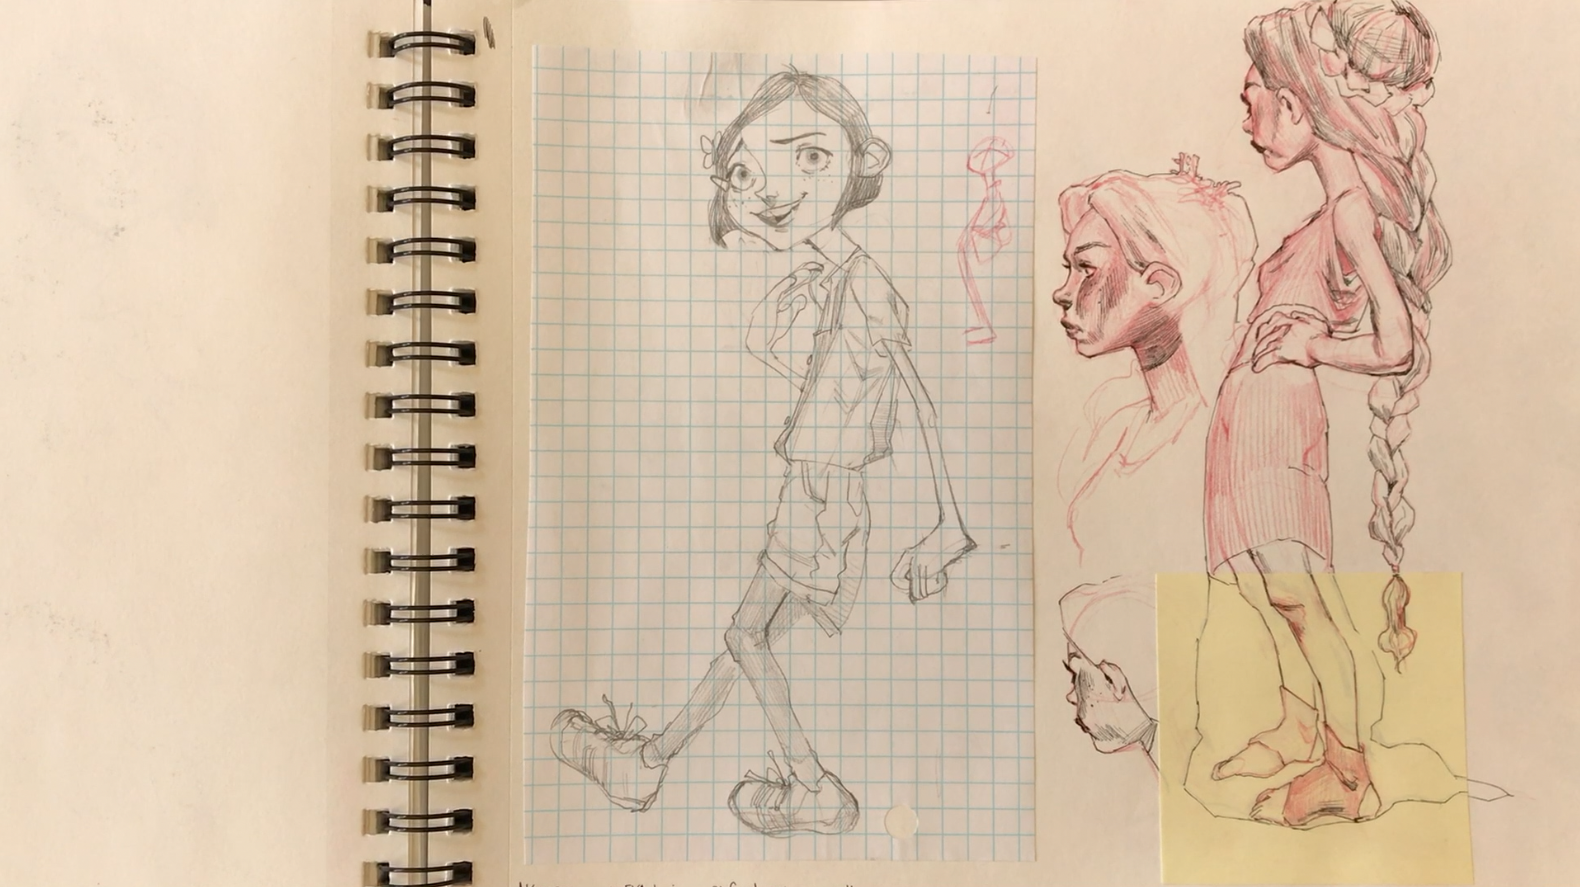
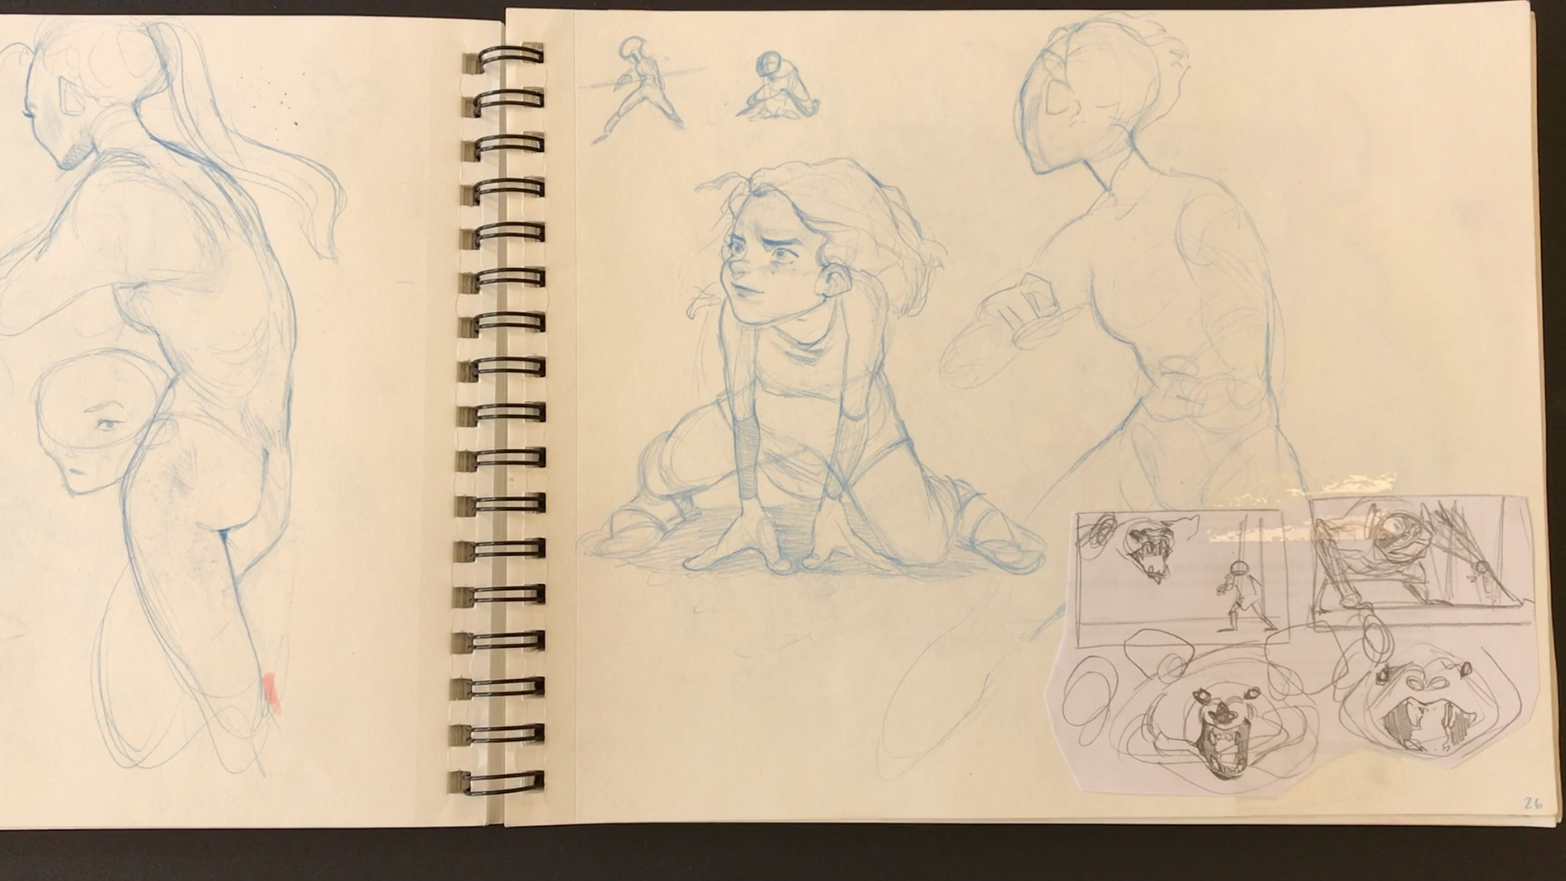
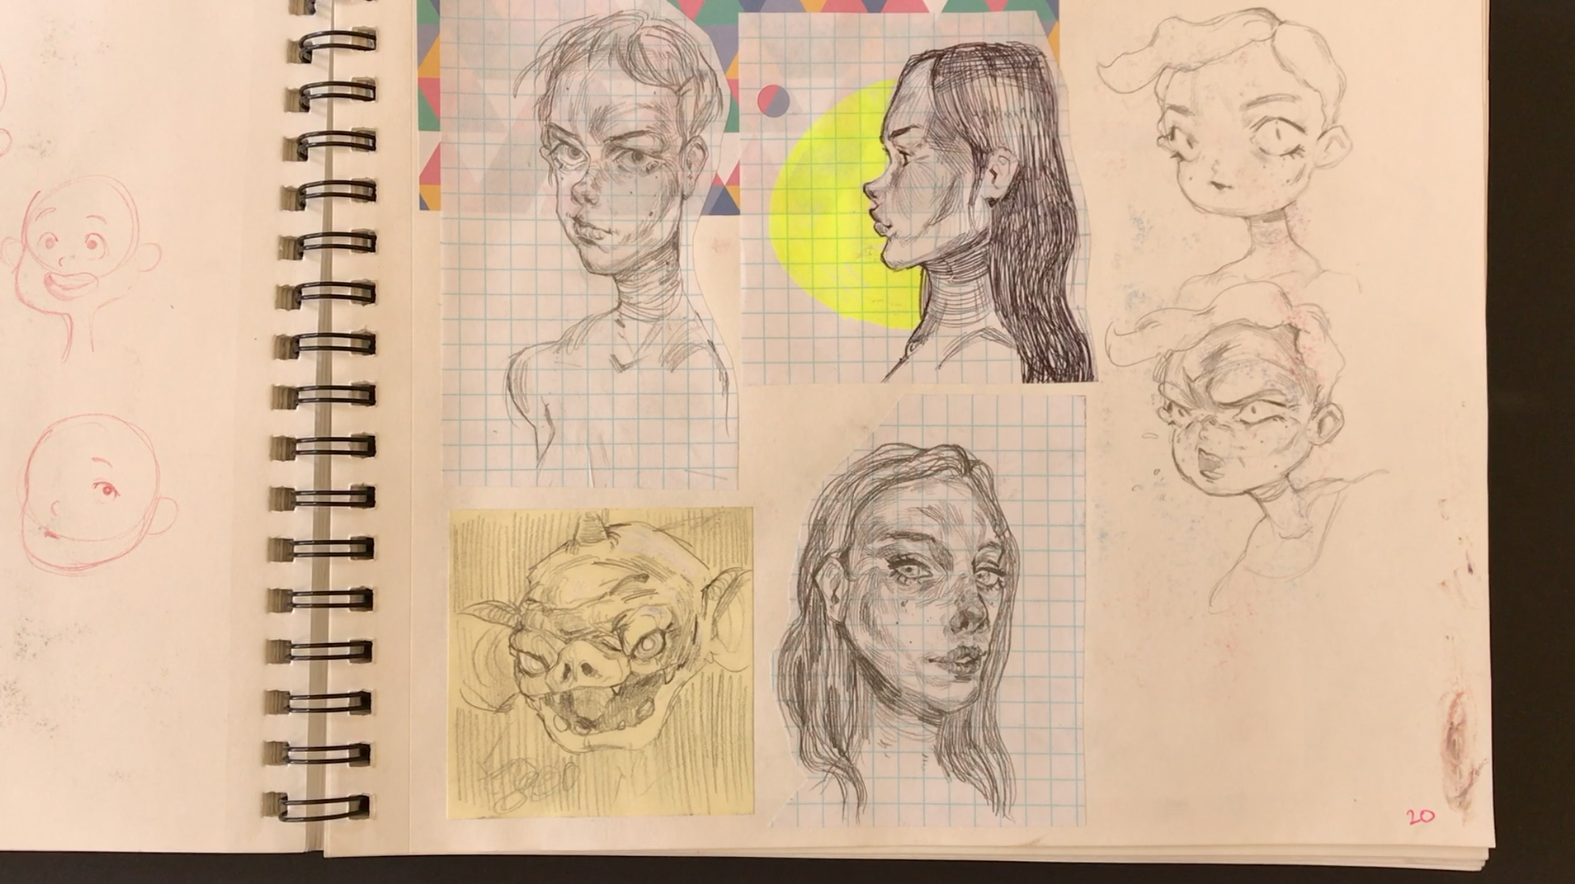
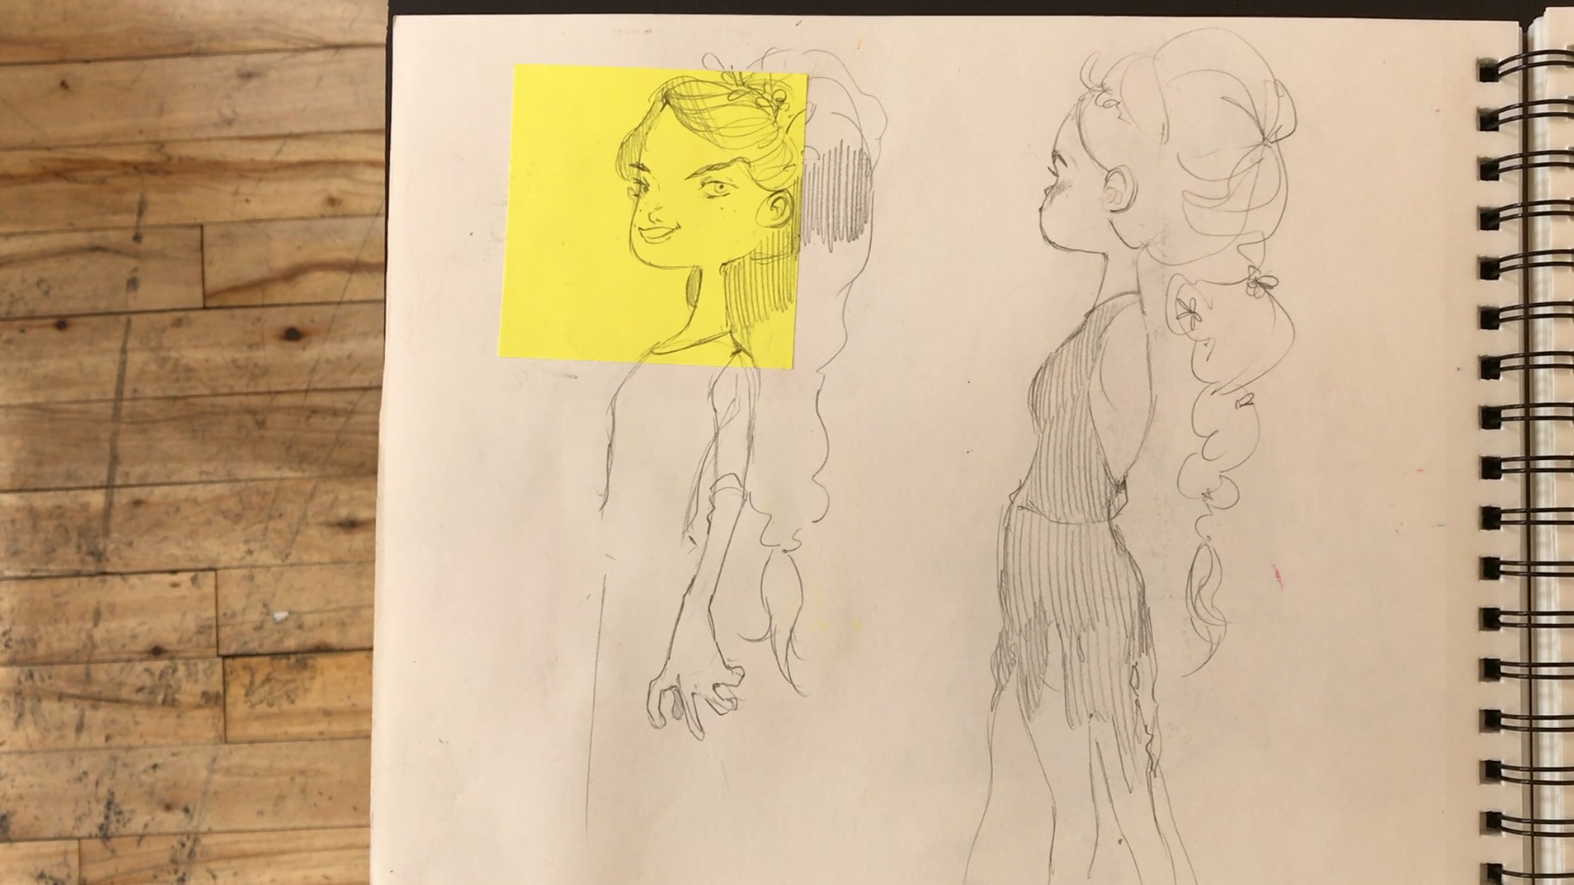
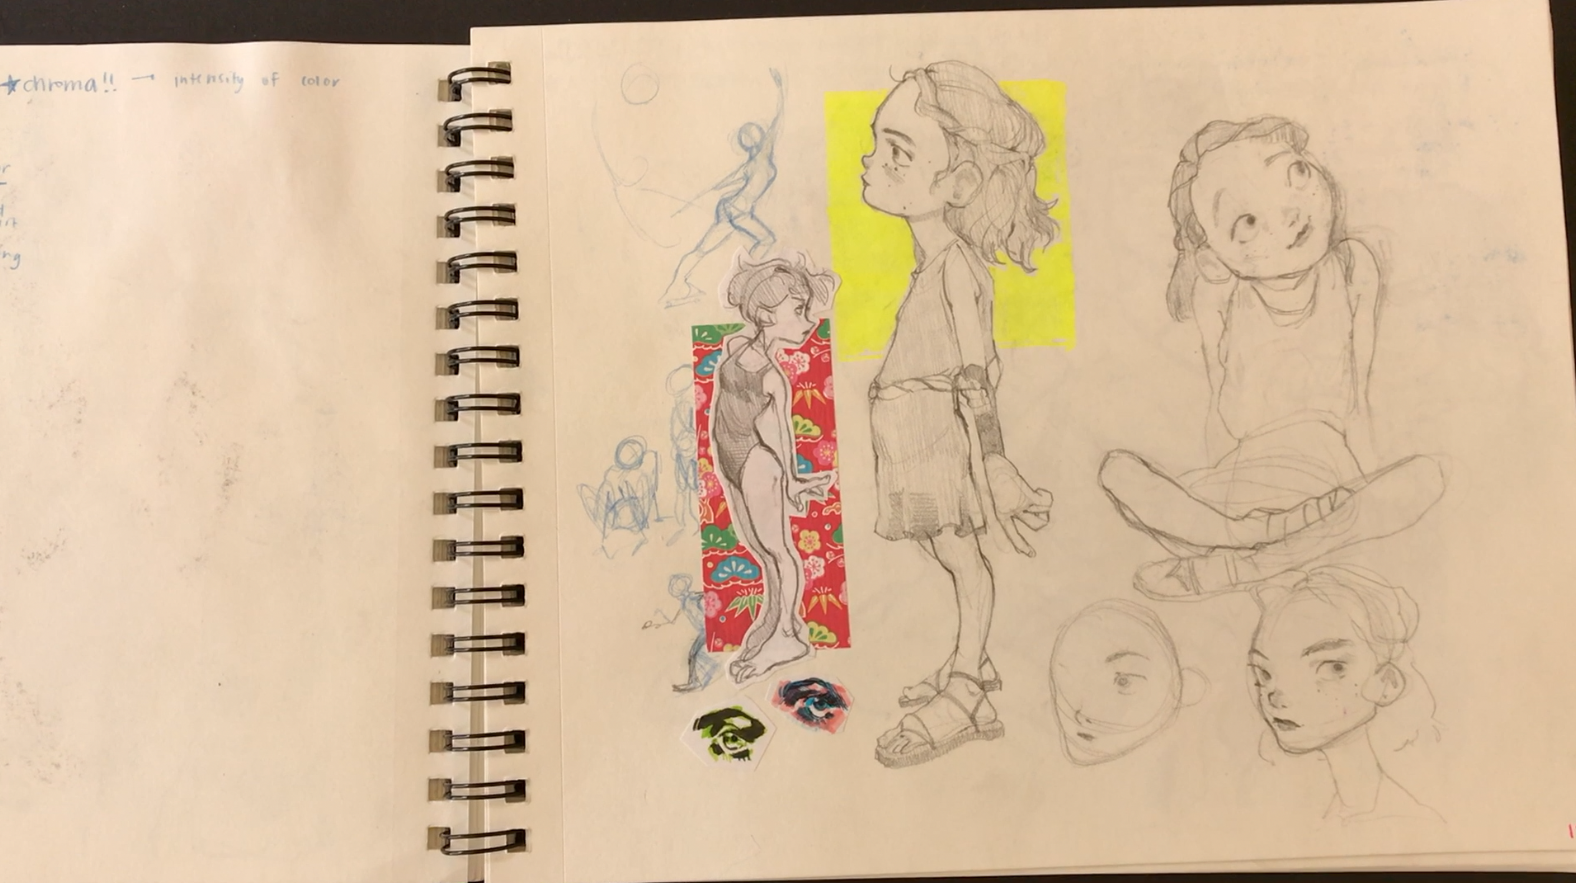
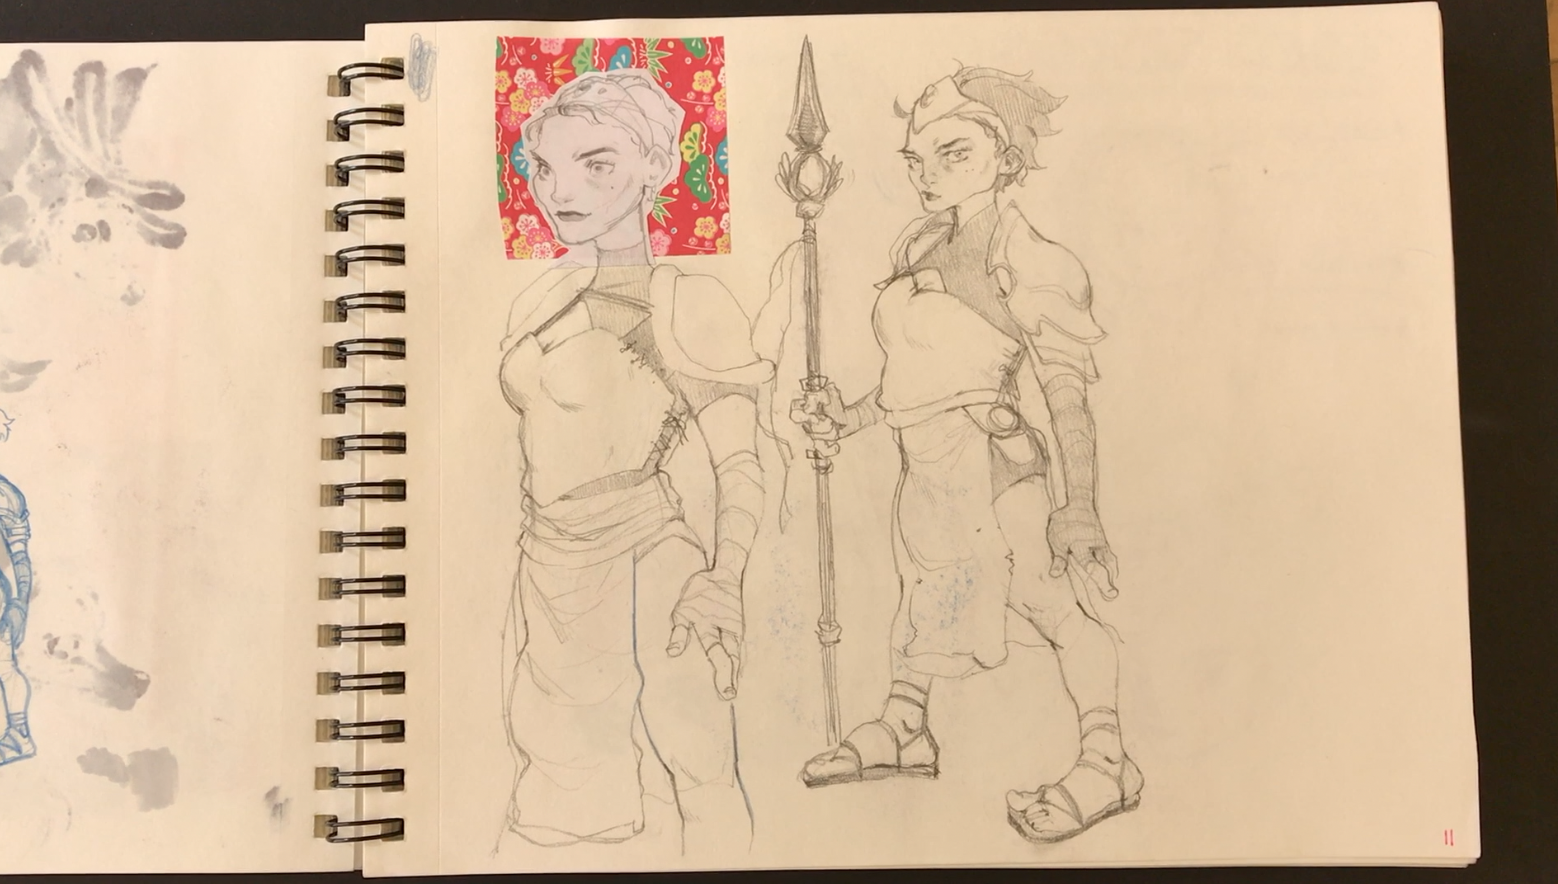
I wanted to take a moment here to share with you Ren’s sketchbook. Ren is currently enrolled in my foundation drawing class at the School of Visual Arts in Manhattan New York.
I didn’t film too many sketchbooks last semester best Ren’s was a must. She arrives each week to class ready to work. Ren can just sit and draw for long periods of time, no distractions, no lack of focus.
Ren is certainly a model student who is really focused on improving her character design through life drawing.
I look forward to seeing more improvement from her this semester. Thanks for checking out her sketchbook.
Unfortunately Ren has no social media available at this time.
If you would like to learn more about how Drawing Tutorials Online can help you visit our member login page.
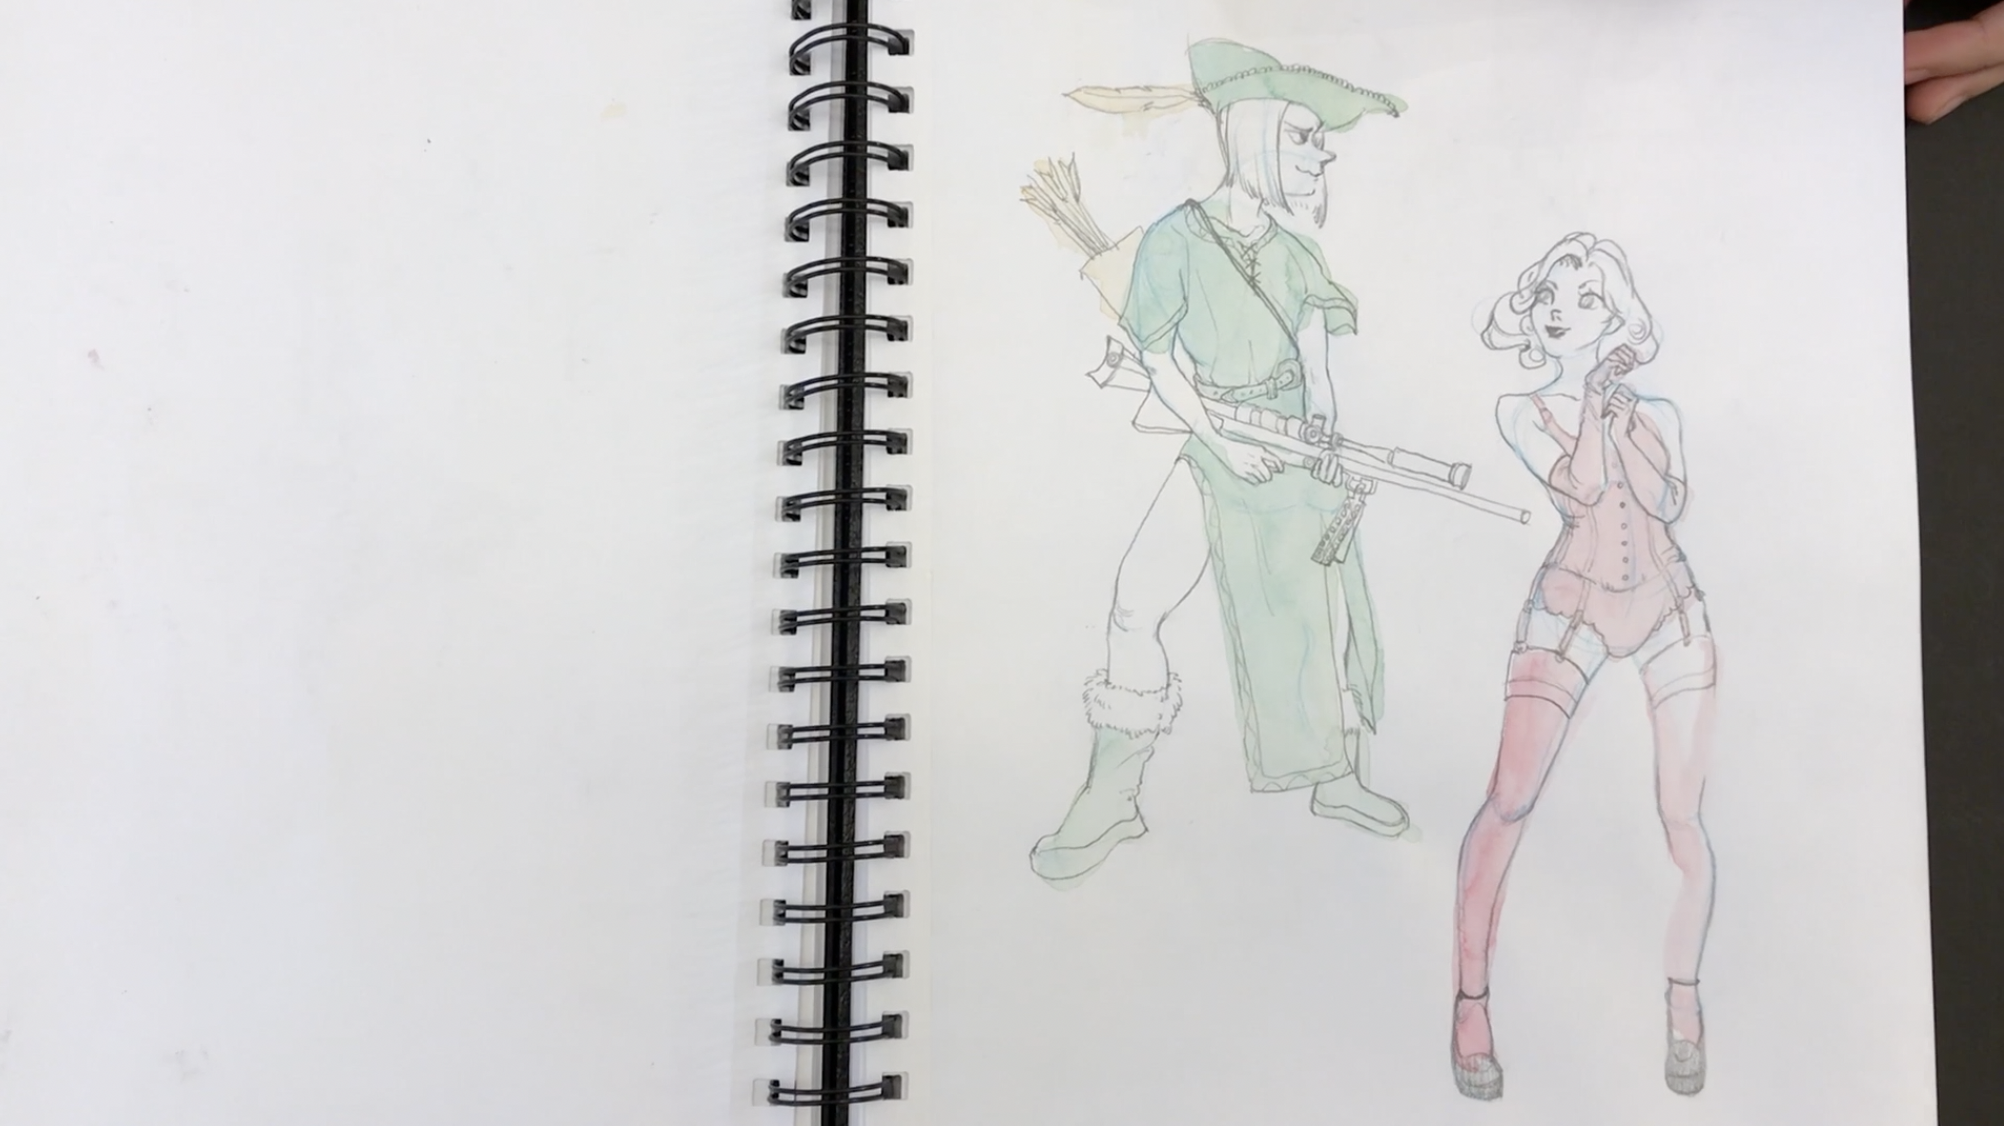
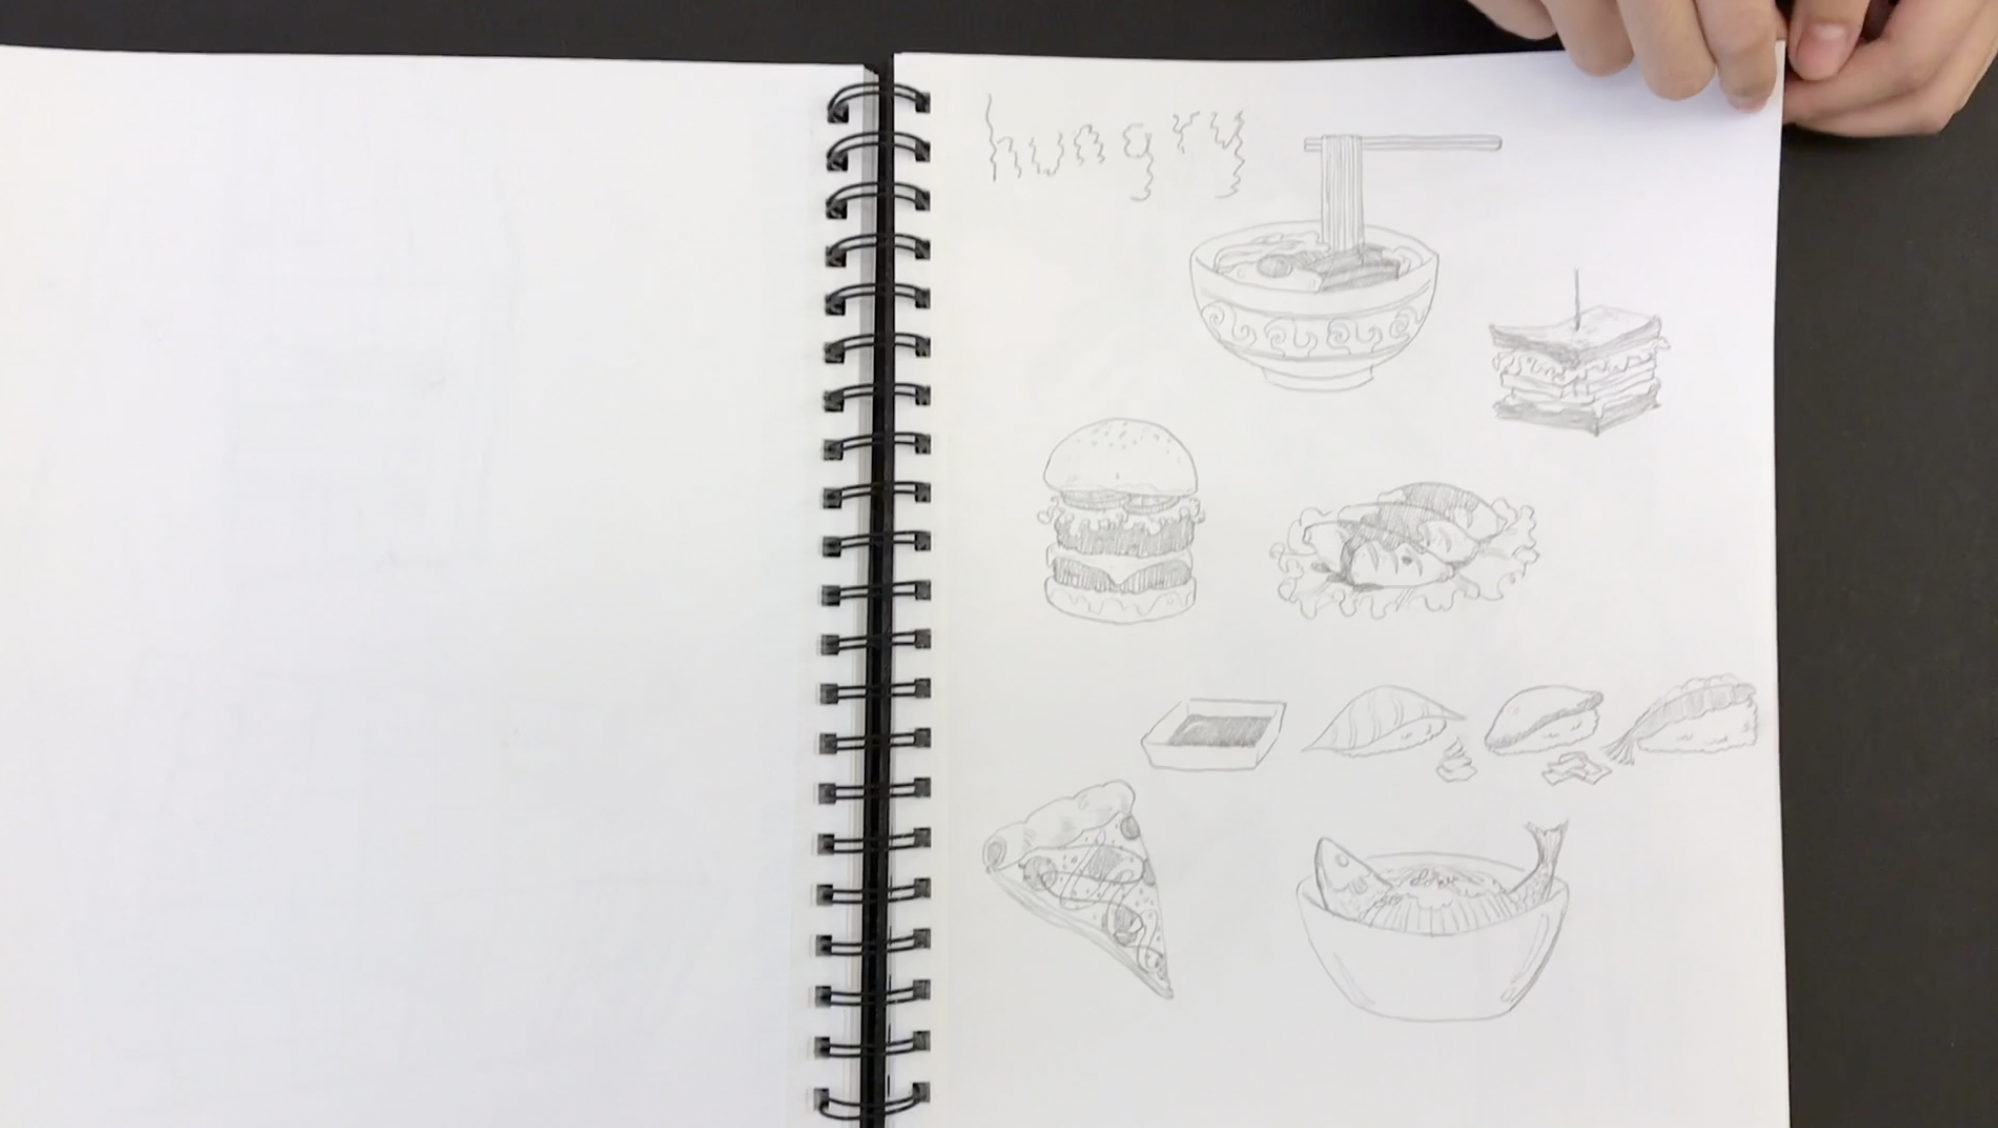
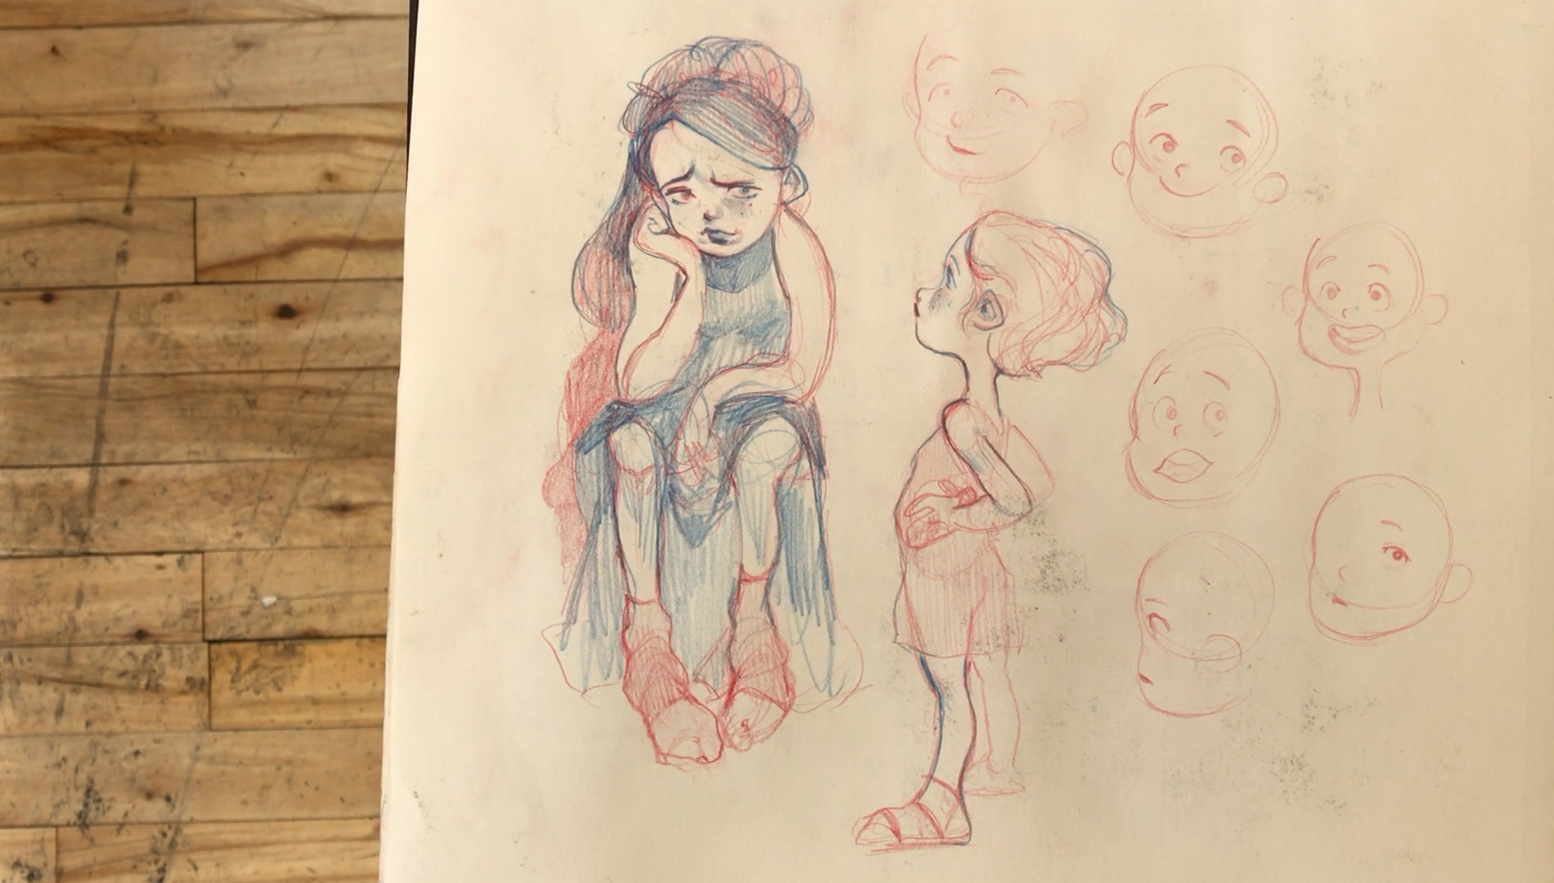
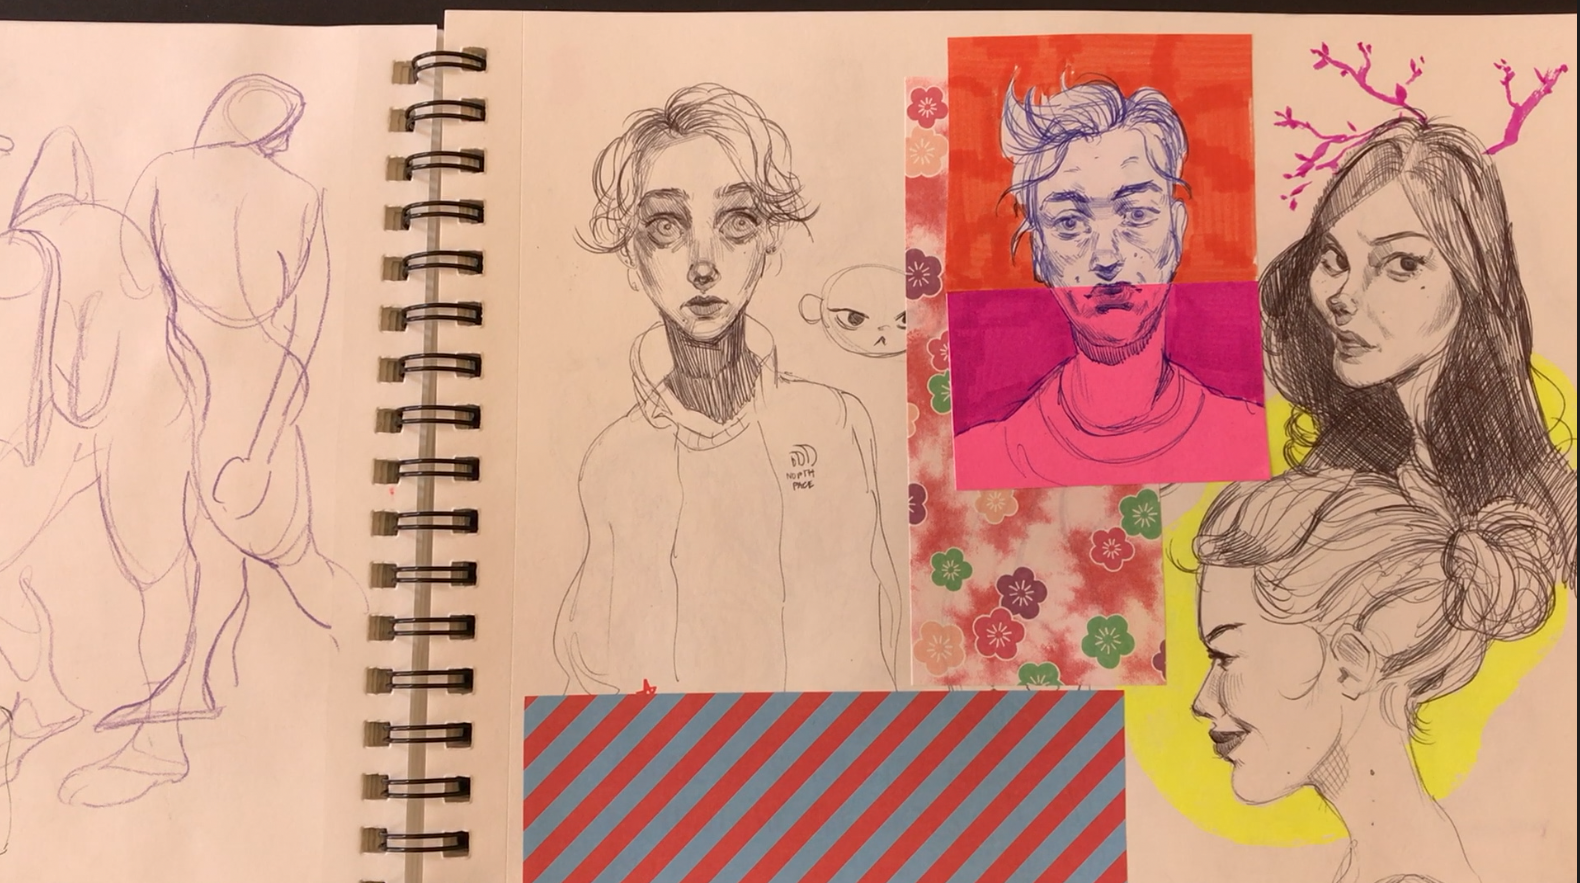
Natalie is a student currently enrolled in my Foundation Animation drawing class at the School Of Visual Arts in Manhattan New York. We’ve got one month left in the Spring semester. I will miss Natalie and her incredible drawings, however she is onto bigger and better things. Natalie is pursuing a career as a Character Designer and Visual Developer.
Natalie’s character design is super authentic. Her characters combine elegant beauty with a touch of grit. I truly love how Natalie works to balance out each sketchbook page through cut out pieces of origami paper.
Her incredible line quality adjacent to pattern and vibrant color really work together. As a teacher looking through Natalie’s sketchbook is very inspiring.
I hope you find some inspiration as well from browsing through her two sketchbooks. She is of a group of students that is just playing at such a higher level.
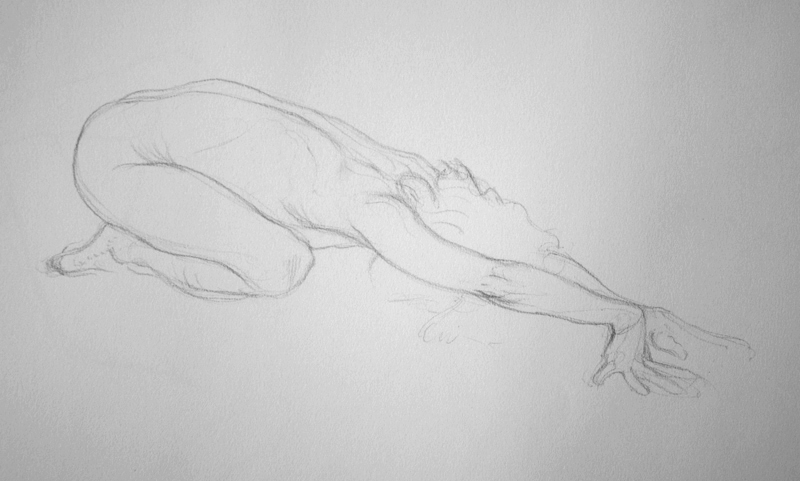
In this drawing tip of the week we focus on an easy way to draw ten minute gesture poses. Ten minutes is kind of that in between type drawing. It’s not super short, but yet you still have to draw pretty fast to draw a full figure. There is that little bit of pressure to finish the drawing in ten minutes.
The first thing you want to do is decide upon whether or not you want to finish the entire pose from head to toe. If you do utilizing the “Opposite C” technique will make your job much easier.
There are hard techniques and easy techniques. The Opposite C technique is an easy one. How do I know this? I see the Opposite C technique immediately help students draw the figure better. The technique just flows.
When I teach this technique students seem to relax. They seem to draw the figure from head to toe in a much more relaxed way.
Now the one thing you want to also keep in mind with this drawing technique is this, you want to economize your line. What do I mean?
Do your ten minute figure drawings look a little messy? A little sloppy might be a different way to explain this. Now I don’t mean using a continuous line that looks busy. I mean a messy edge. Do you use way too much line to describe the edge of the model?
You see you want to try to slow down when you draw even during a ten minute gesture drawing. Breathe, slow down your hand movements. Make every line that you draw count. Your drawings will look much more elegant.
Two things. This is hard. Does this always work for me, no way. Especially when I haven’t been practicing.
Economizing your line might not fit with your personal style. Your style might be super messy on purpose, if so that’s cool. Go with what works for you. I ask my students to try to economize the line in a small section of their figure drawing. This provides them with a way to balance out the look and feel of their drawings.
So the next time you try to draw a short ten minute gesture pose incorporate two general ideas. One, use the Opposite C technique, and two, economize your line.
Show more detail with less line. In this case less is more elegant.
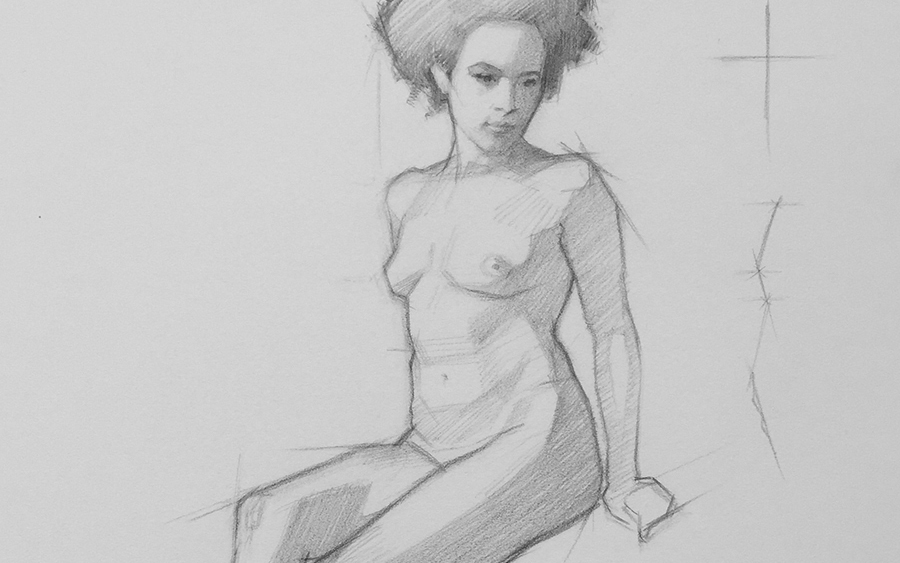
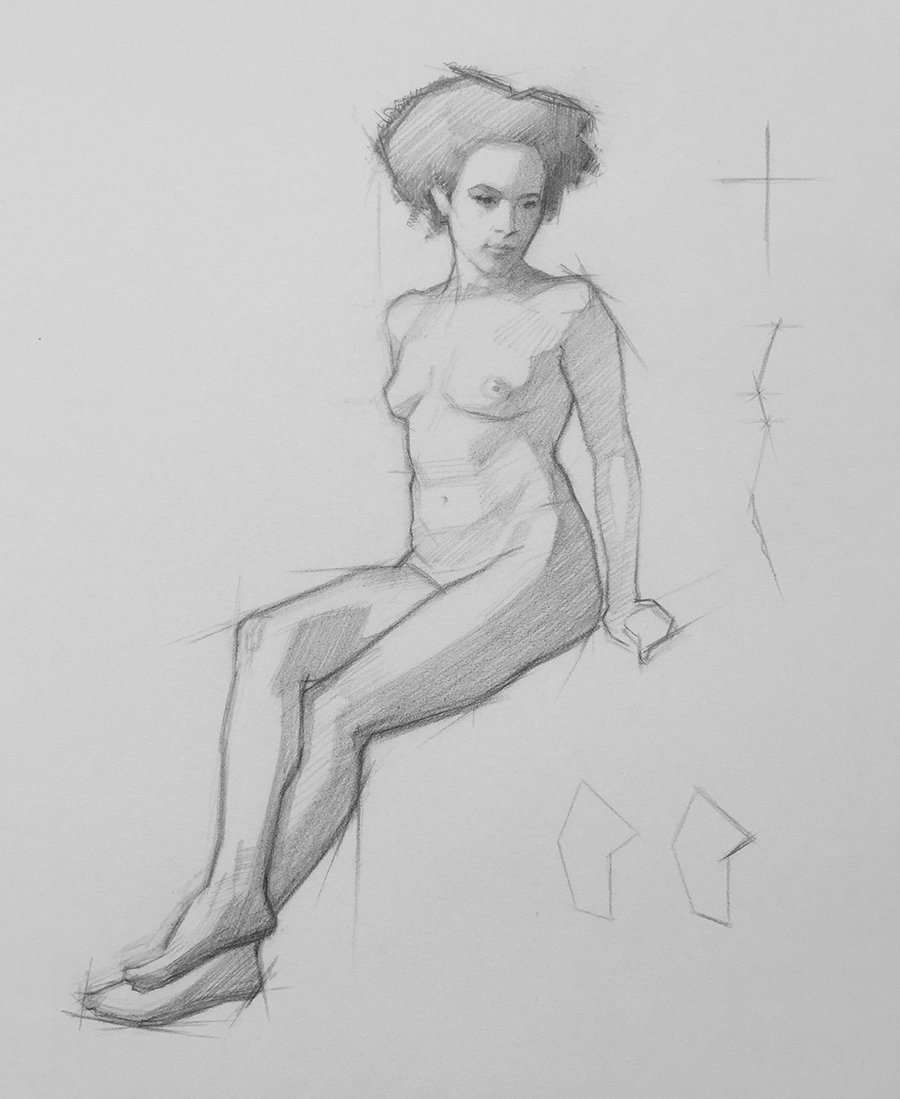
The real risk when drawing the figure is to take a key technique for granted. You know how life goes, us humans get bored with stuff pretty quickly. Trust me this is the one technique you do not want to get jaded on.
You really want to practice drawing with the Angles & Measurements technique on a regular basis. Even if just for the fact that it will keep your eye hand coordination in check.
You see the artists who continually complain about not being able to draw a likeness hate this technique. They understand it, they have used it, but they have not incorporated it into their practice.
I remember when I first started teaching at the School of Visual Arts back in 1997 this technique was one of the first that I taught. Since then I have learned a lot of new drawing techniques. I have also designed dozens of diverse drawing courses. Within all of these courses the Angles & Measurements technique always rears it’s little boring head.
Practice is something every artist has to do. I challenge you to incorporate these techniques into your weekly practice schedule.
Here are some key reminders for you to jot down in your sketchbook.
Always find what is level and what is plumb. Compare every other angle on the models body to what is level and what is plumb.
The distance of each angle with determine the models likeness.
Always draw the main macro angles first, then get into the little micro angles. The macro angles make up the proportions, the micro angles make up the likeness.
Don’t just draw angles on the edge of the models body, draw interior angles as well.
Shade in some shapes. Most artists see in shapes, not just line.
Practice this on a regular basis even if it’s not the most exciting drawing technique out there.