Drawing The Figure With White Charcoal – Livestream

Drawing The Figure With White Charcoal – Livestream

In this livestream, I’ll be drawing the figure using a combination of black Prismacolor Col-Erase pencil and white charcoal pencil — a great pairing for creating depth, contrast, and subtle form.

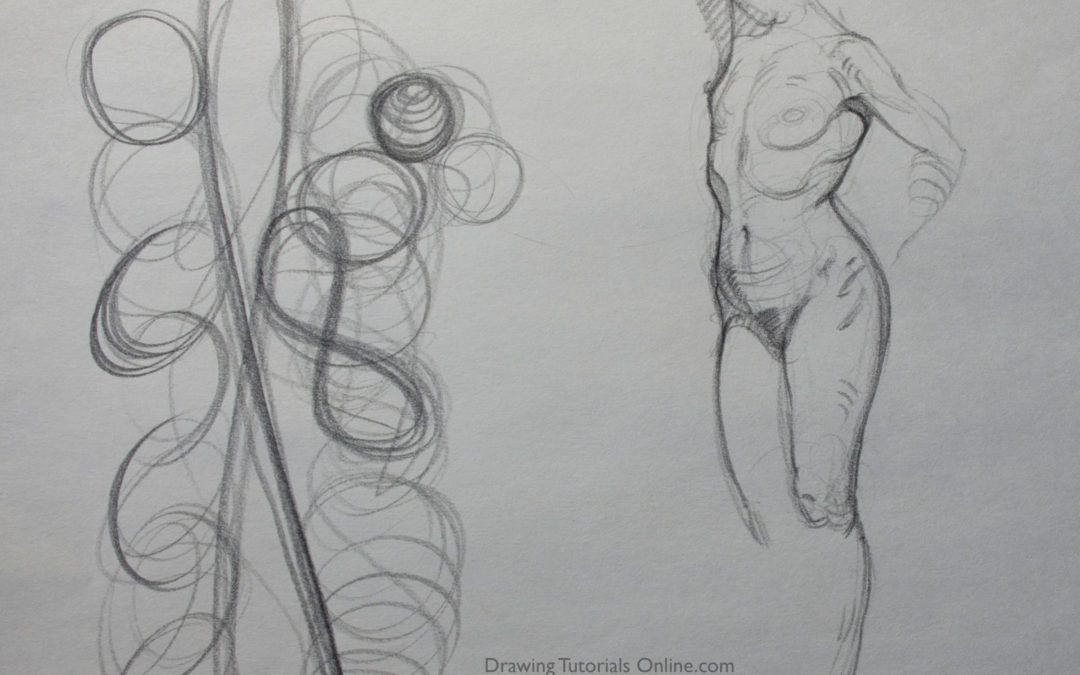
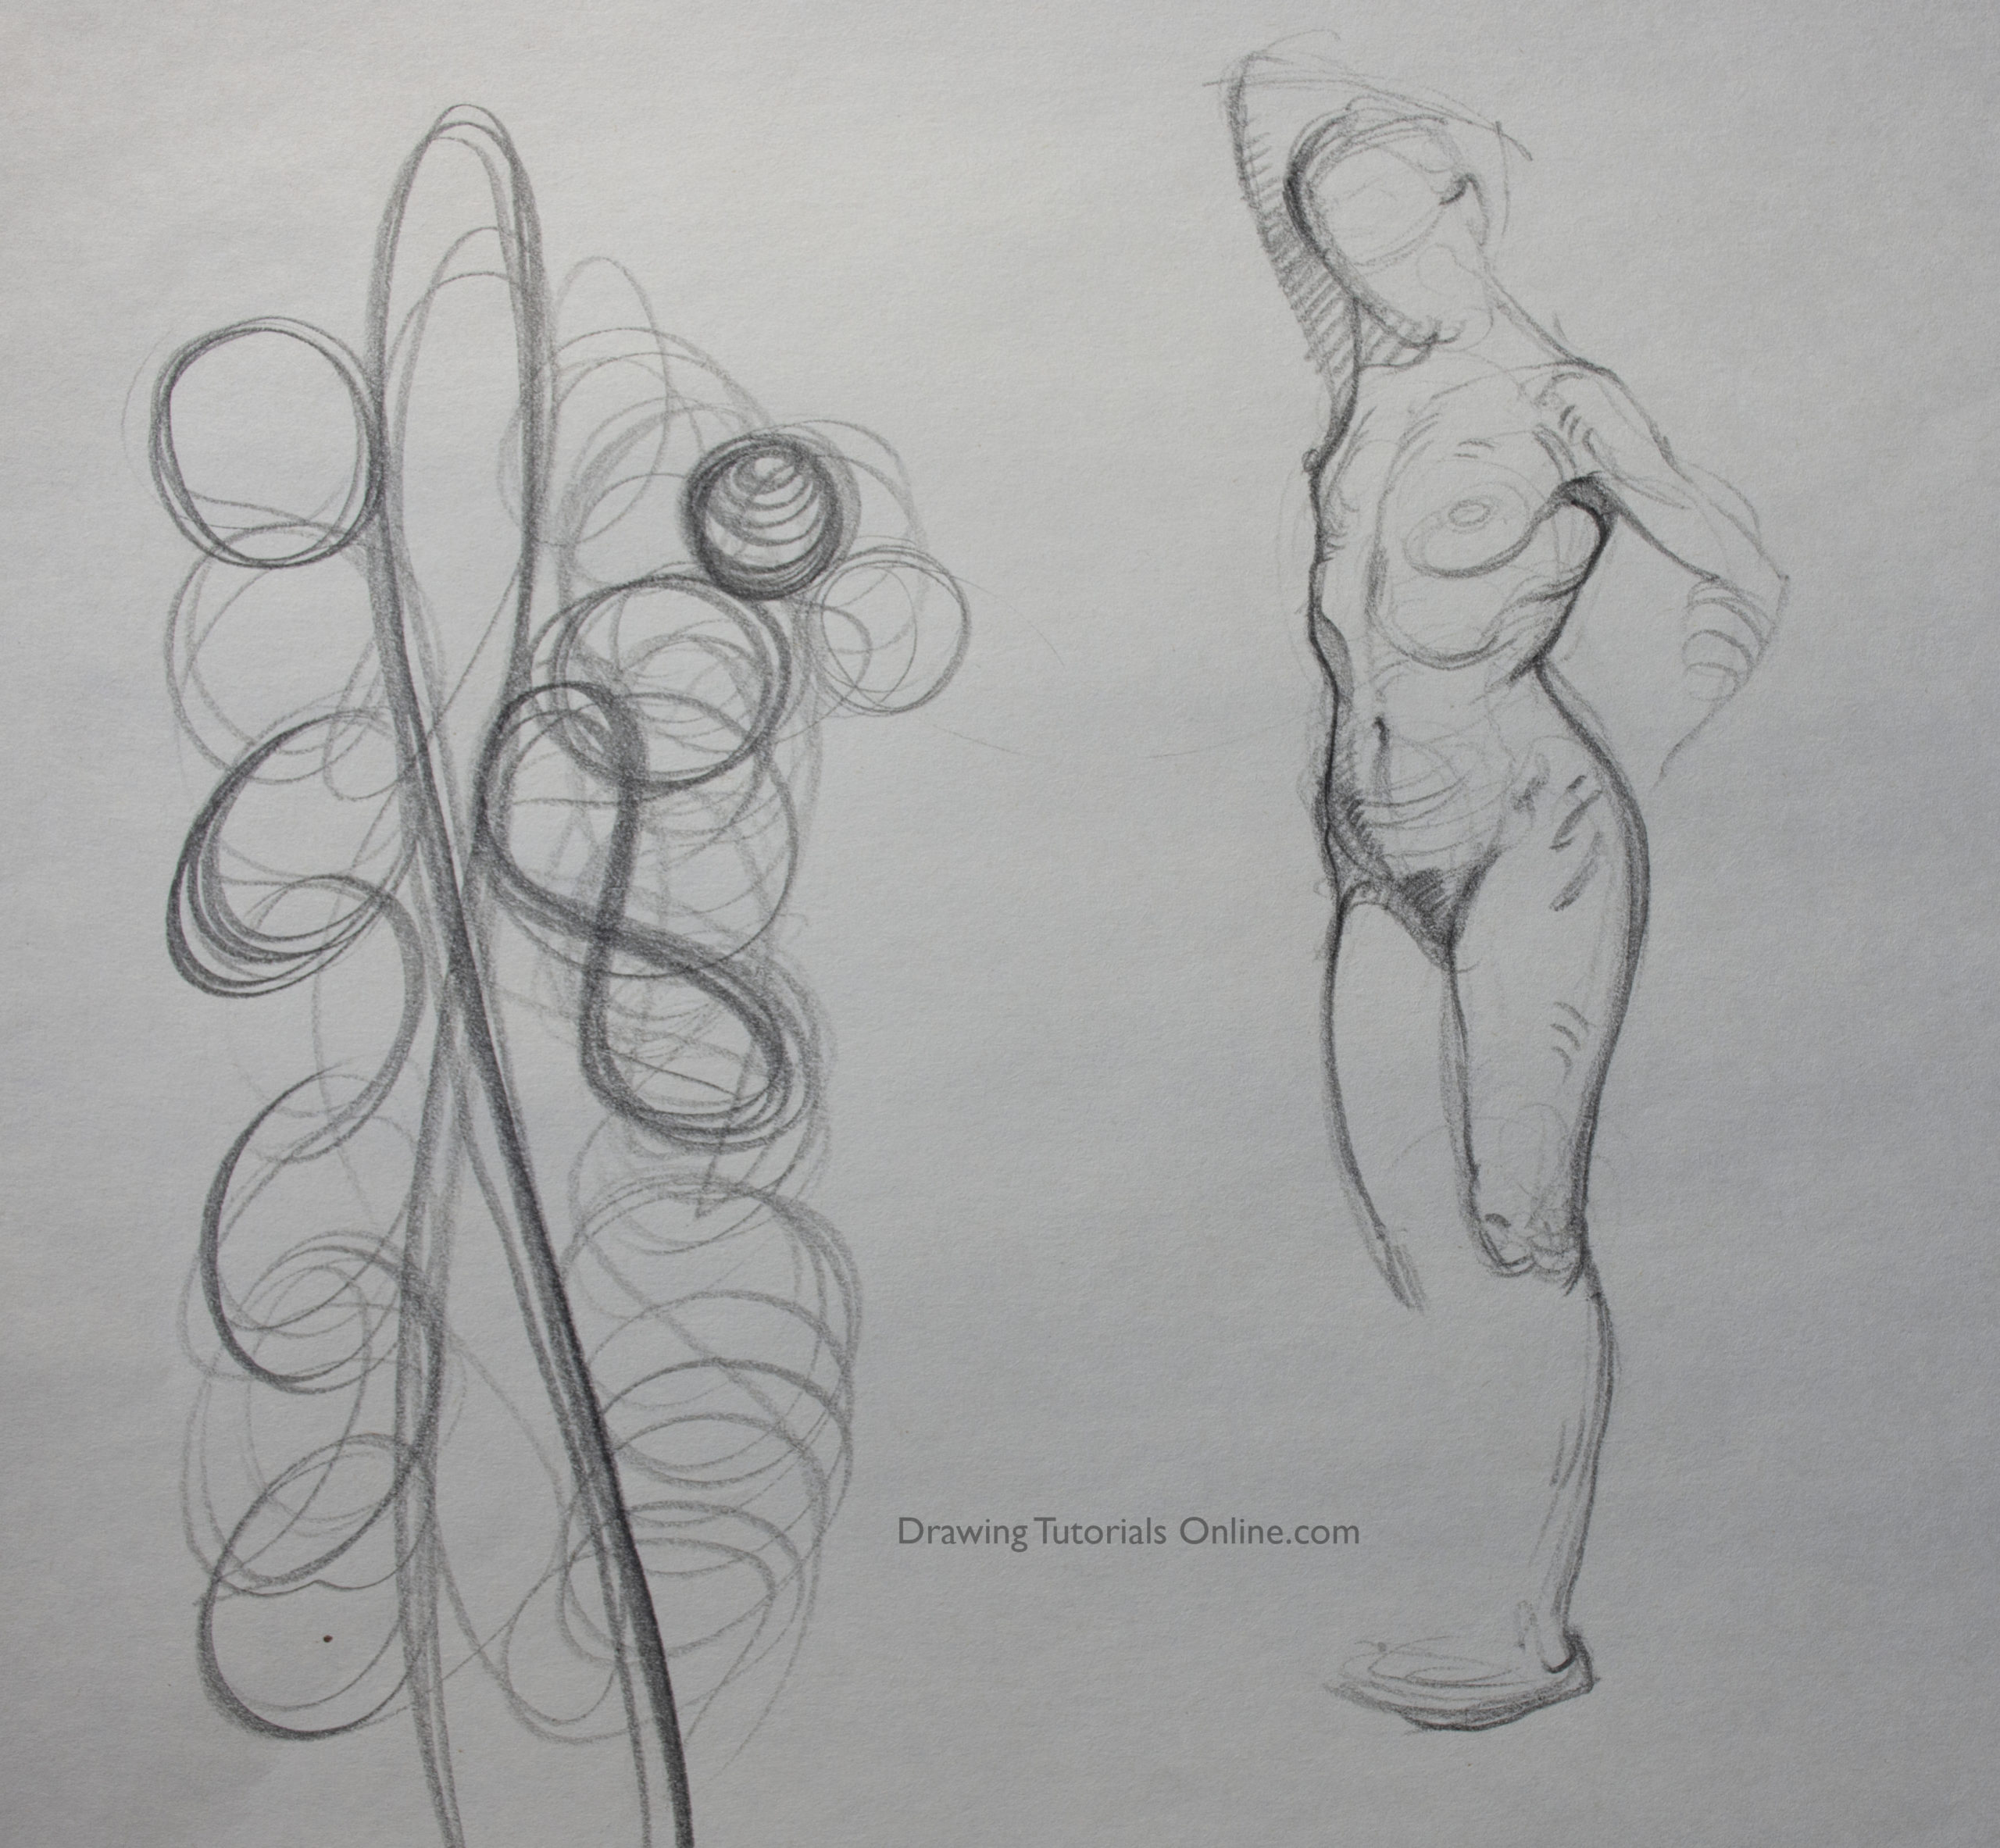
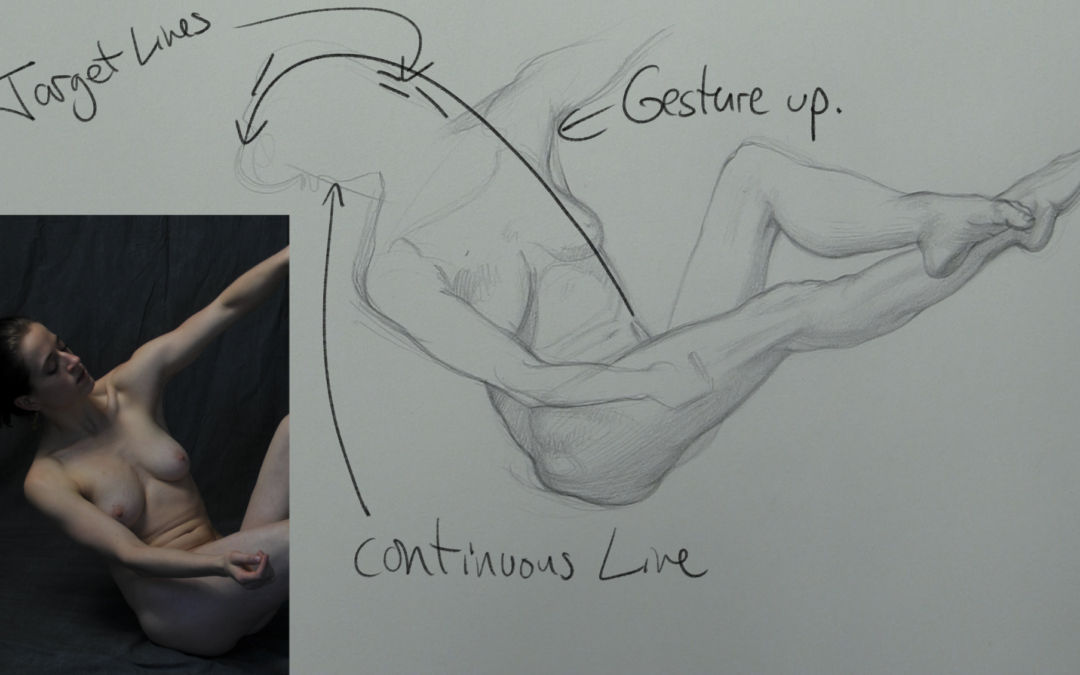
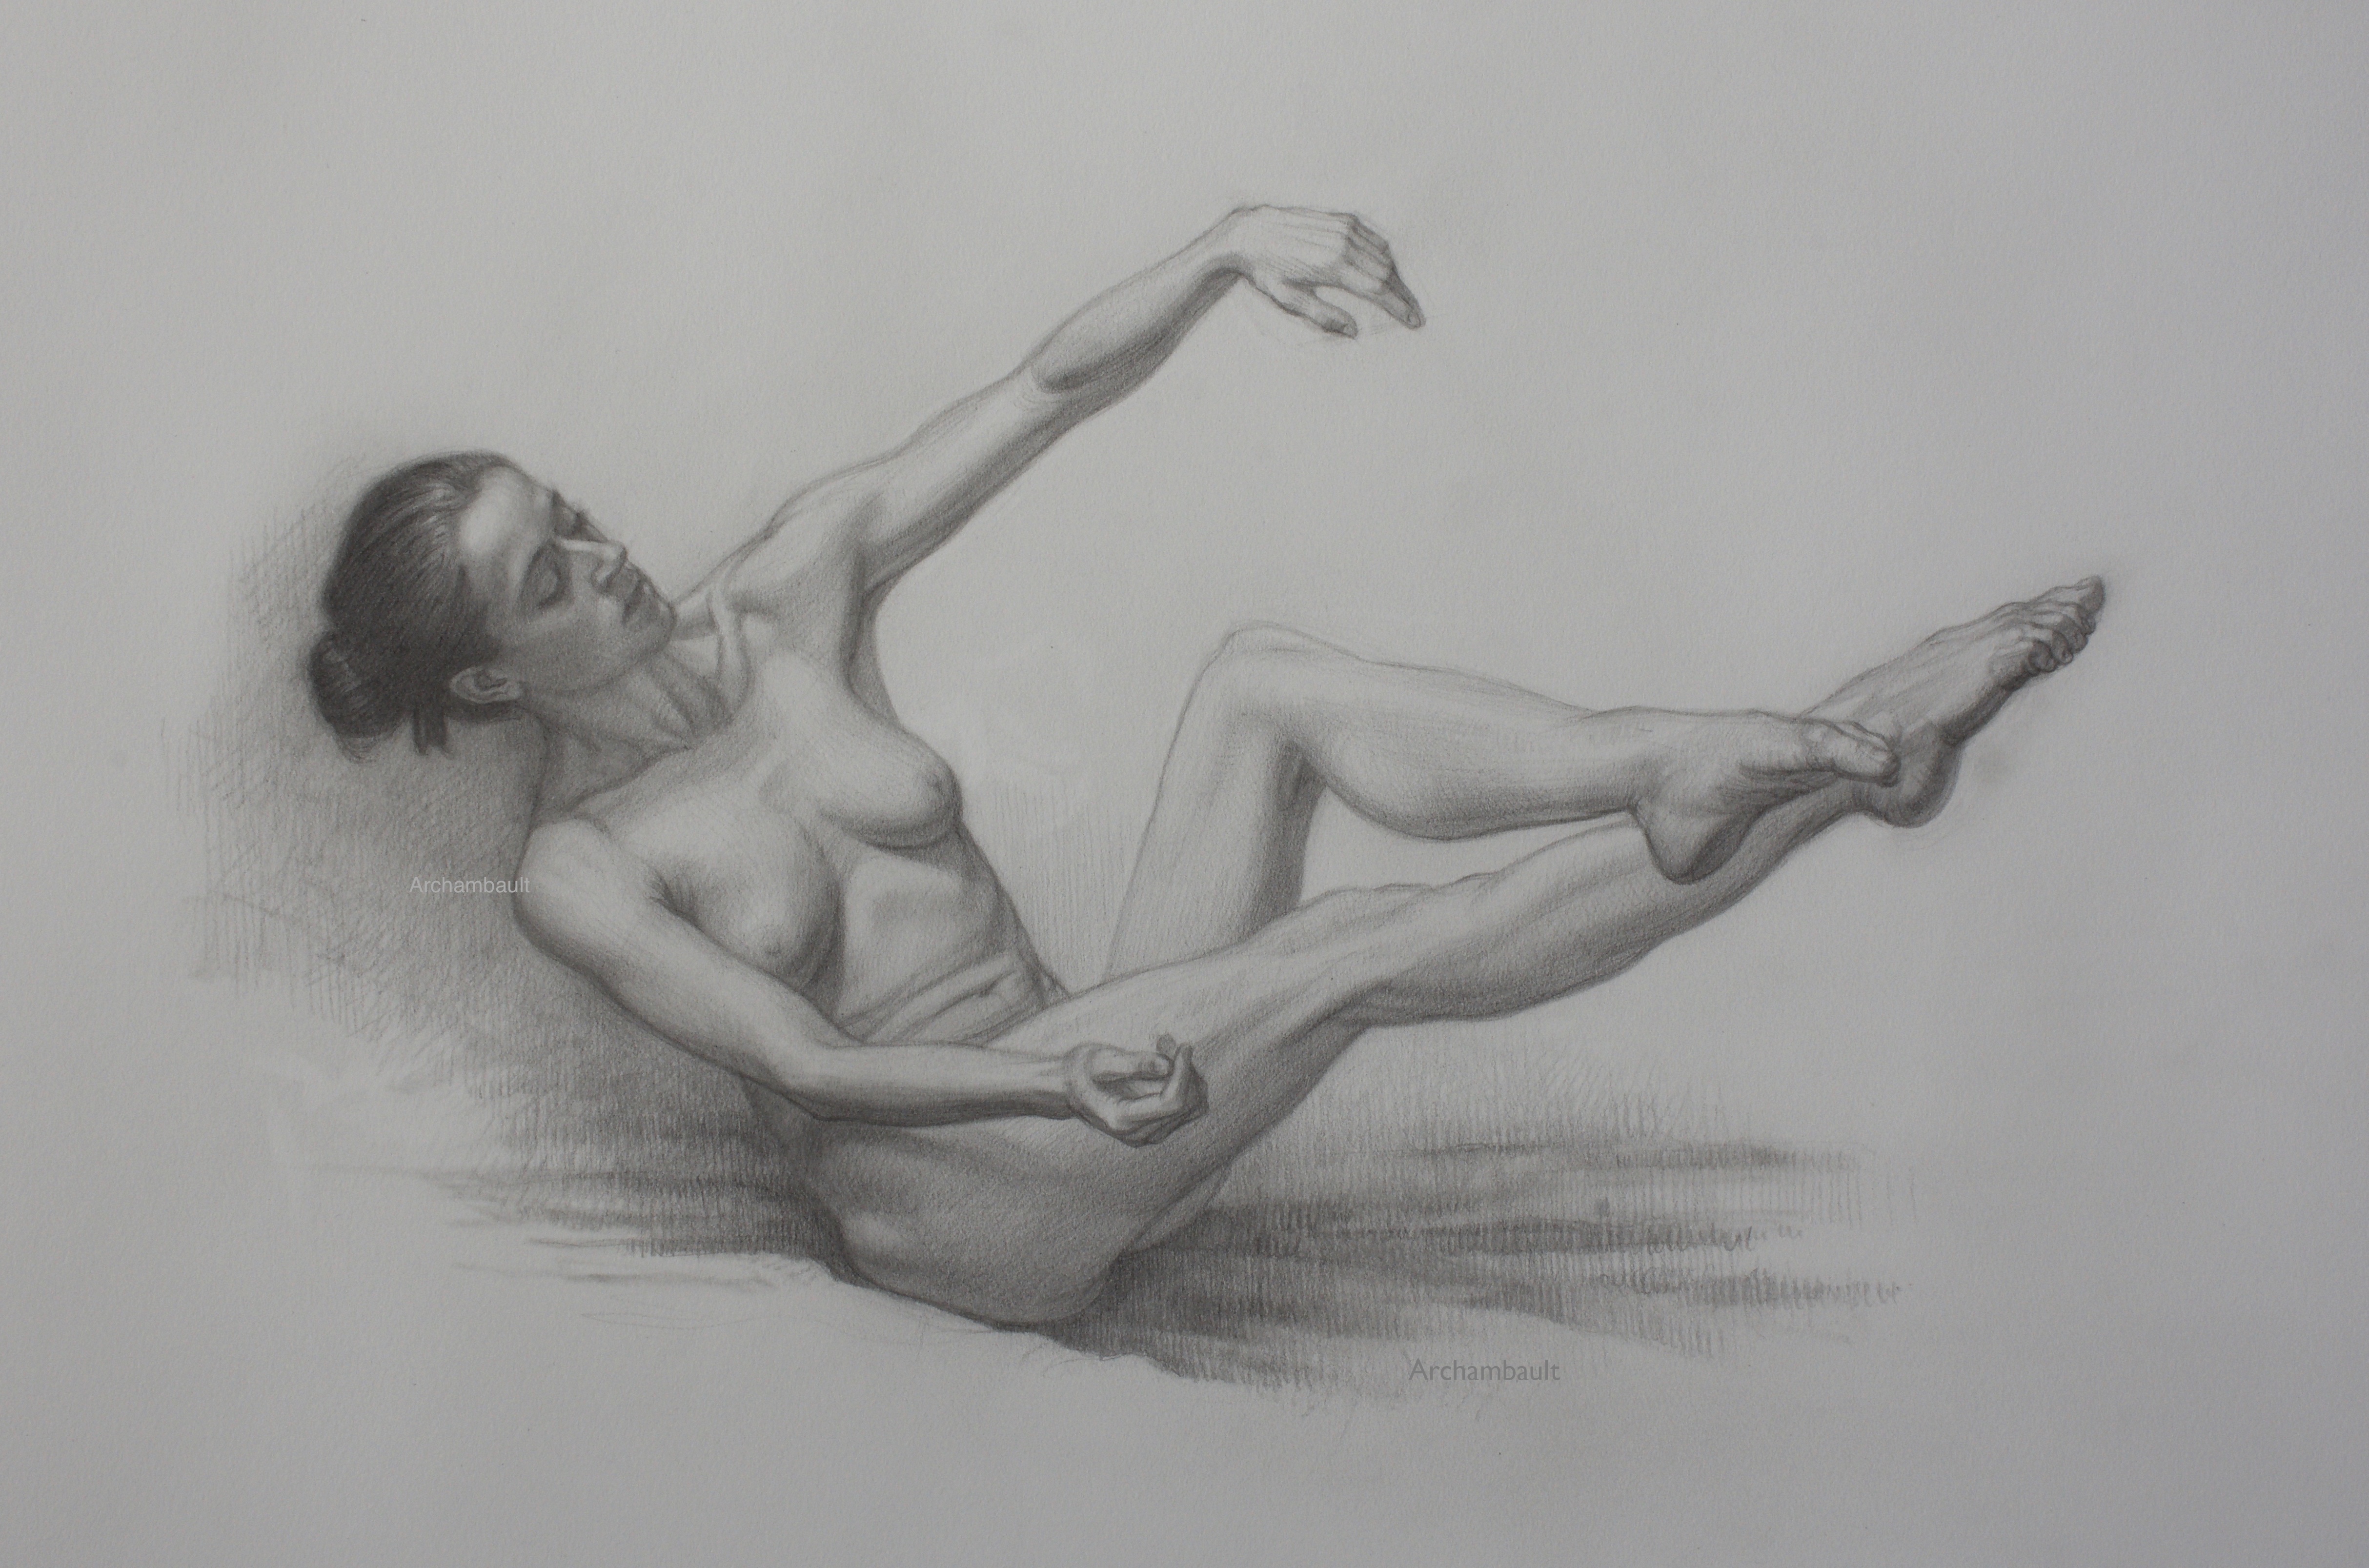
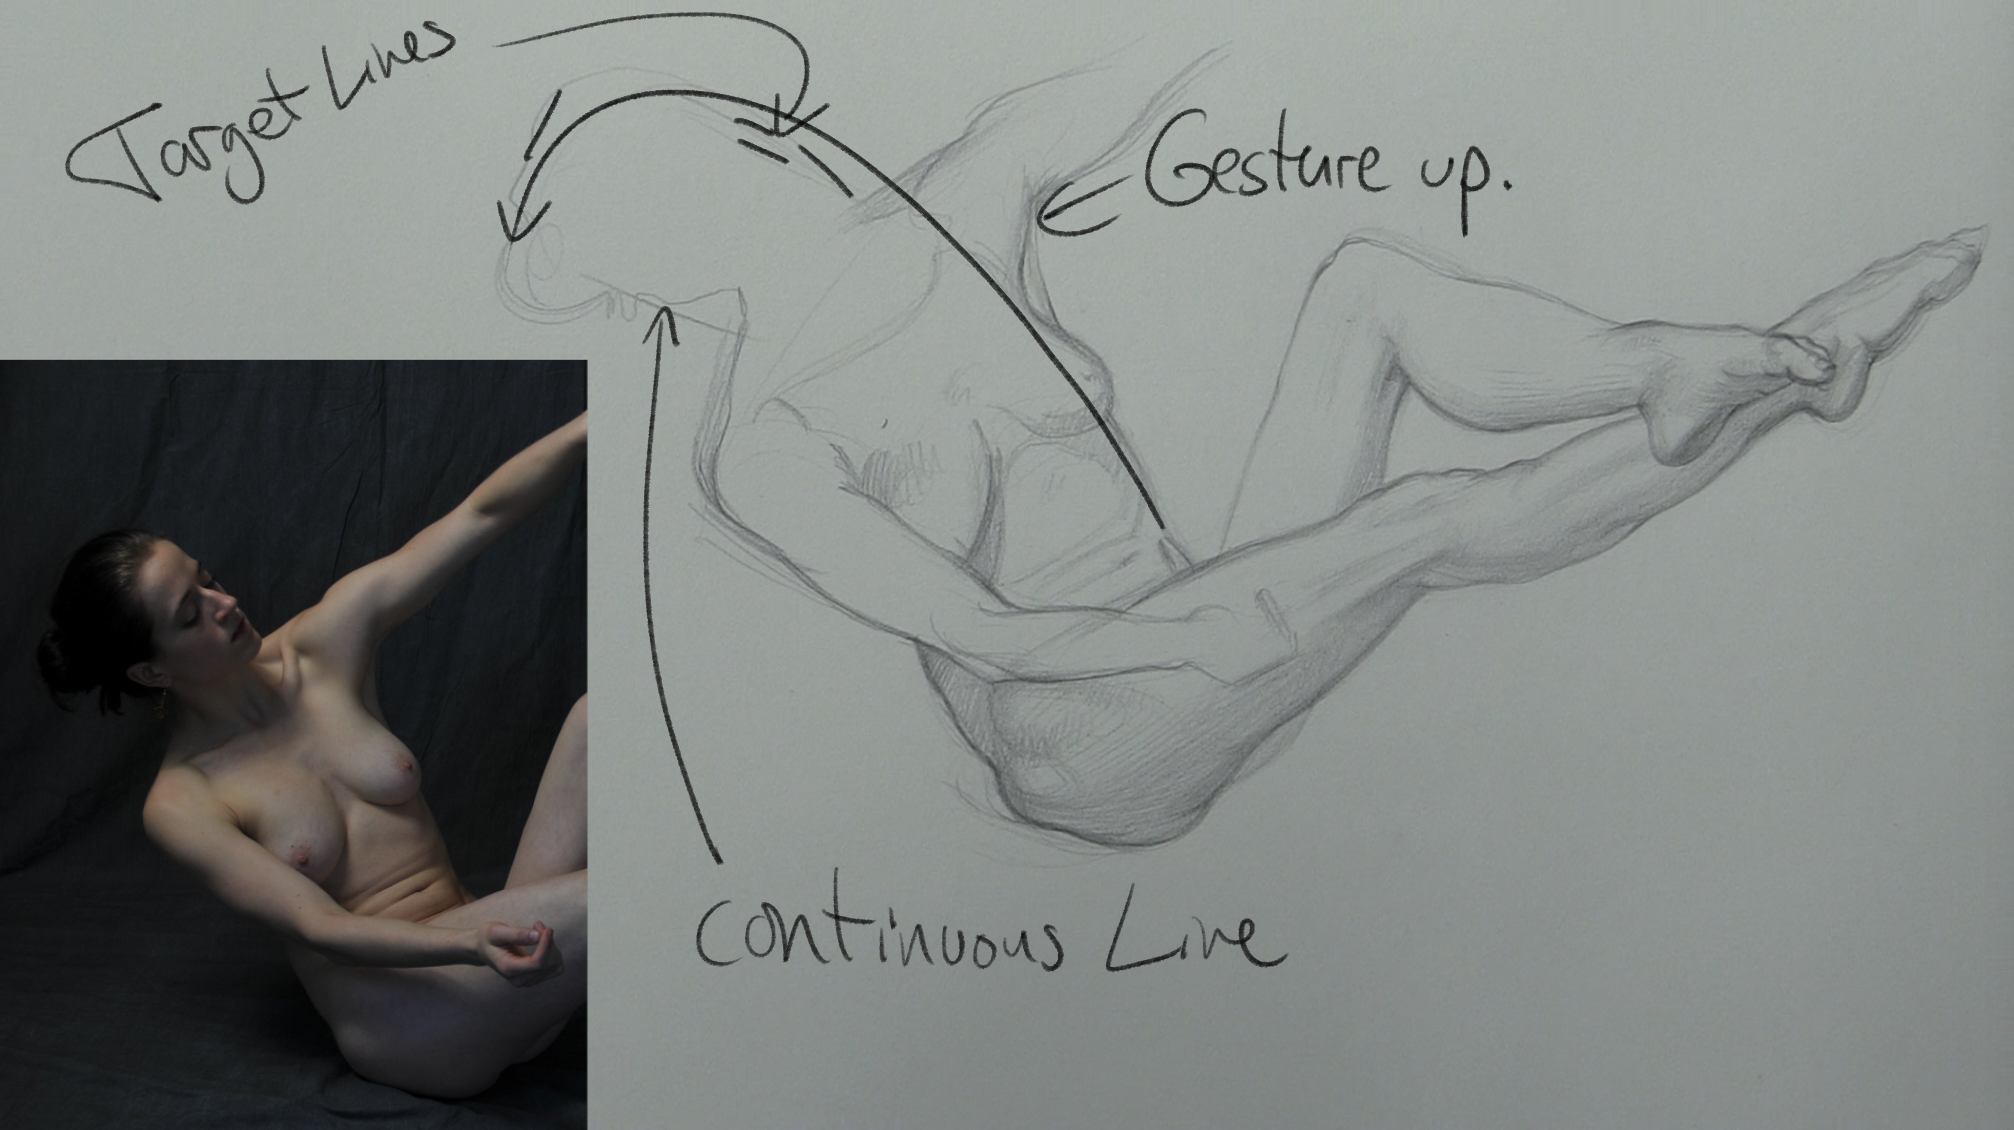
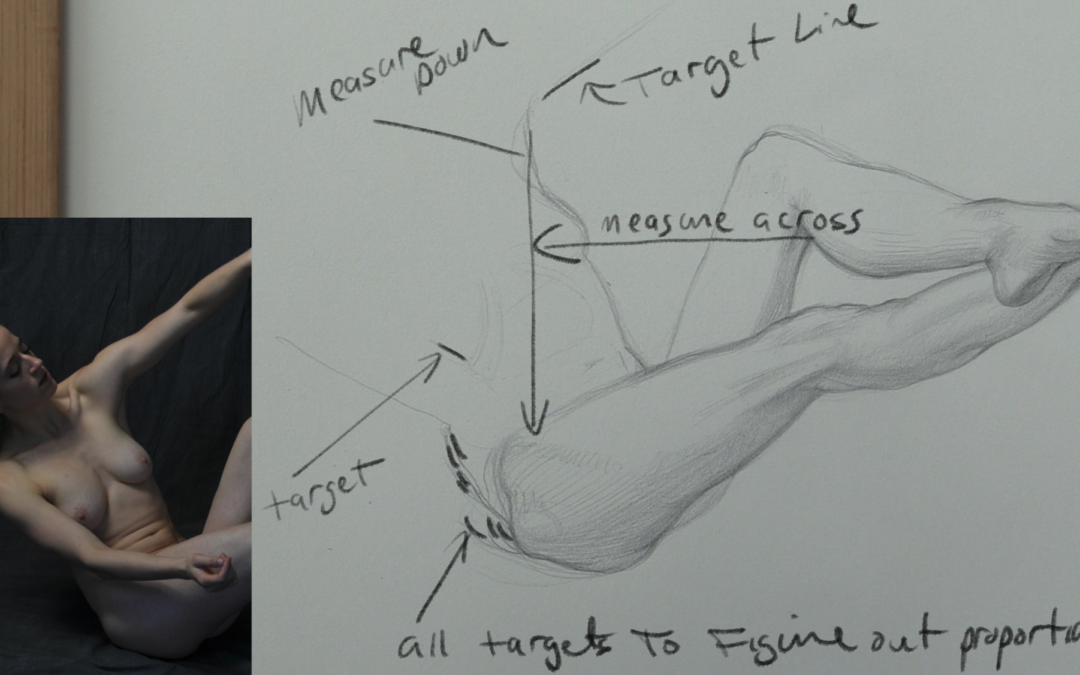
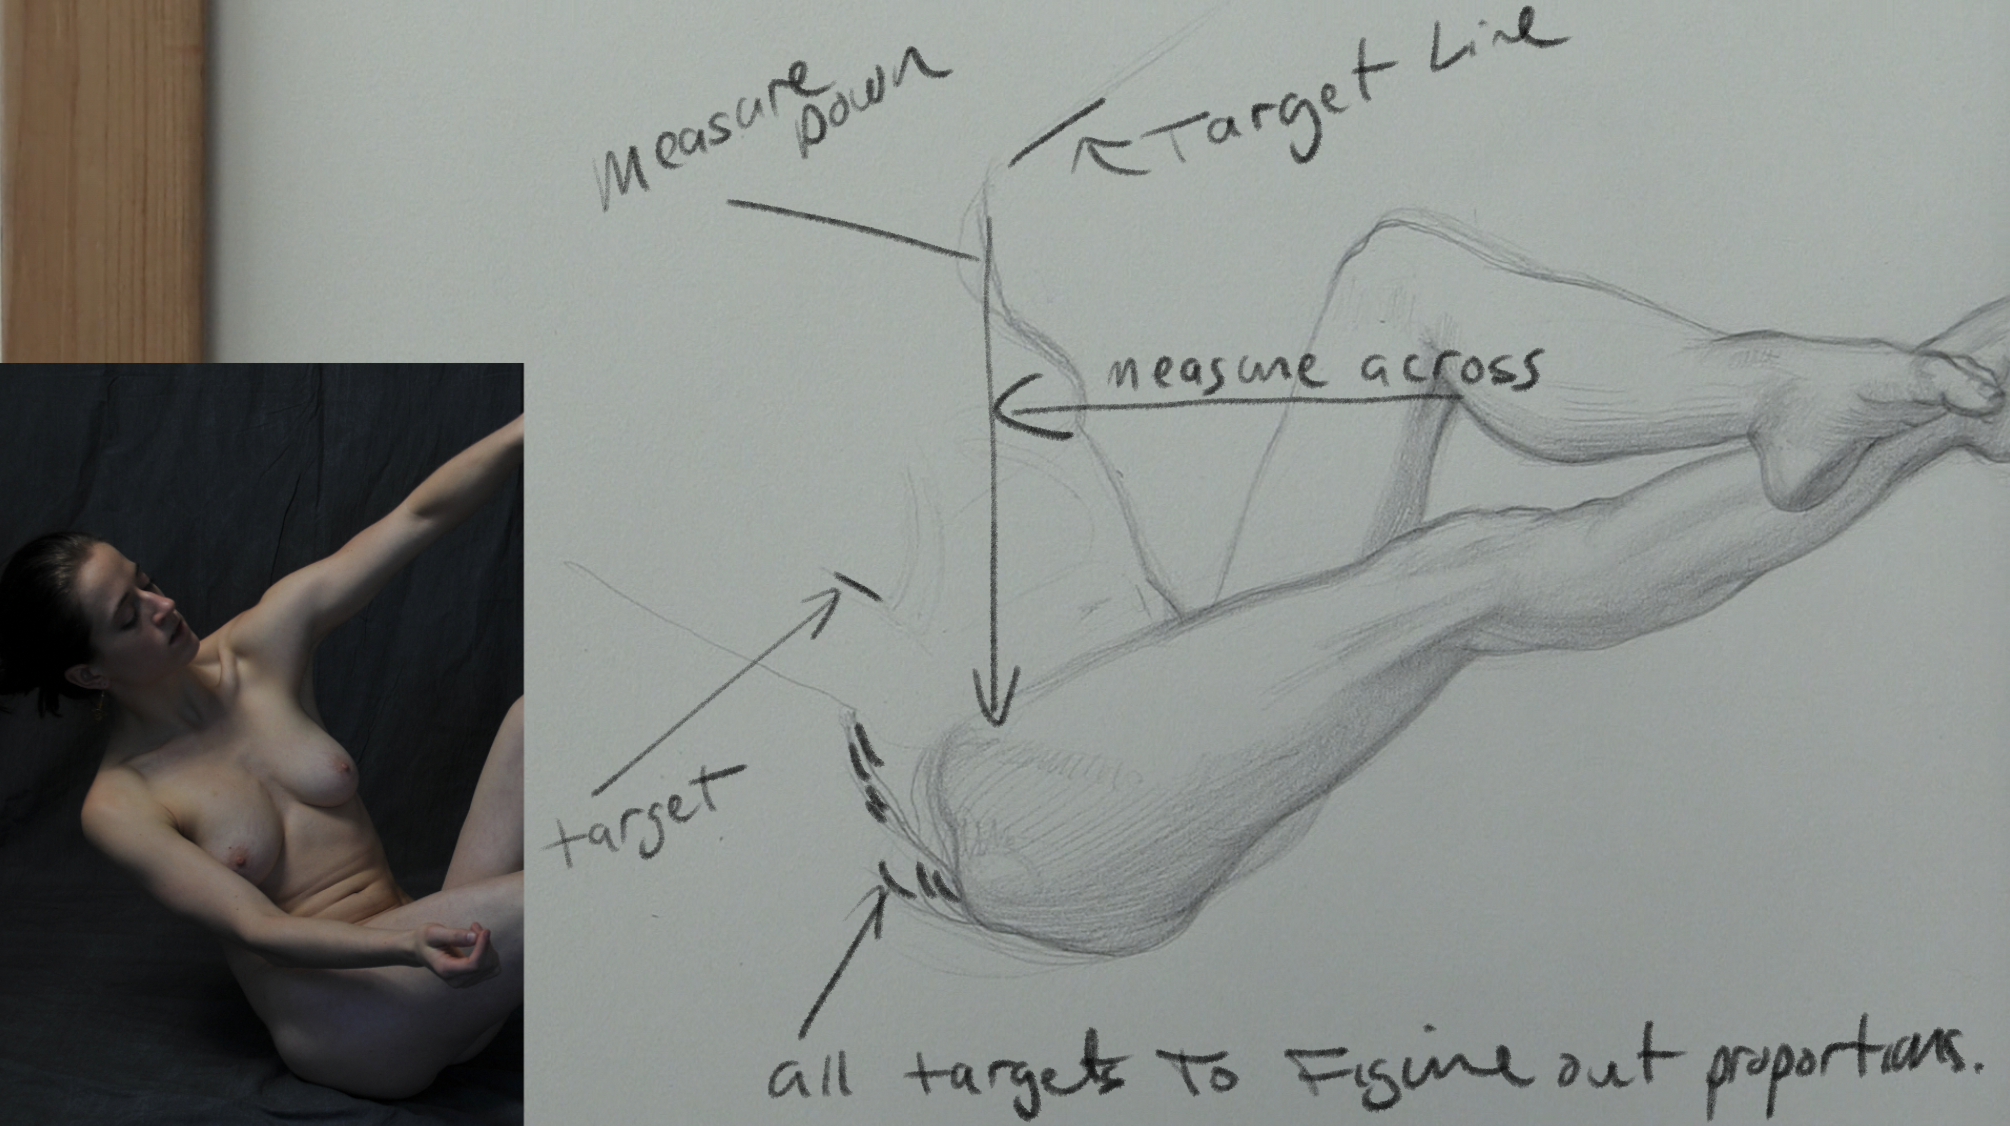
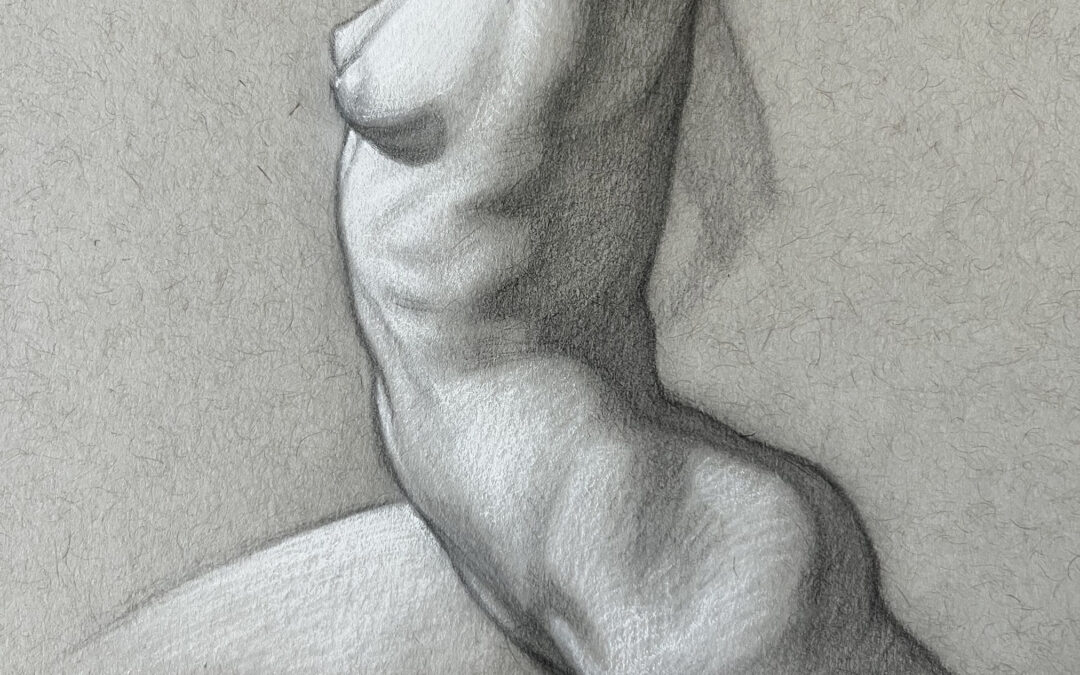
First, I’ll start with a full demonstration of how to approach and construct the pose using the black Col-Erase pencil. Then, in the second part of the session, I’ll refine selected areas of the figure with white charcoal to show how to build highlights and enhance the three-dimensional quality of the drawing.

This process is excellent for learning how to balance line, value, and form — whether you’re working traditionally or looking to improve your digital figure drawing skills.

Ready to take your artwork to the next level?
Drawing Tutorials Online is your resource for structured, expert guidance.

The fastest way to improve your art isn’t by guessing what’s wrong — it’s by getting clear, personalized feedback. That’s exactly what I offer.

With 28 years of experience teaching at the School of Visual Arts, I’ve helped thousands of students sharpen their skills and build confidence in their work. Now it’s your turn.

Let’s work together to unlock your full artistic potential.

Sign Up Today!

Figure Drawing Livestream

Figure Drawing Livestream

Are you into drawing the figure? If so this livestream class is perfect for you. Grab a pencil and draw along with me. In this livestream I walk you through how i get started drawing a figure from a photo.

Throughout the lesson I offer up various drawing techniques that will give you options for drawing the figure.

How To Draw A Ten Minute Gesture Of The Figure

How To Draw A Ten Minute Gesture Of The Figure

I just recently added a new figure drawing to the members area of Drawing Tutorials Online. This course is title Figure Drawing Class Exercises.

There are so many more diverse ways of teaching in the classroom versus online. The options for creativity in the classroom is endless. You can incorporate the student in activities you just cannot do online.

The purpose of this course is not to complete the perfect drawing, quite the contrary. The purpose of this course is to share with you many of the short style twenty minute exercises completed in class.

The drawing in the video below is the type of drawing I have my students do often in the classroom. A simple top to bottom line/gesture drawing of the model using minimal shape.

The goal of this exercise to gain confidence by constantly drawing the figure from head to toe in ten minutes. Starting again, starting another one, and then another one. Kind of like doing drills.


Thank you so much for taking the time to watch this video. Make sure you get to a life drawing class and draw some quick ones. Don’t be perfect, just have fun.


Fitting The Head Onto The Body

Fitting The Head Onto The Body

In this very short figure drawing lesson I’d like to share with you how I begin to fit the head onto the shoulders. The two key words are short and begin.

In case you have not noticed I am a big believer in repetition in the mother of skill. I tend to teach the same things over and over again because they work for me. I have also seen these techniques work in the classroom on a weekly basis.

The main crux is to use targets to start fitting the head onto the shoulders. There are few other little techniques you can incorporate into the mix.

One, do your best to gesture into the head. In the video you can see How I use a gesture line from the side of the breast into the side of the face. Use long gesture lines whens fitting the head.

Two after the first few lines stop and get up off of your chair. Reset your eyes, looking out the window at something far away is a great way to do this. After you have reset your eyes come back to the drawing. You will immediately see what is working and what is not.

When we sit down for long period of time we loose site of the drawing in terms of proportions.

So the three keys, use some light target lines to start placing the head onto the shoulders. Incorporate one or two gesture lines to flow into the head as well. Within a minute or two of placing these initial lines get up and look at your drawing from far away.

Try these three techniques the next time you are working on a figure drawing.


If this technique helps you please leave a comment below. I’d love to hear anything you can add to conversation. If you have tried this technique and are still having issues with fitting the head onto the body I would like to help.

I would be happy to critique your work each and every Monday in our members Critique Gallery. It’s a cool place to get feedback on your work without all of the negative commentary you find on social media.


Mapping Out Proportions

Mapping Out Proportions

With this particular figure drawing I started with an abstract shape. It’s definitely a different way to start. Now what I’d like to share with you is how to branch out from the legs into drawing the torso.

That is drawing the torso with correct proportions. On paper it sounds easy. But executing this is somewhat difficult. It takes good eye hand coordination.

The concept is to use targets to branch out. What are targets you ask? They are little marks that you place on the paper to estimate where the edge of an item would be. The edge of the torso, the edge of the arm etc.

You’ll also want to look at abstract negative space between the torso and the legs. Take it slow and do not rush this step. Look and study more than you draw.

Lastly you’ll want to take measurements. Common sense stuff like what is directly opposite the model’s breast? What is right below the model’s navel. Not very romantic but these techniques work.

Like I said on paper this all sounds very boring and simple. But this really does take quite of lot of eye hand coordination. How to you get that, you draw everyday. 


If this technique helps you please leave a comment below. I’d love to hear anything you can add to conversation. If you have tried this technique and are still having issues with getting correct proportions I would like to help.

I would be happy to critique your work each and every Monday in our members Critique Gallery. It’s a cool place to get feedback on your work without all of the negative commentary.