Start Your Figure Drawing From An Abstract Shape
I recently added a twenty-eight lesson figure drawing course in the member area of Drawing Tutorials Online. I wanted to share with you some of the lessons over here at my blog. This first lesson in particular is very important.
Too many artists give themselves artificial rules. These rules can sometimes take the fun out of drawing, especially figure drawing. One of these rules is that you must start your figure drawing from the top of the head. I disagree completely.
Do I sometimes start my figure drawing at the top of the head, the short answer is yes. When do I do this, mainly when I am deliberately trying to draw the figure from head to toe. This is something you want to do especially when working on short duration gesture drawings.
Working from head to toe using the Opposite C technique enables you to see proportions in a quick way. However when I want to work on a long duration drawing I like to switch things up.
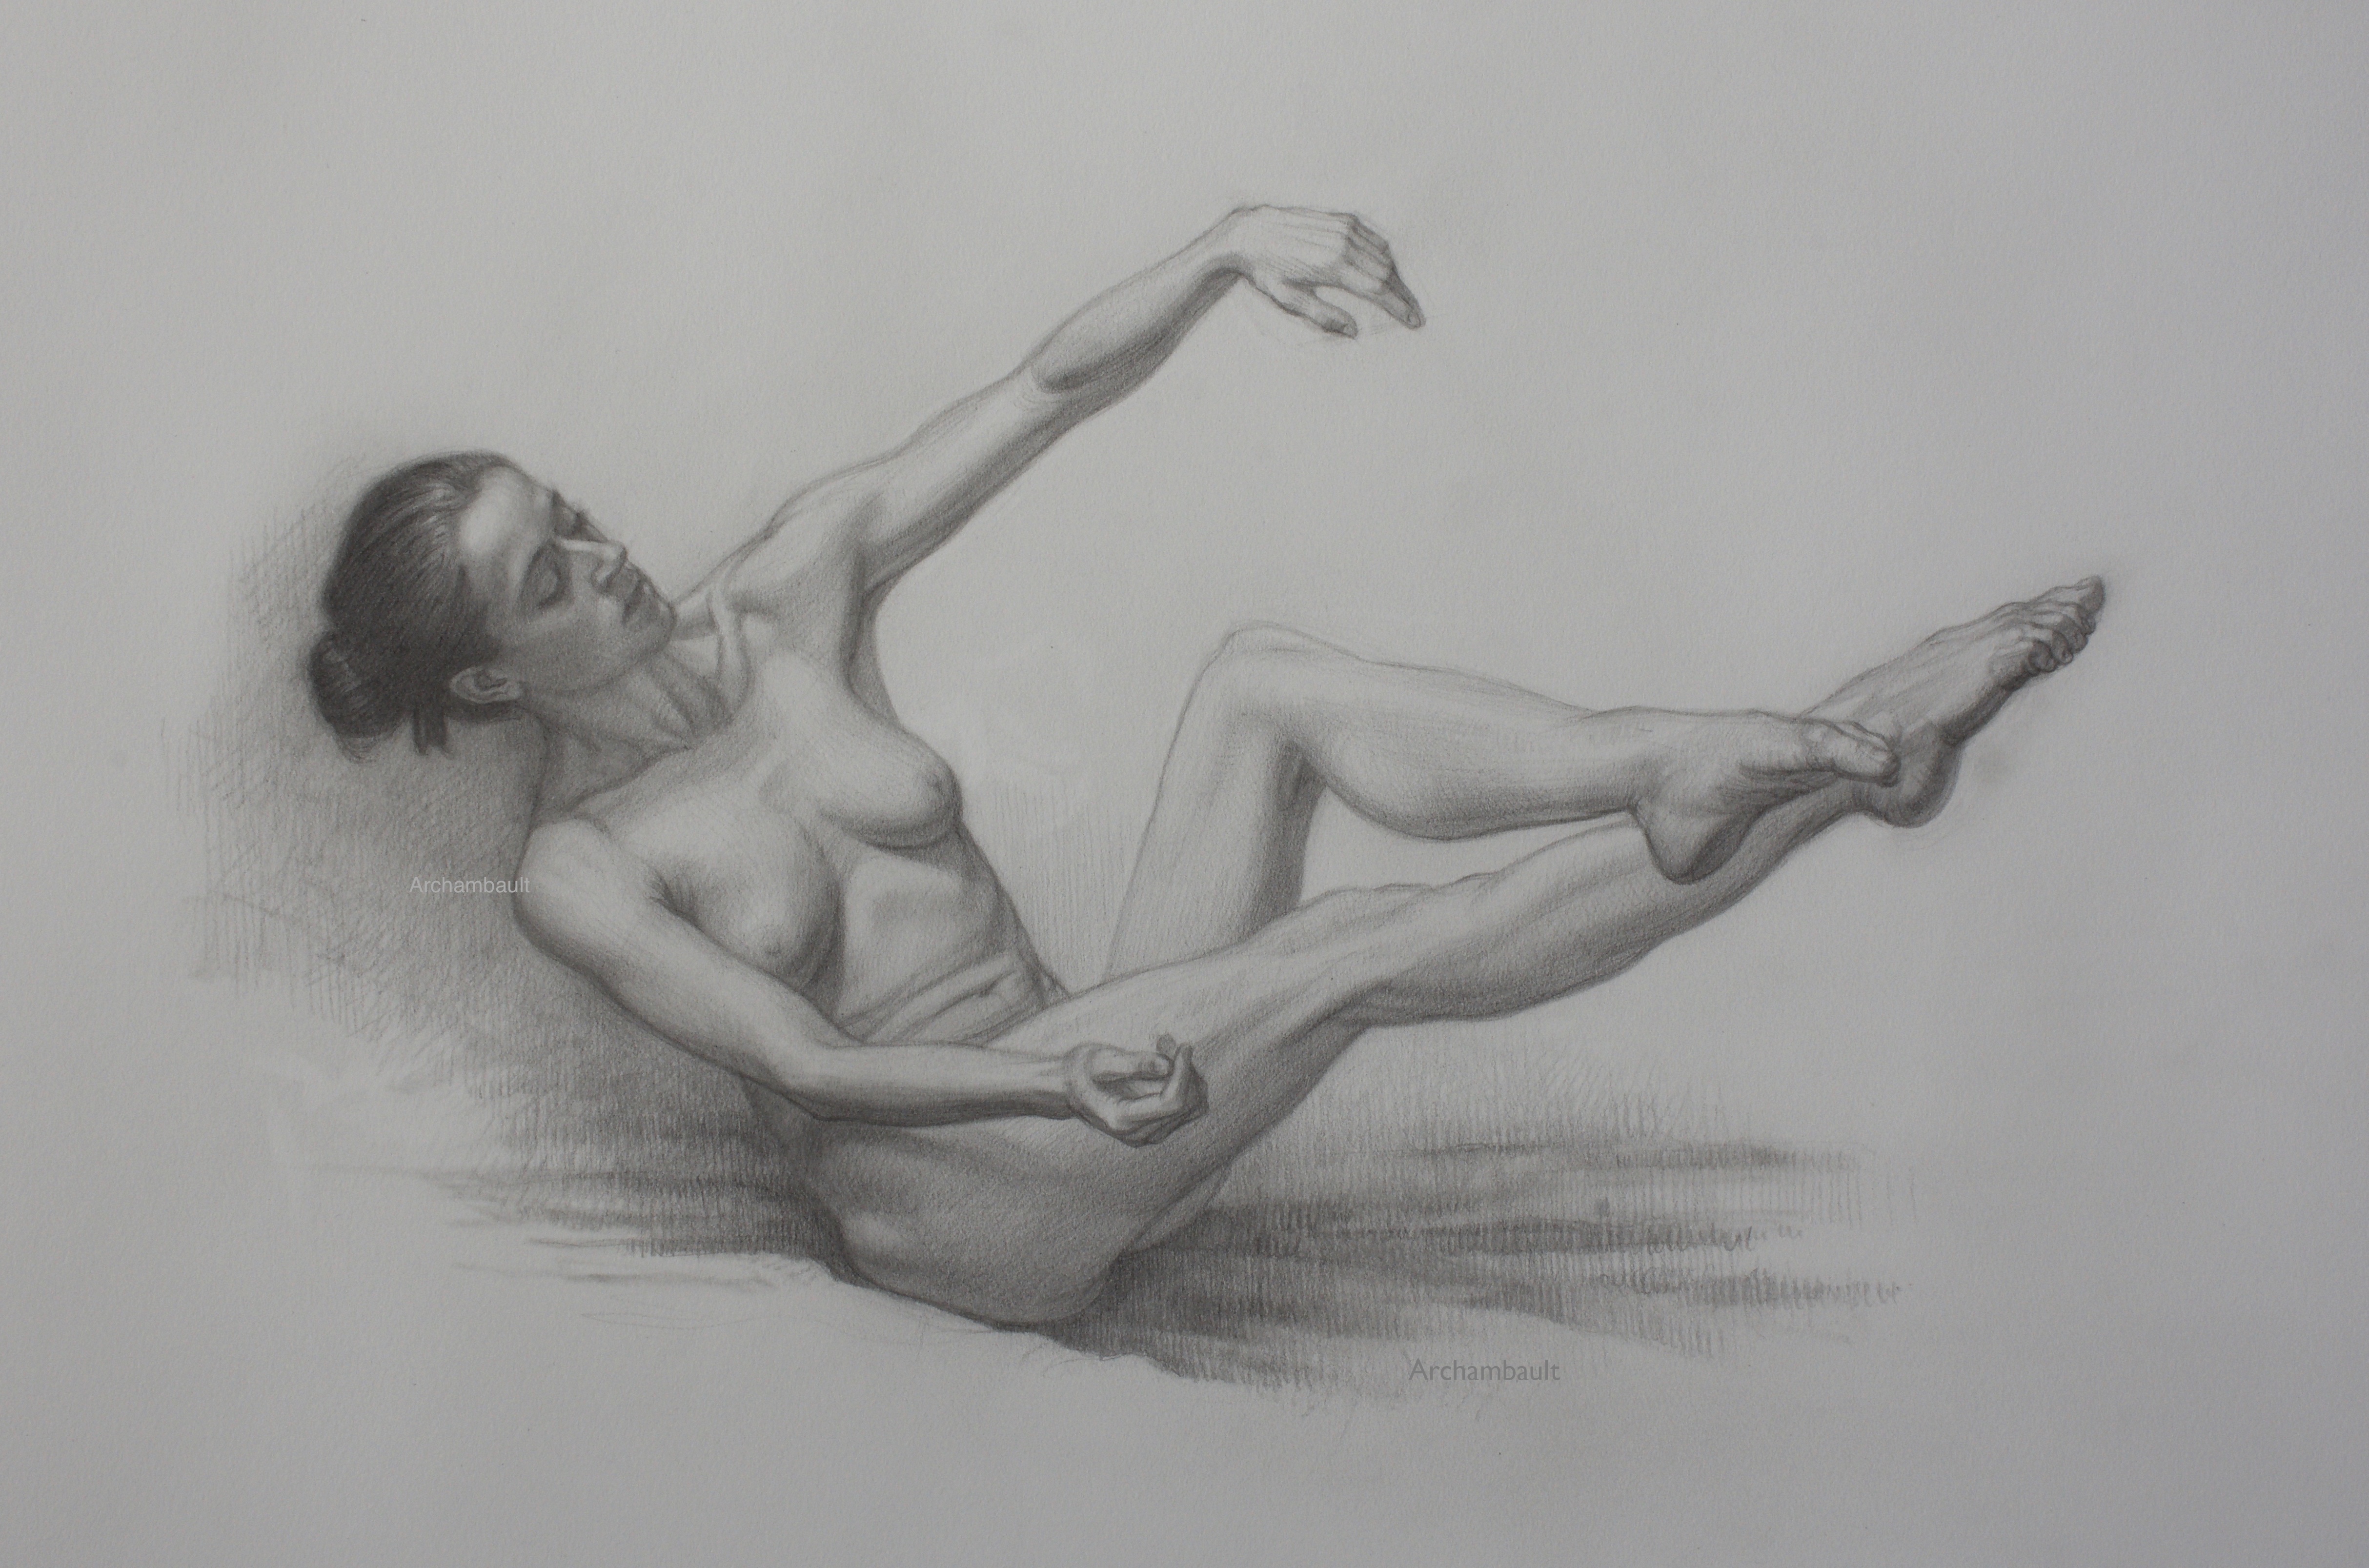
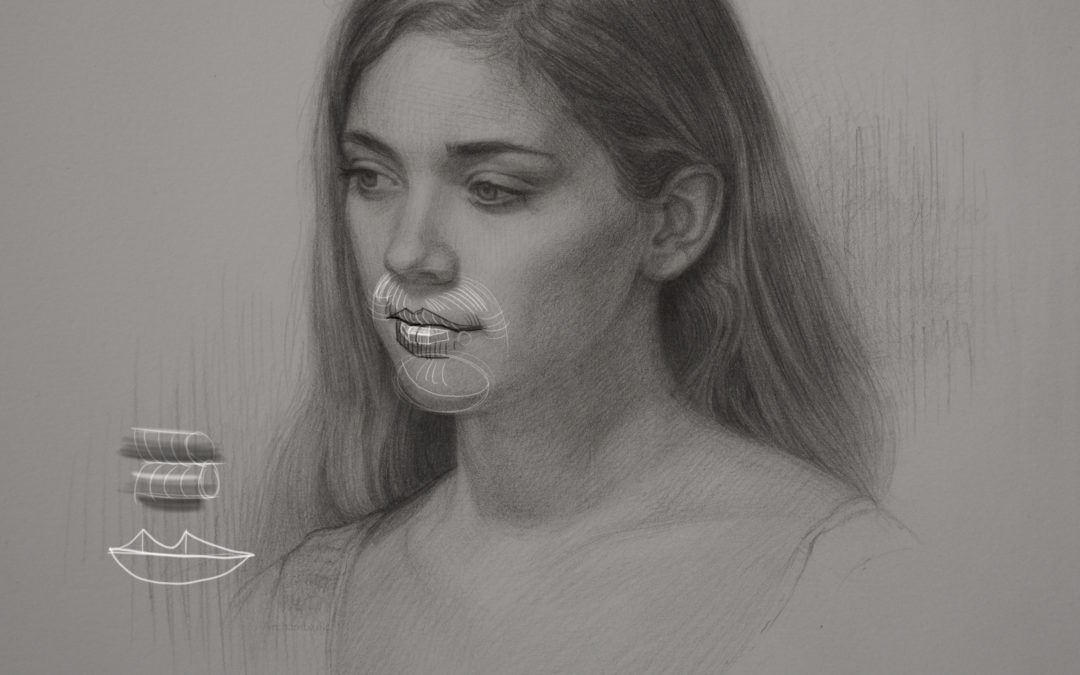
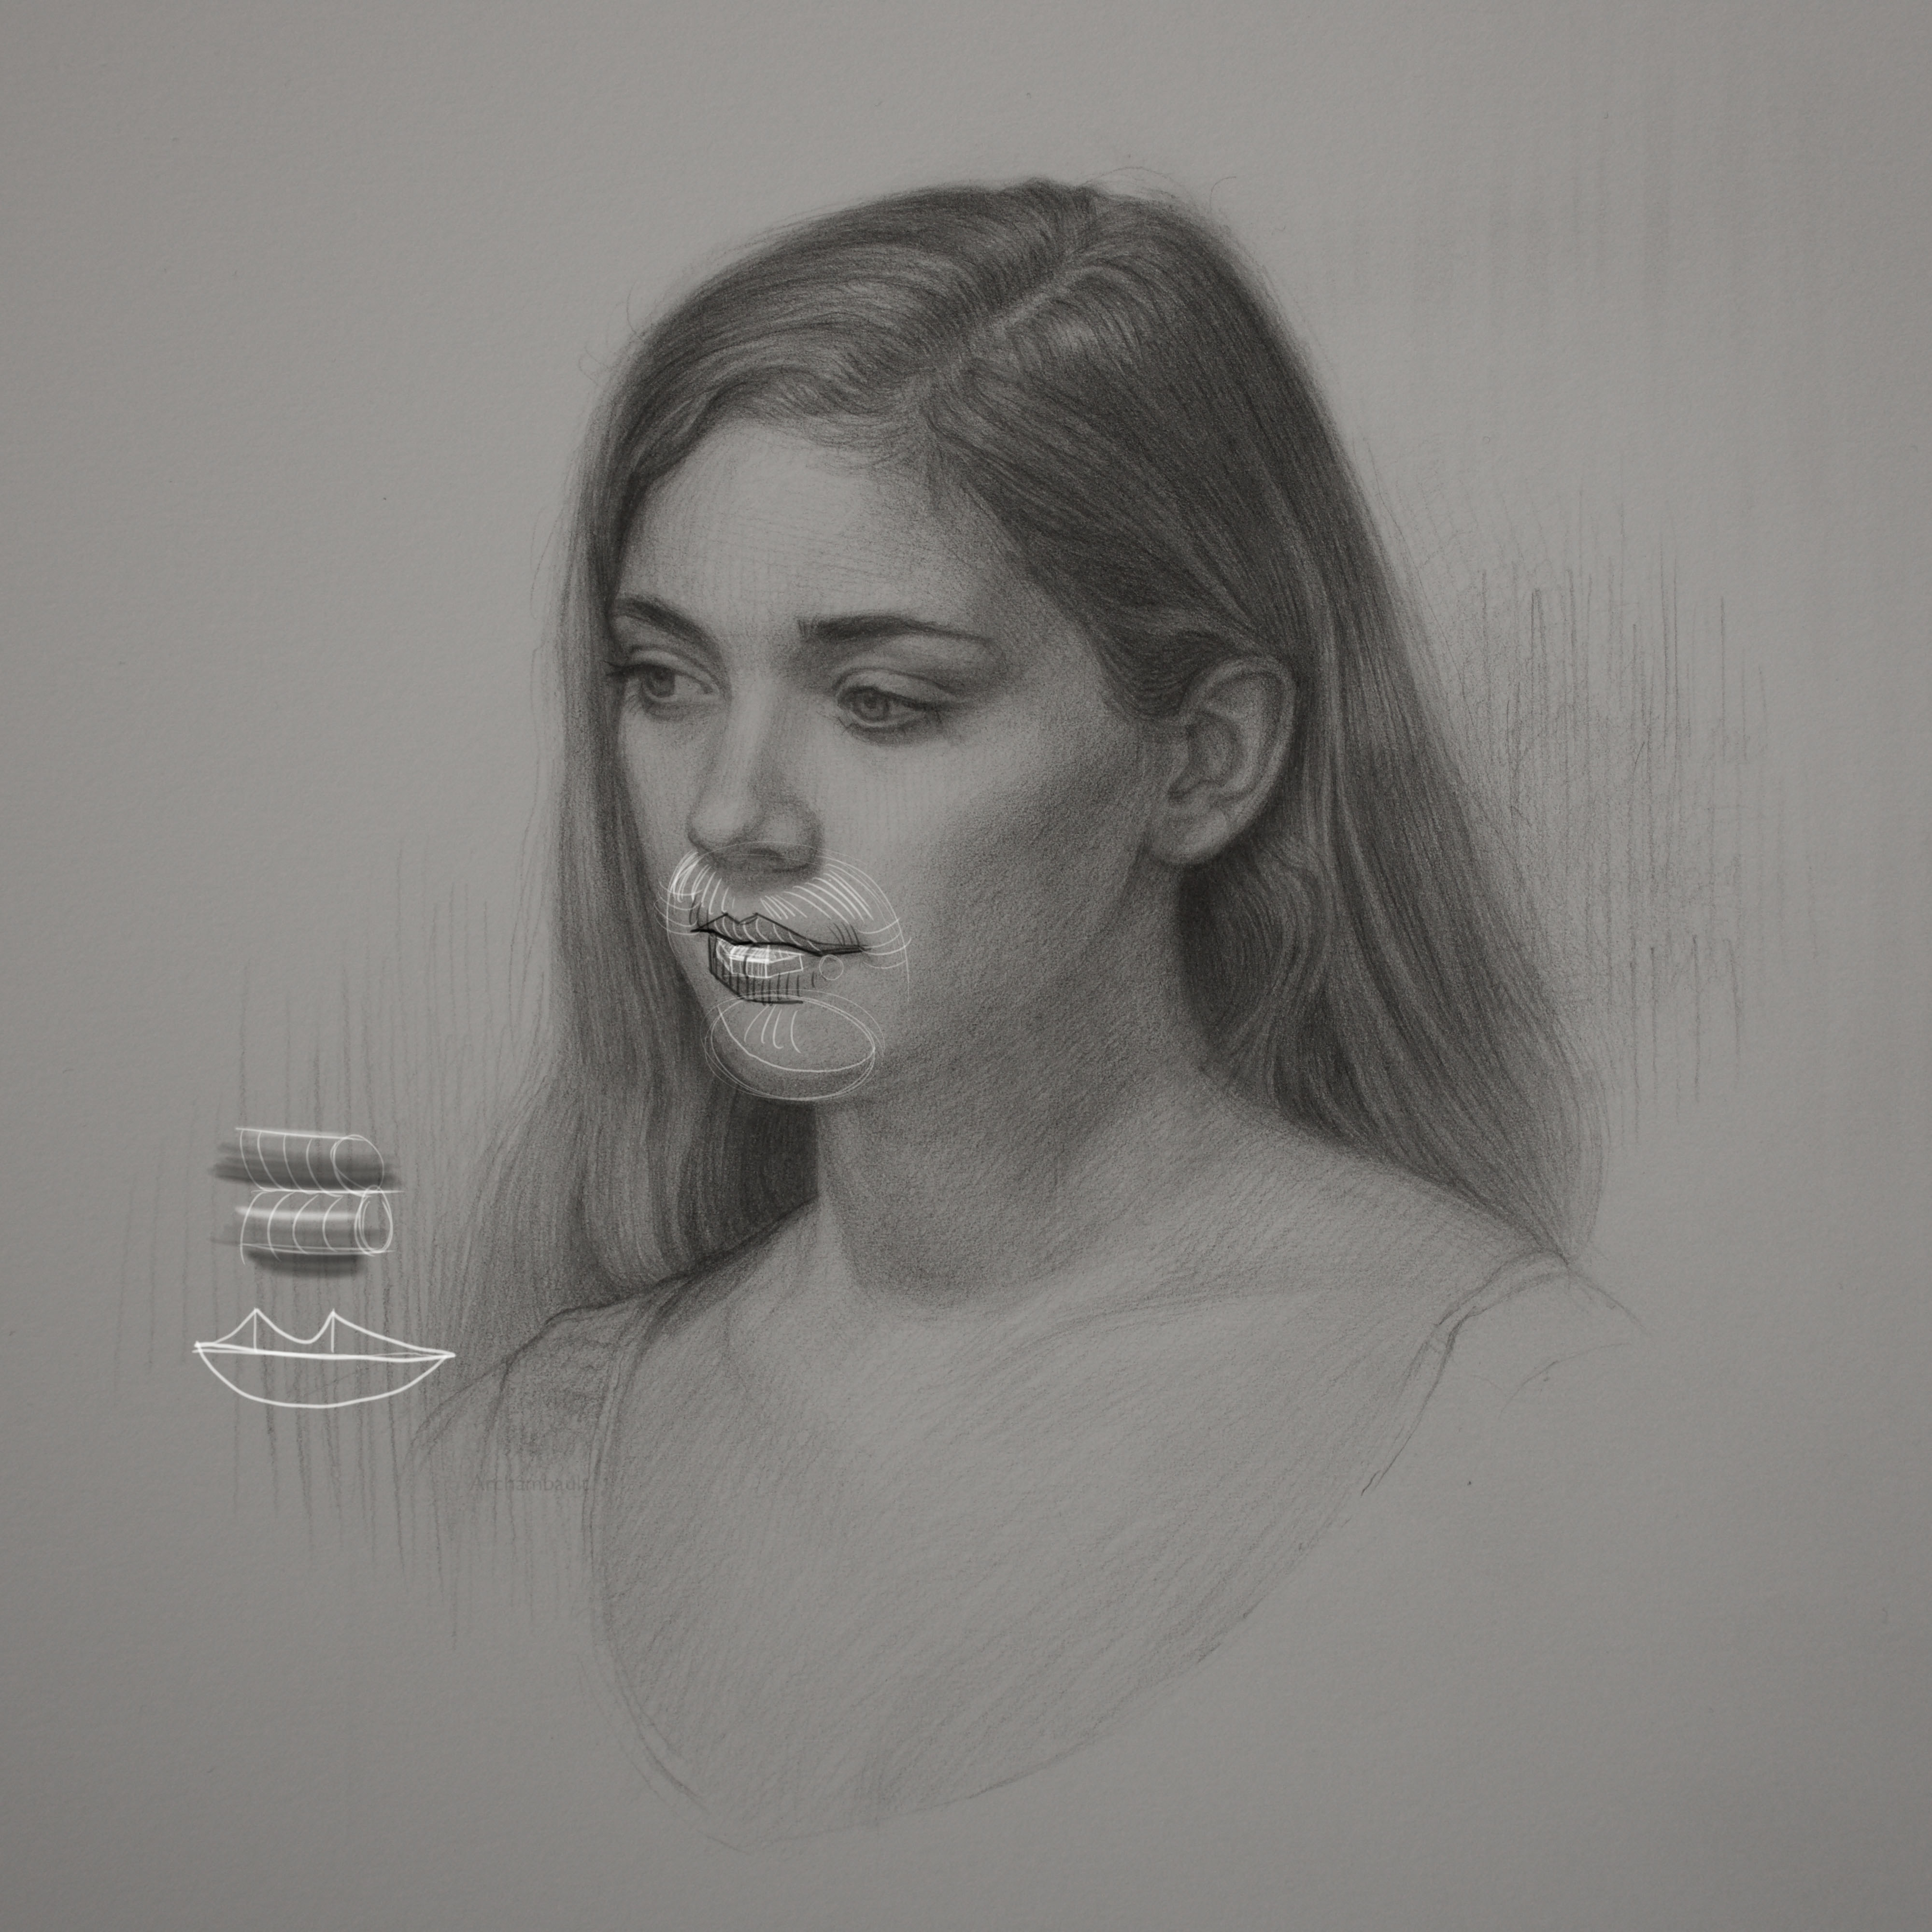
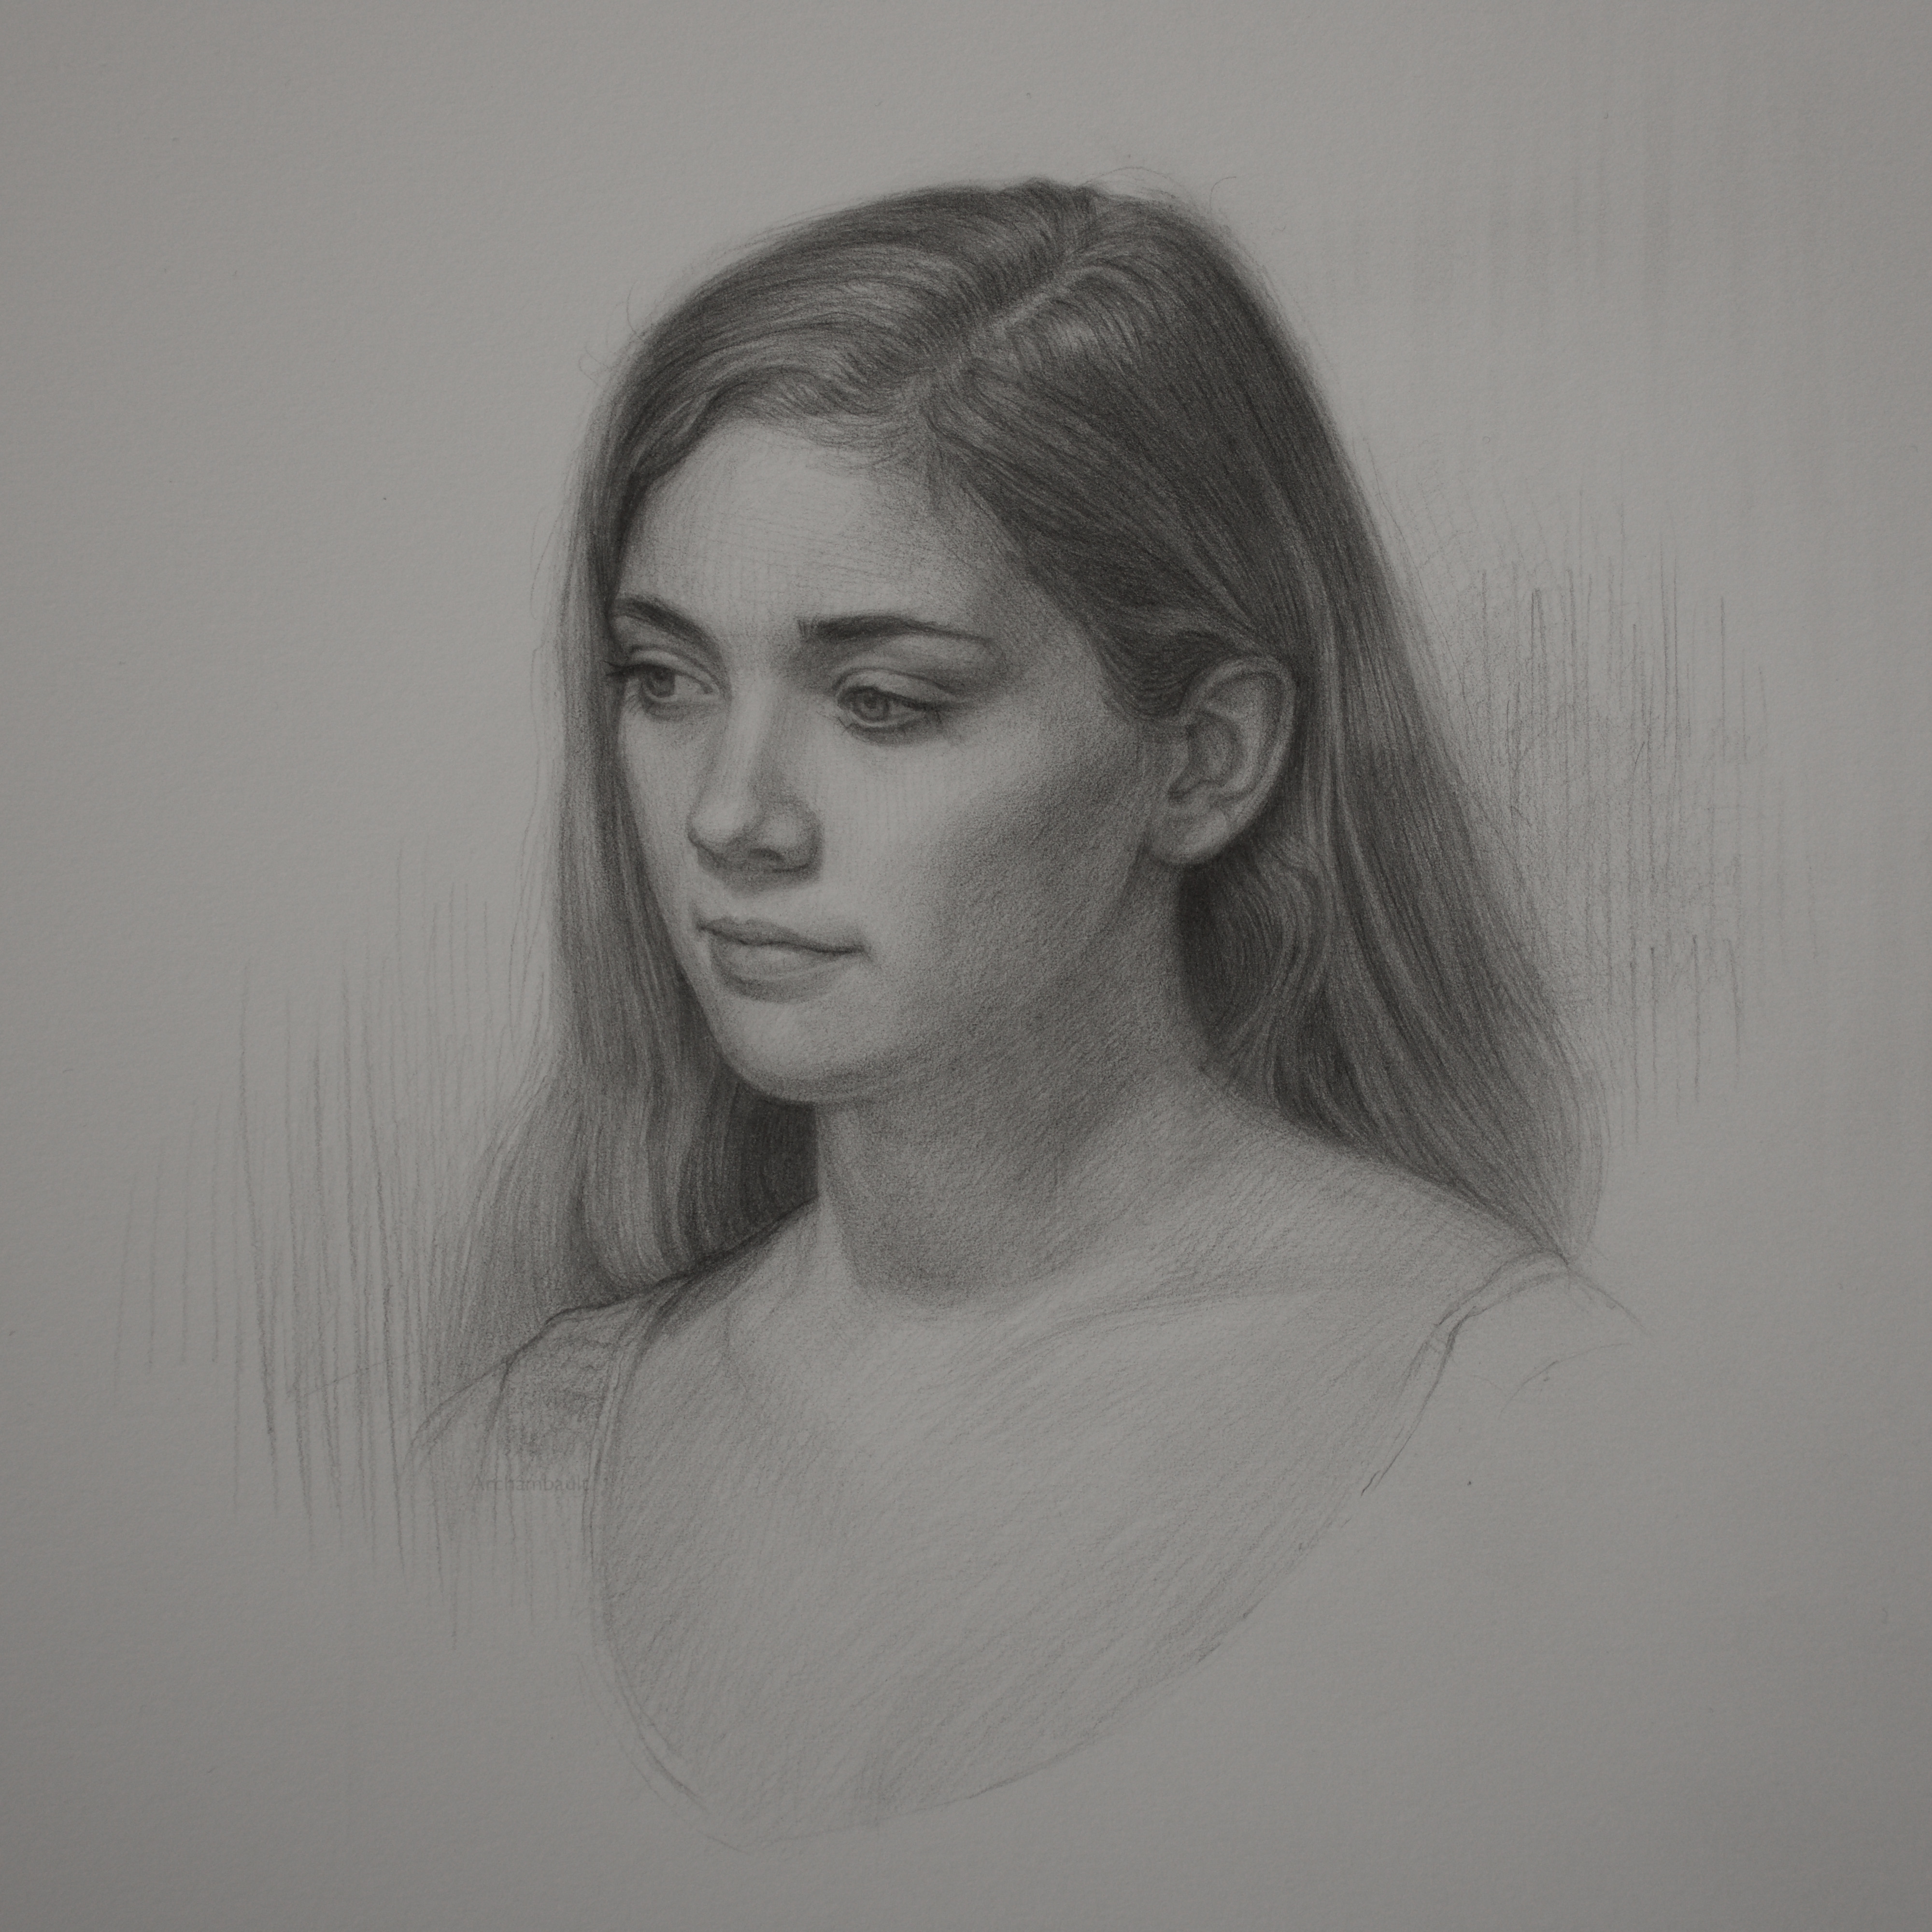
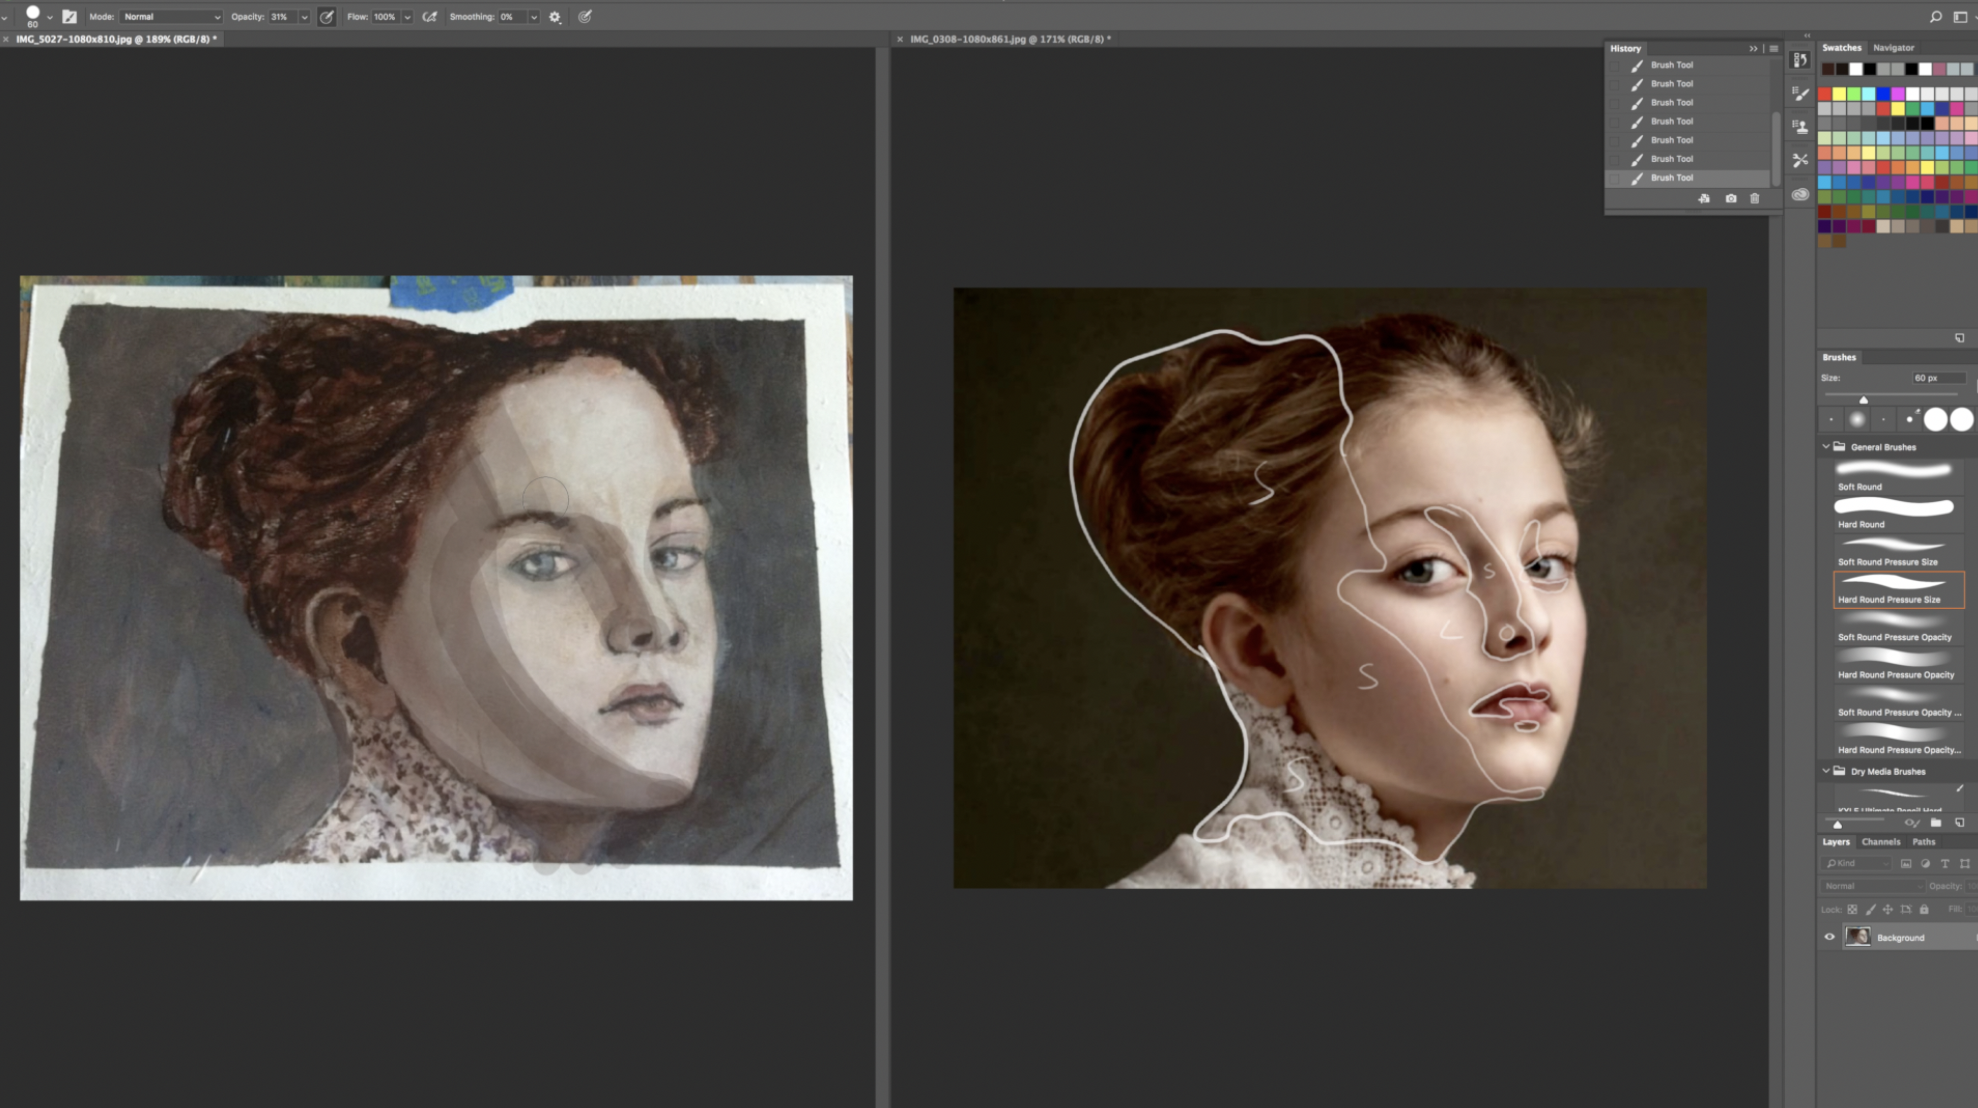
Starting your drawing from an abstract shape is a great way to begin. I have been drawing this way for years both from life and from photos. The idea here is that drawing an abstract shape is a whole lot easier then drawing an actual body part.
For instance in this particular figure drawing I start in essense with the abstract shape between the model’s legs. Some artists like to call this a negative shape or negative space. Either way it’s abstract.
Starting with an abstract shape is a great way to start because it allows you to start building up confidence. It allows you to see proportions in a different way.
I highly suggest that you give this technique a try. Practice drawing a bunch of abstract shapes. Try copying each shape exactly, this great practice and will help you with your accuracy.
If you are looking to learn some new drawing techniques to help improve your figure drawing definitely consider a membership to Drawing Tutorials Online. I’m particularly proud of this new twenty-eight lesson course.
All of the lessons are really short, most under ten minutes. Each lesson focuses on a different technique. The course focuses on line, proportions, shading, structure as well as form.
Not to mention you can get your figure drawings critiqued on a weekly basis in our gallery. If the technique taught in the lesson above speaks to you please leave a comment below. Thanks for reading.