I have been filming Video Critiques every Monday, religiously since 2009. It’s truly what has kept me connected to our close knit member base. In an ever polarized internet where people feel very isolated something very different is happening at members.drawing-tutorials-online.com. People are not only connecting but they are learning how to improve their art on a consistent basis.
The video critique below is a typical example of the service I provide to our members every Monday. Each week members who choose to participate, upload their artwork to our member Critique Gallery. Getting a weekly critique from Drawing Tutorials Online can really help you jump up your skill level in a very short period of time.
The knowledge provided in these video critiques is the same type of knowledge taught at major art colleges for thousands of dollars. I know, I teach at one of the biggest art colleges in the United States, the School Of Visual Arts. SVA is an awesome school. I graduated from SVA in 1990 and have been teaching there since 1997.
The issue today with big art schools is the cost. Too many students are leaving art colleges strapped with major debt. This debt can be paralyzing to many young artists.
The good news is that there is a revolution going on with online learning. You really don’t have to be strapped with thousands of dollars in student loans anymore. Websites like members.drawing- tutorials-online.com provide a quality online education affordable to anyone willing to pay, at least for our service, .66 cents a day. Not only will our site teach you sound technical skills it will also provide you with sage career advice.
If you are looking to follow you passion learning more about the craft of drawing. Definitely consider signing up for month to our membership site. At .66 cents a day you won’t have any five year loans to worry about paying back.
Thank you so much for watching the video critique above.
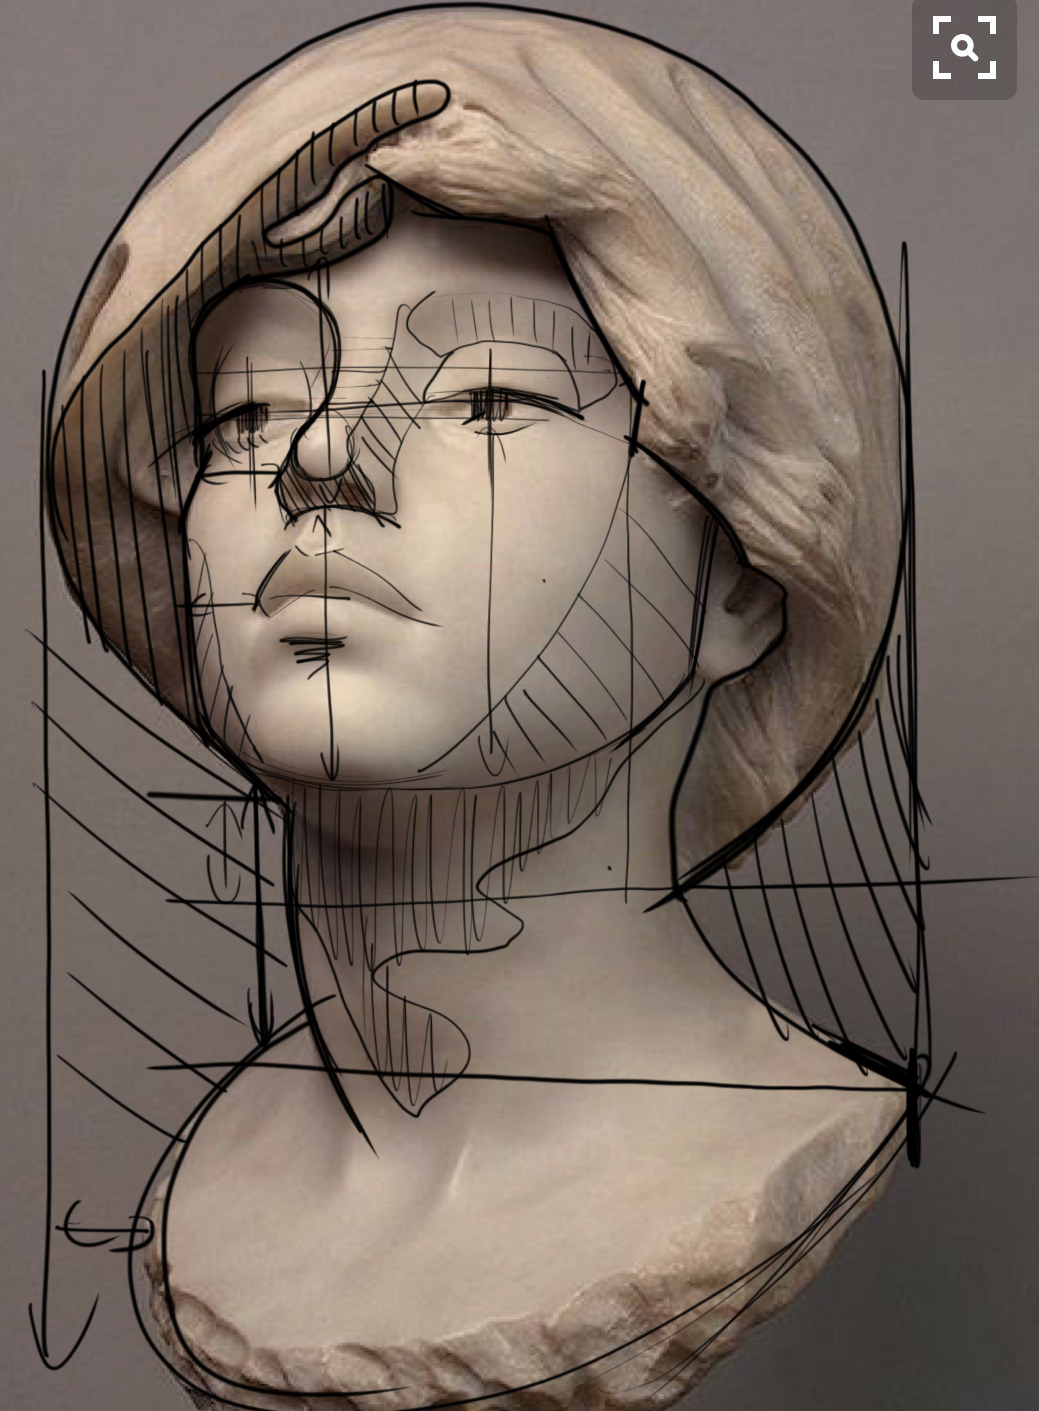
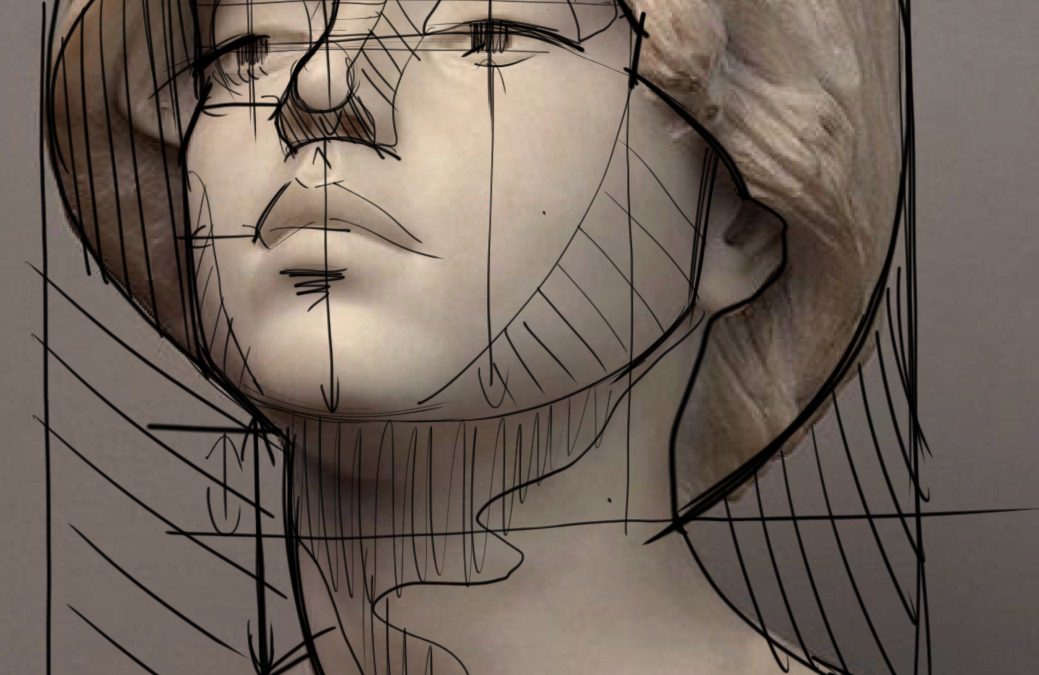
Learn how to draw a portrait in several easy to follow steps.
1. Start drawing your portrait loose with gesture lines.
2. Measure some landmarks left to right, top to bottom.
3. Draw an edge of the face using the “Angles” technique.
4. Shade in one big shadow shape. A shape that looks easy to draw.
5. Start to separate the shape of hair and shape of face.
6. Use outside open negative space to set the head, neck and shoulders.
7. Compartmentalize the features of the face. Use measuring to see where all of the features are placed.
Of course I explain everything in much more detail throughout the video. However thank you so much for reading the blog post and watching this critique.
I look forward to seeing you in the members area soon!