Start Your Figure Drawing From An Abstract Shape

Start Your Figure Drawing From An Abstract Shape

I recently added a twenty-eight lesson figure drawing course in the member area of Drawing Tutorials Online. I wanted to share with you some of the lessons over here at my blog. This first lesson in particular is very important.

Too many artists give themselves artificial rules. These rules can sometimes take the fun out of drawing, especially figure drawing. One of these rules is that you must start your figure drawing from the top of the head. I disagree completely.

Do I sometimes start my figure drawing at the top of the head, the short answer is yes. When do I do this, mainly when I am deliberately trying to draw the figure from head to toe. This is something you want to do especially when working on short duration gesture drawings.

Working from head to toe using the Opposite C technique enables you to see proportions in a quick way. However when I want to work on a long duration drawing I like to switch things up.

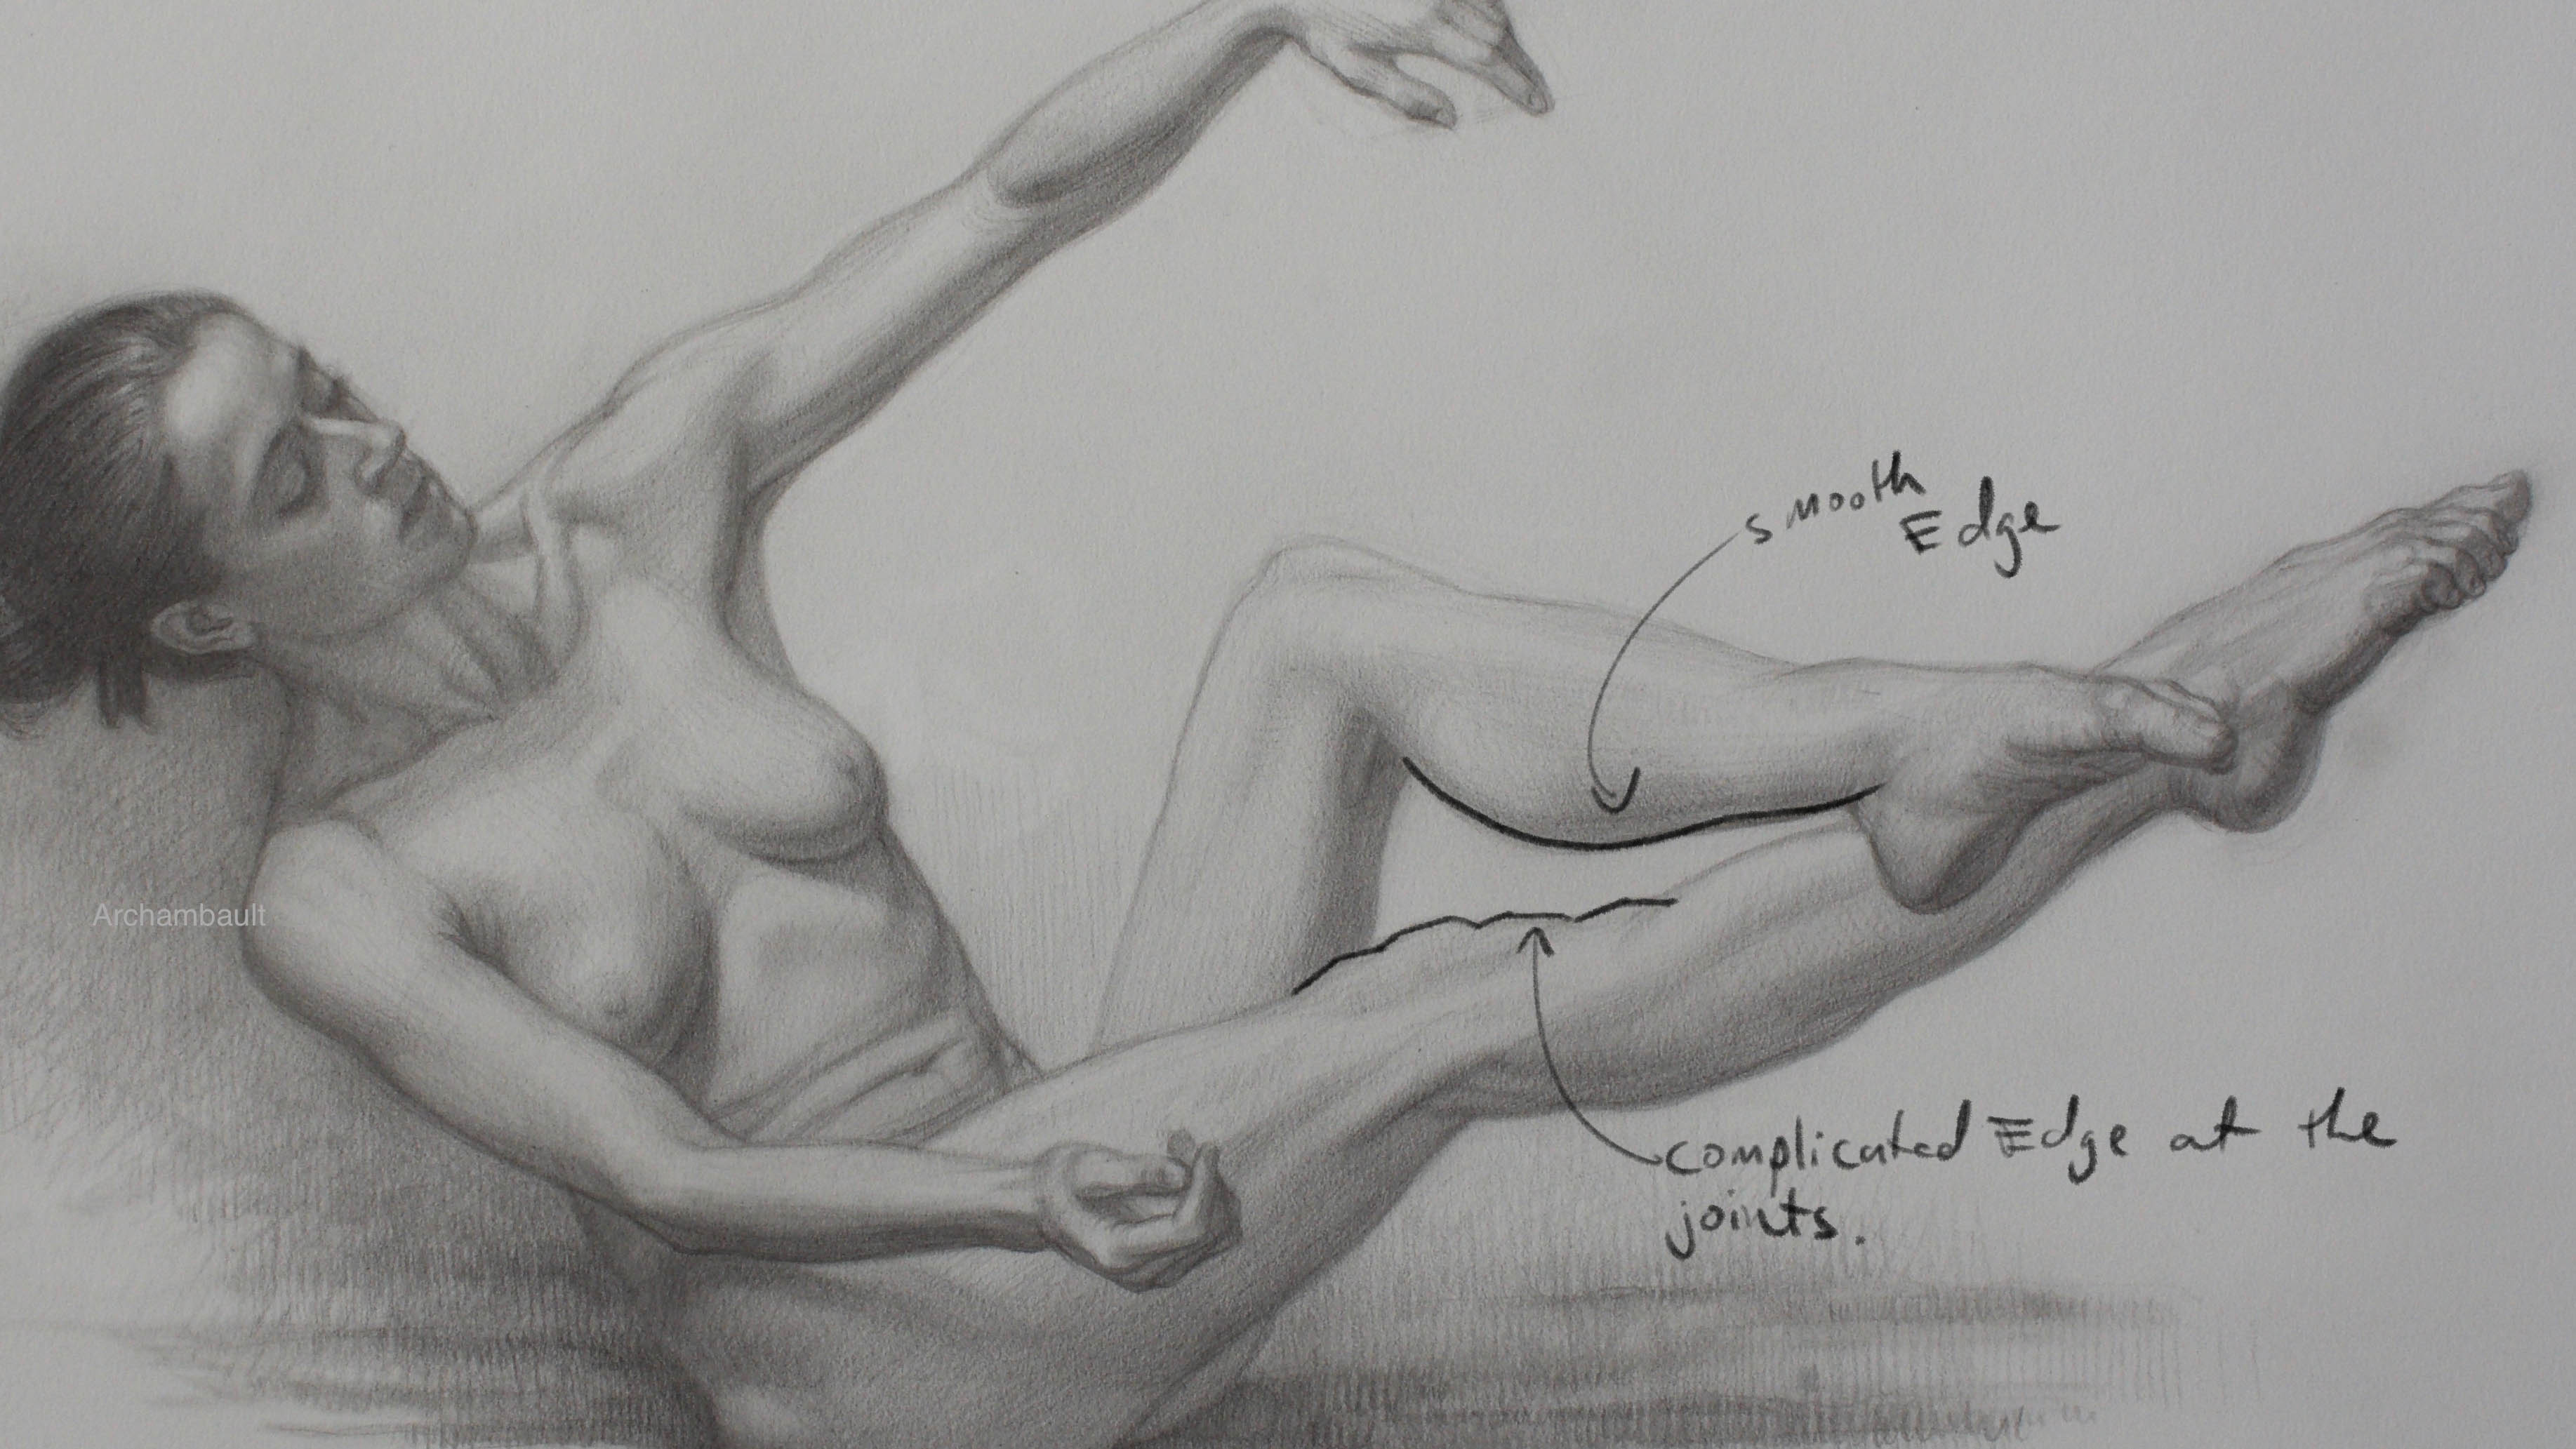
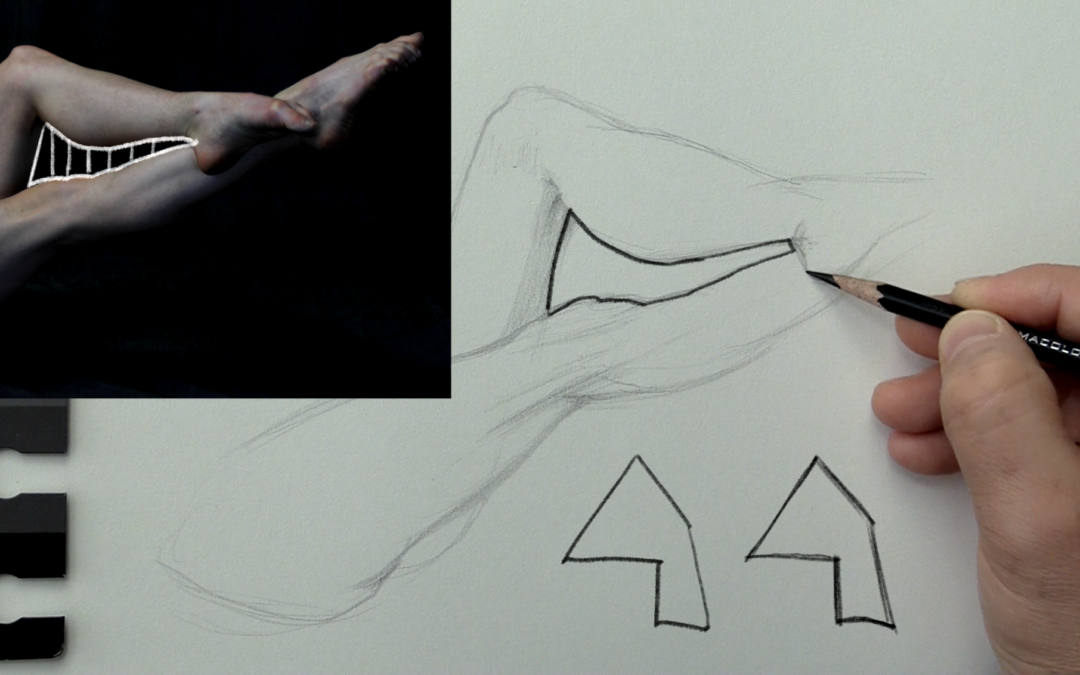
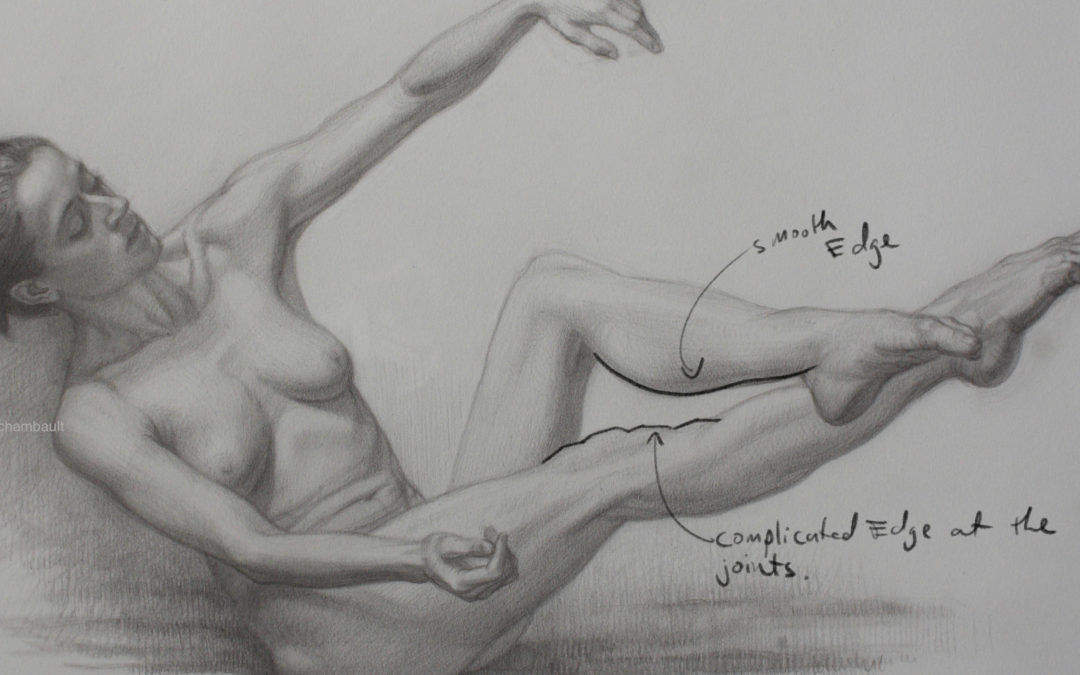
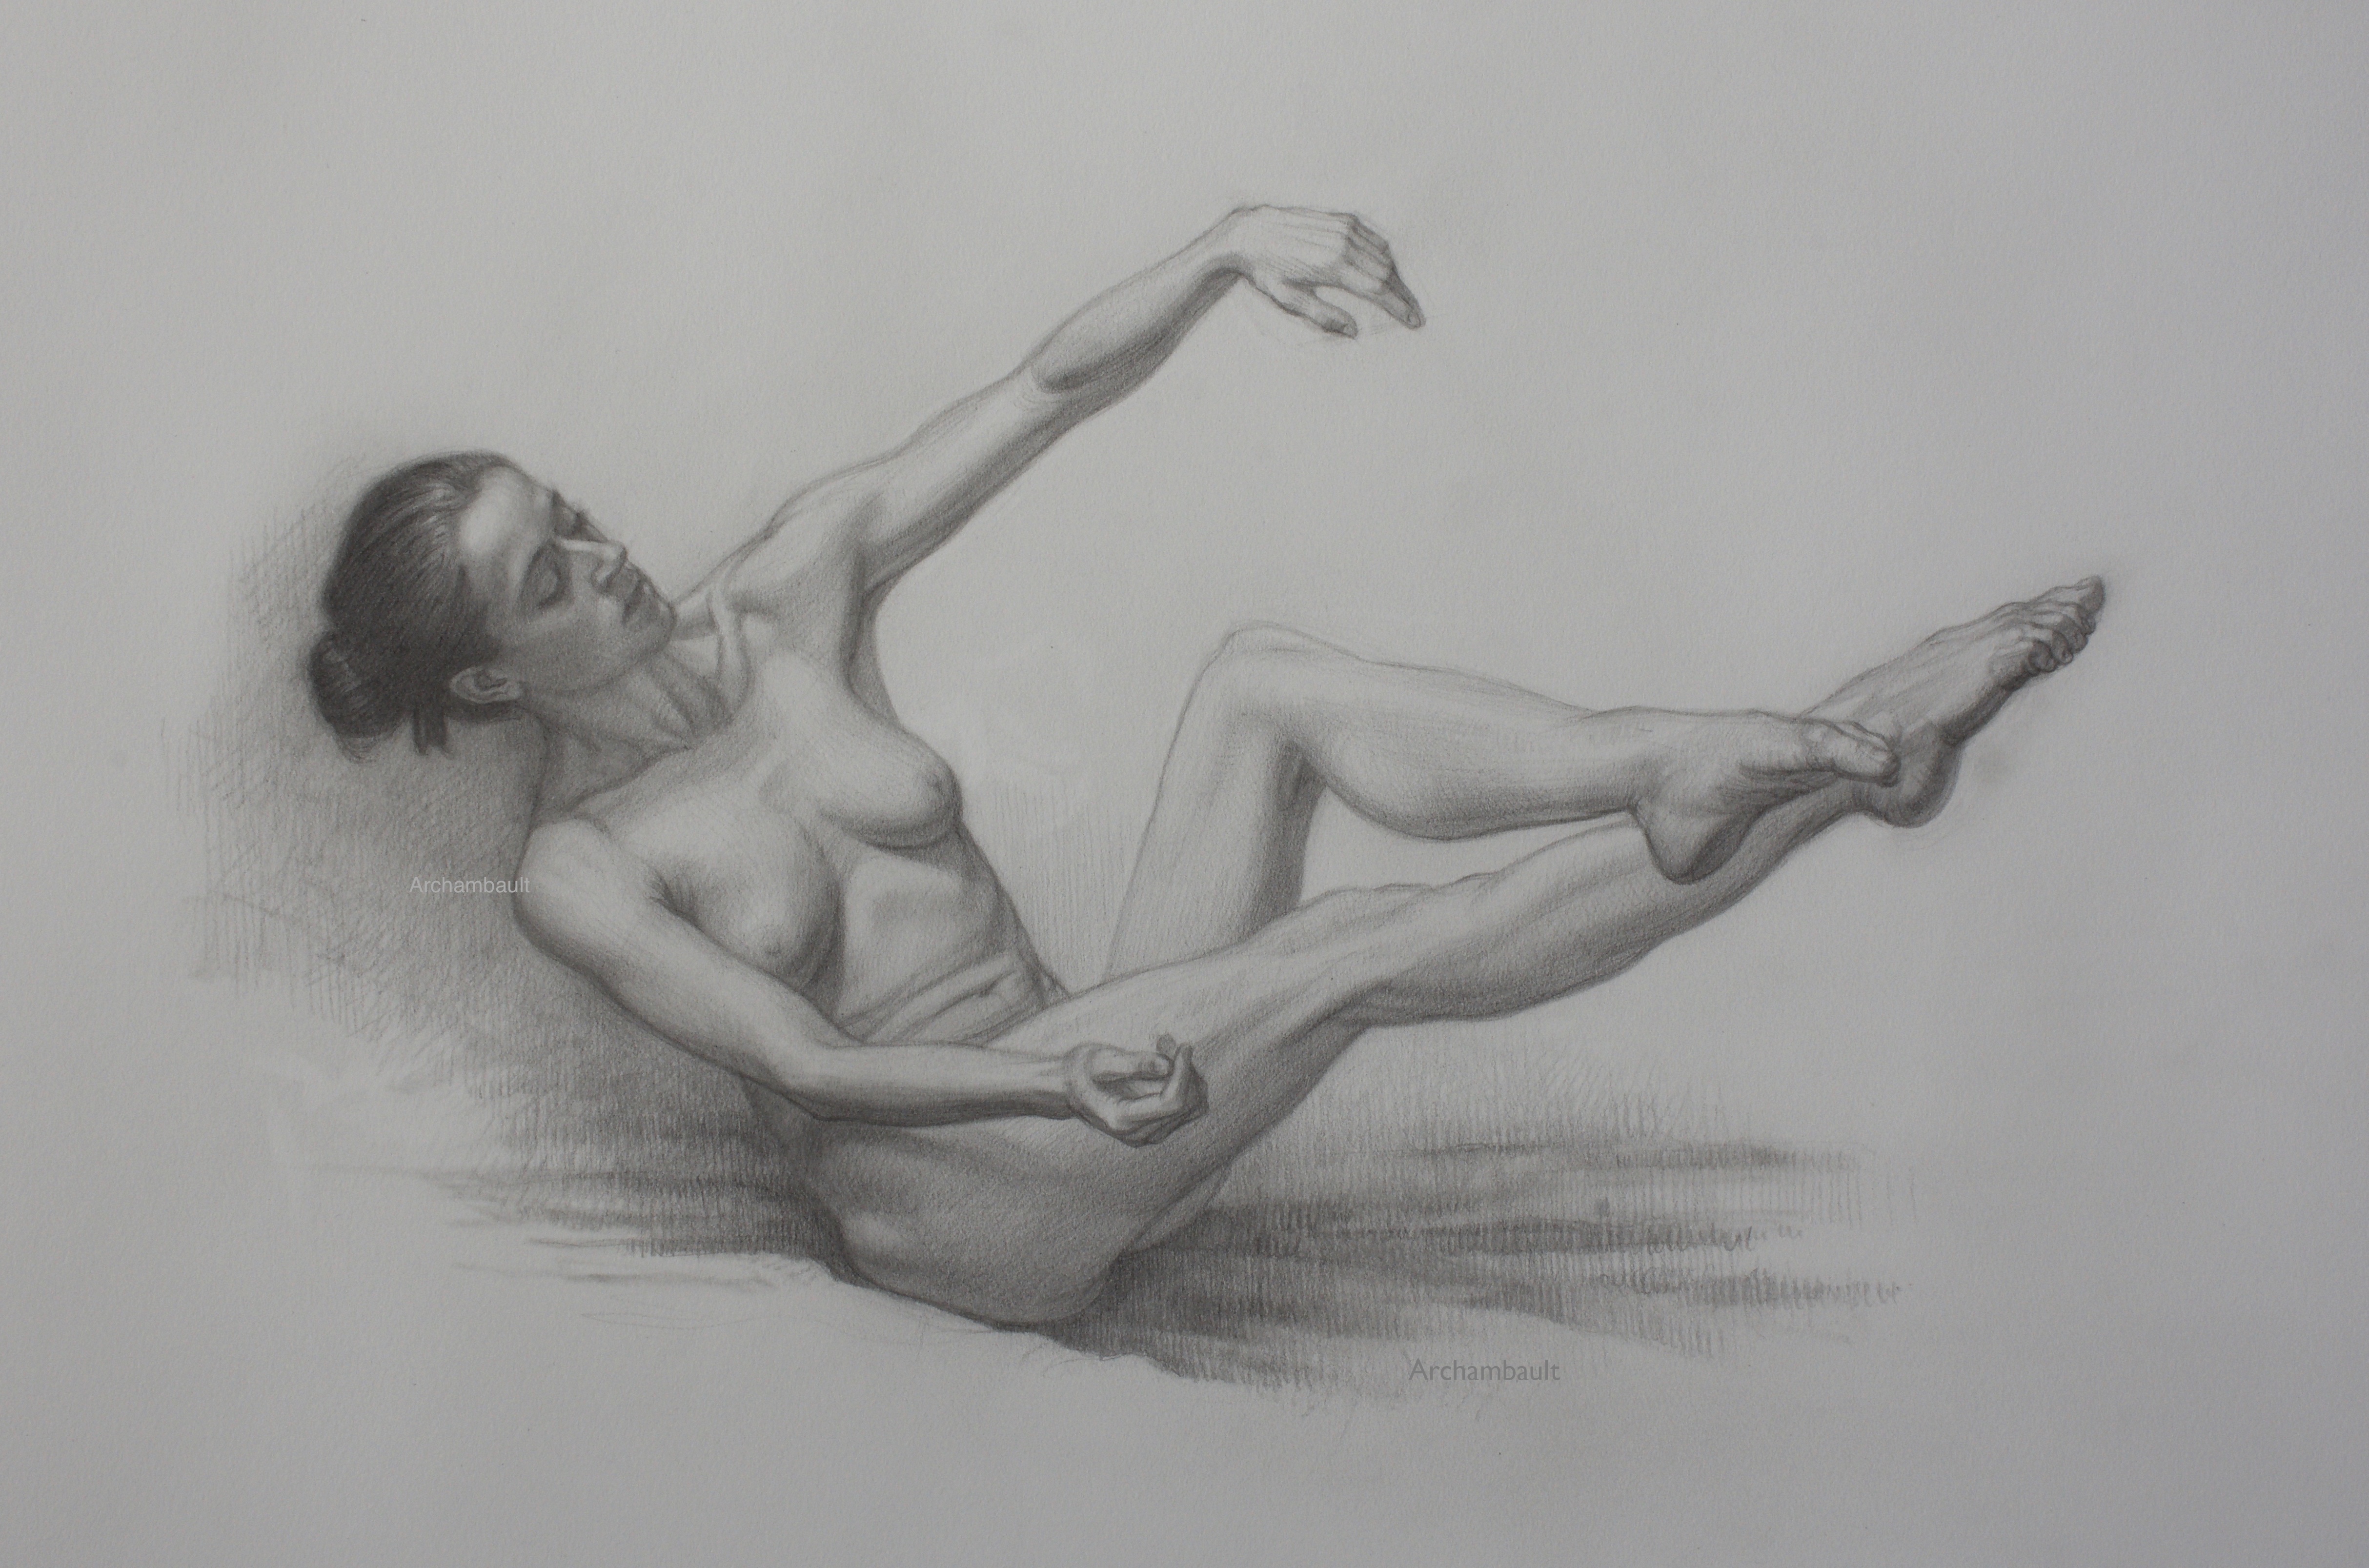
Starting your drawing from an abstract shape is a great way to begin. I have been drawing this way for years both from life and from photos. The idea here is that drawing an abstract shape is a whole lot easier then drawing an actual body part.

For instance in this particular figure drawing I start in essense with the abstract shape between the model’s legs. Some artists like to call this a negative shape or negative space. Either way it’s abstract.

Starting with an abstract shape is a great way to start because it allows you to start building up confidence. It allows you to see proportions in a different way.

I highly suggest that you give this technique a try. Practice drawing a bunch of abstract shapes. Try copying each shape exactly, this great practice and will help you with your accuracy.


If you are looking to learn some new drawing techniques to help improve your figure drawing definitely consider a membership to Drawing Tutorials Online. I’m particularly proud of this new twenty-eight lesson course.

All of the lessons are really short, most under ten minutes. Each lesson focuses on a different technique. The course focuses on line, proportions, shading, structure as well as form.

Not to mention you can get your figure drawings critiqued on a weekly basis in our gallery. If the technique taught in the lesson above speaks to you please leave a comment below. Thanks for reading.

 

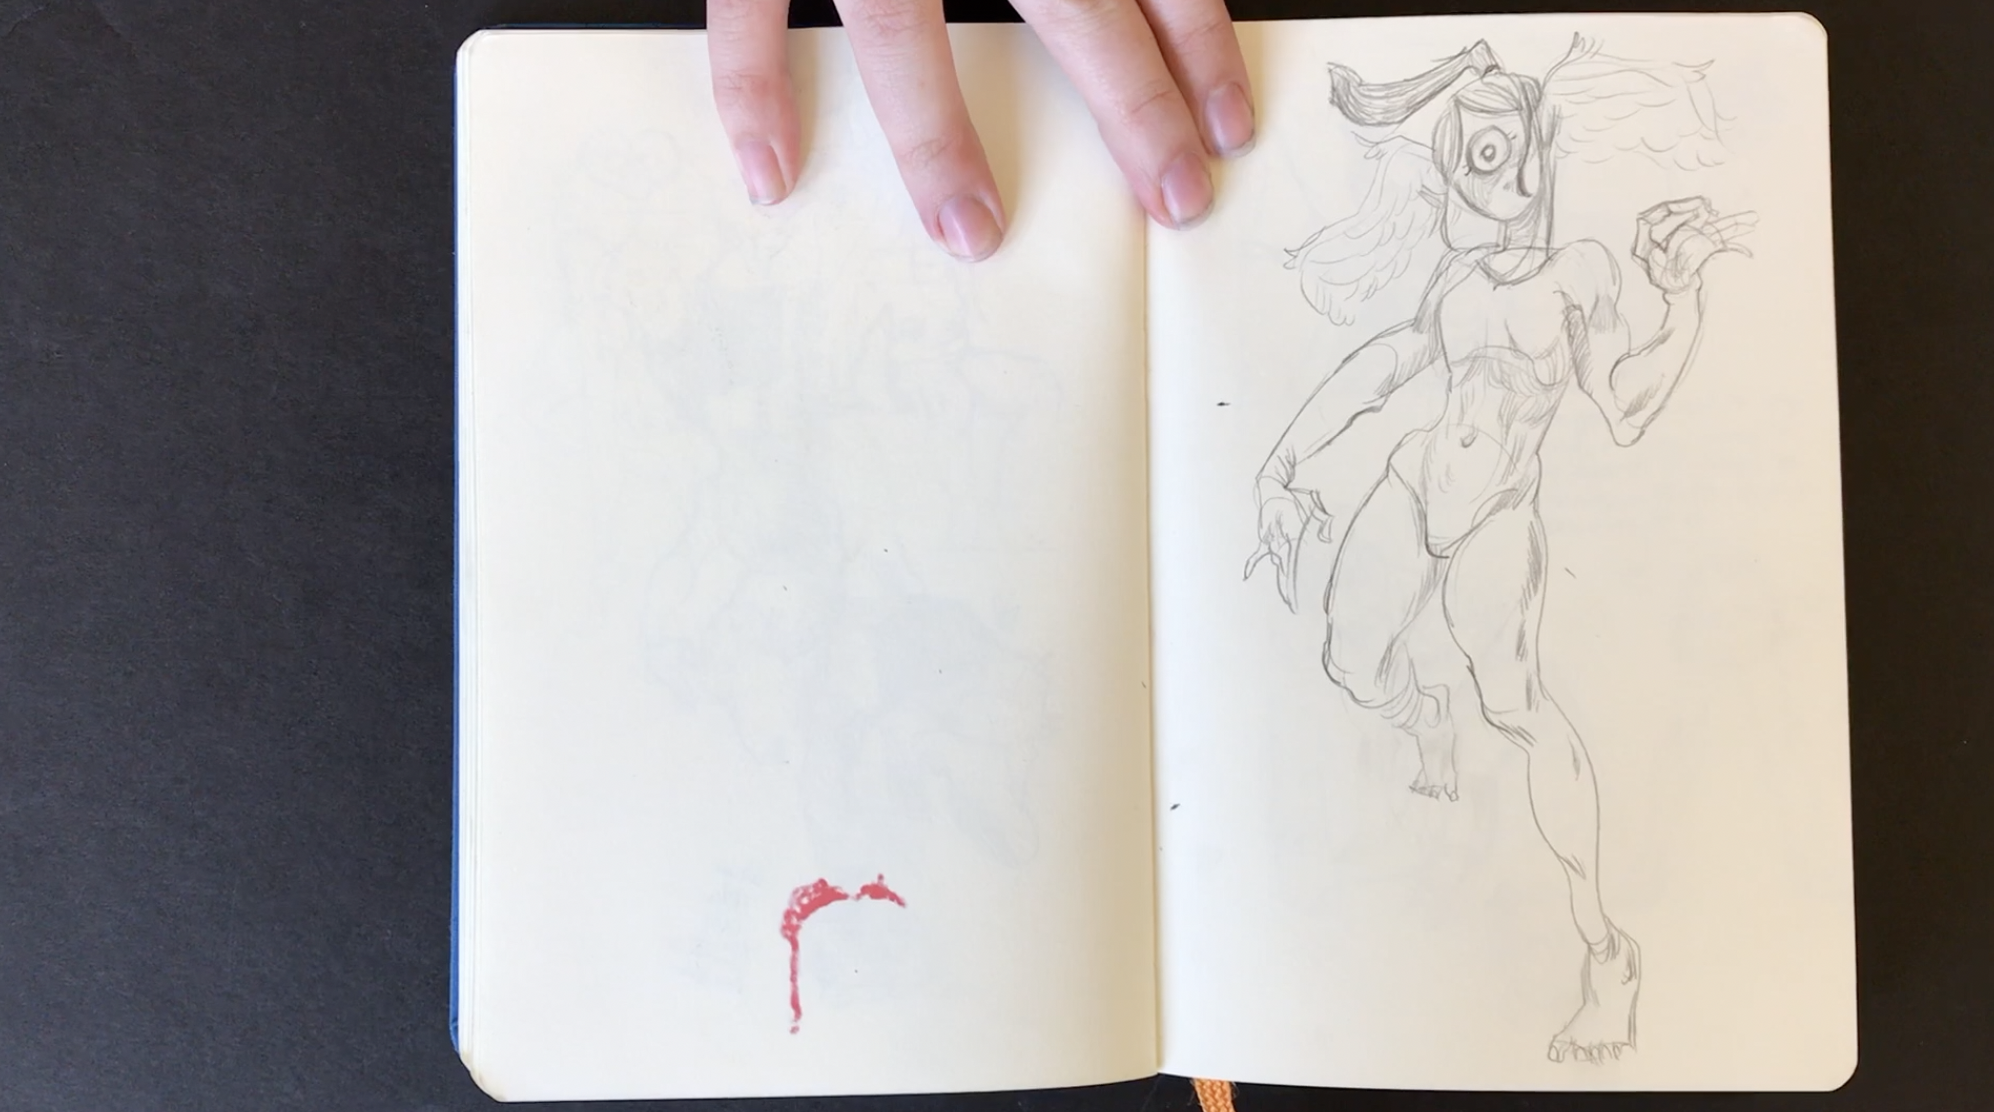
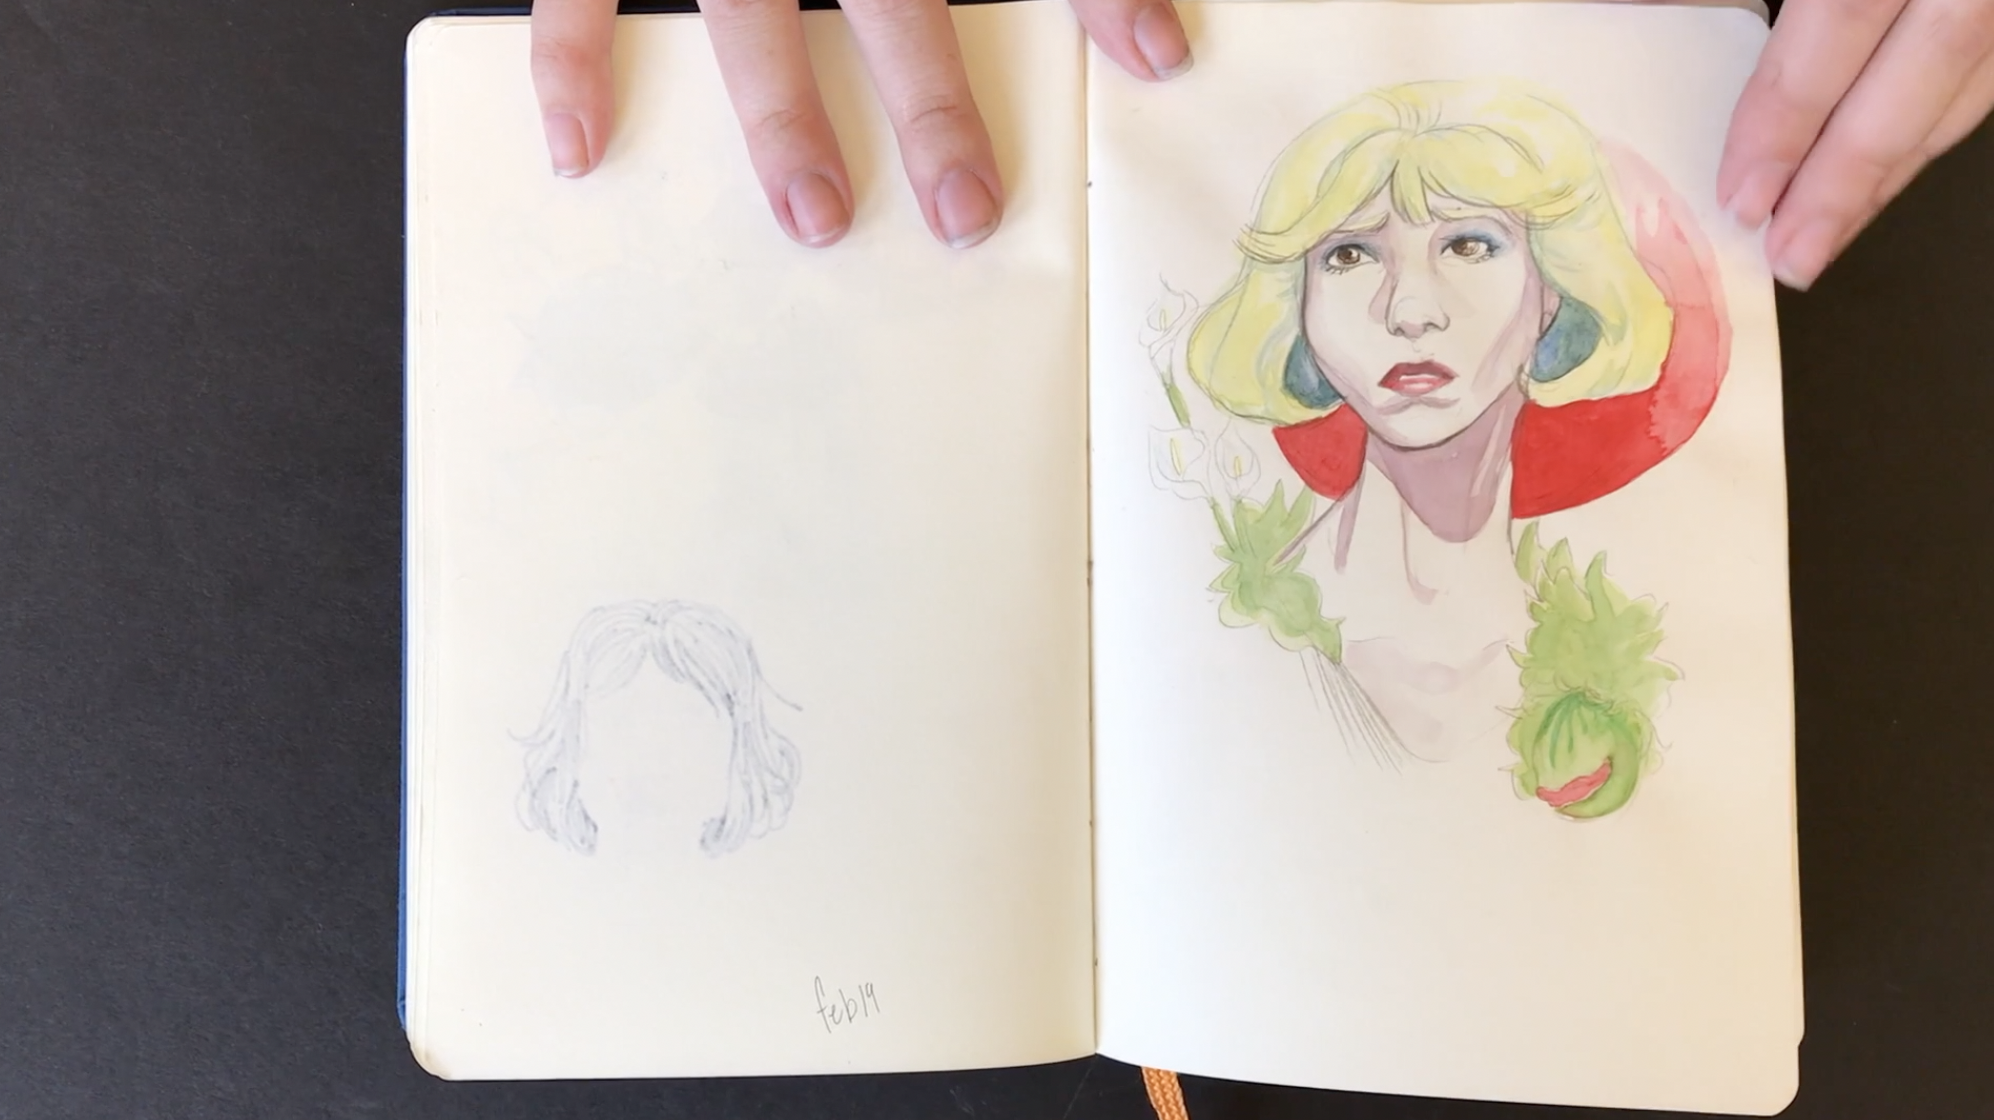
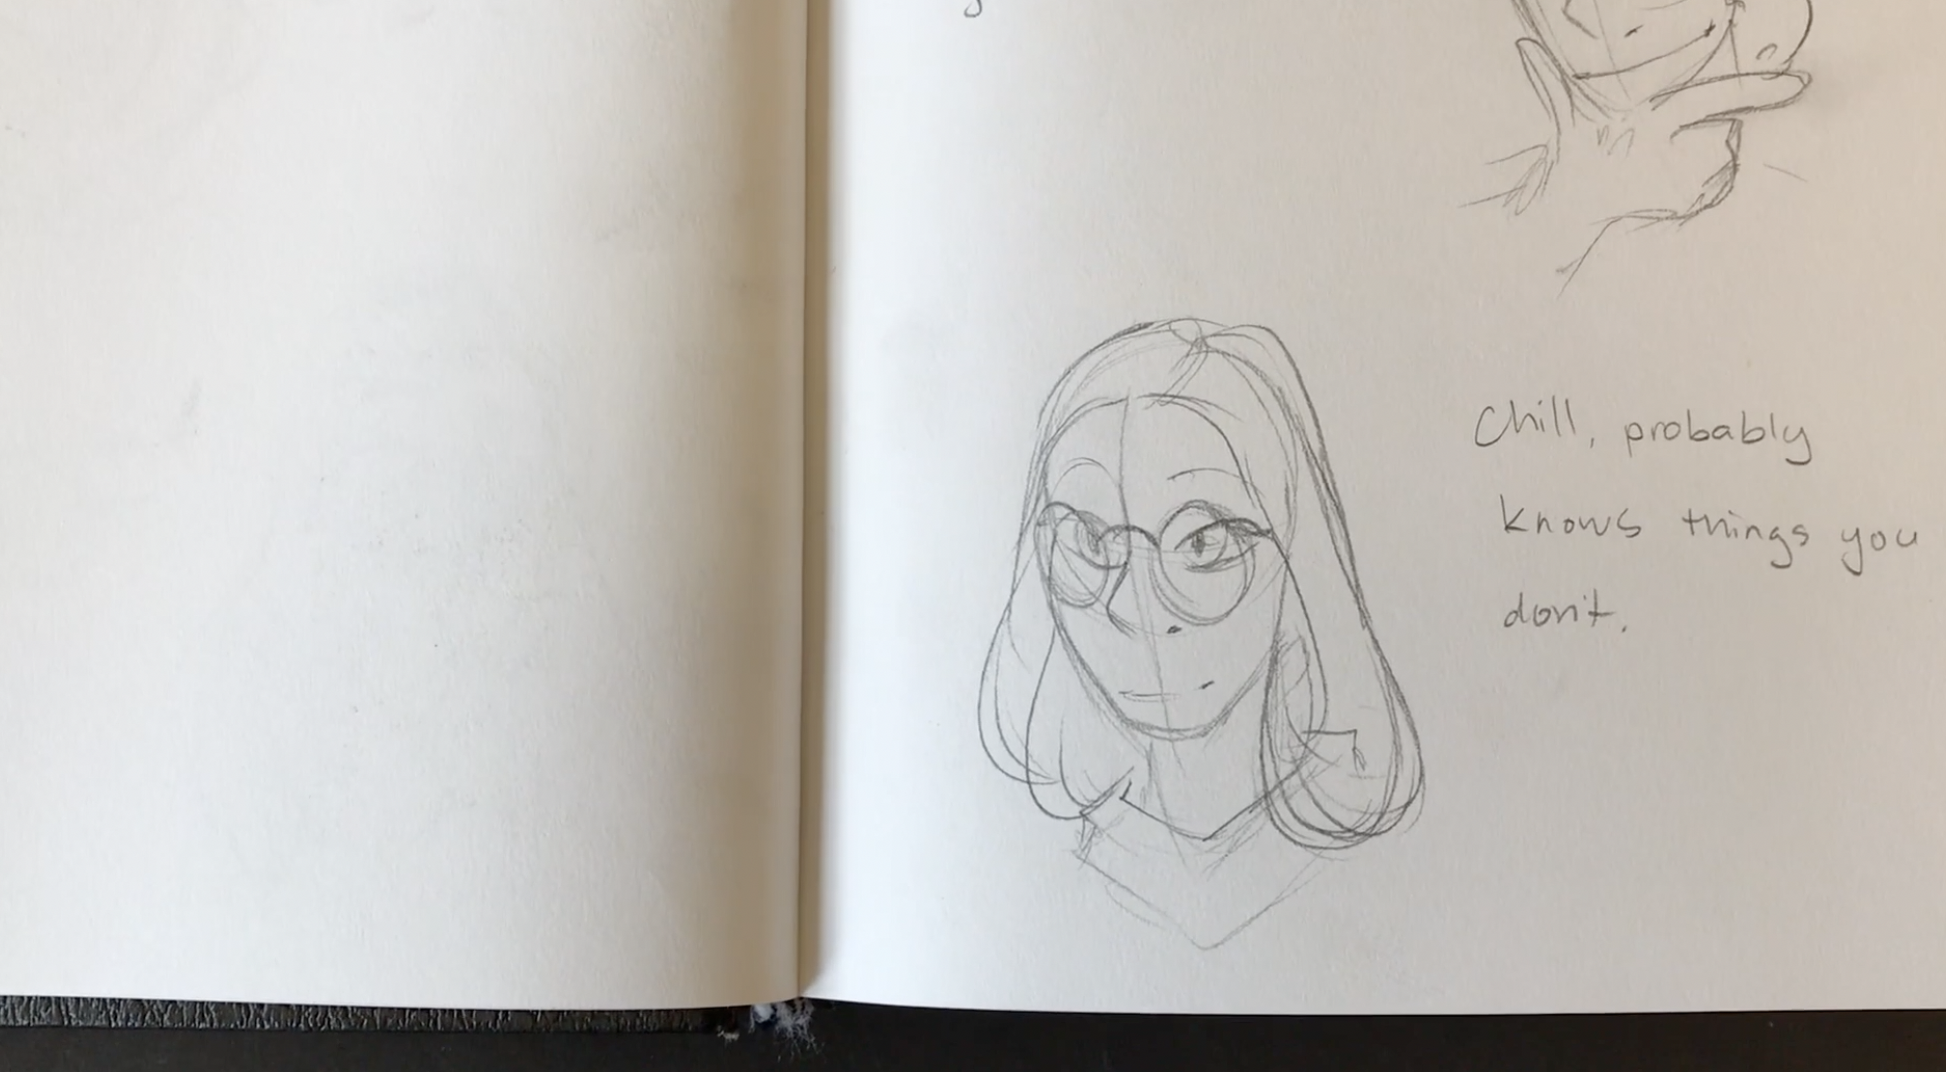
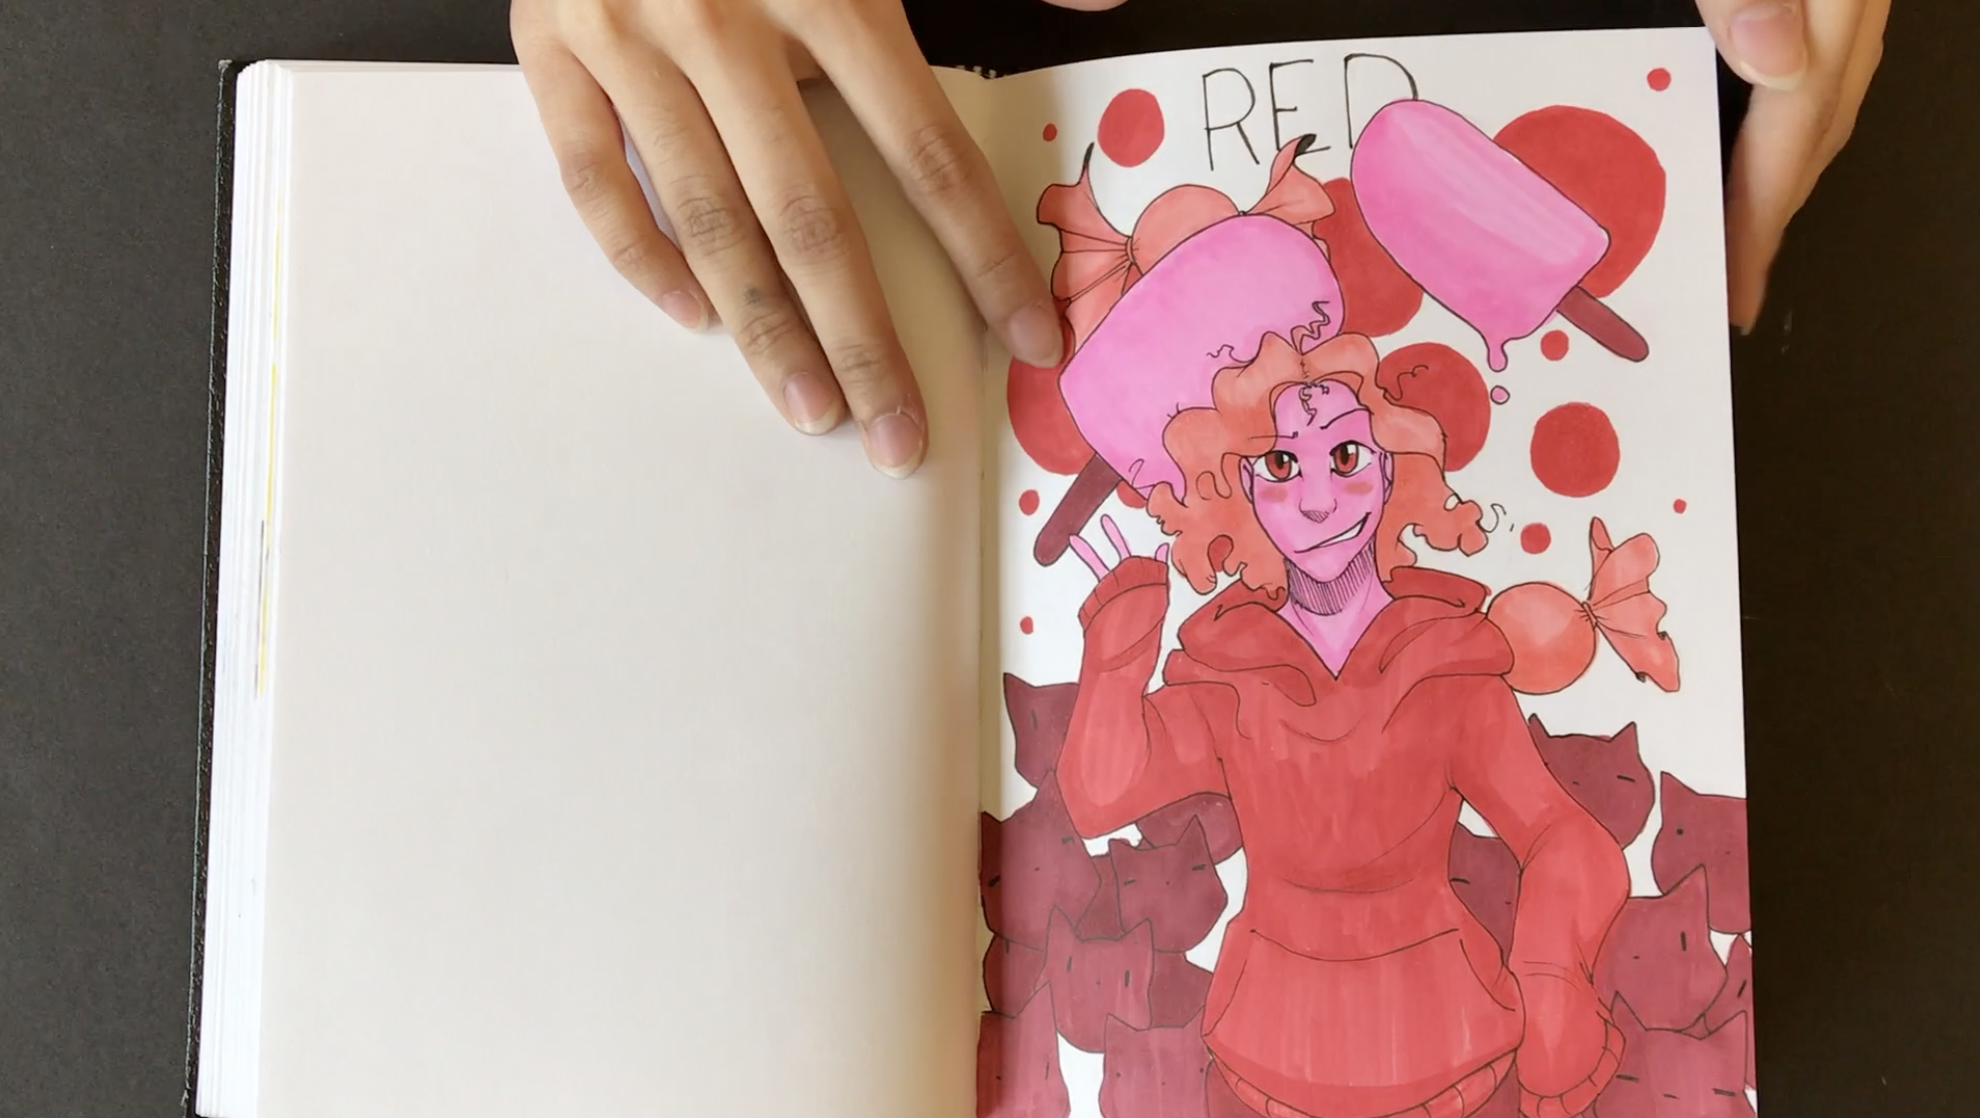
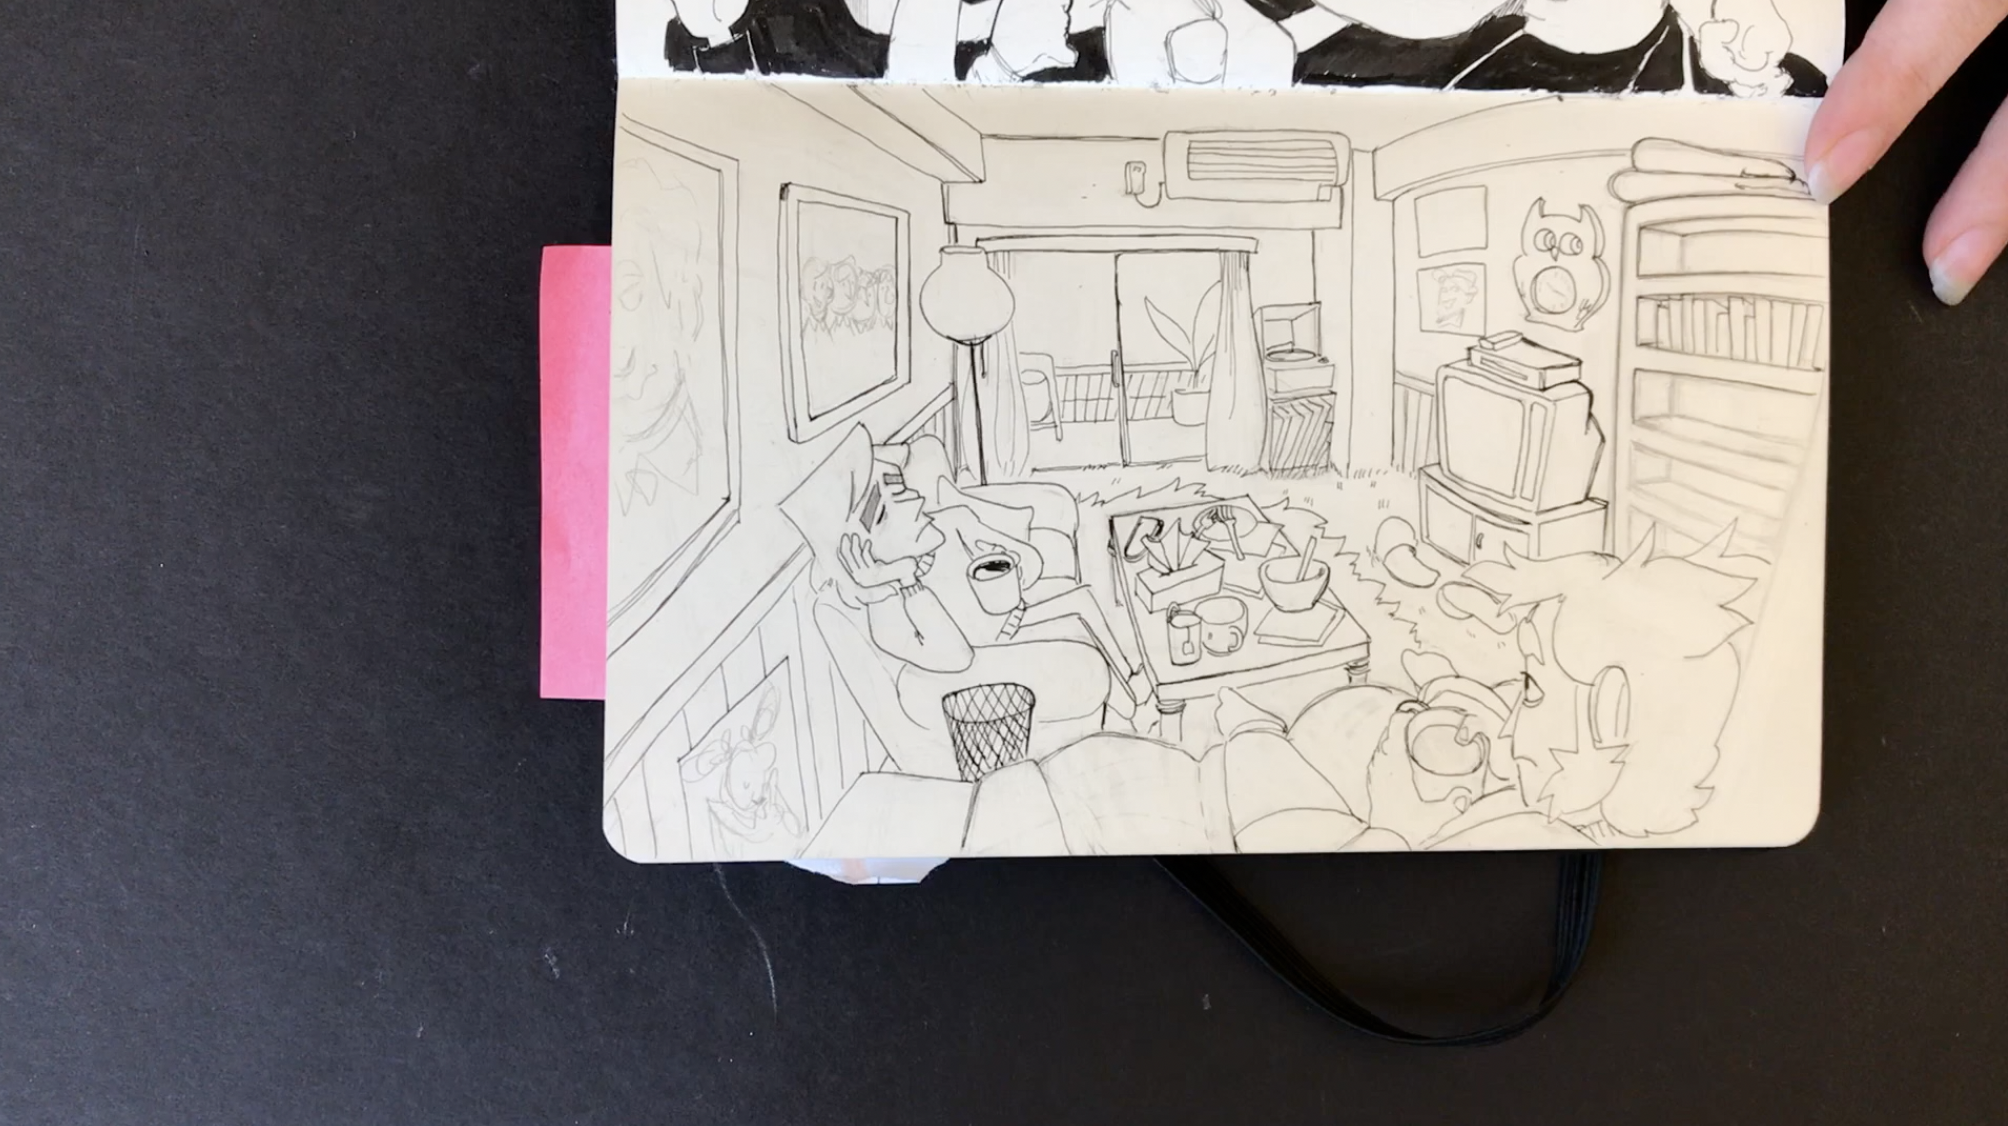
Emily’s Third Sketchbook – A Long Time Ago

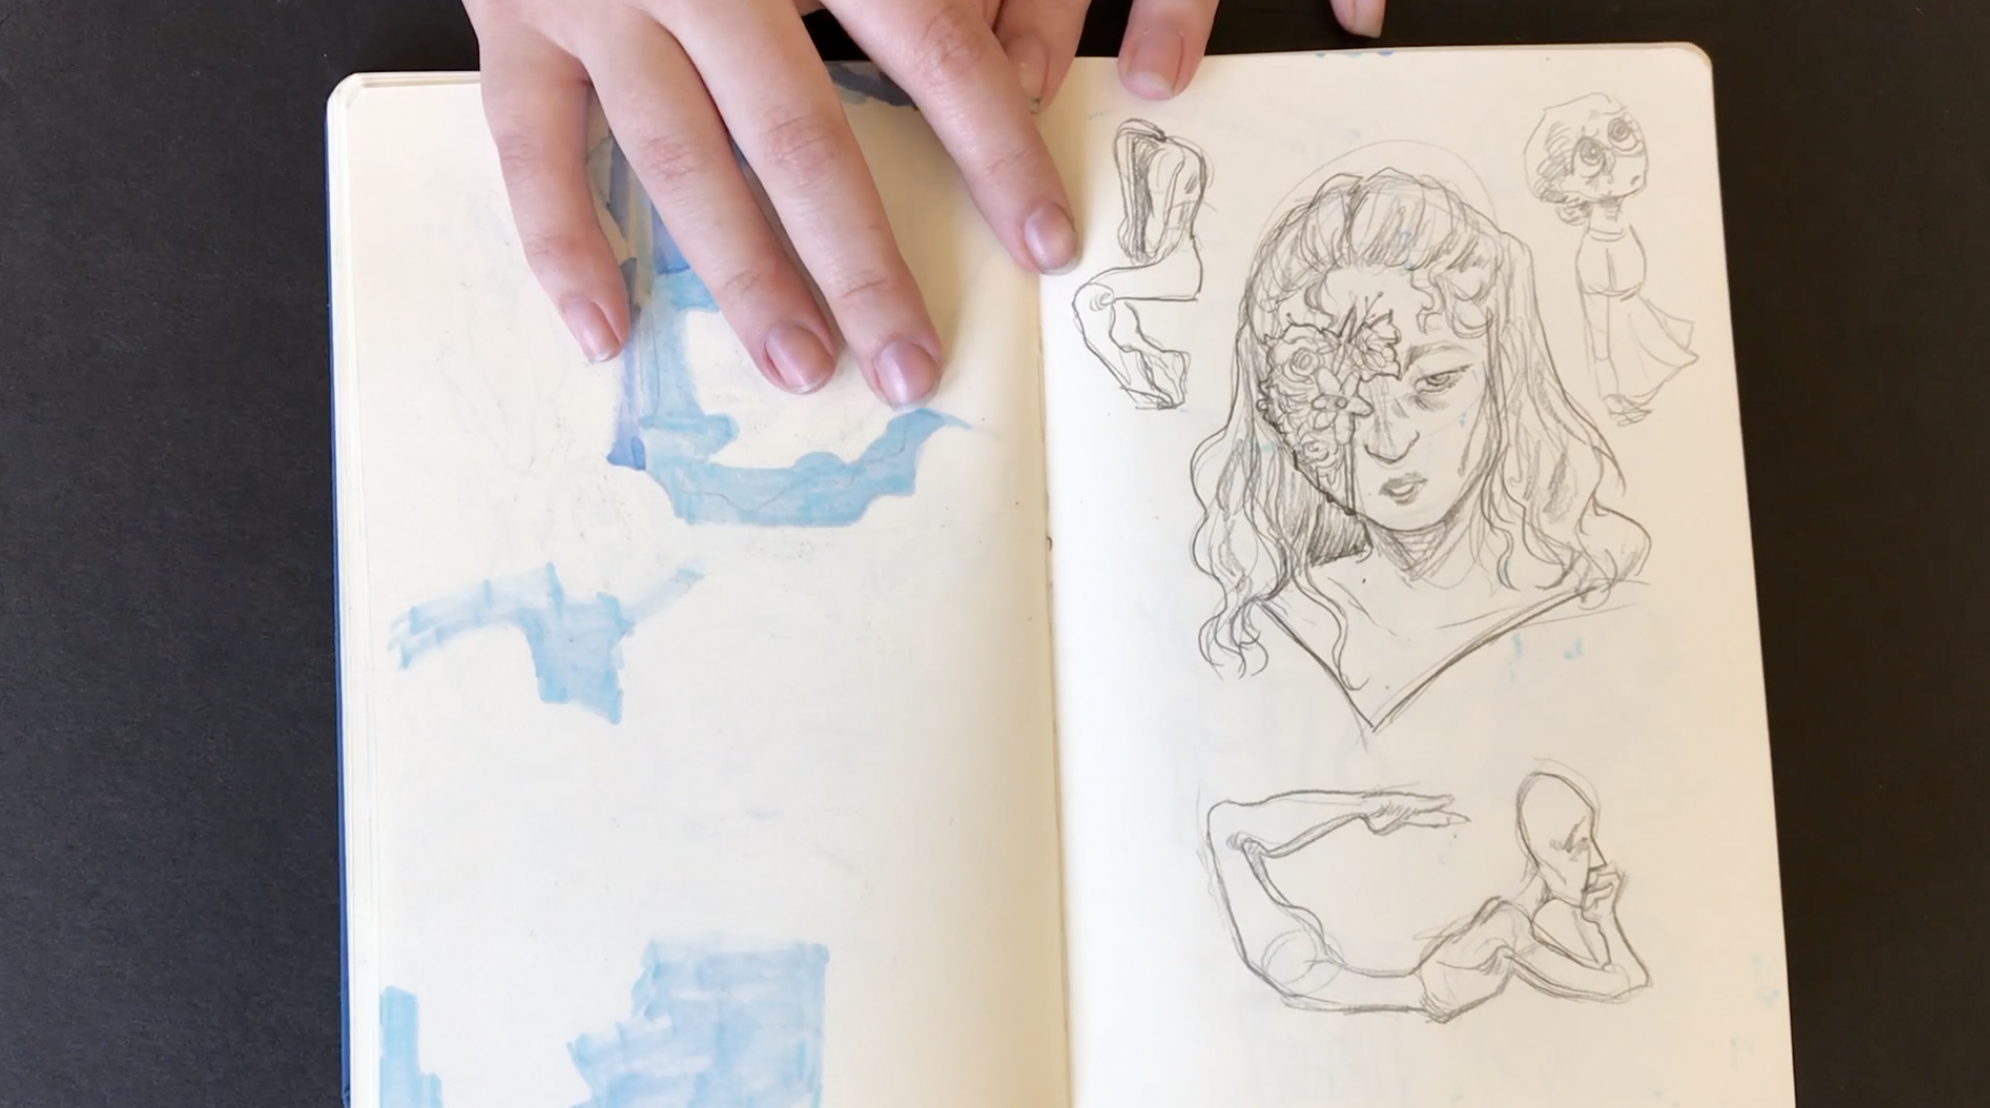
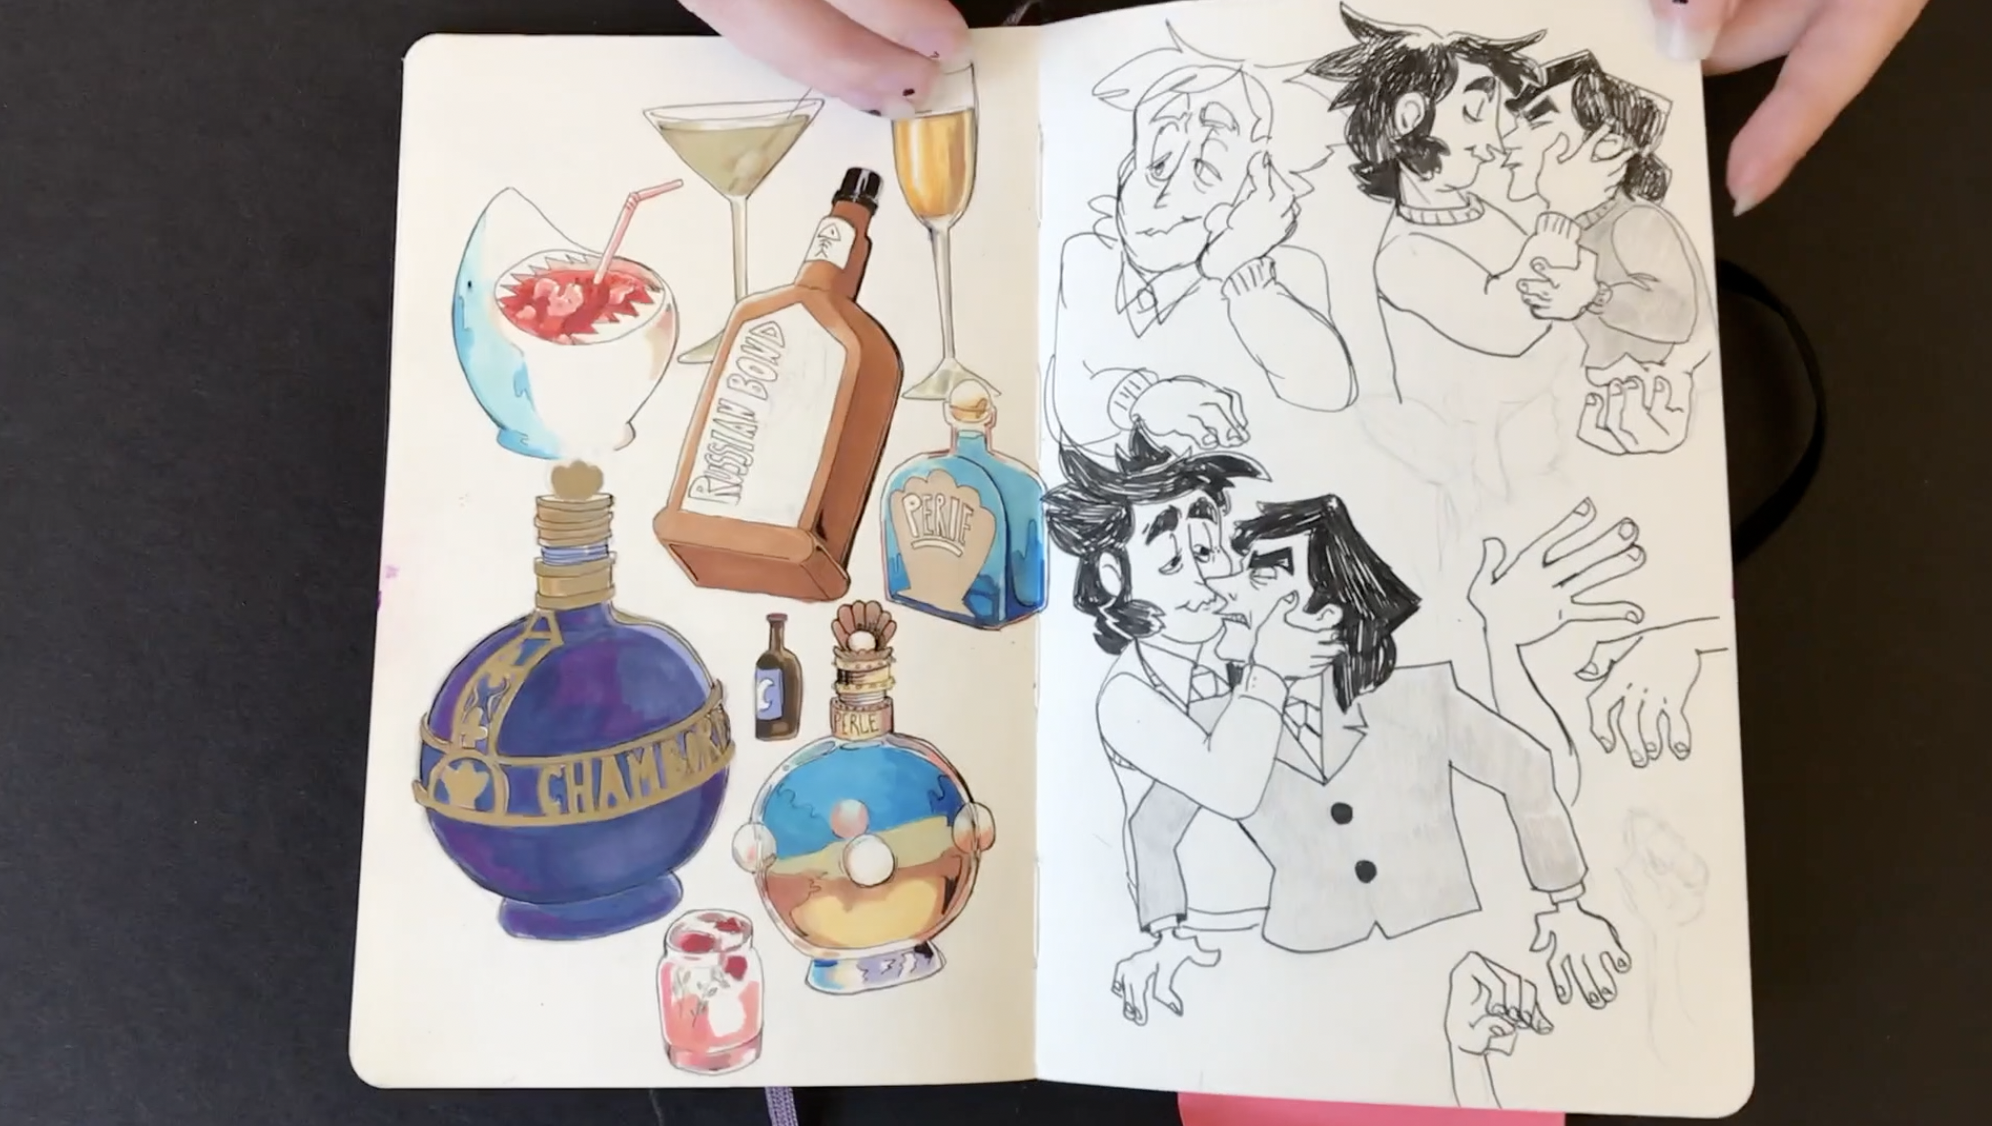
I’ve had Emily’s sketchbook video on my iPhone for quite sometime. I’m about to start filming my current student’s sketchbooks this week. So what better time to post Emily’s third sketchbook.

What can I say, Emily was the heart of her class last semester. She brings so much energy and passion to everything she does.

Emily is all about constant improvement. I trust you will find some value and inspiration when flipping through her sketchbook with me.


Check out Emily’s Instagram. You can really see her improvement there too. Thanks again Emily for sharing your art.


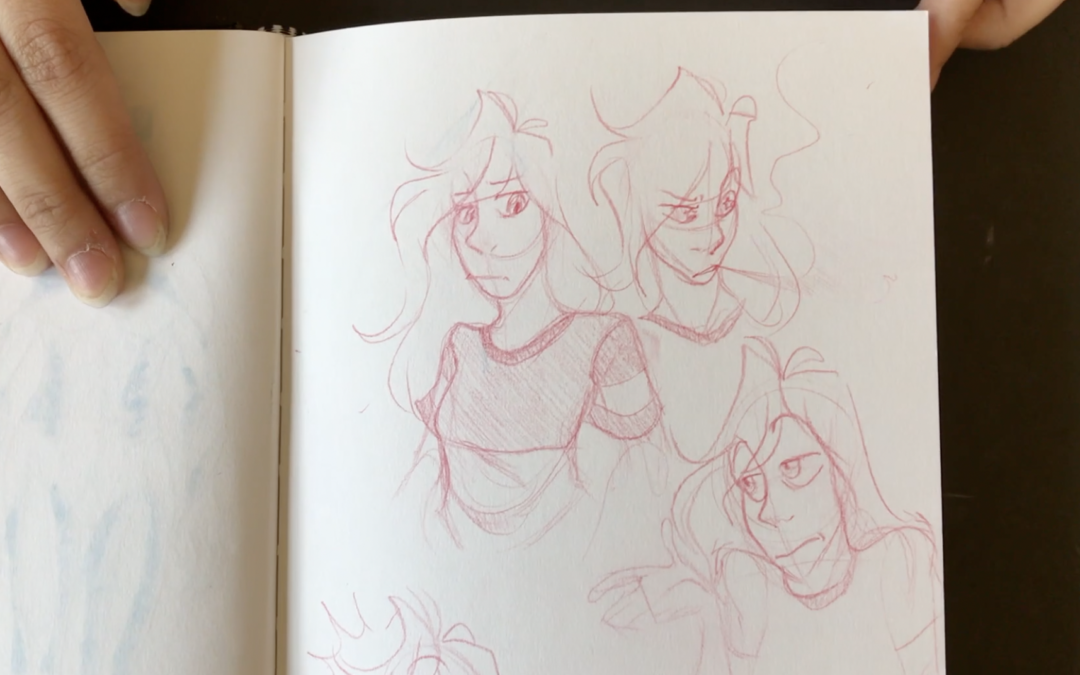
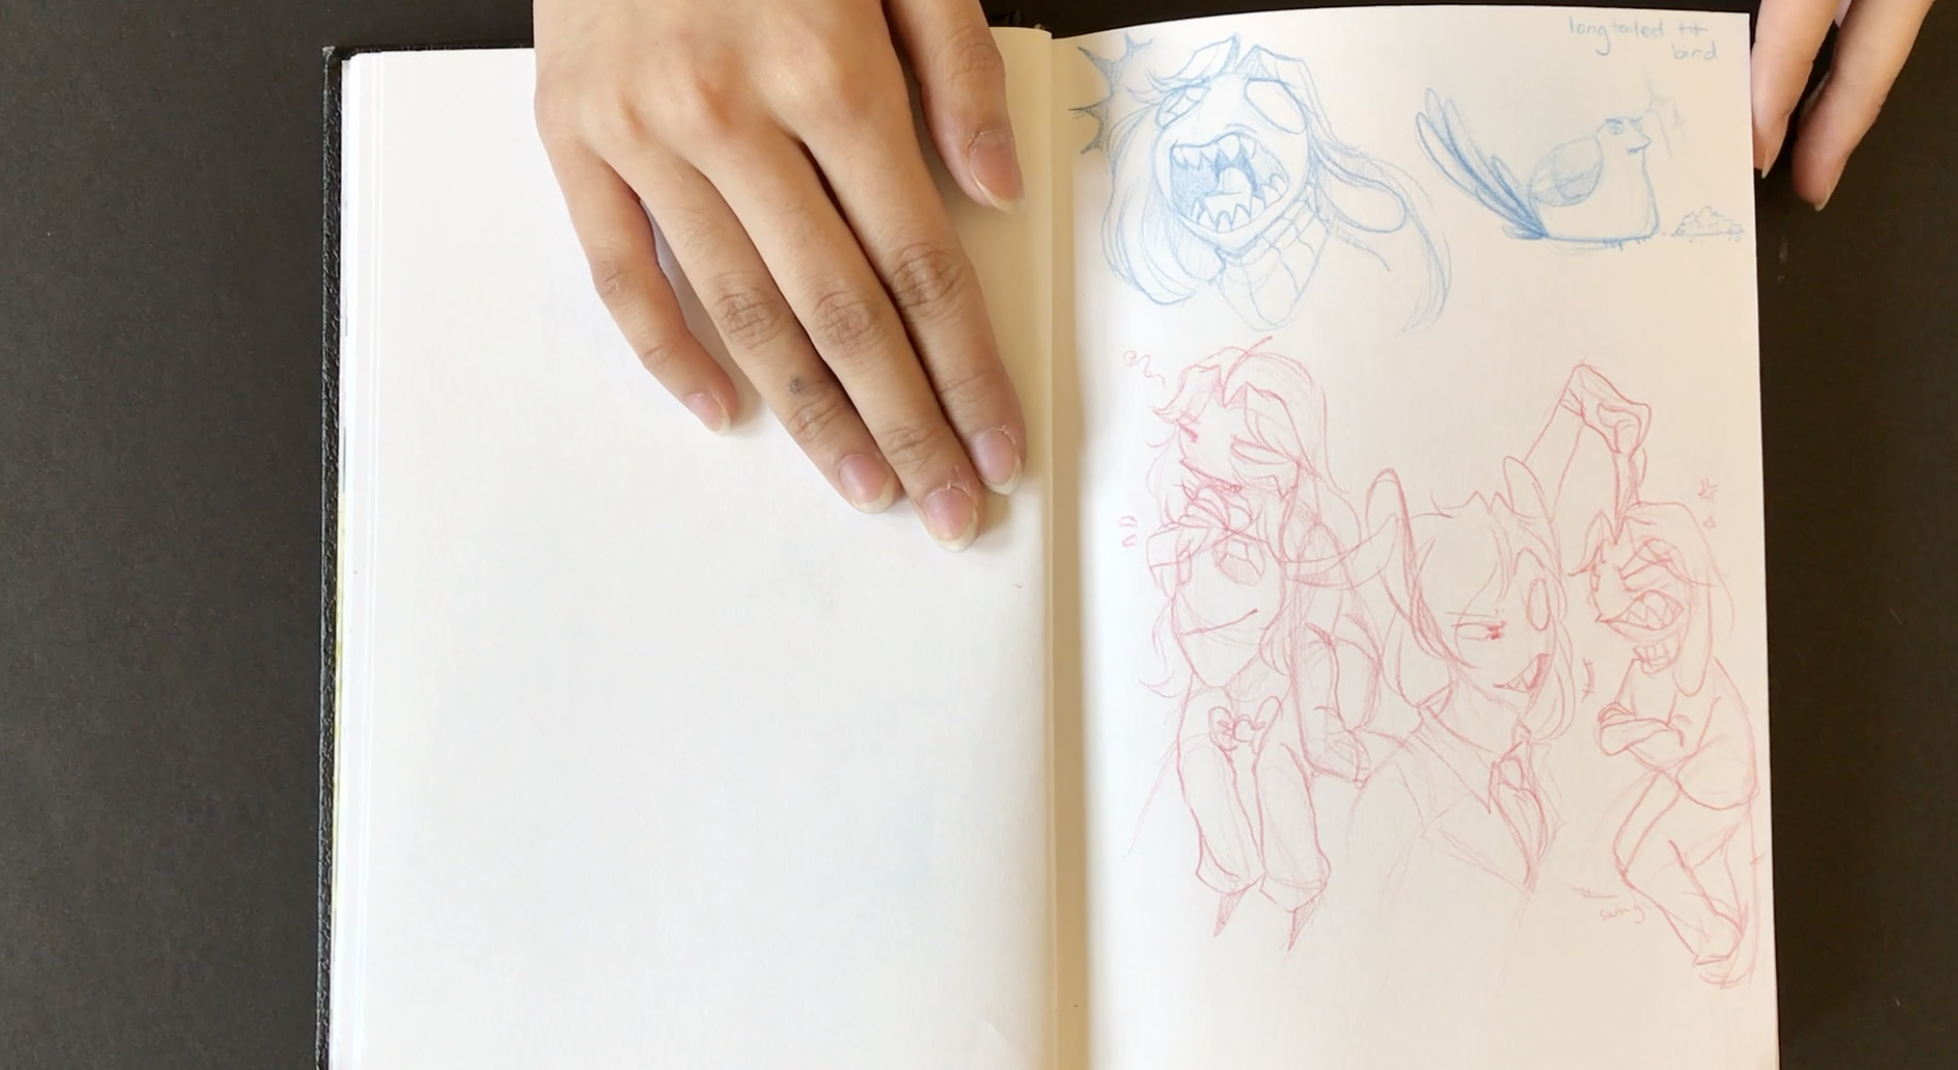
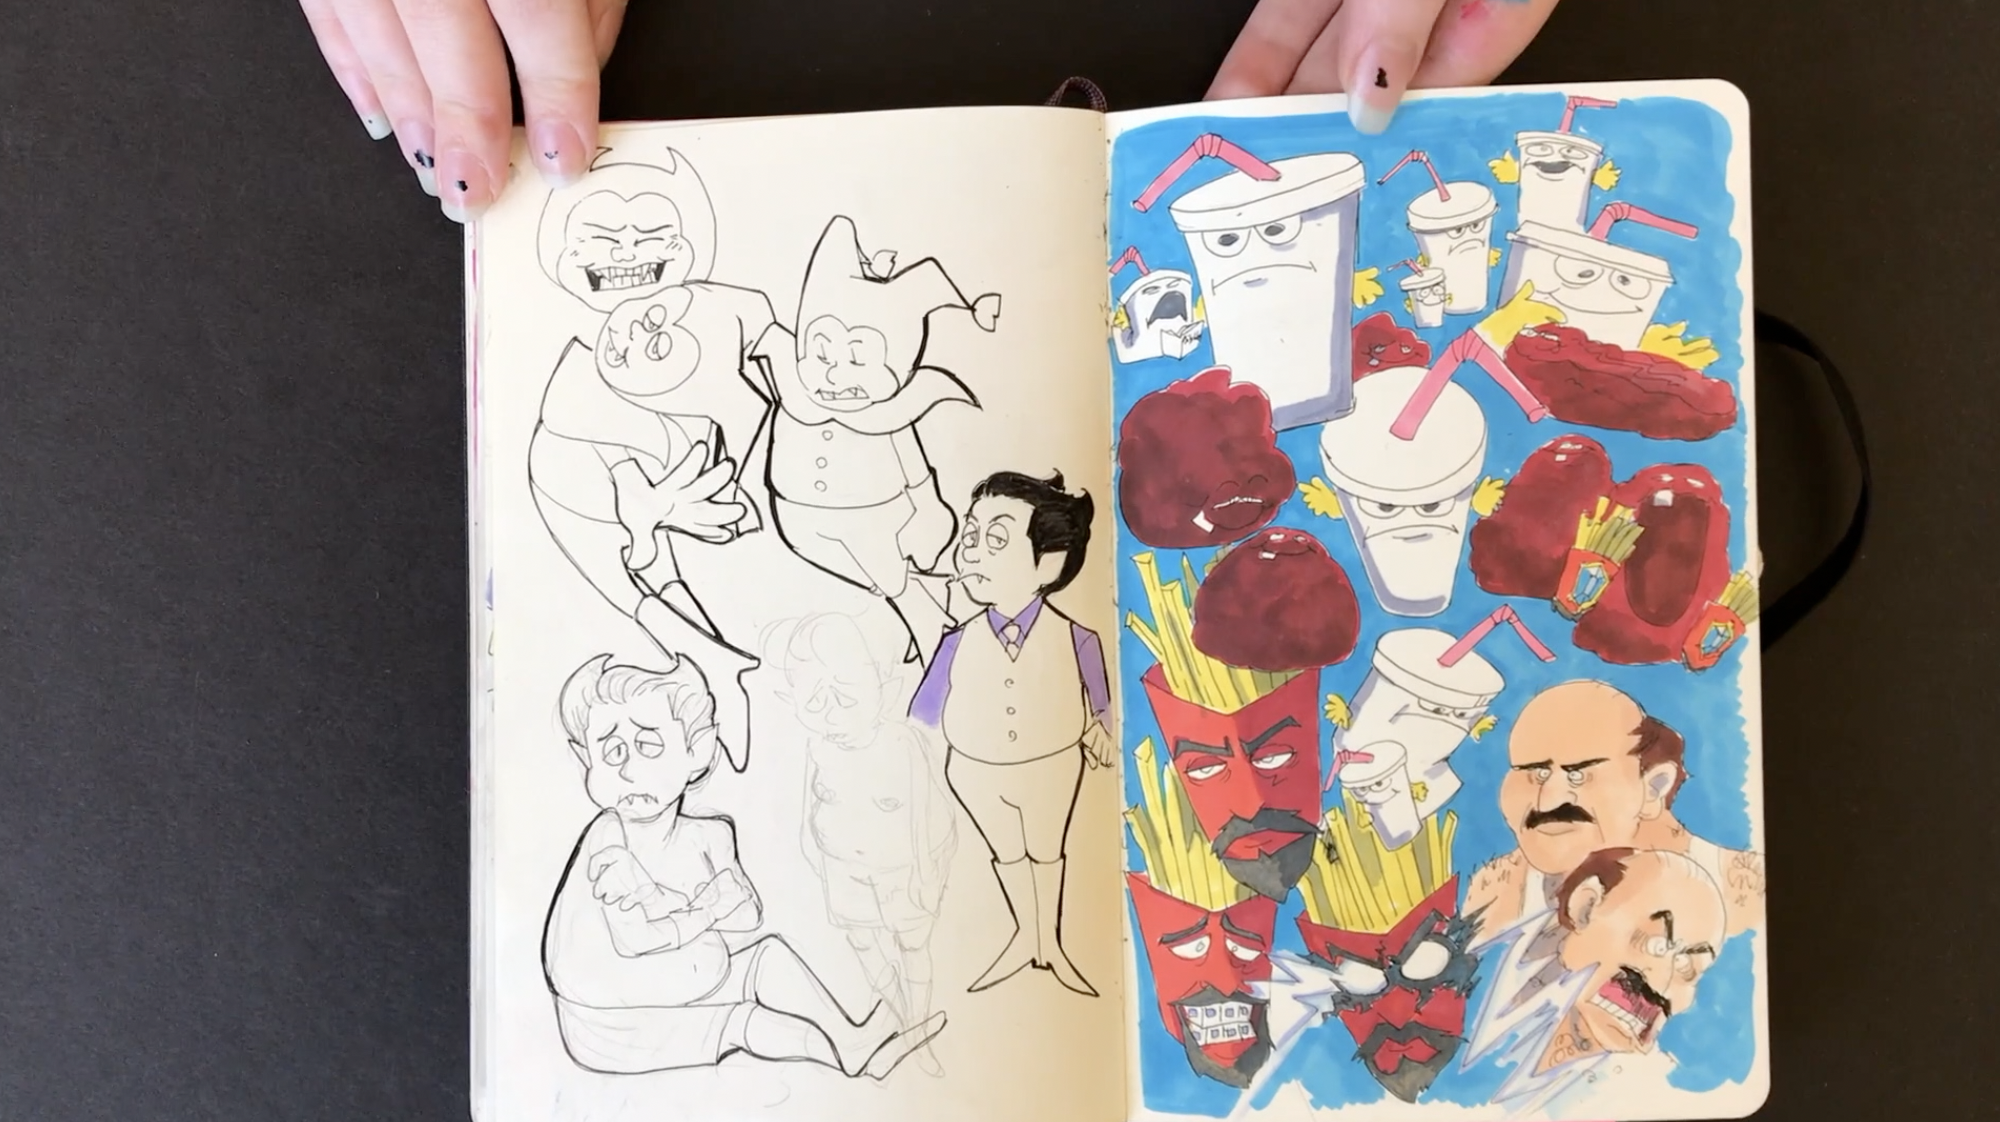
Shannon’s Sketchbook – Great Col-Erase Line Quality

Shannon’s Sketchbook – Great Col-Erase Line Quality

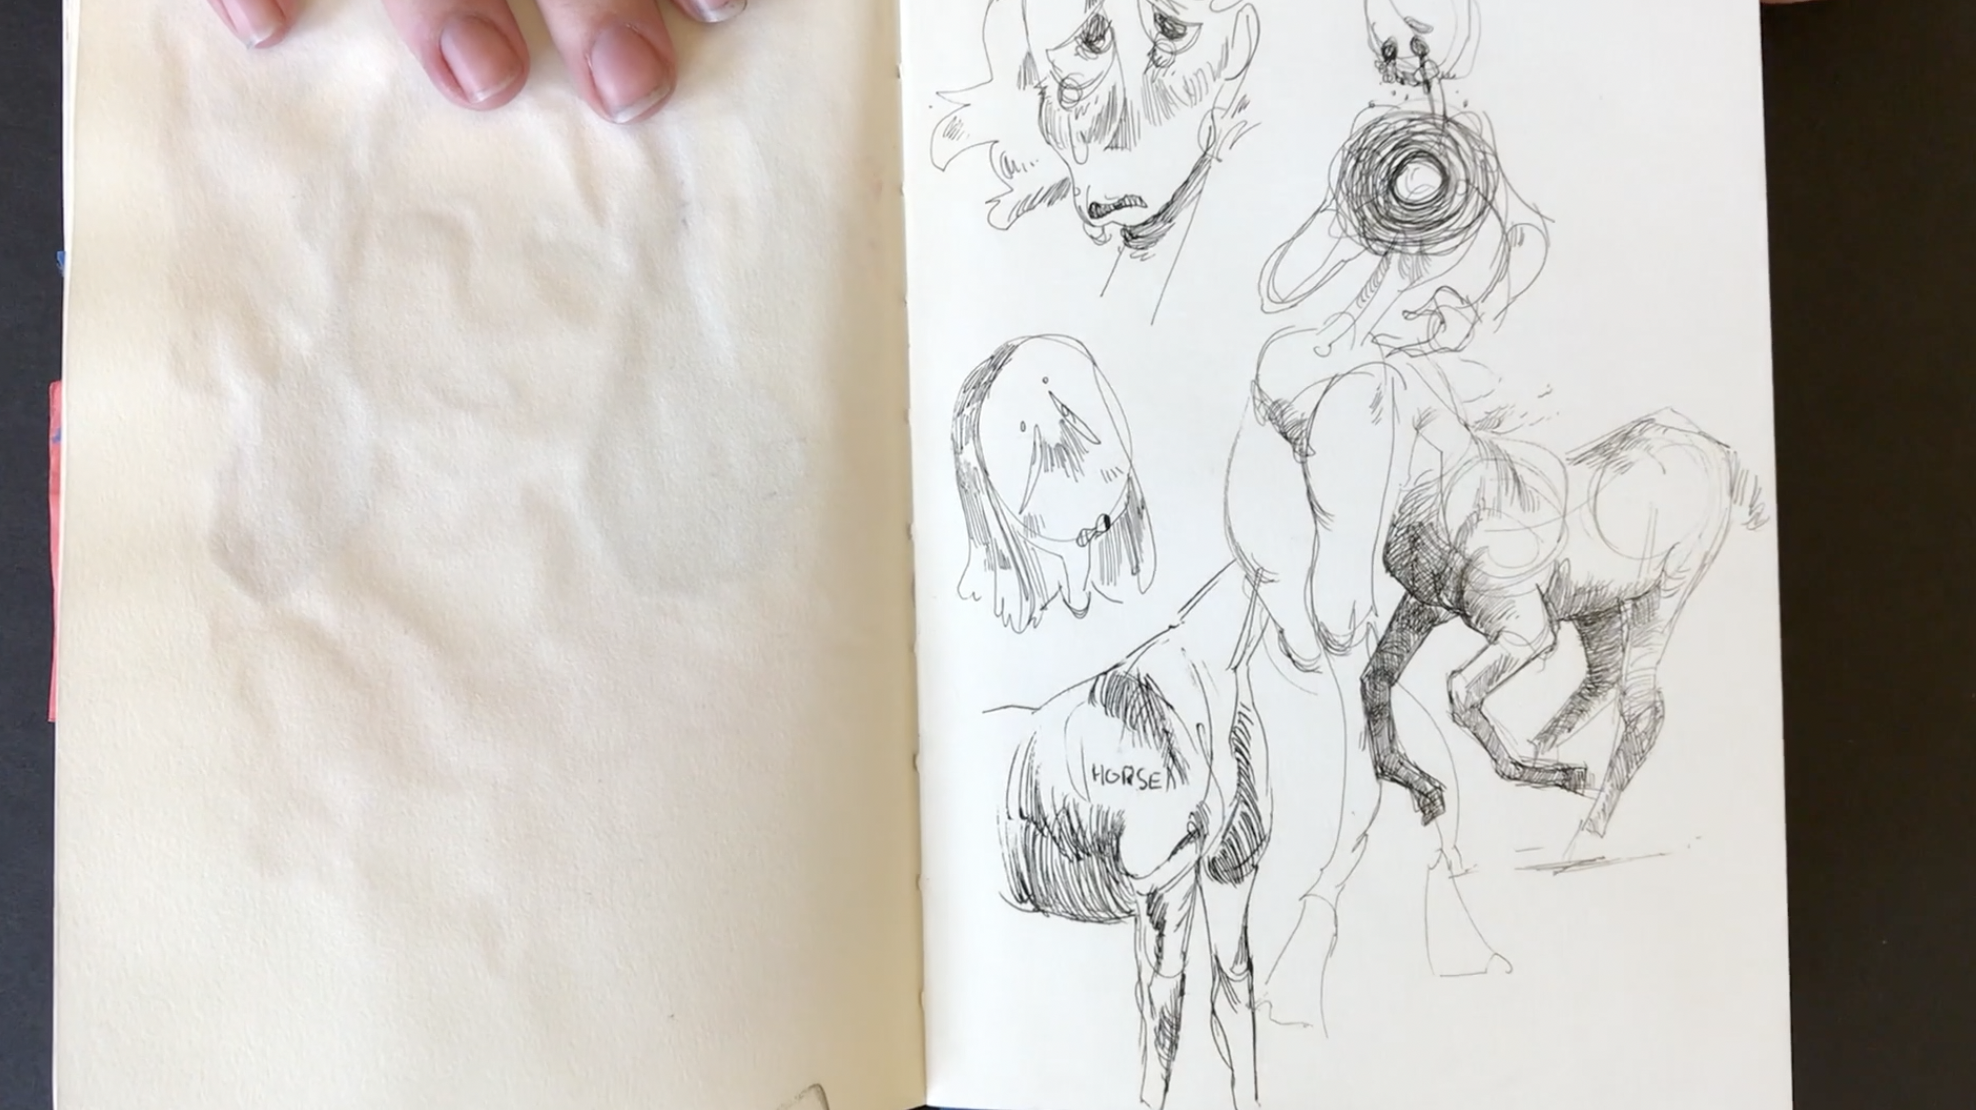
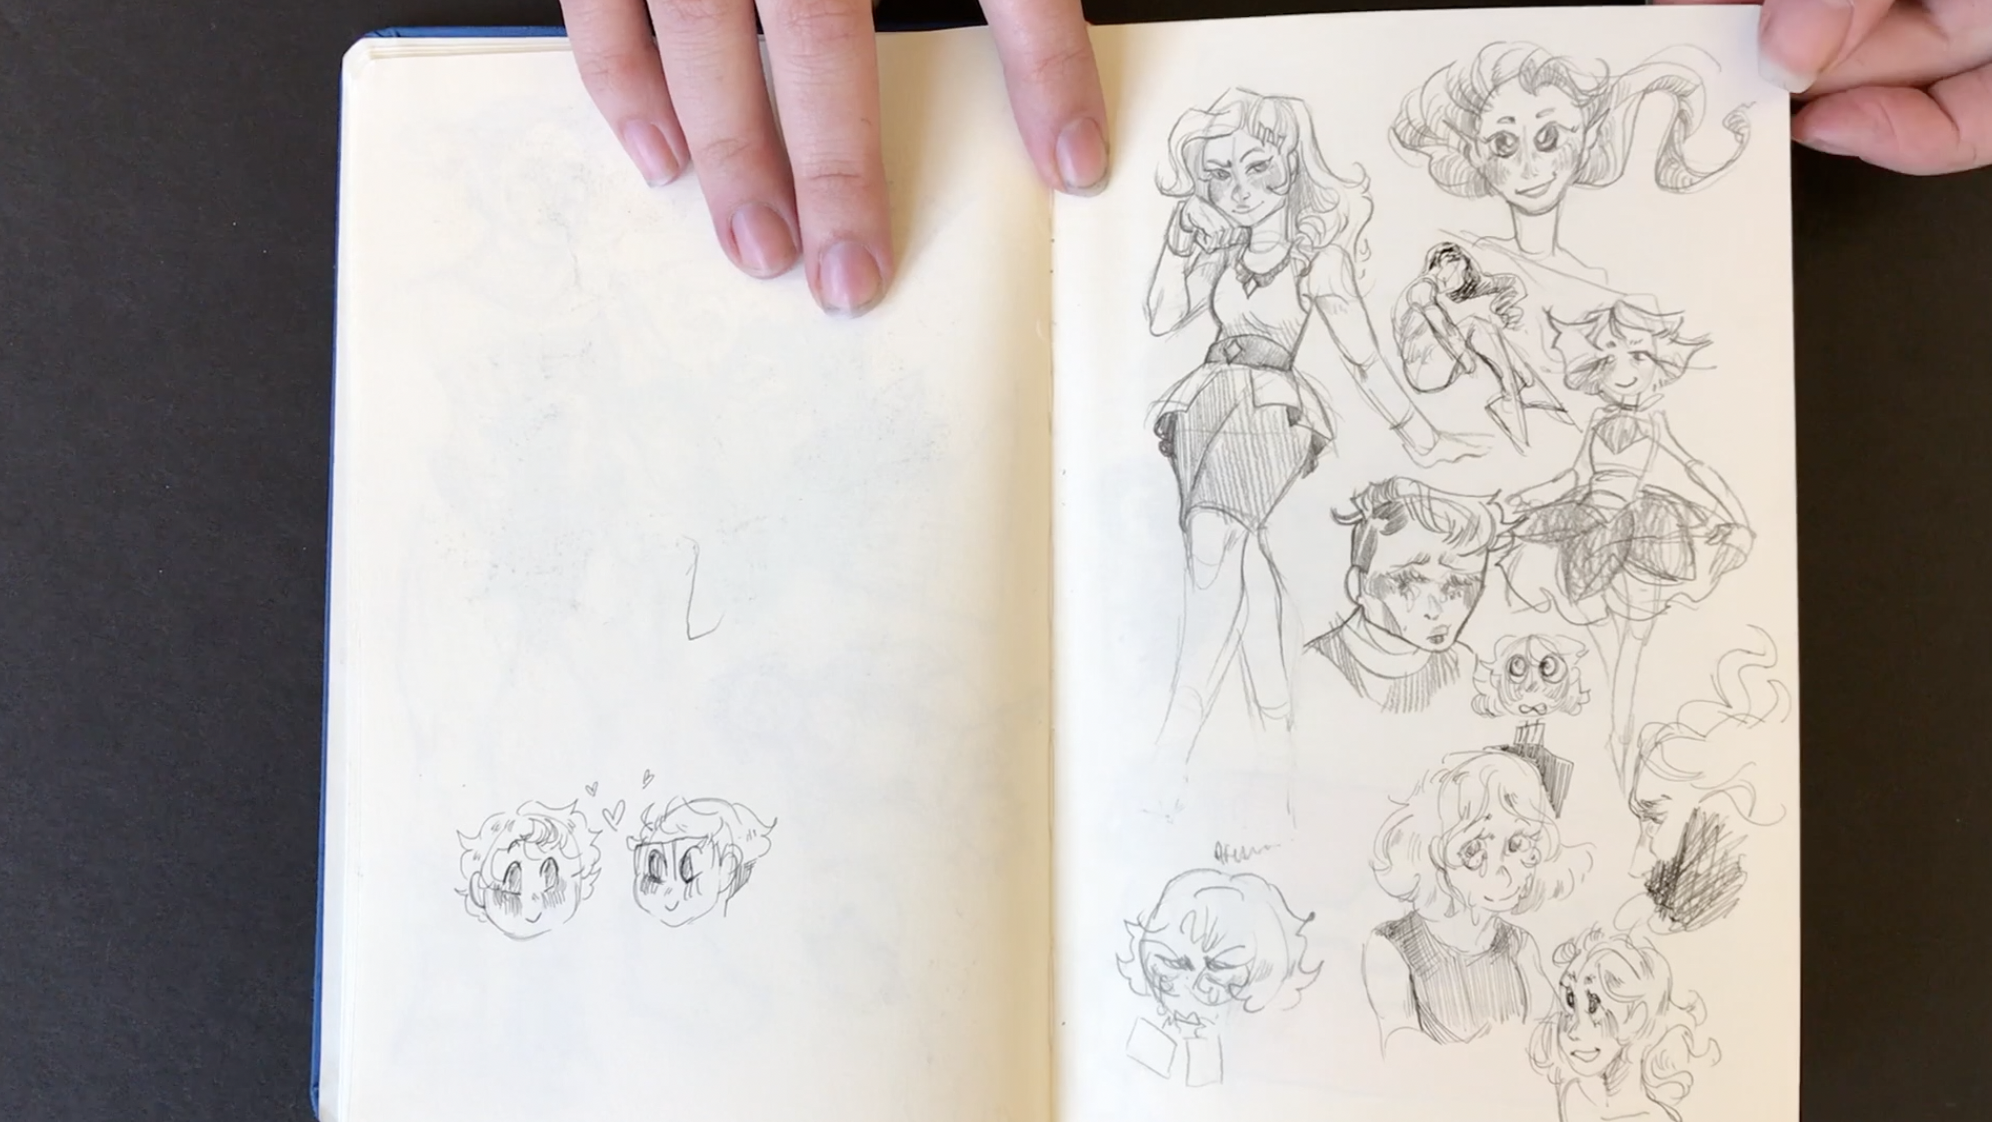
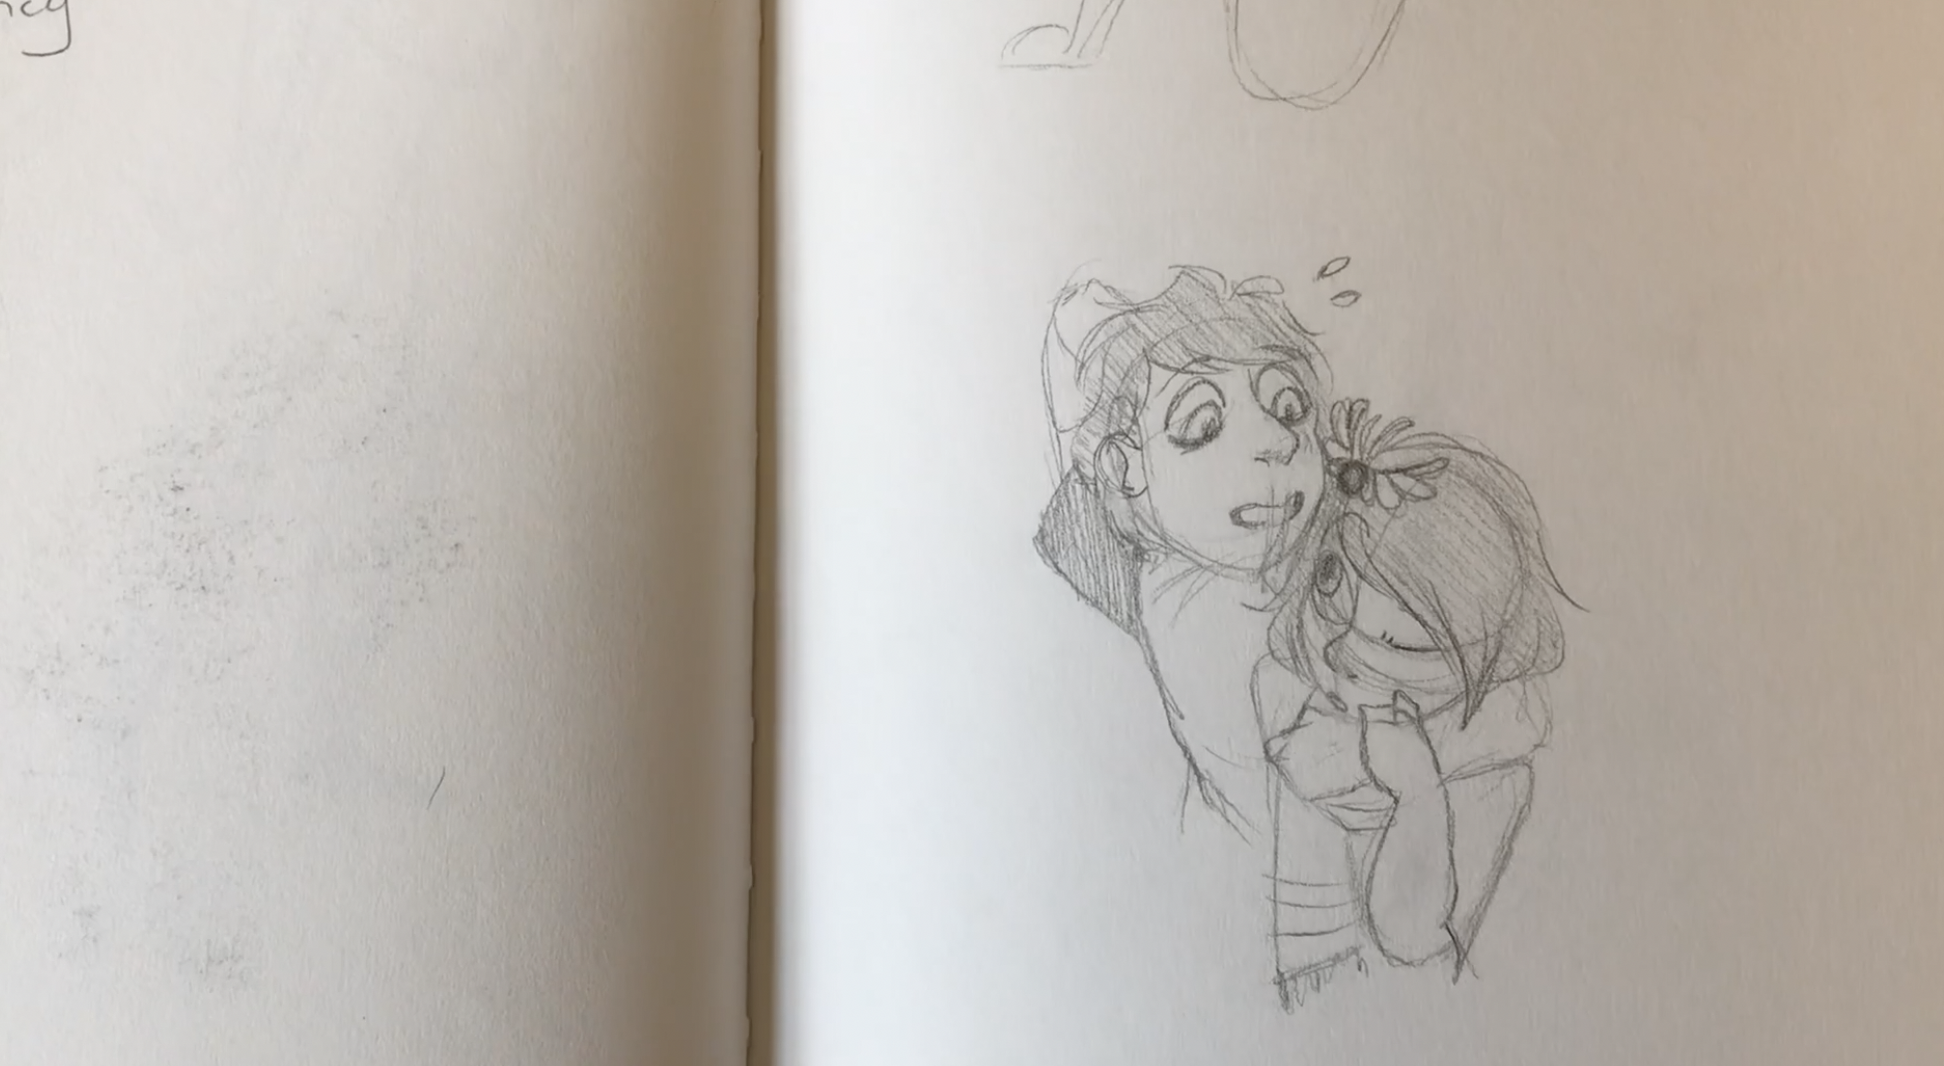
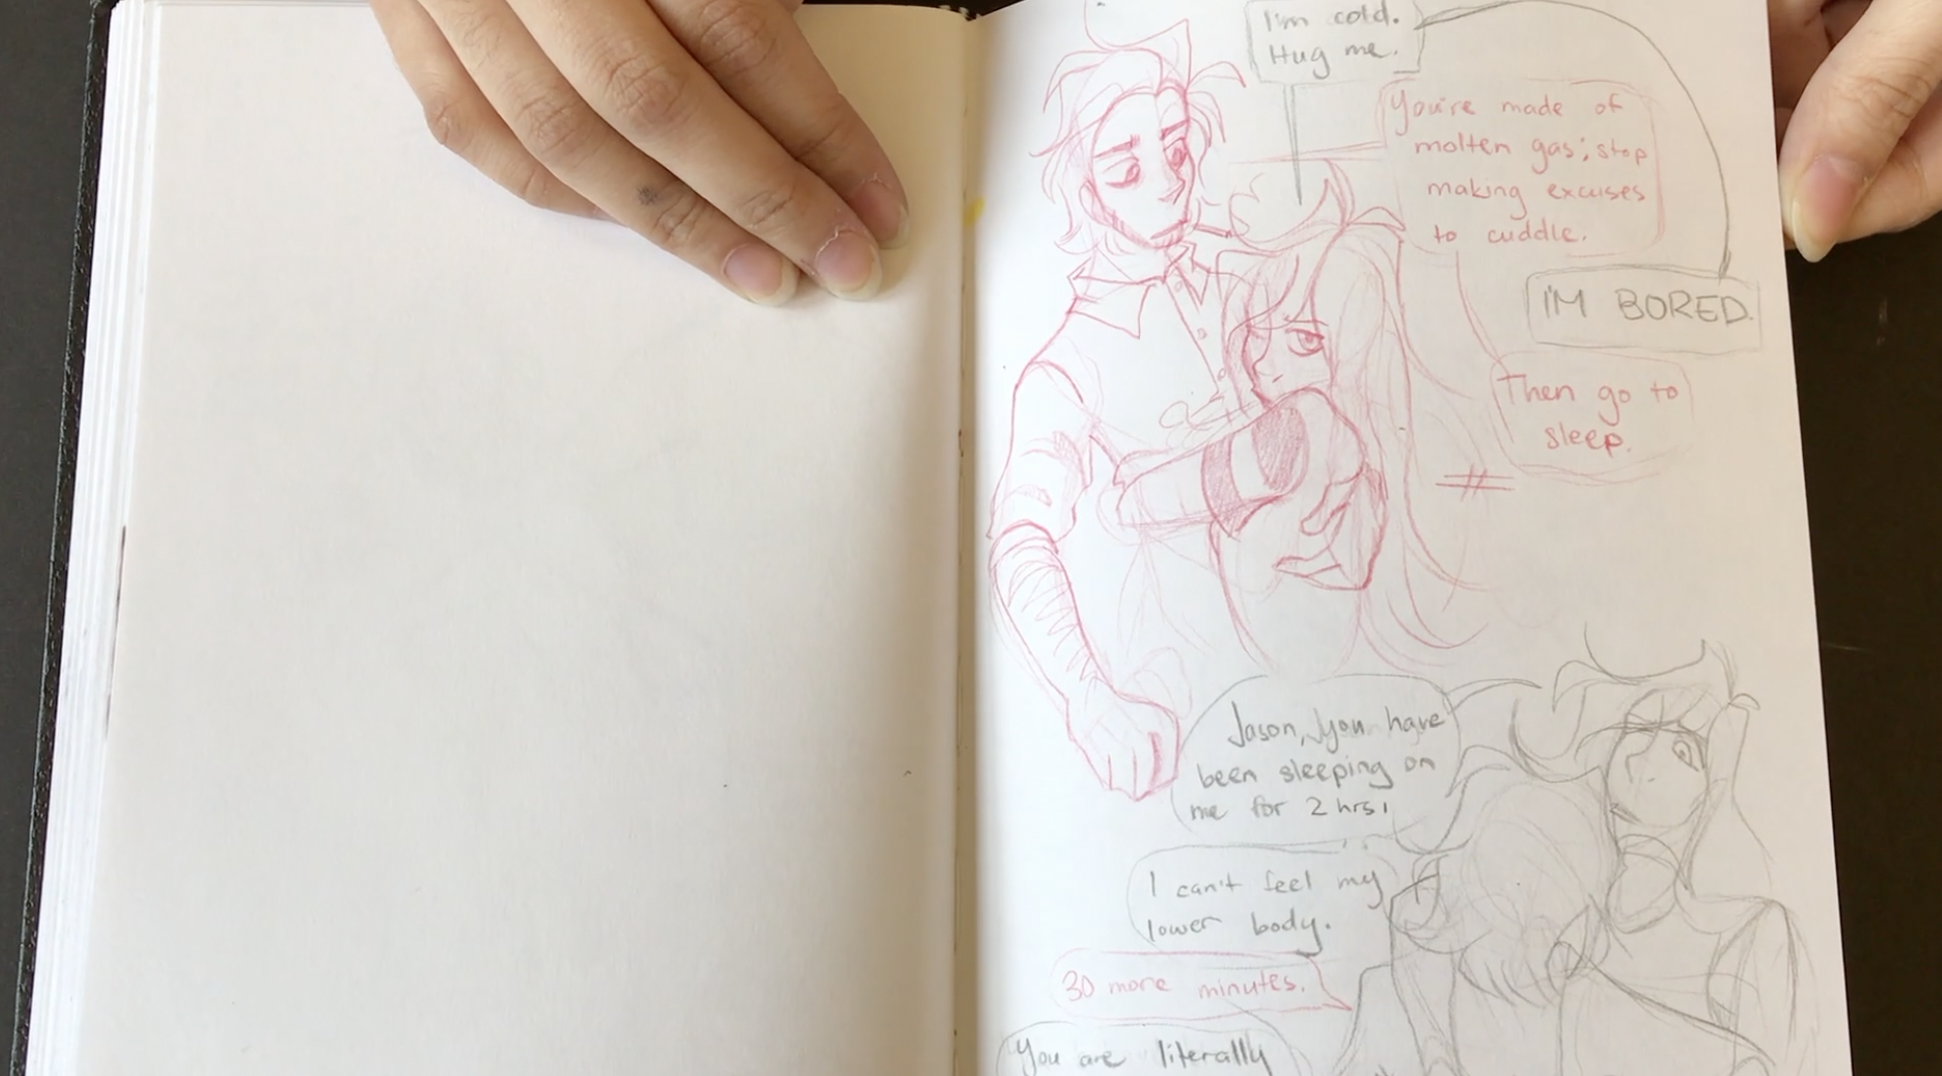
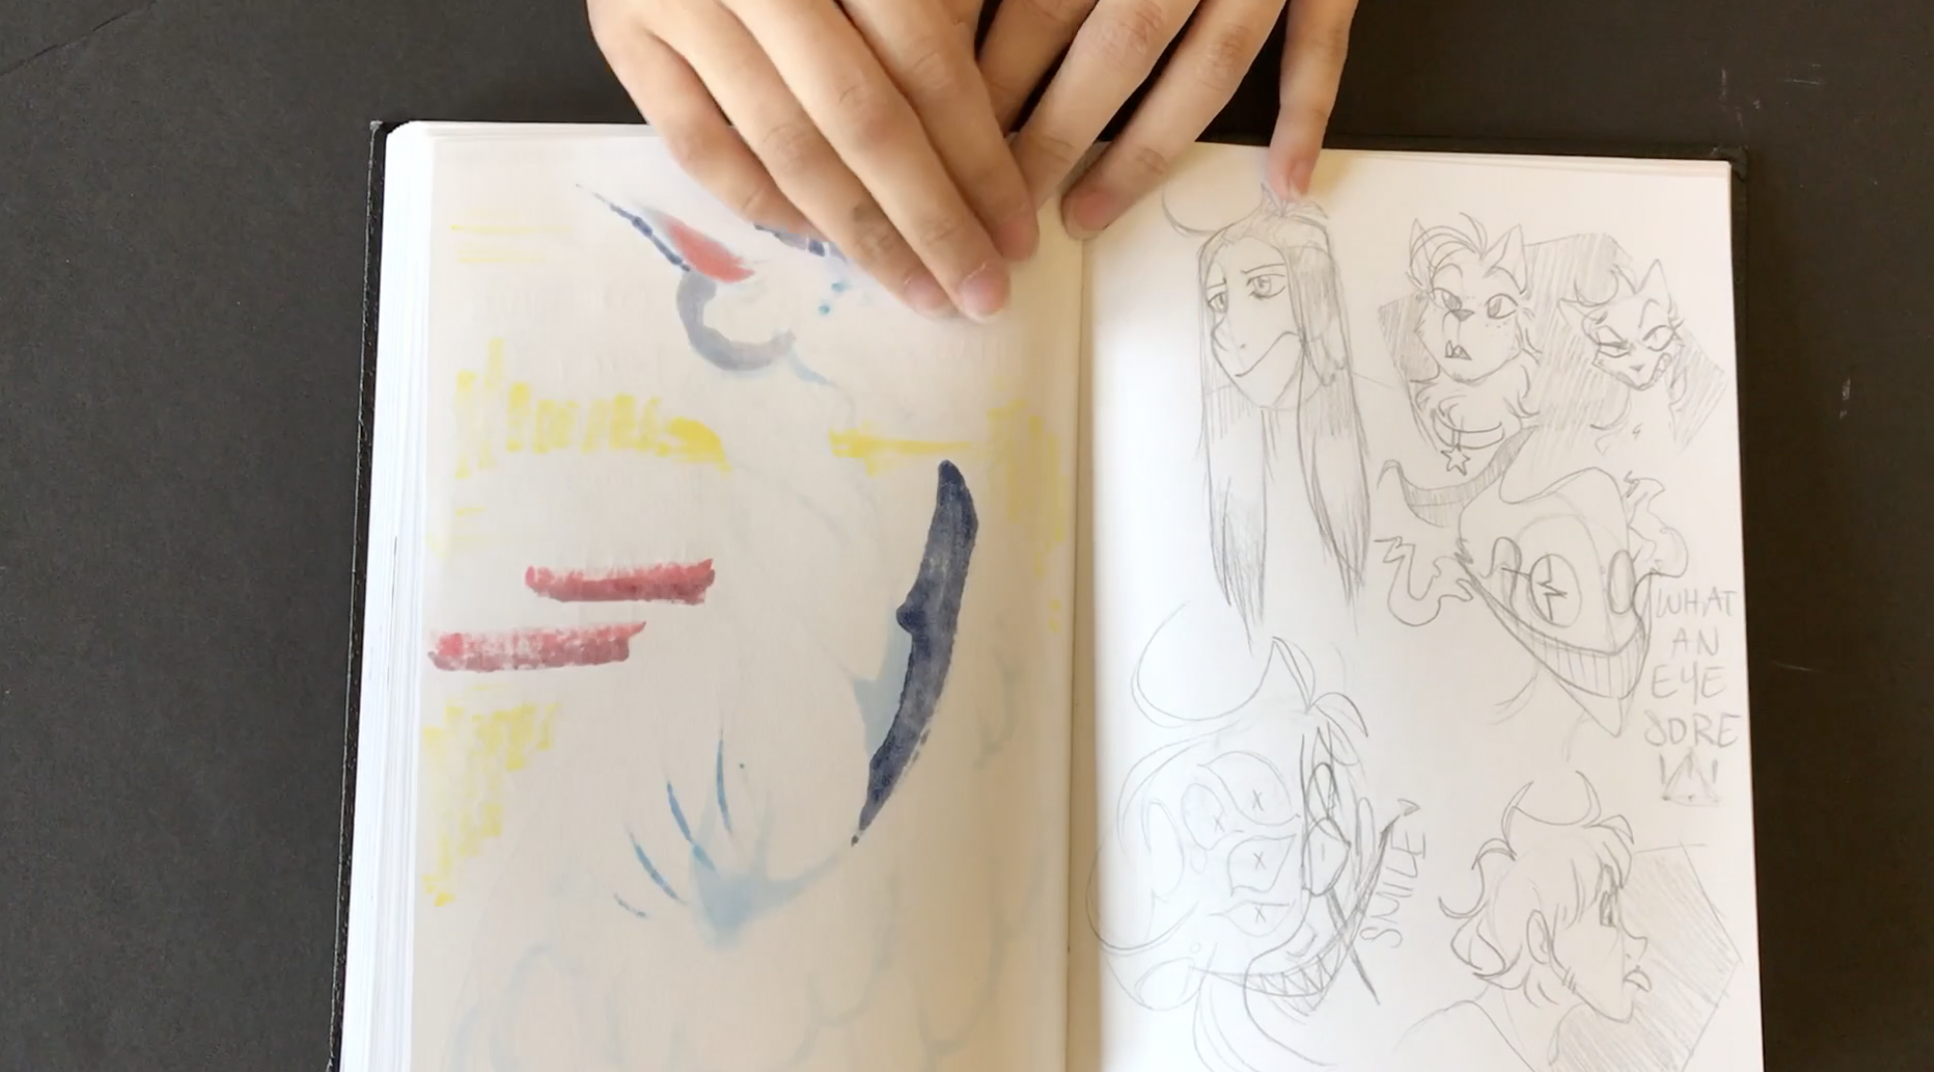
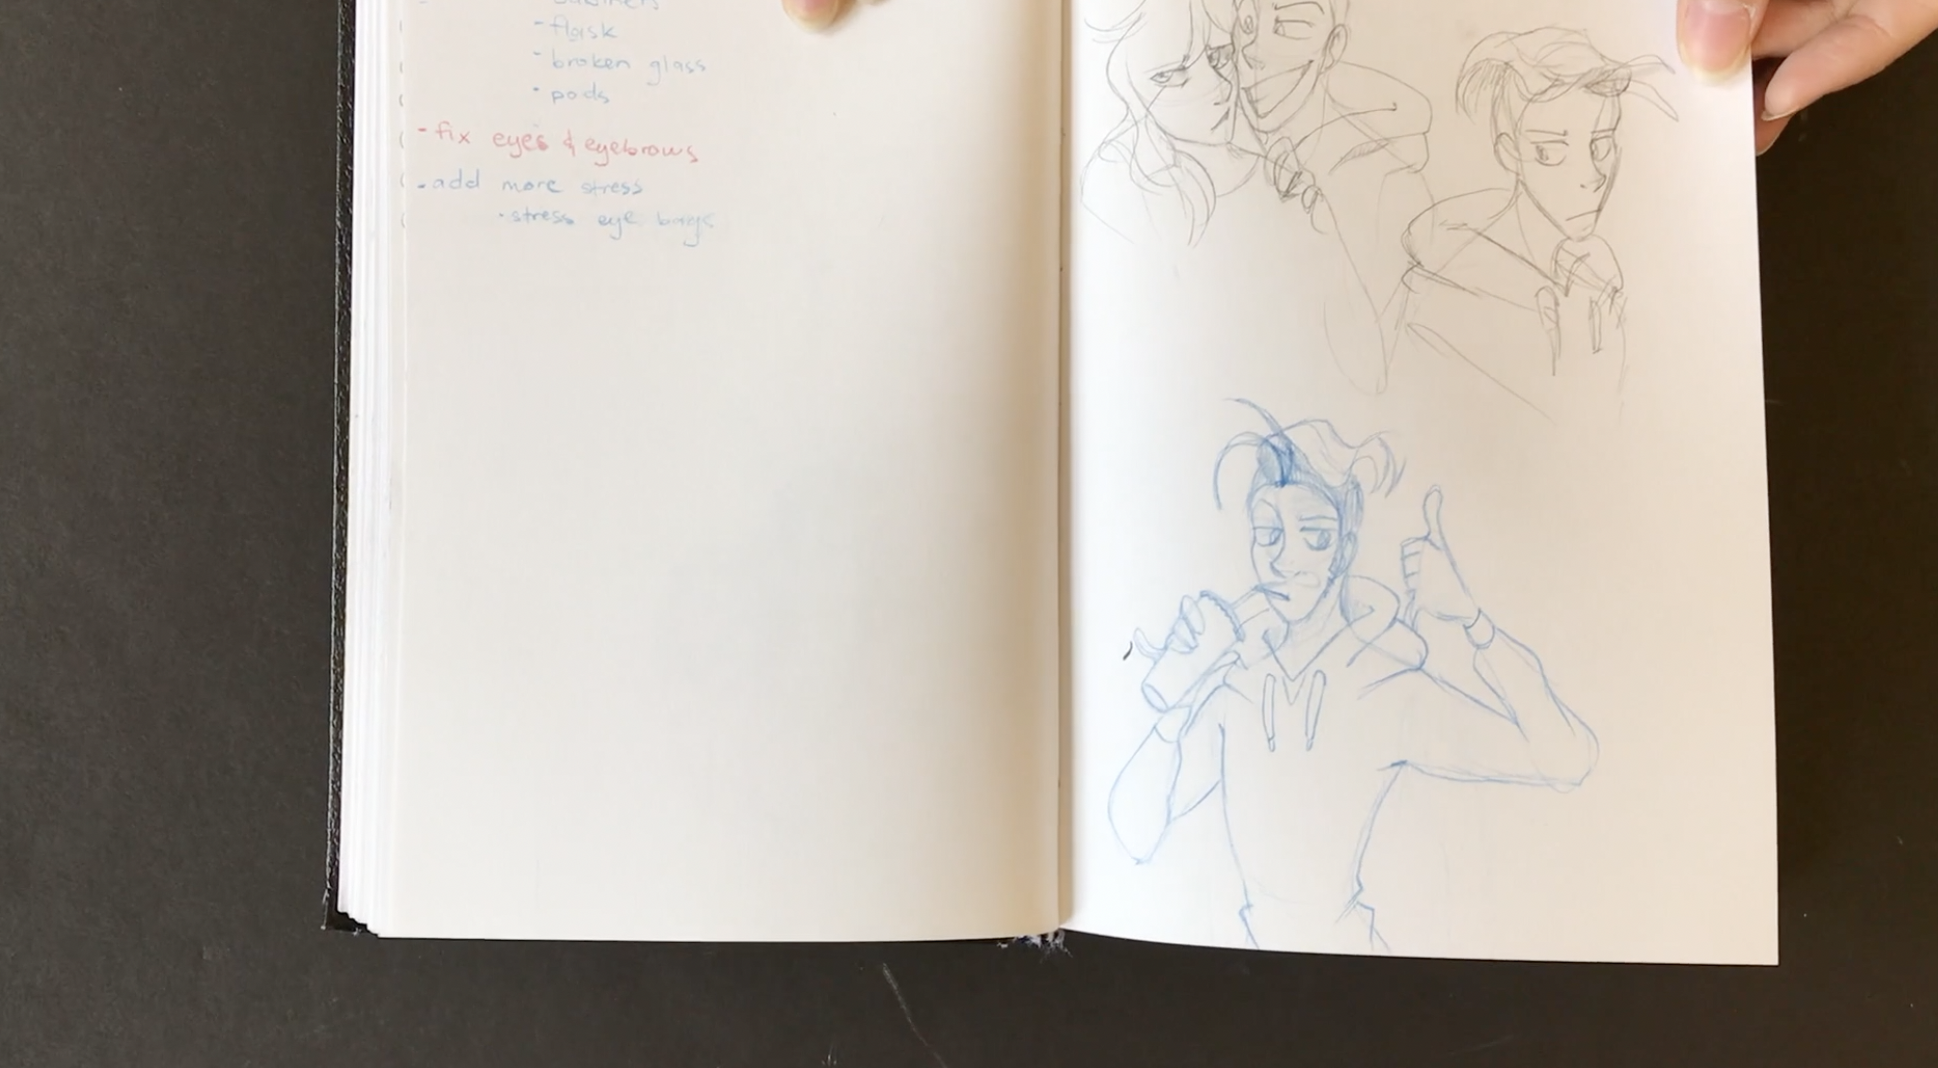
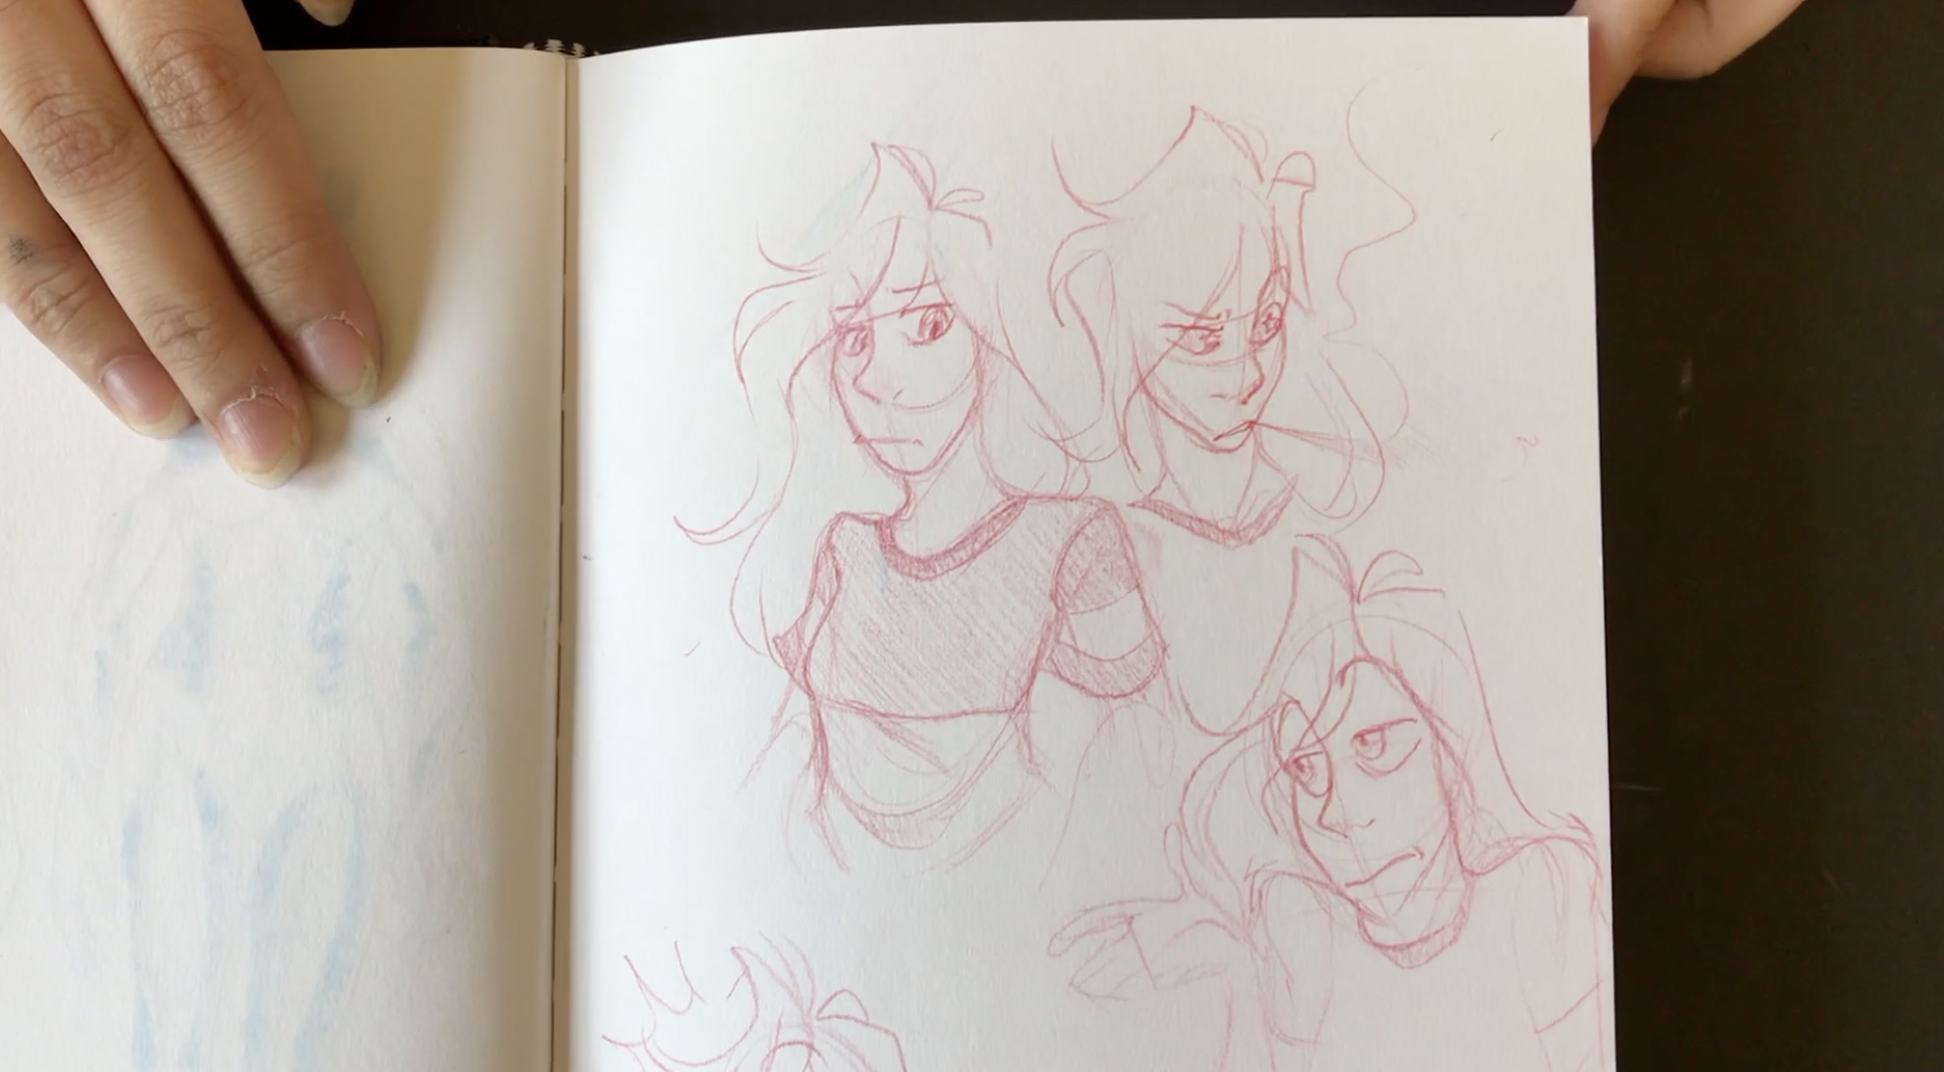
Shannon was a student in last year’s foundation drawing class for animators. What I liked most about Shannon’s work was her line. The way that she draws with the Prismacolor Col-Erase pencil is pretty awesome.

She draws with the type of line quality that is loose but yet highly descriptive. Not to mention that at such a young age she is a master at drawing facial expressions. Her characters have so much emotion. I usually love work that is so very different than mine. I love seeing how Shannon draws with such flow and grace.

I would have liked it if Shannon was a student in my class when I was a first year student. Maybe I would have learned something about line quality.


Thanks so much for sharing your work Shannon! Check out Shannon’s Instagram.


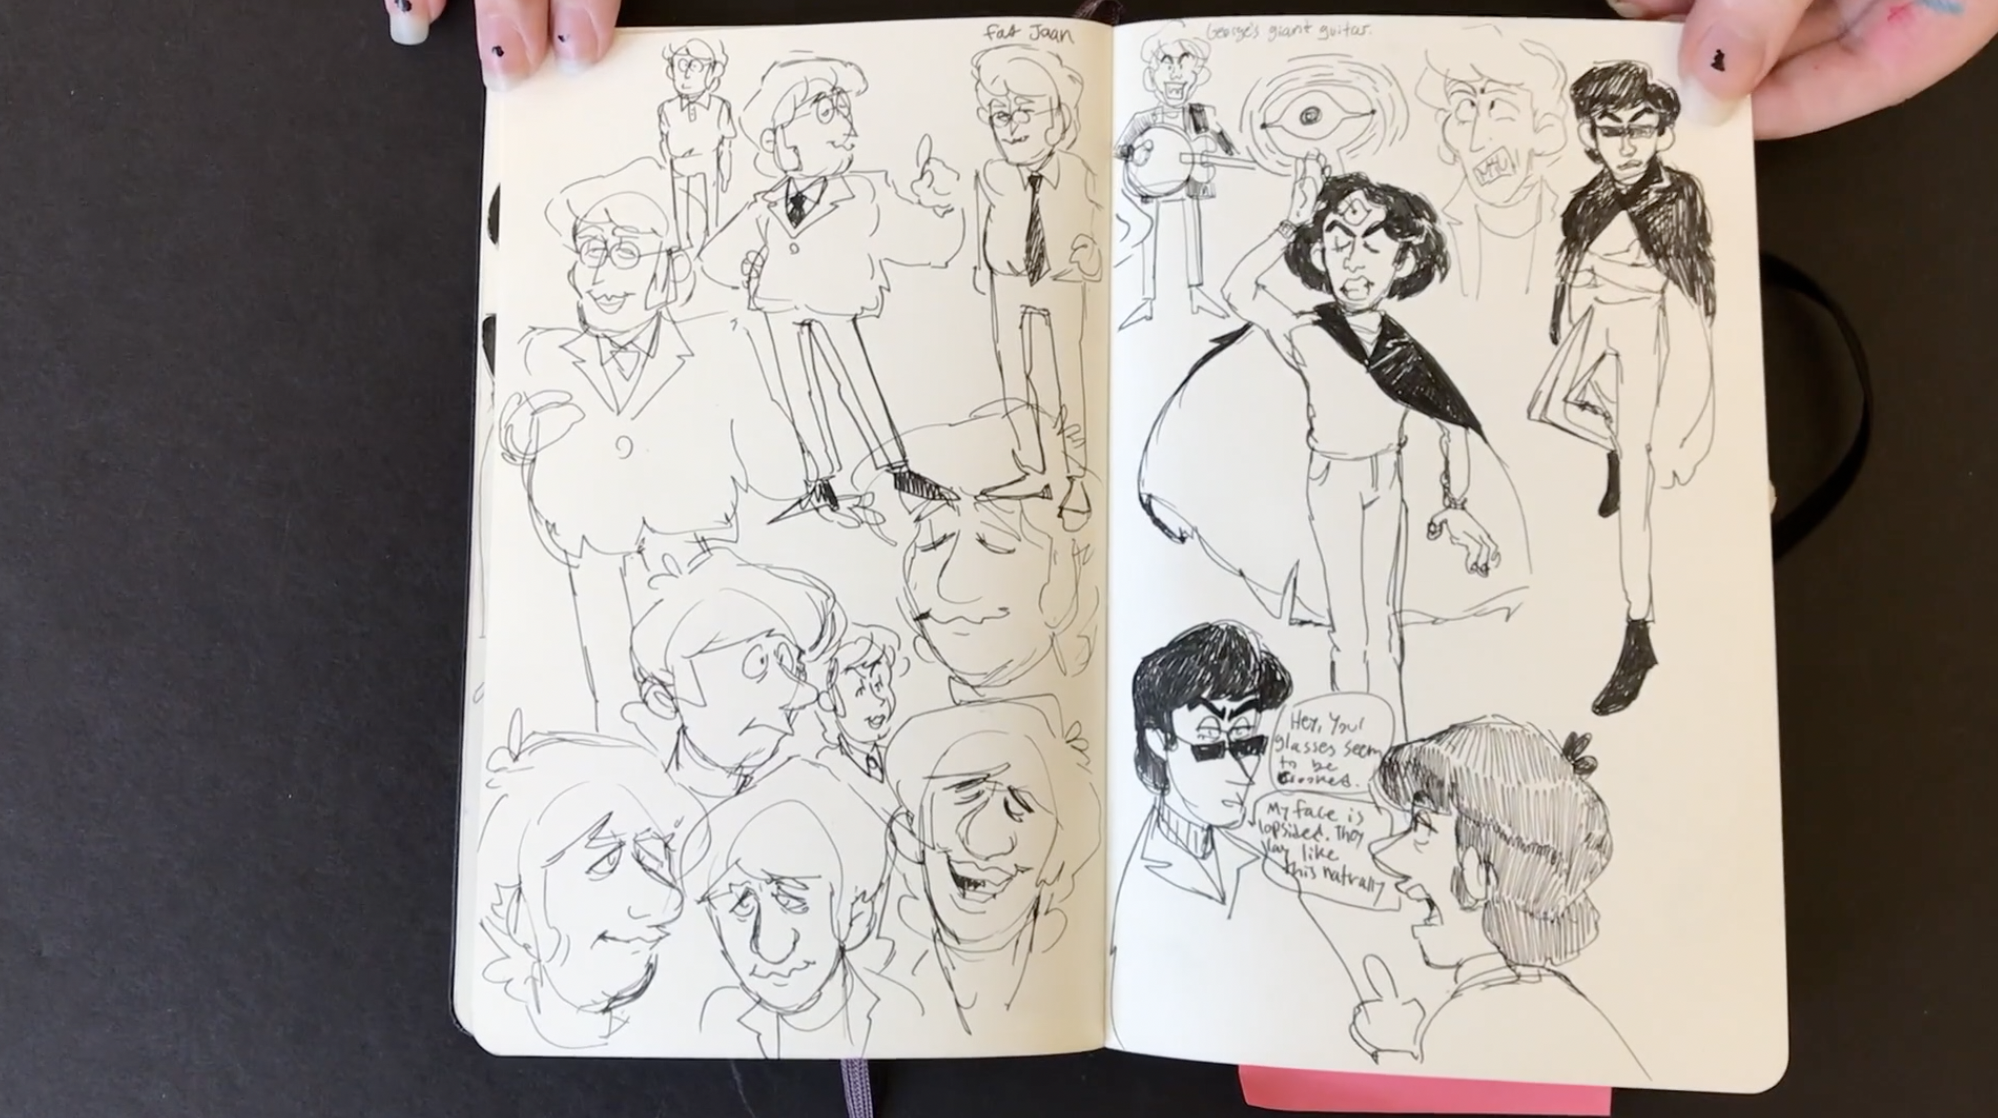
Emily R’s Second Sketchbook

Emily R’s Second Sketchbook

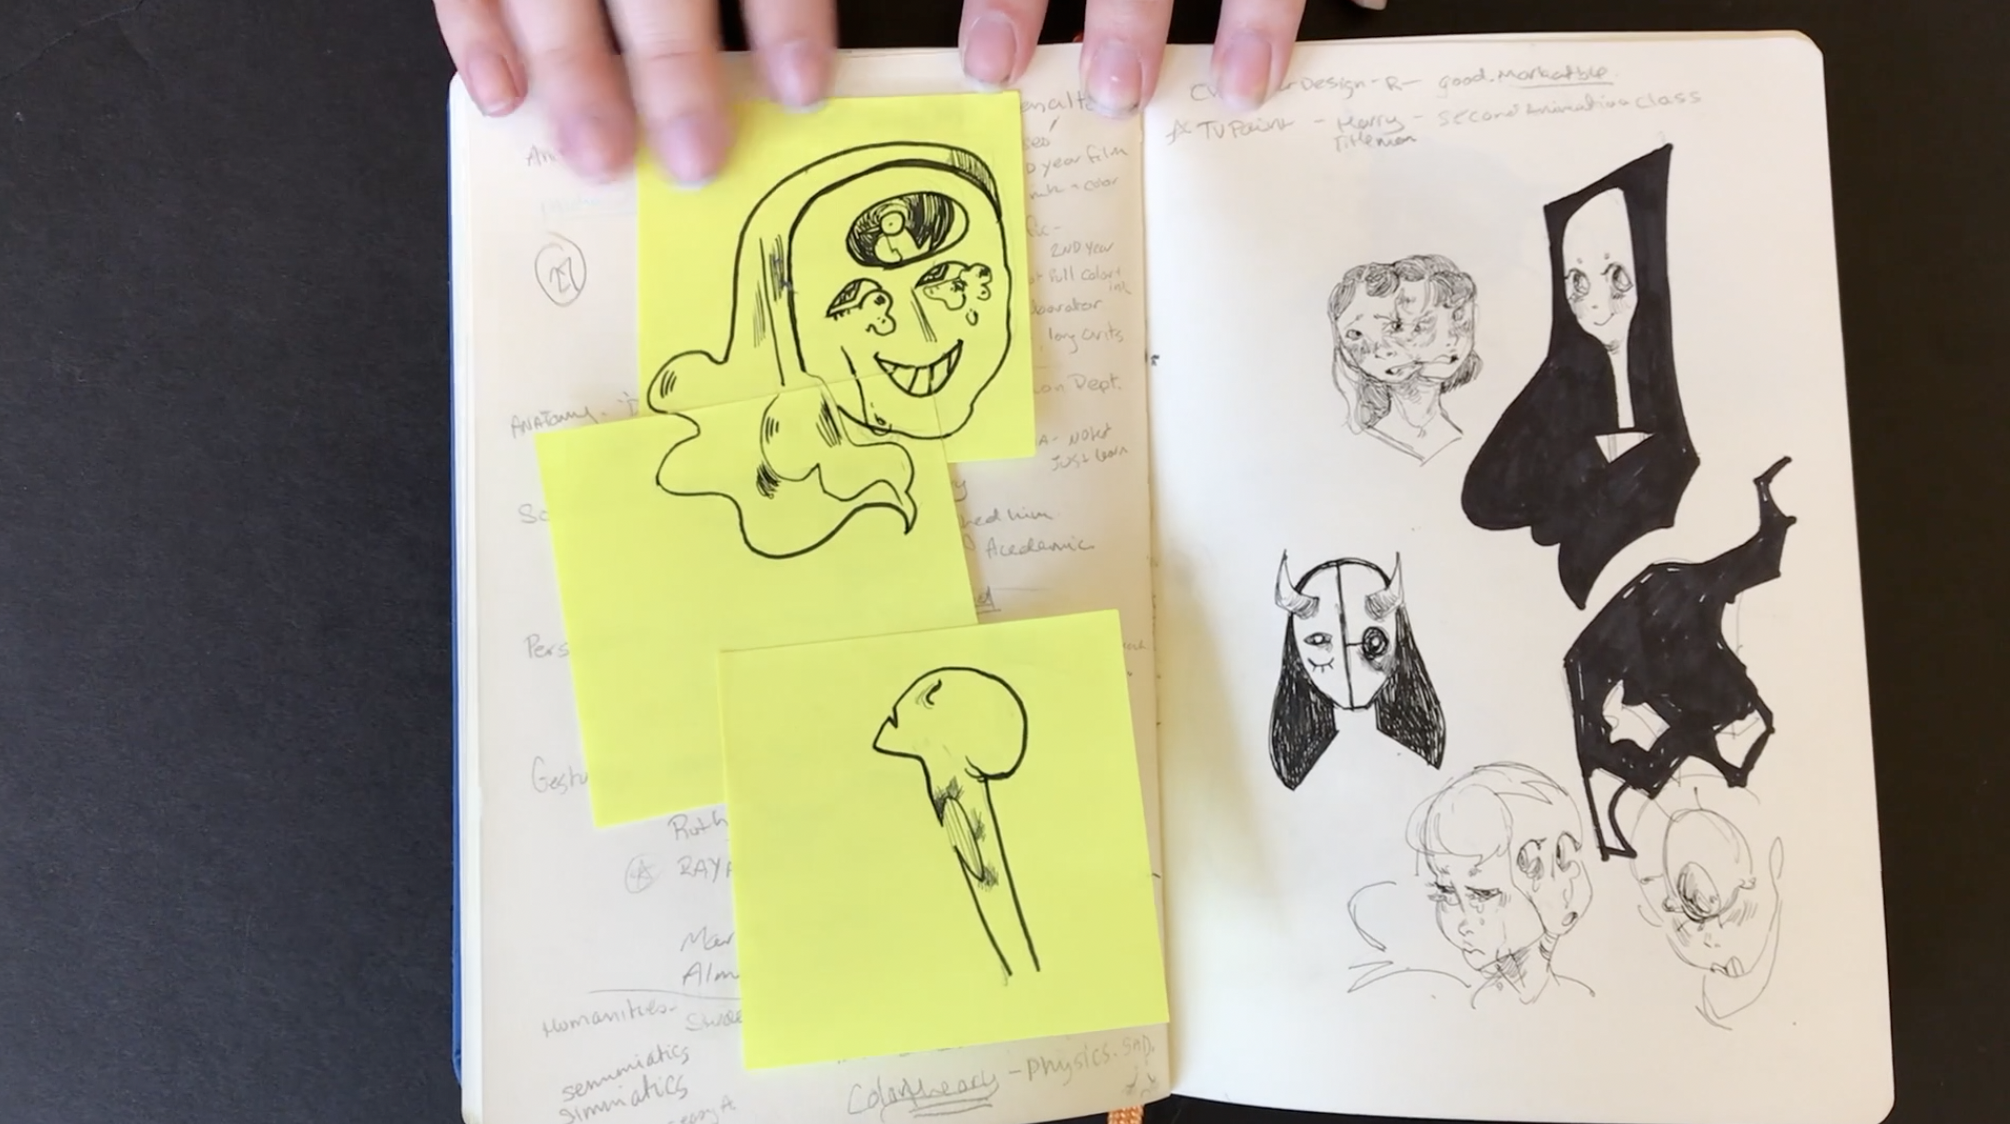
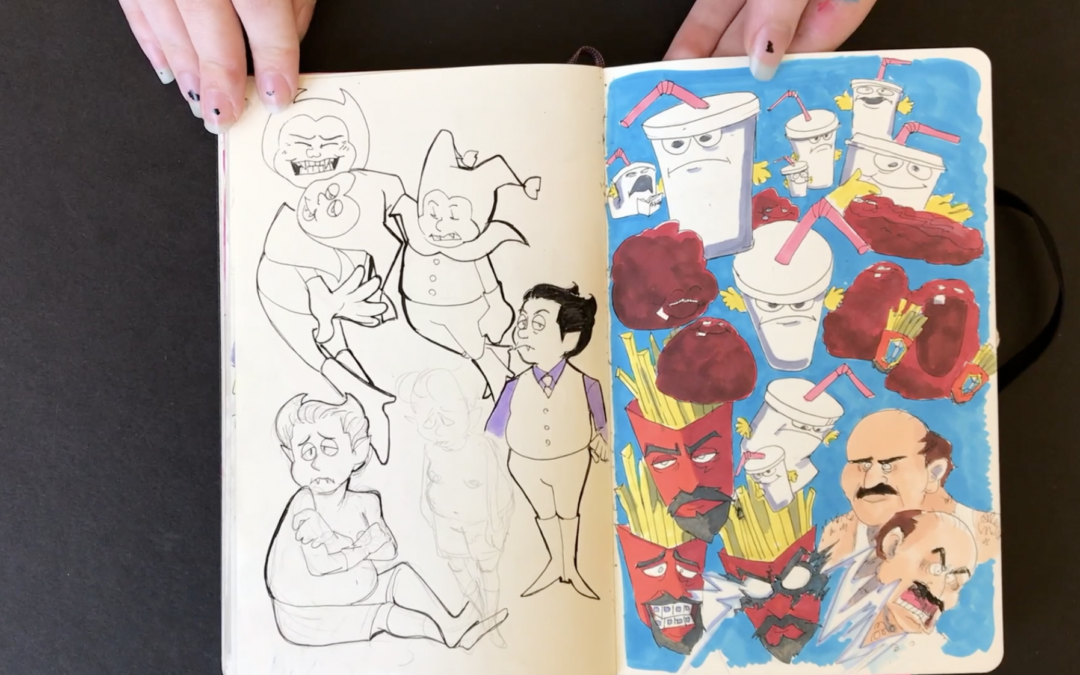
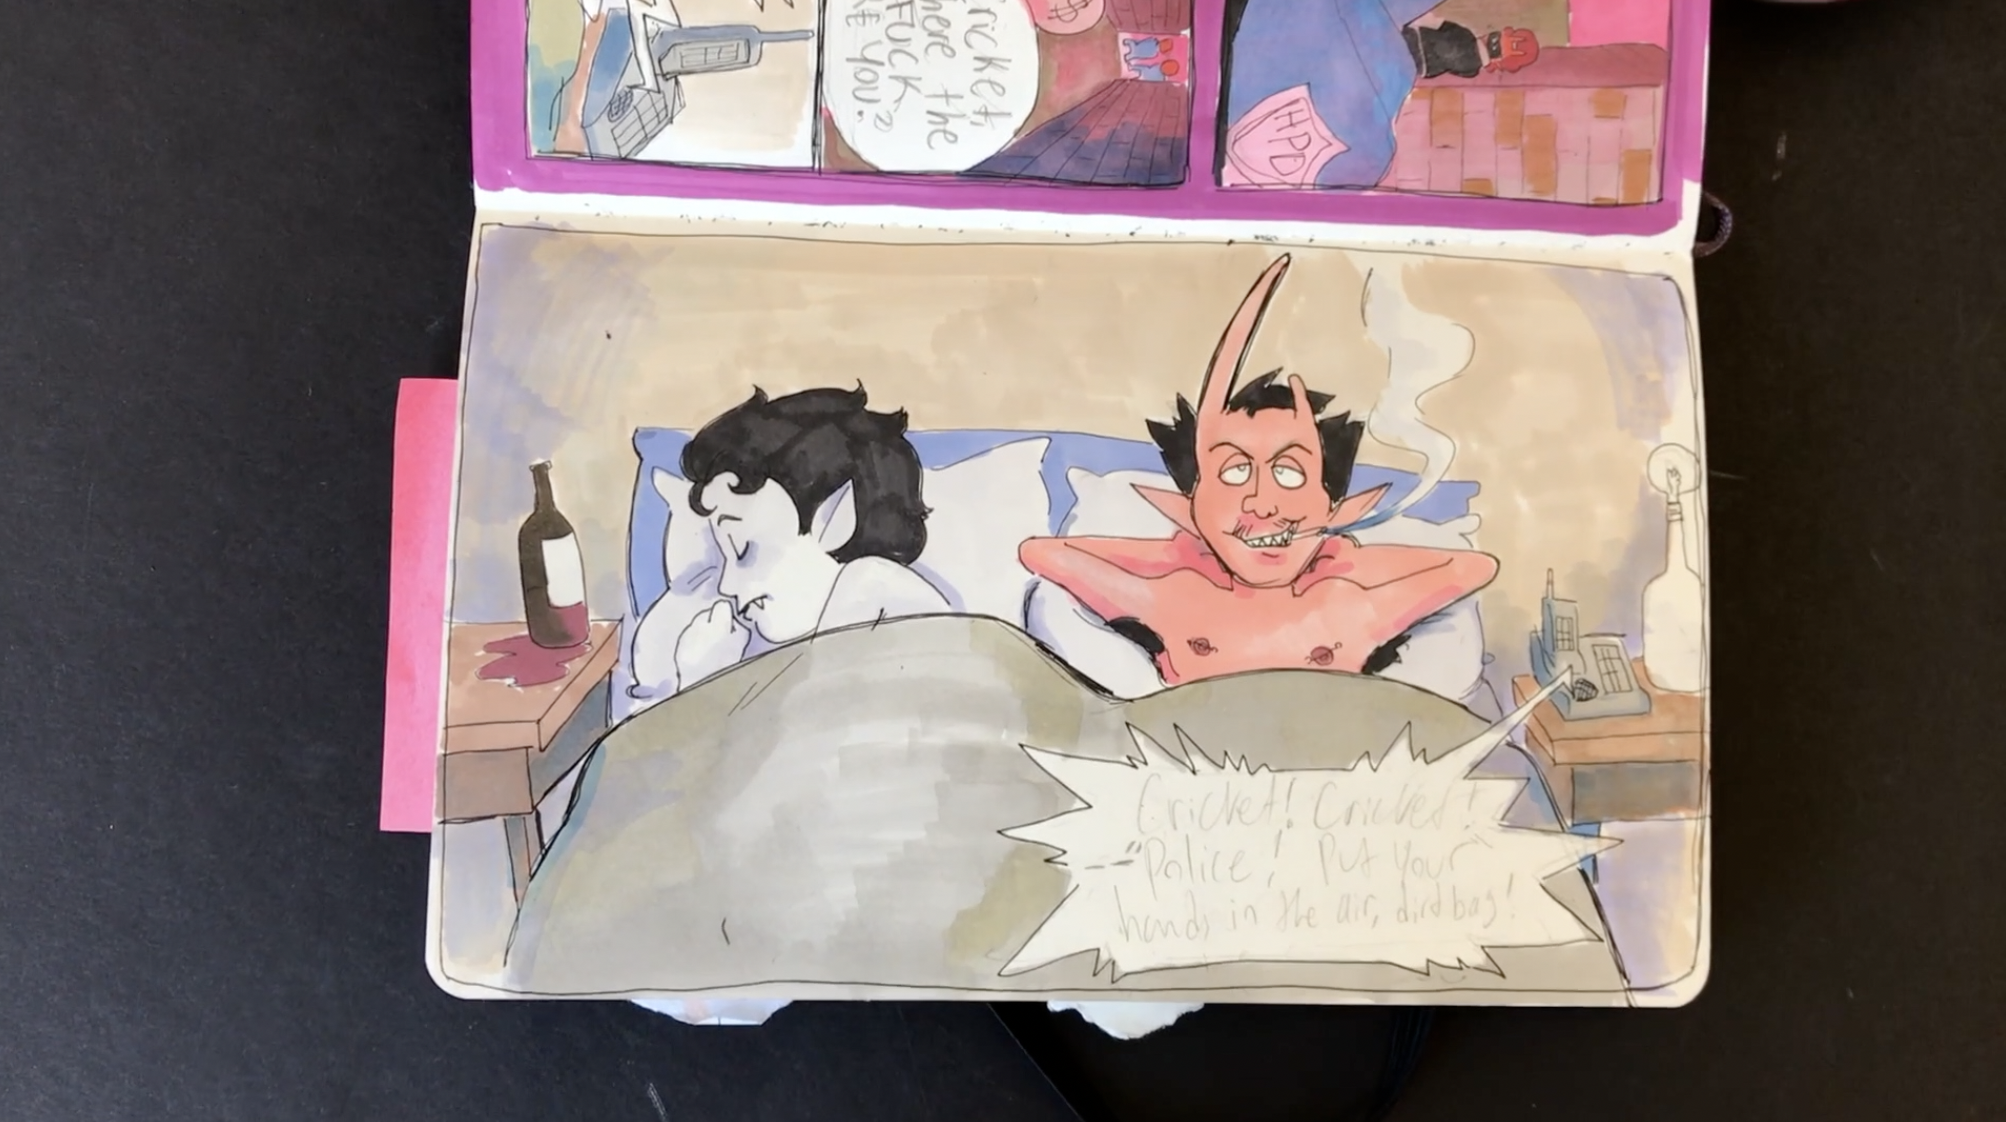
Emily was a student in last years foundation drawing class for animators. I really miss having Emily in class this year. She is a massive Beatles fan with a with a great sense of humor.

His sketchbook drawing are so much fun to look at. I’ll let Emily’s work speak for itself in the video below.

Emily love your work, thanks so much for sharing!! Come back and visit on day.


Check out Emily’s Instagram. Thanks again Emily for sharing your art.


How To Draw The Structure Of The Lips

How To Draw The Structure Of The Lips

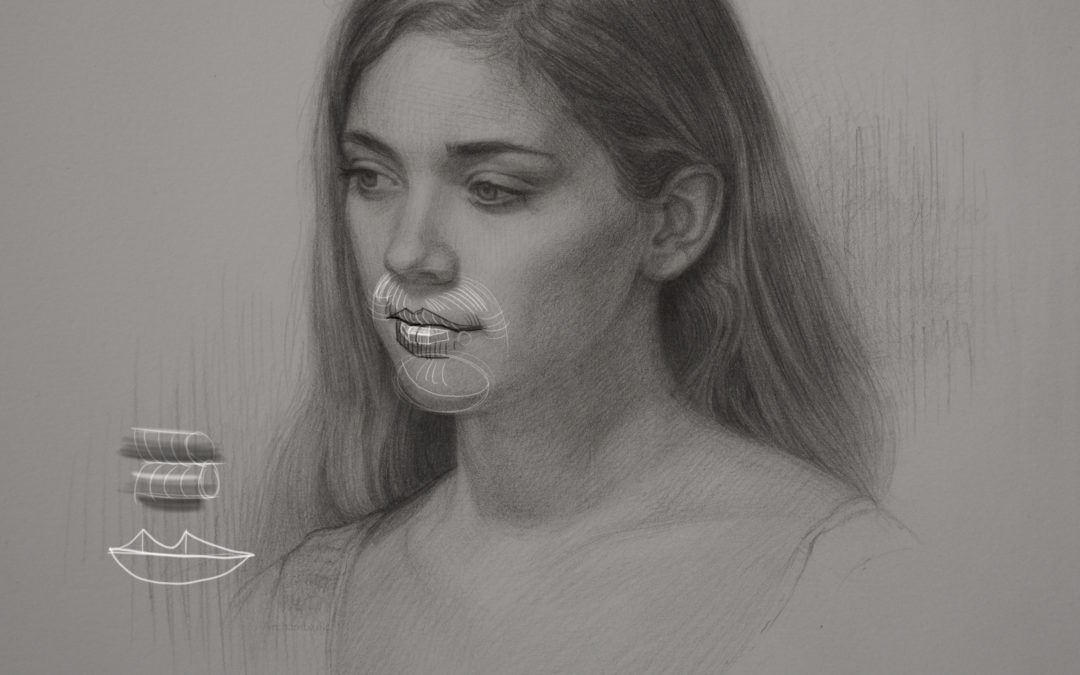
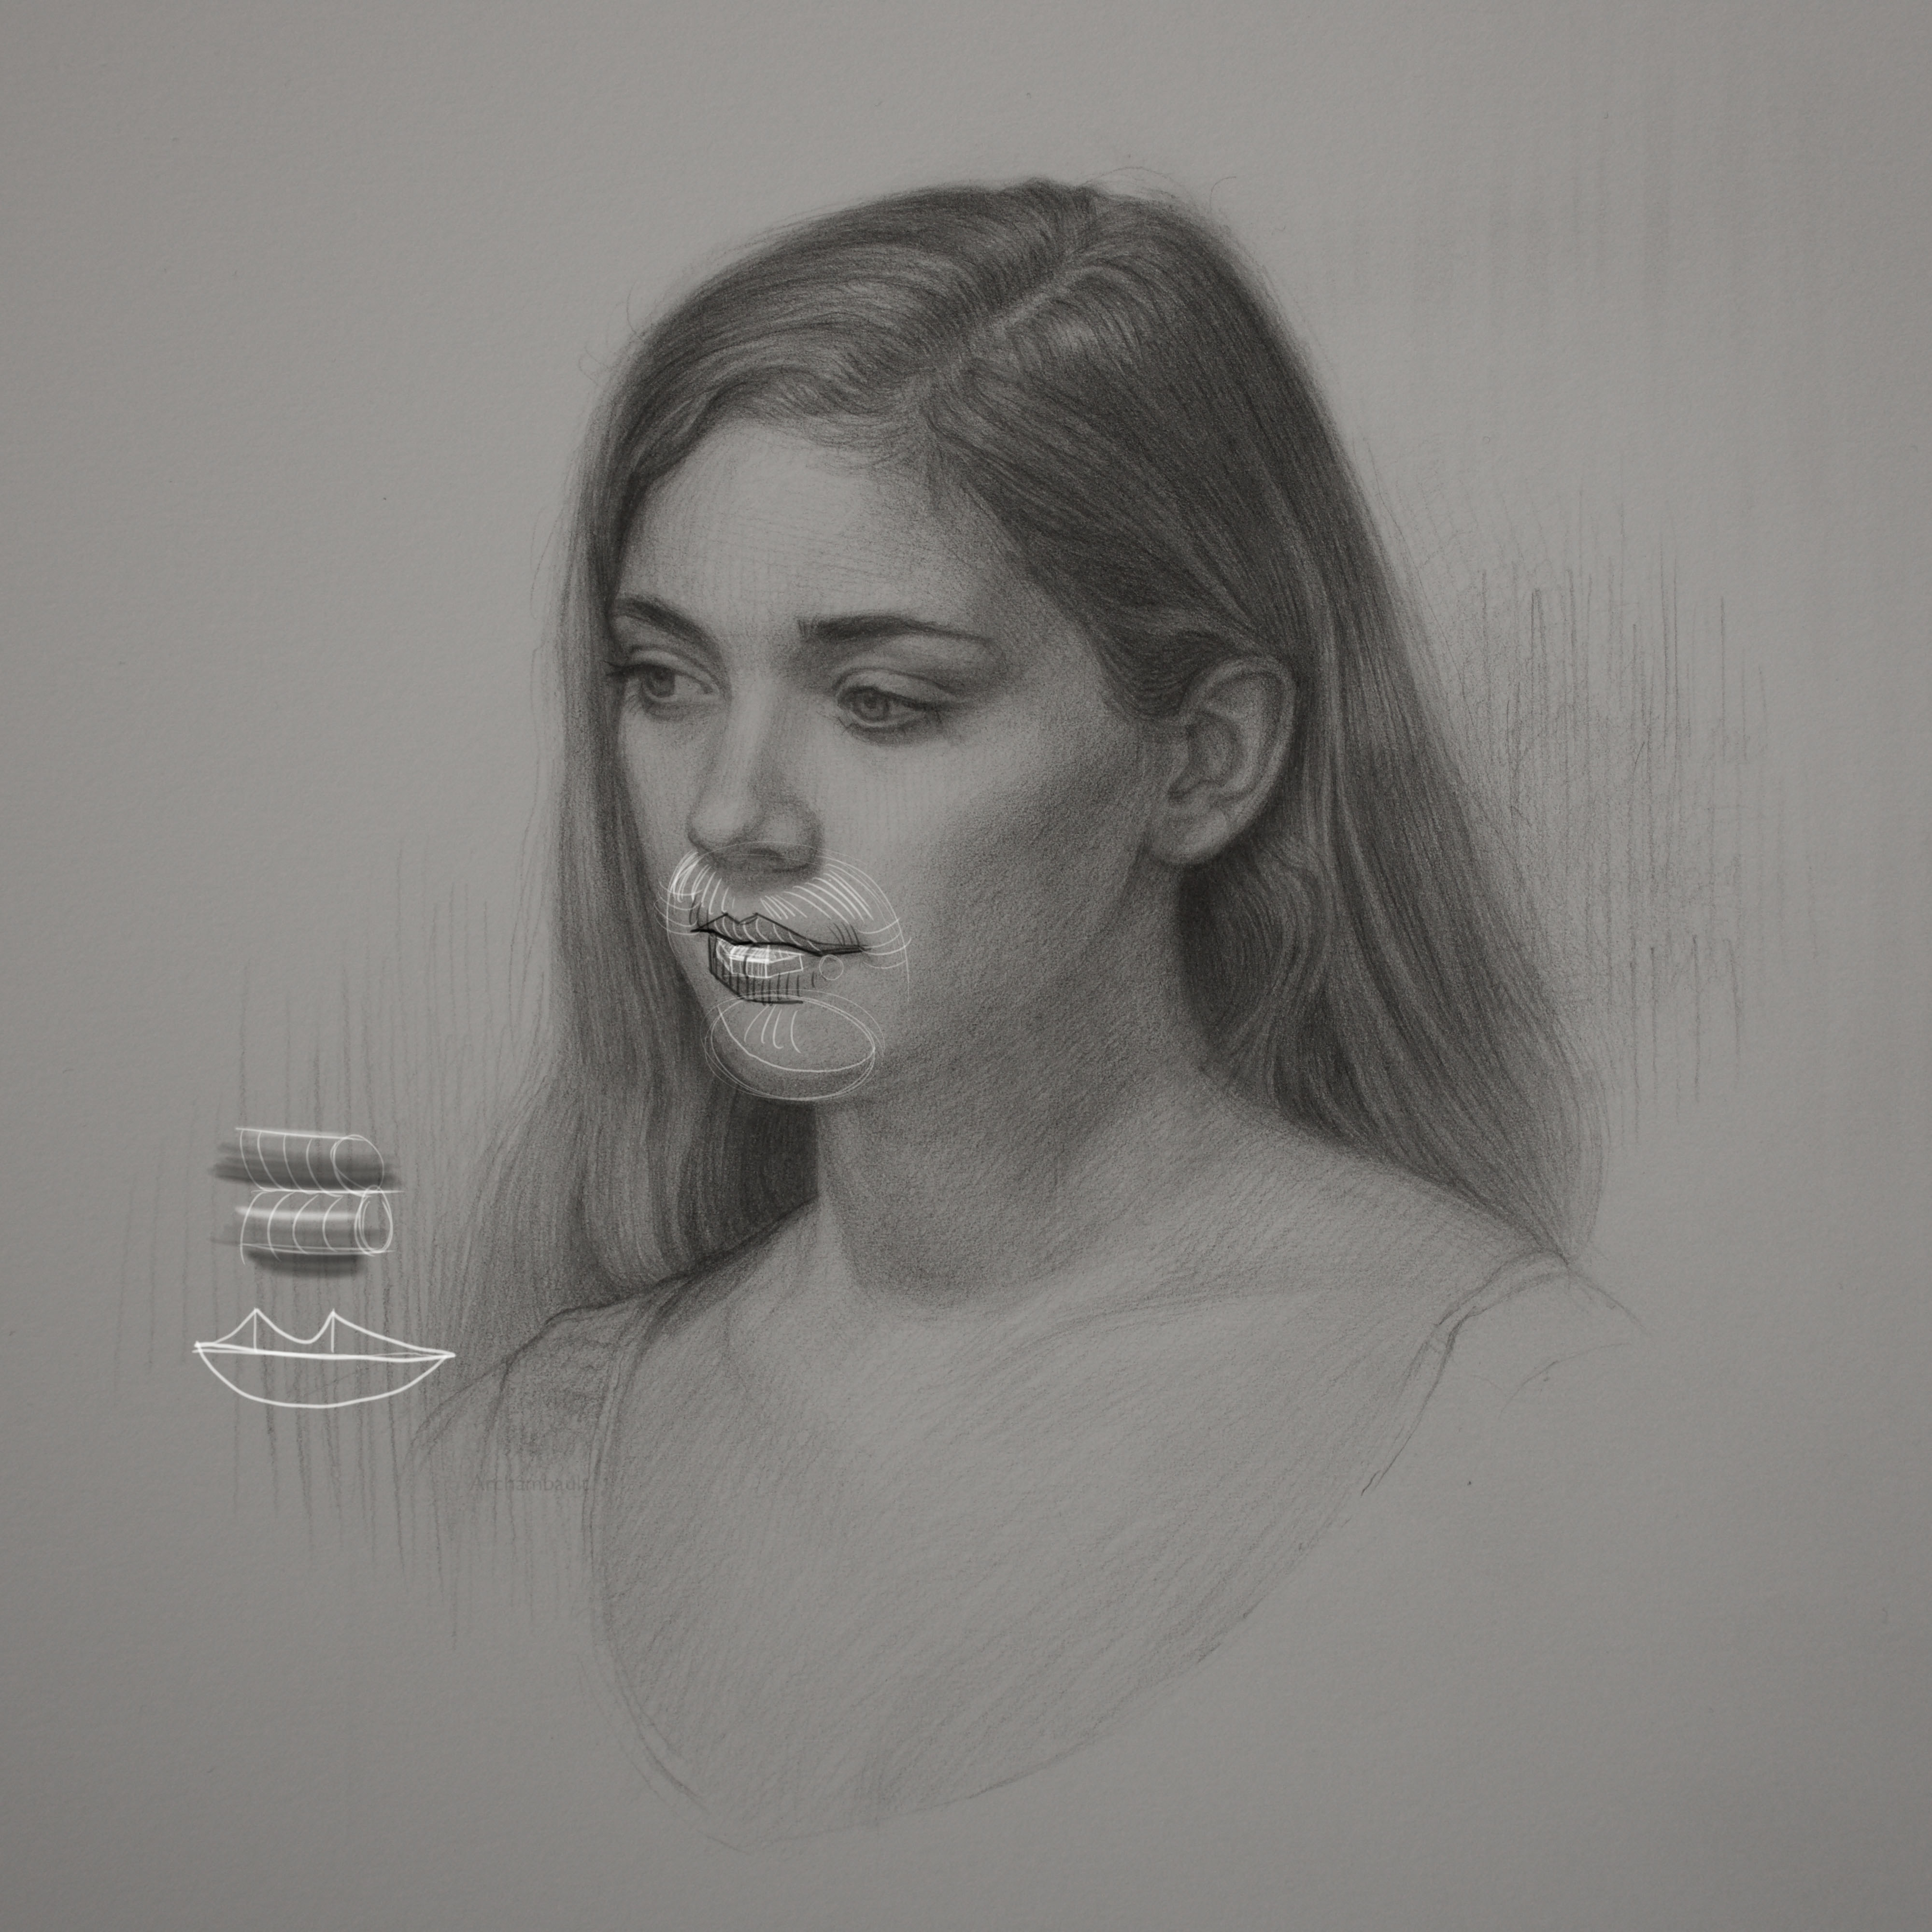
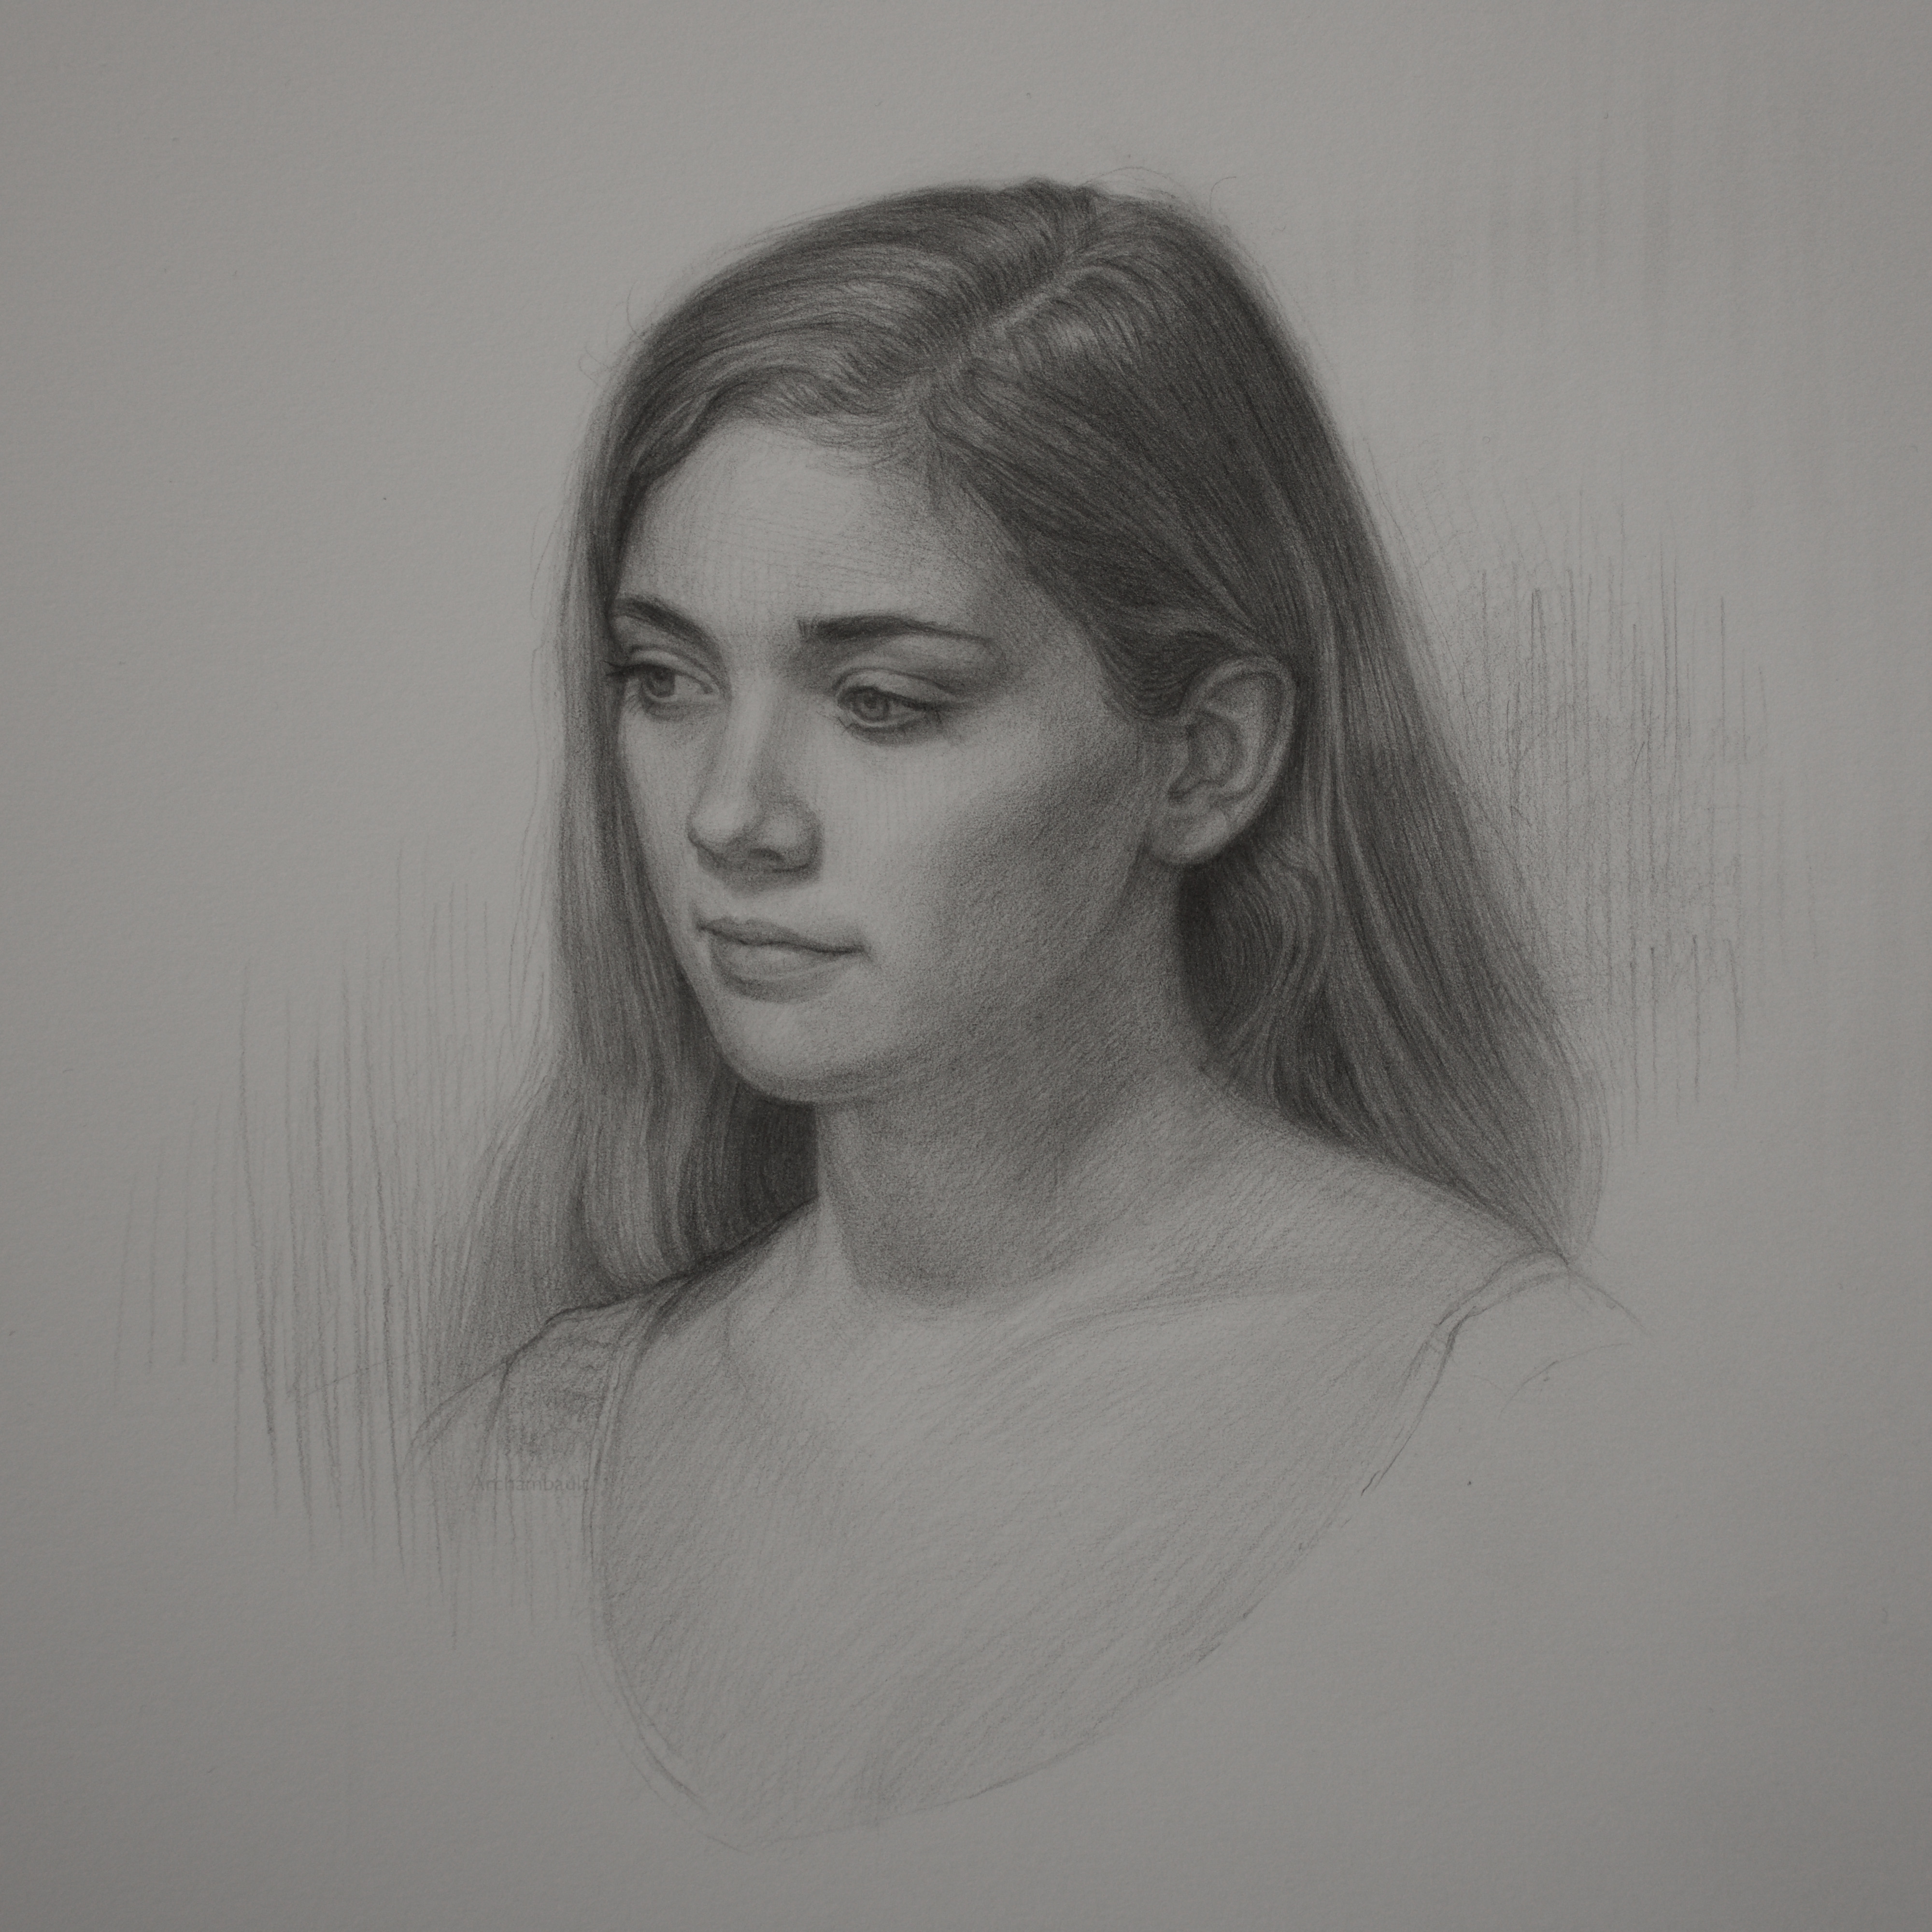
In this screencast portrait drawing lesson I share with you how I think about the structure of the lips. Thinking about the structure of the lips is completely different than using angles, shapes and tone to map out the lips on paper.


The key element to keep in mind when drawing lips is that you are simply drawing two horizontal cylinders on top of one another. You are not drawing lips via a harsh outline, you are drawing two soft cylinders.


The key element to look out for is how is the light hitting these two horizontal cylinders. Usually the light comes from up above. This places the upper lip in shadow, the lower lips usually catches a ton of light. The lower lips casts a shadow on the chin. Again avoid outlining the lips completely.


Too many artists tend to separate the lips from the face with a dark harsh outline. You will really want to allow the lower lip to merge with the skin tone. The value of the lips is just about the same value as one’s skin tone. Again their are no absolutes but this tends to be the case most of the time. Of course dark lipstick throws a monkey wrench into this theory.


You will also want to add multiple angles on the line that separates the two lips. Avoid using an overly simplistic straight line to separate the upper and lower lip. If you implement some of these techniques you should see improvement no doubt.


If you are interested in learning more consider a membership to Drawing Tutorials Online. You will gain access to every lesson in the course, plus be able to download the PDF that compliments this portrait drawing course immediately.

Thanks so much for taking the time to watch.


How To Draw The Structure Of The Eye

How To Draw The Structure Of The Eye

In this screencast portrait drawing lesson I share with you how I think about the structure of the eye. Thinking about the structure of the eye is completely different than using angles, shapes and tone to map out an eye on paper.

The key element to keep in mind when drawing an eye is that you are simply drawing a sphere. You are not drawing an eye, you are drawing a sphere. That sphere has lot’s of distractions, eye lashes and highlights. However if you can wrap your mind around the light that hits that sphere this will help you.

Too many artists cling onto the eye lashes like they are gospel. Worse yet many artists outline the eye with linear looking lashes. It’s super important that you approach drawing the eye from the standpoint of, what type of light source is hitting the sphere of the eye.

Most of the time light is coming from above. This simple fact will help you to see that the lower lid is in shadow and the upper lid is catching light. Stay away from using sharp outlines when drawing the eye. Definitely break your line on the lower eyelid. 

I can go on forever in this post, but I think I’ll let the video tutorial do the talking.


If you are interested in learning more consider a membership to Drawing Tutorials Online. You will gain access to every lesson in the course, plus be able to download the PDF that compliments this portrait drawing course immediately.

Thanks so much for taking the time to watch.