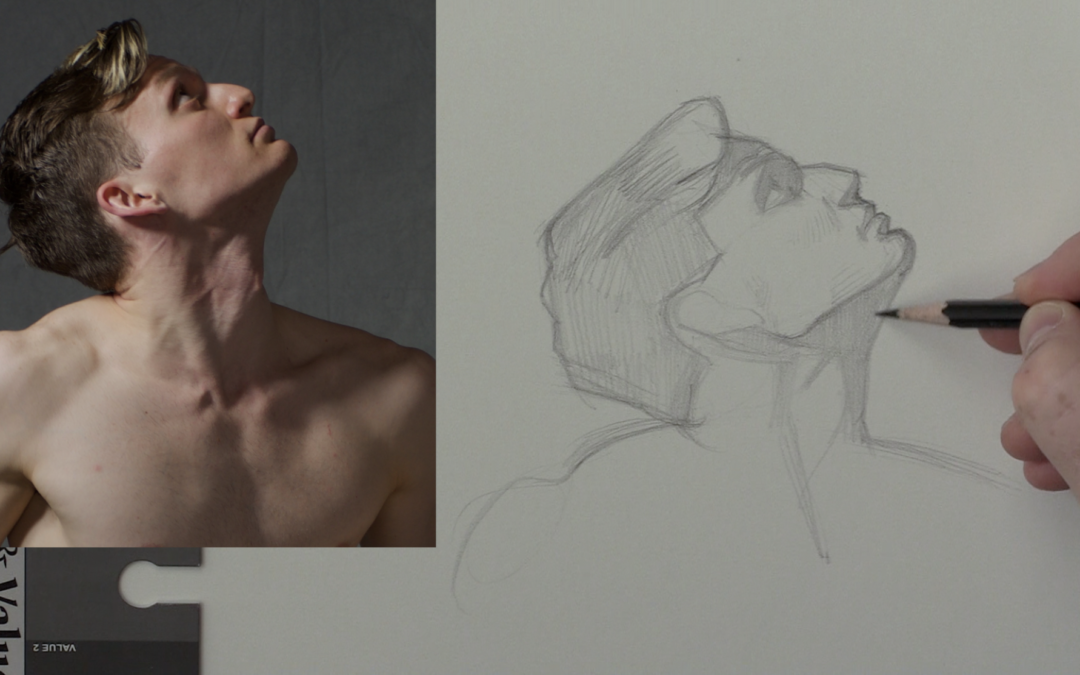
In this sped up drawing tutorial world that we see on YouTube and Instagram we tend to forget that a good drawing takes time. It really takes time for me. A fourteen minute video clip up is basically a nano second in my drawing world.
It’s really important that you figure out what about drawing makes you happy. For me it’s all about sitting in my studio and creating something worth while. I love rendering for hours with a pencil while listening to music and drinking good coffee. I also get satisfaction from doing a five minute gesture drawing from life.
However long drawings are where my passion is. What about you, what part of drawing makes you happy? Once you figure that out you are on your way to drawing success.
I want to thank you for taking the time for watching the portrait drawing tutorial above. I will be creating many new portrait drawing courses this Fall. If that sounds interesting to you definitely take a moment to check out Drawing Tutorials Online.
Now get out there and draw something that you love.
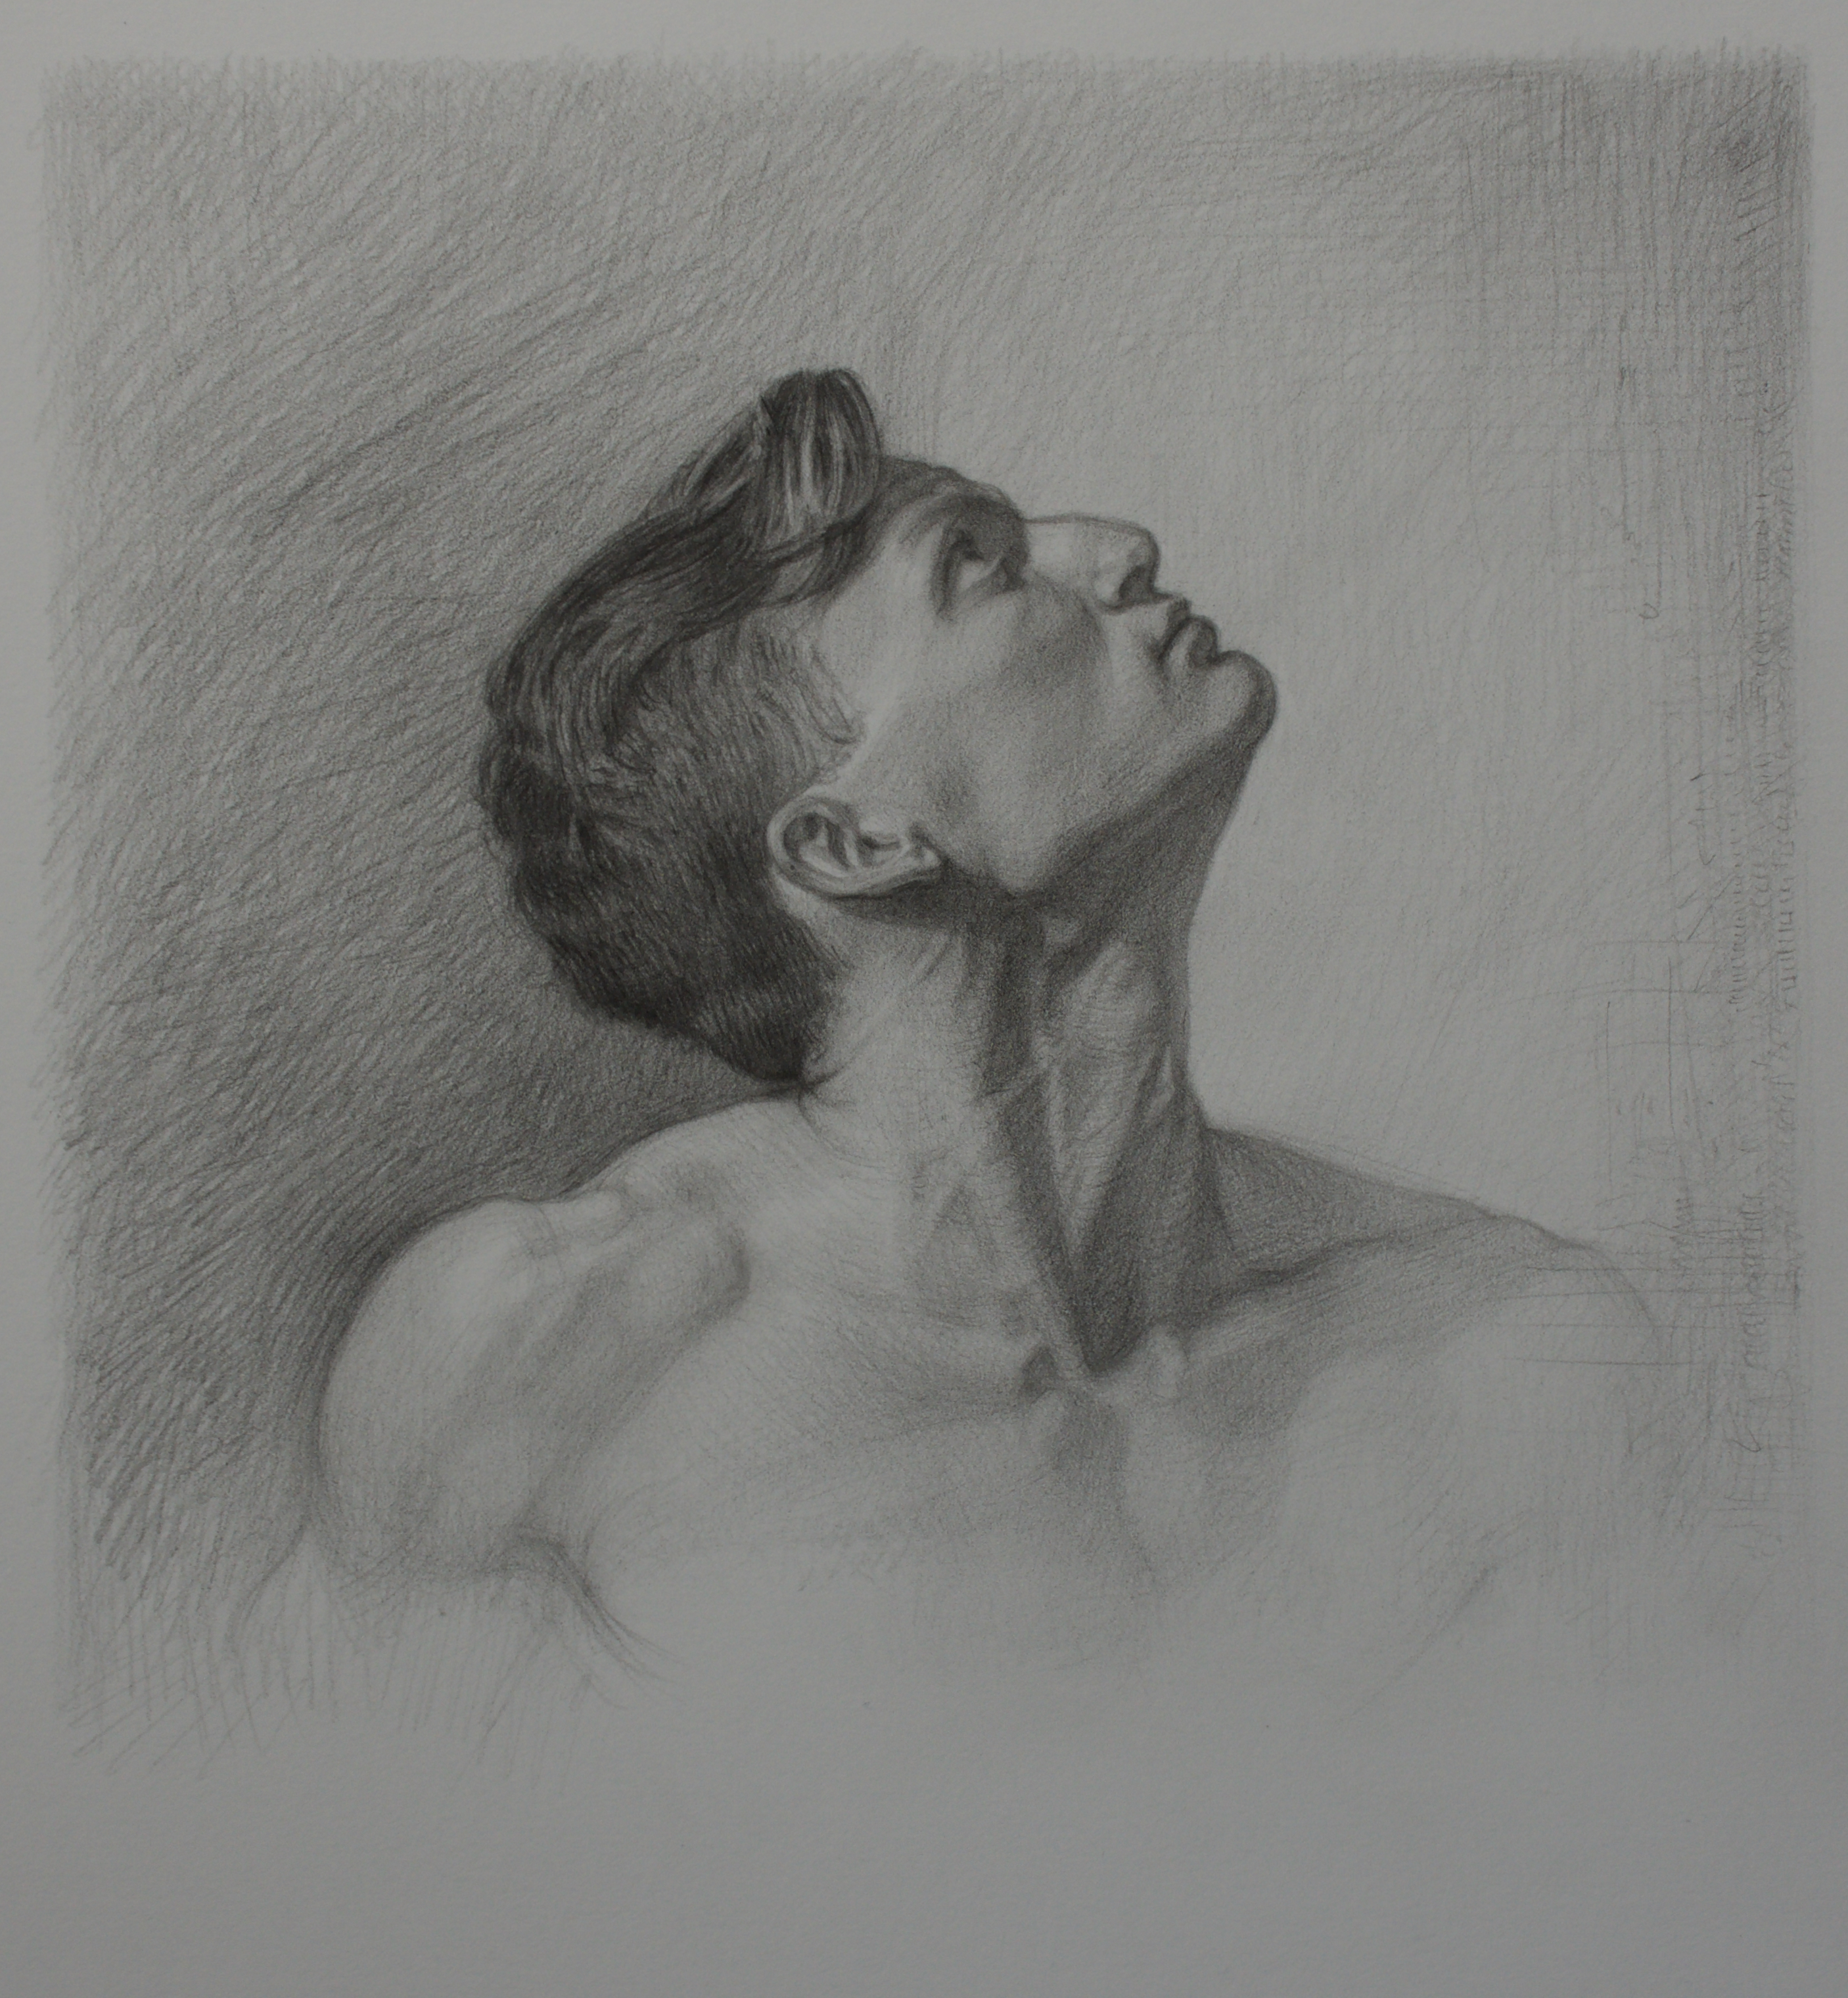
I just recently finished a brand new portrait drawing course over at Drawing Tutorials Online. I wanted to share with you a few of the chapters since the drawing has gotten a lot of positive feedback.
It’s been while since I’ve posted any drawing tutorials outside of the members area. The six lessons to be posted here at the blog should give you some insight as to how to get started drawing a portrait.
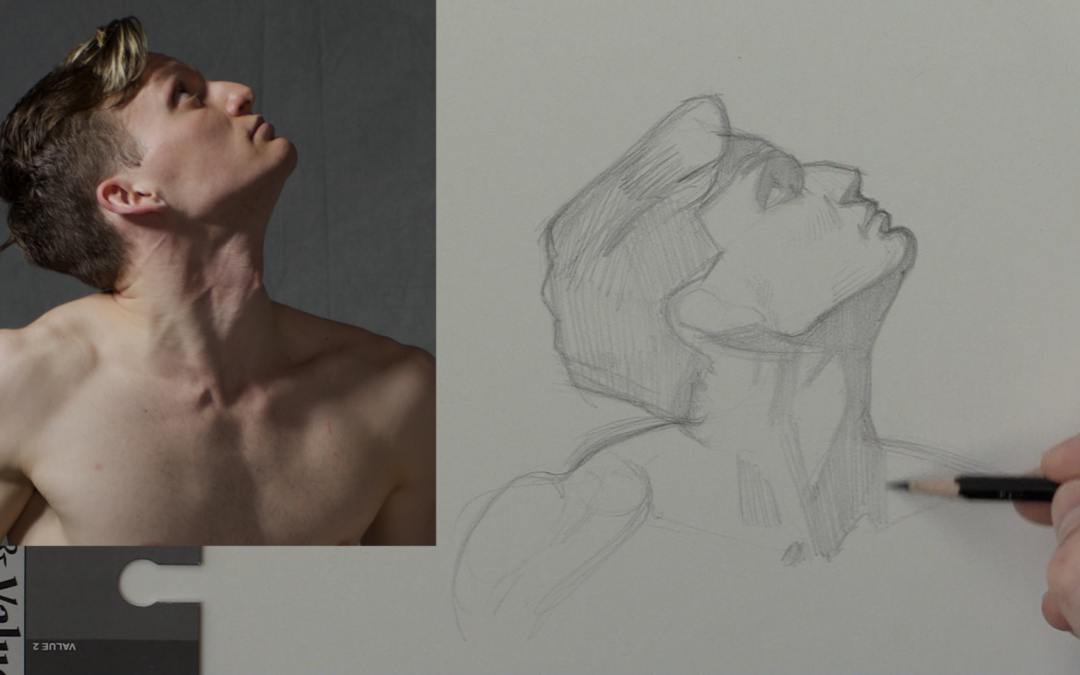
The drawing took me roughly seven to eight hours to complete. My process is quite slow, however if there is a technique within the video that helps you by all means run with it.
This is lesson one, I will be posting six lessons in total here at the blog. Thank you so much for watching.
Please leave a comment below. I’d love to hear your thoughts.
If you would like to jump ahead and watch the course in it’s entirety visit our sign up page at Drawing Tutorials Online. The course comes with a PDF, screencast tutorial and photo reference. Plus when you sign up to Drawing Tutorials Online you will be able to receive feedback on your portrait drawings.
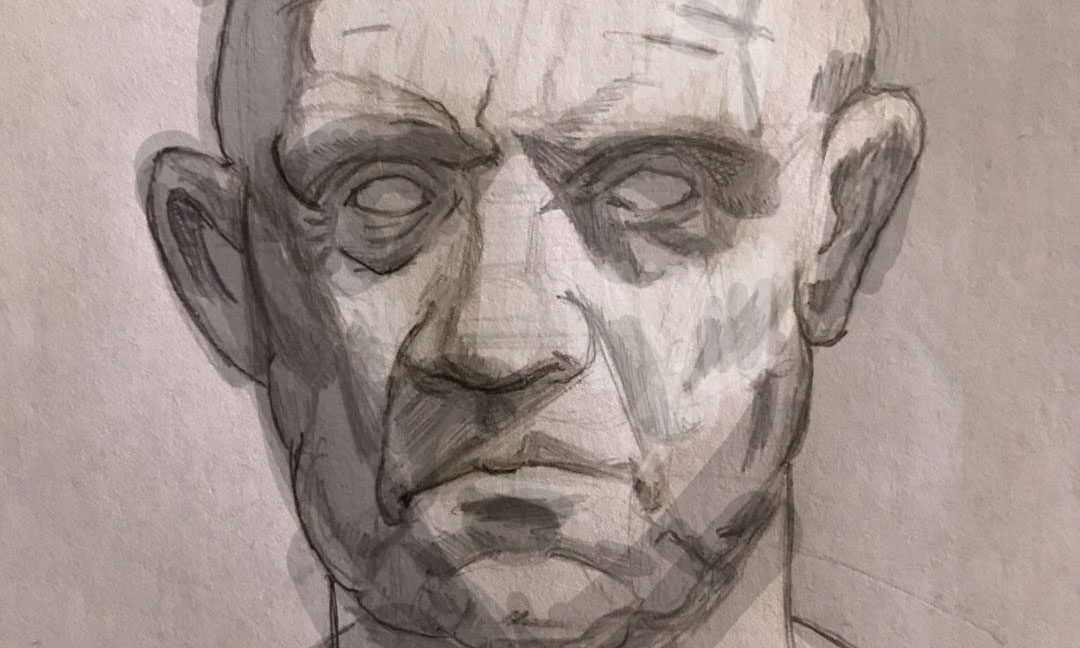
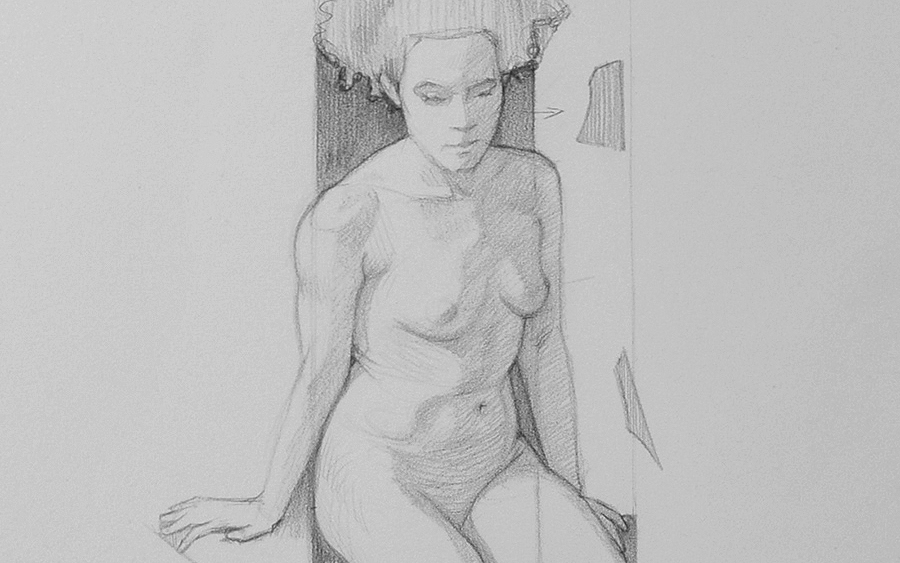
Milos recently uploaded his art to our critique gallery for the first time. I thought his drawing was pretty cool.
The main suggestion was to simplify how to apply shadow shapes. When you place shadow shapes everywhere in essence you muddy up your portrait drawing. It’s always best to simplify where you decide to put your shadow shapes.
Use a minimalistic approach when thinking about light direction. Where is the light coming from? Is it front light, side light, rim light, or form light? Form light is best for three dimension.
Once you make a decision on which direction the light is hitting your subject you start heading in the right direction.
Enjoy the video critique.
Thank so much for watching. If you are looking for a video critique just like this one for your work read more about what Drawing Tutorials Online has to offer you.
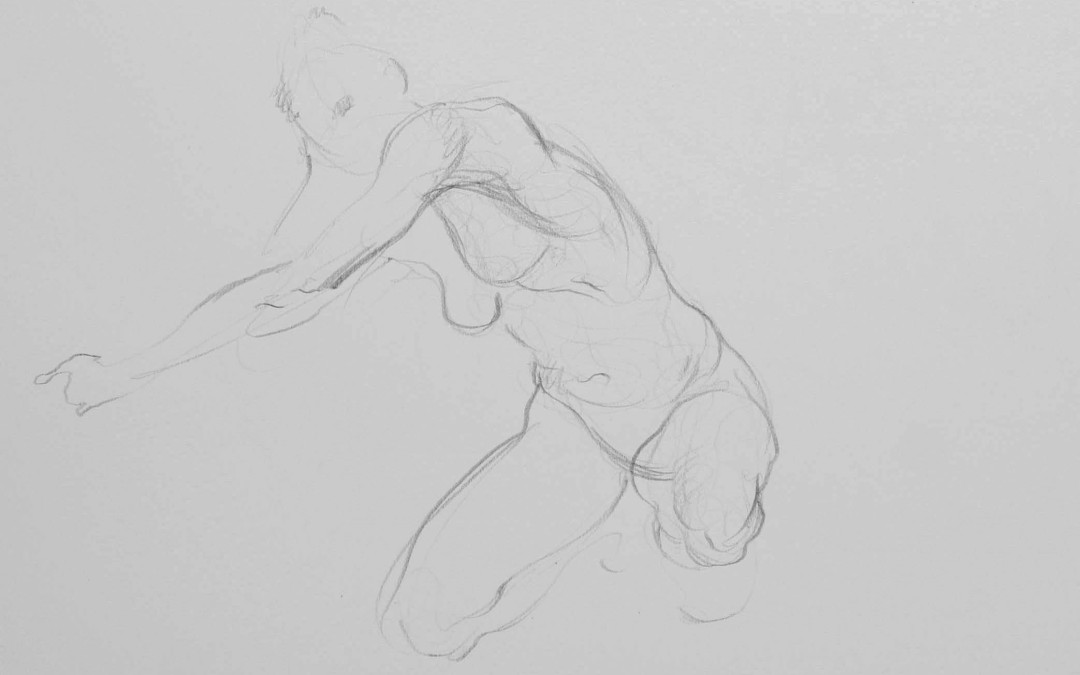
In this drawing tip of the week we focus on an easy way to draw ten minute gesture poses. Ten minutes is kind of that in between type drawing. It’s not super short, but yet you still have to draw pretty fast to draw a full figure. There is that little bit of pressure to finish the drawing in ten minutes.
The first thing you want to do is decide upon whether or not you want to finish the entire pose from head to toe. If you do utilizing the “Opposite C” technique will make your job much easier.
There are hard techniques and easy techniques. The Opposite C technique is an easy one. How do I know this? I see the Opposite C technique immediately help students draw the figure better. The technique just flows.
When I teach this technique students seem to relax. They seem to draw the figure from head to toe in a much more relaxed way.
Now the one thing you want to also keep in mind with this drawing technique is this, you want to economize your line. What do I mean?
Do your ten minute figure drawings look a little messy? A little sloppy might be a different way to explain this. Now I don’t mean using a continuous line that looks busy. I mean a messy edge. Do you use way too much line to describe the edge of the model?
You see you want to try to slow down when you draw even during a ten minute gesture drawing. Breathe, slow down your hand movements. Make every line that you draw count. Your drawings will look much more elegant.
Two things. This is hard. Does this always work for me, no way. Especially when I haven’t been practicing.
Economizing your line might not fit with your personal style. Your style might be super messy on purpose, if so that’s cool. Go with what works for you. I ask my students to try to economize the line in a small section of their figure drawing. This provides them with a way to balance out the look and feel of their drawings.
So the next time you try to draw a short ten minute gesture pose incorporate two general ideas. One, use the Opposite C technique, and two, economize your line.
Show more detail with less line. In this case less is more elegant.
The question gets posed to me all the time, how do I handle drawing one minute gesture poses?
Well, there really is no one right way to draw the model within a one minute time frame. You really do not want to put all of this pressure on yourself to draw the perfect drawing within sixty seconds.
Every artist has a complete different approach. An animator might want to get the emotion of the pose, not concentrating on the likeness. For someone like myself, I use the one minute pose to warm up. The pose as well as my state dictates how I will draw and with what technique.
If I’m feeling a little rusty I might use a certain technique that I find easy that morning. If I’m feeling good then I won’t use any technique. I’ll just draw what I see. Using more of a natural organic line for a likeness.
Here are a few techniques you can employ in a classroom setting.
Focus one the contour. Totally slow down. Focus on drawing just one edge of the models body. Look way more at the model than you do at your paper. Keep your pencil on the paper for as long as you can. You can also try at least one or two drawings using the blind contour technique. It will force you to look at the model more. Remember there is no rush, slow down.
Draw the skeleton. Drawing the rough skeleton during a few one minute gesture poses is a great way to warm up. It’s about finding the tilts of the shoulders and hips. It’s also about drawing the many ovals within the rough skeleton.
Yes, my favorite, the torso peanut shape. Try starting with the torso peanut shape. Then progress to using the opposite c’s for short gesture. If you have time you can also draw in some mummification lines to promote volume.
Lastly just draw what you see with no technique. Use a slow continuous line to draw in your own personal style.
There are ultimately a gazillion ways to draw the model within a one minute time frame. Try these four simple techniques first to keep things simple and easy for yourself.
Like our free content? Click here to get the best of what DTO has to offer!
For those of you who have been around the drawing block before “Negative Space” is kind of like an old familiar friend. I think it was either fifth or ninth grade that I was introduced to this technique. Betty Edwards has certainly created a whole cottage industry around this technique. All the power to her.
I have used this technique forever. I remember getting my pre-college portfolio together and negative space helped me with my still life drawings. Negative space or shape also helped me back in my college days when I was clueless on how to draw the figure.
This technique of spiraling out from a simple negative space is golden. It’s simple and it works.
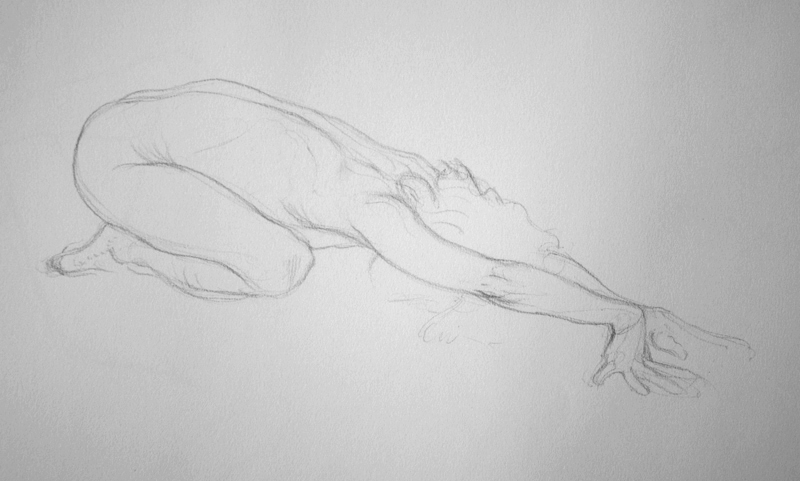
I usually like to start with the negative space between the models arm and torso. If the model has their hand on their hip this shape will most likely come in the form of a triangle. I then measure across the torso to the other side of the models torso drawing in two angles. I then draw a little in the middle, usually the spine.
So in essence it’s sort of like you are spiraling out from the center of the first simple negative space you see.
The other beautiful thing about this drawing technique is that it tricks your brain. Anyone can draw a funky looking negative shape, however drawing a complicated figure, that’s hard. A lot of artists always start with the head first. That’s a great place to start. However starting with an abstract negative shape gives you options. Especially if you are drawing an unconventional foreshortened pose.
So the next time you are in life drawing class or even drawing from a photo try spiraling out from a simple abstract shape. It’s super fun and easy.