Emily’s Sketchbook – Italian Inspired
Emily is a student currently enrolled in my foundation drawing class at the School of Visual Arts in Manhattan New York. Emily certainly brings a ton of energy into the classroom.
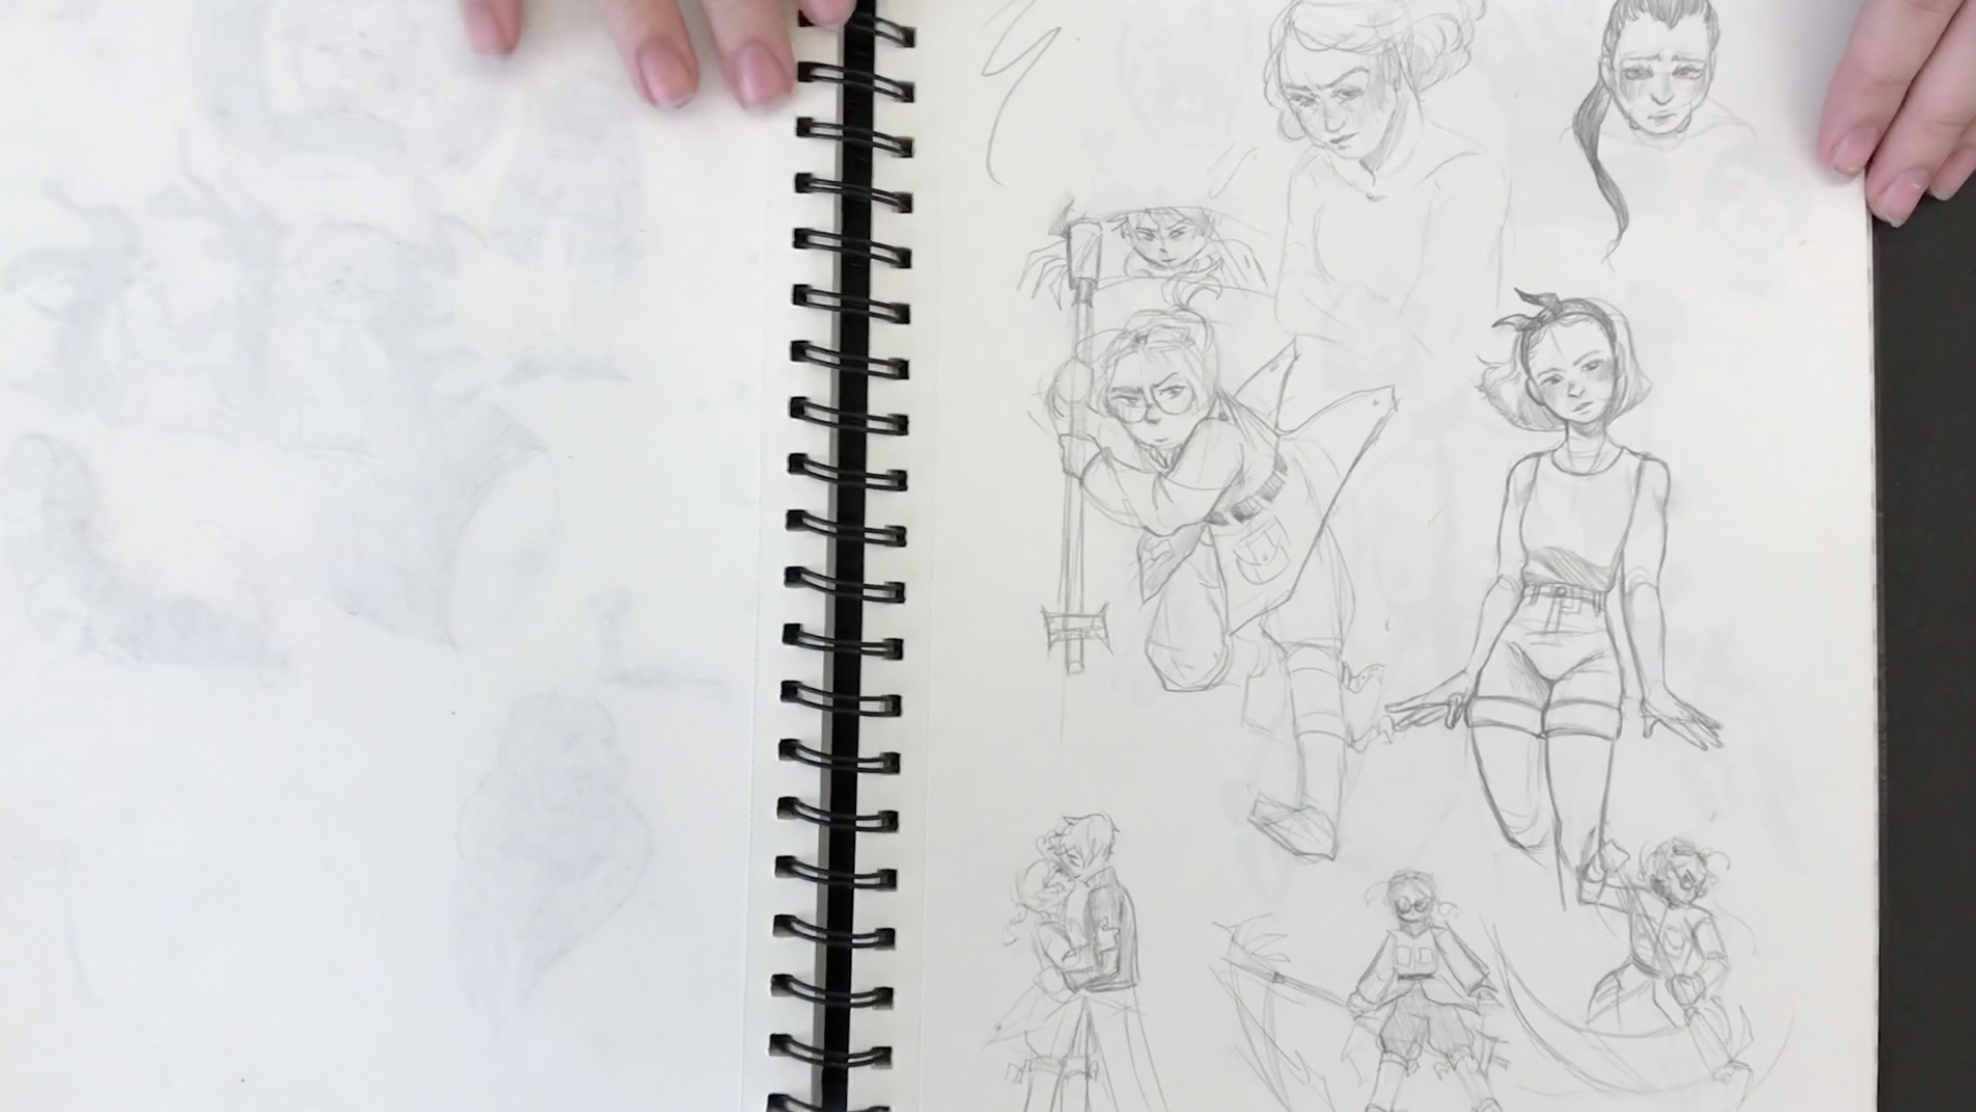
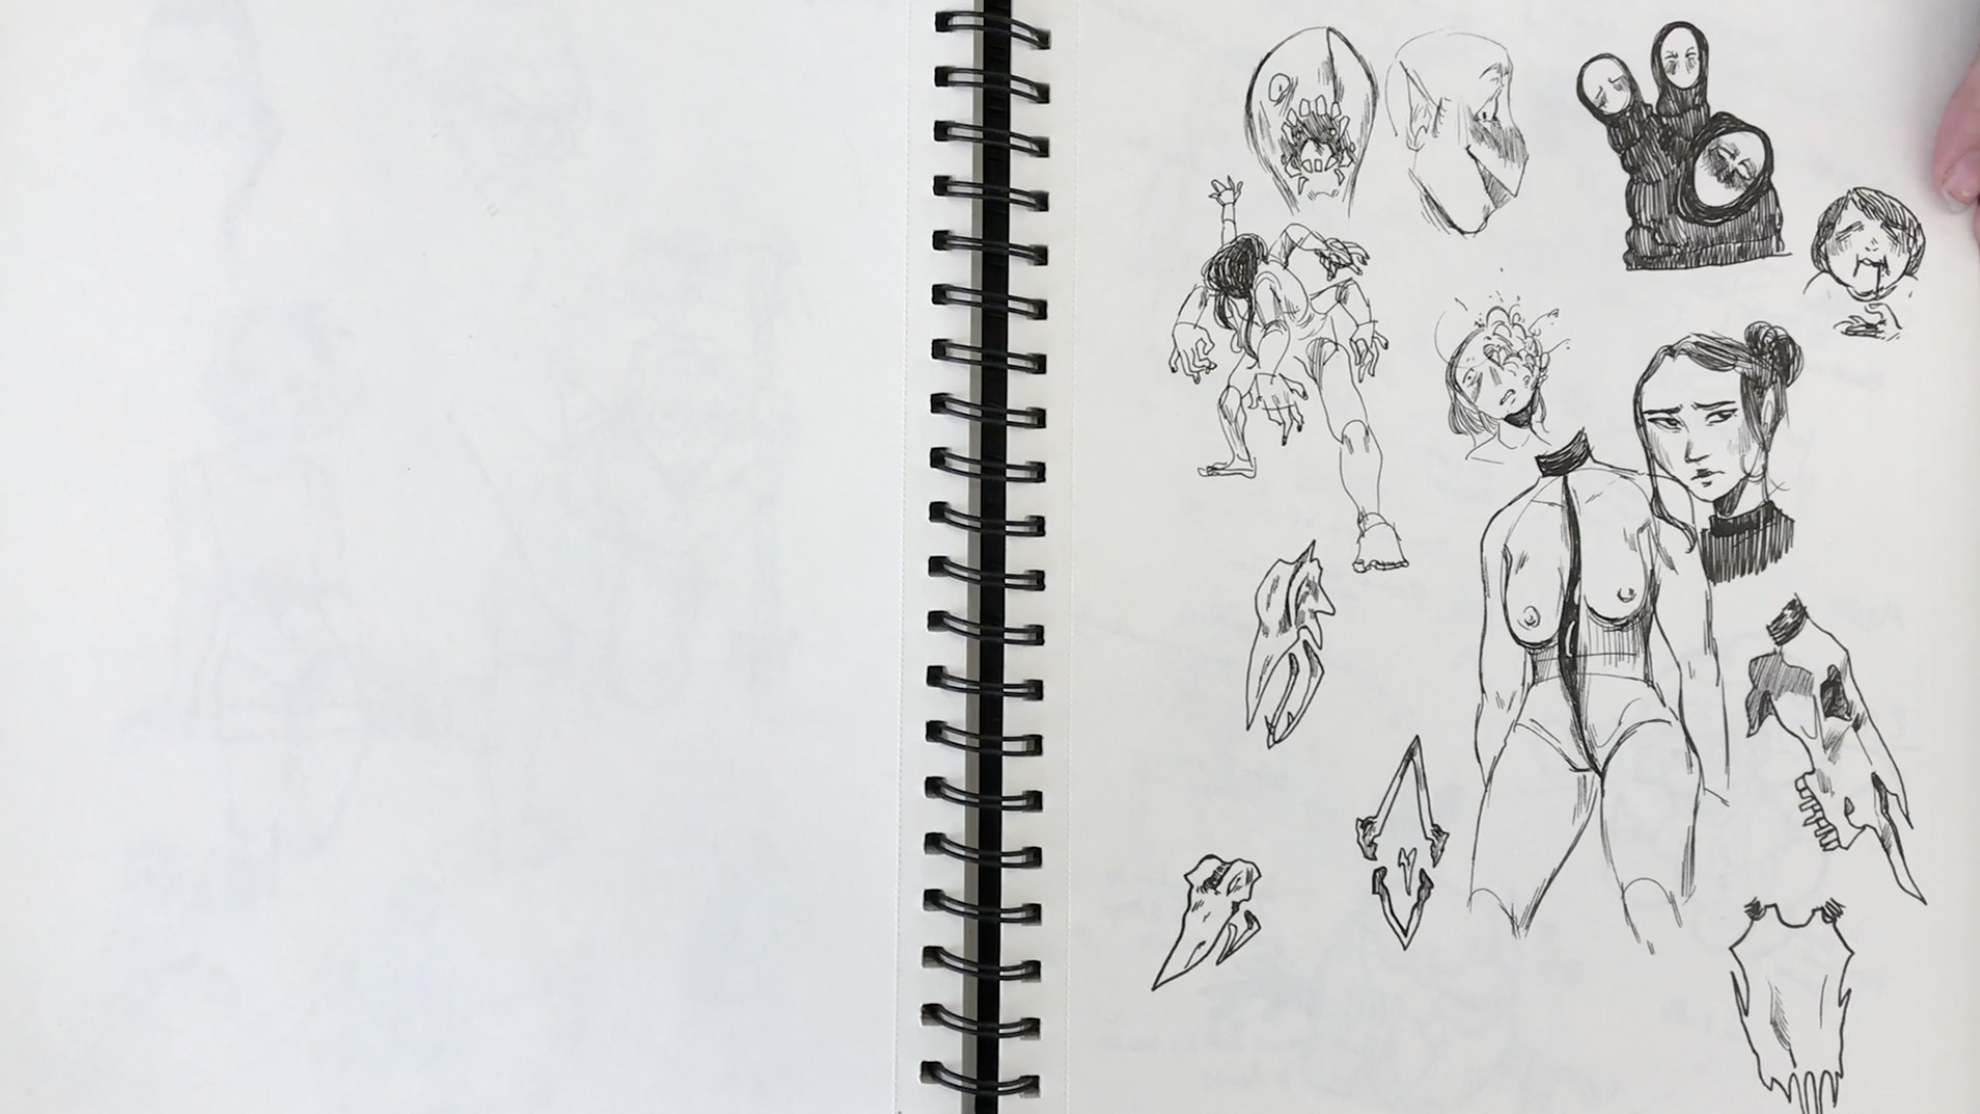
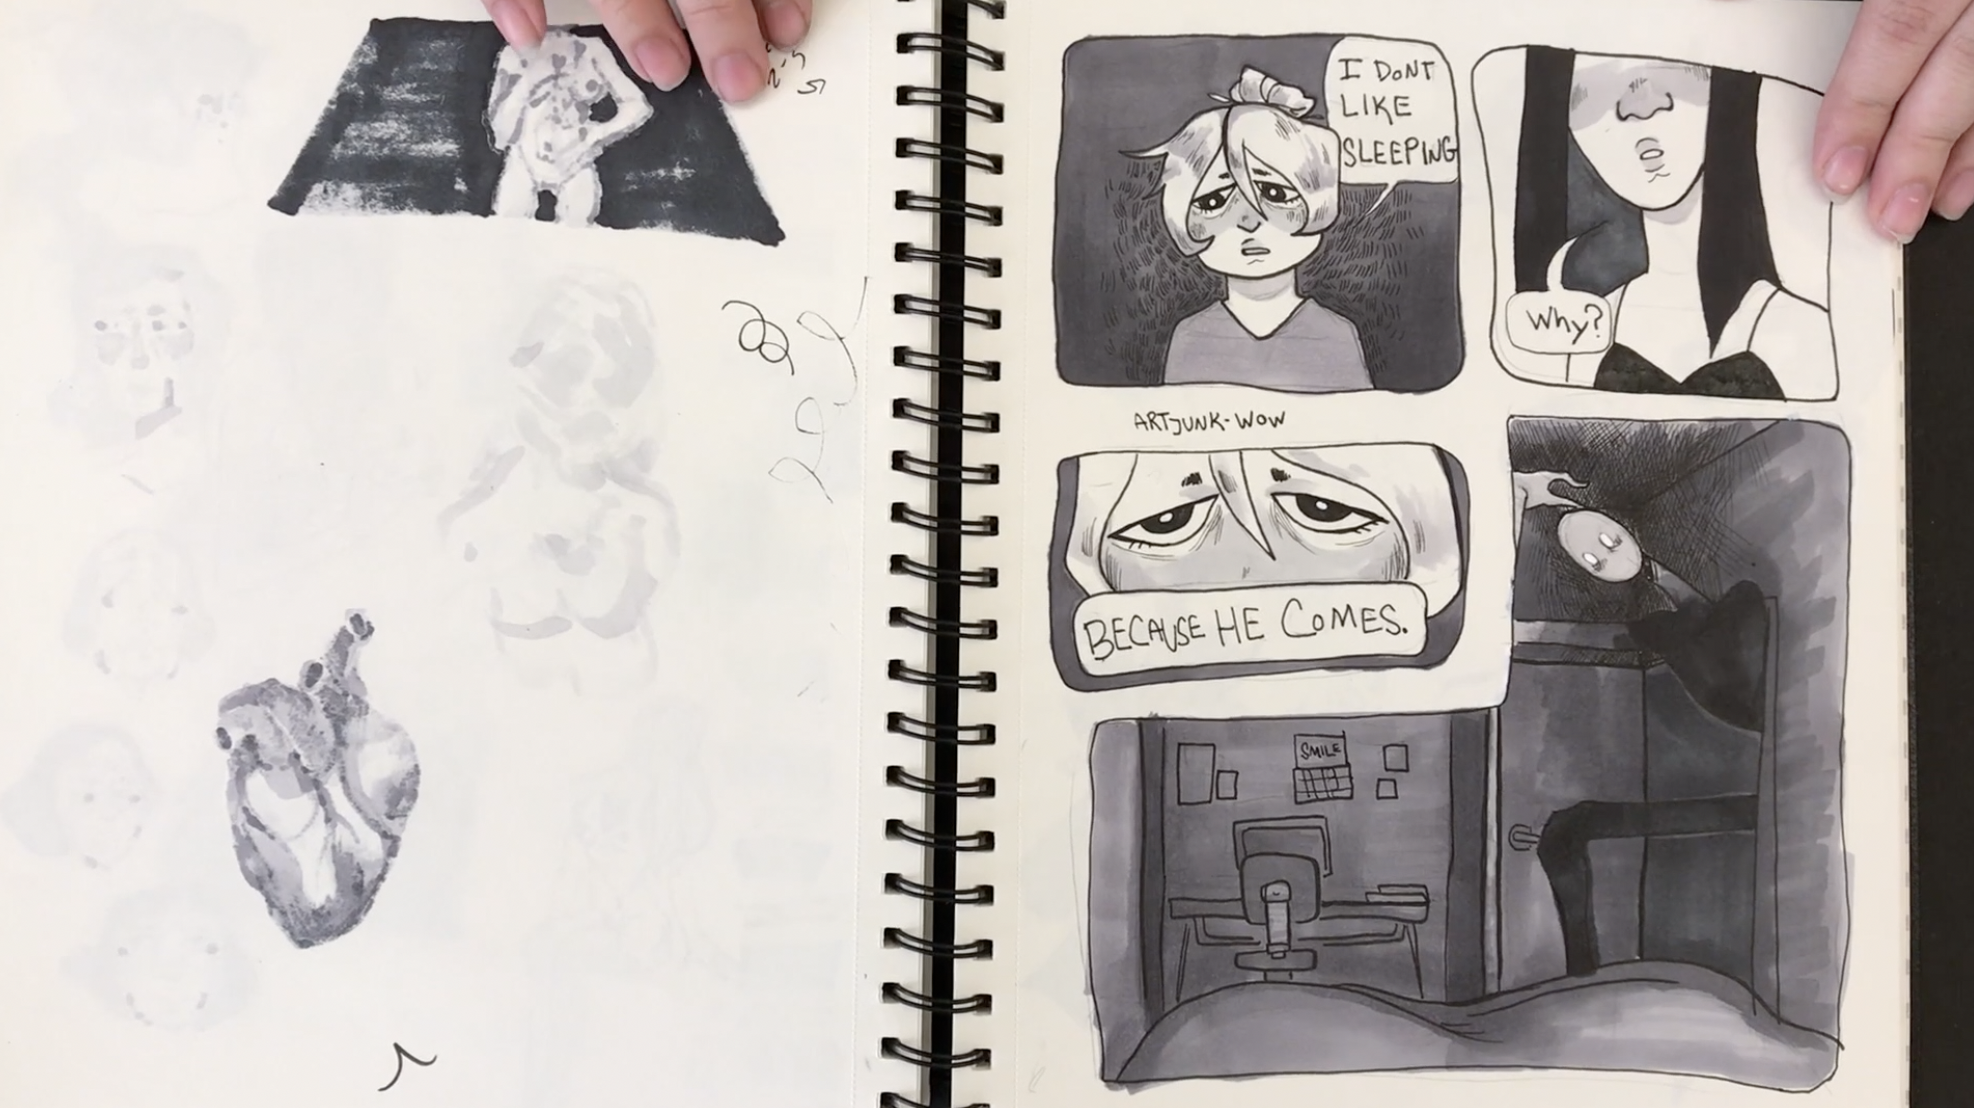
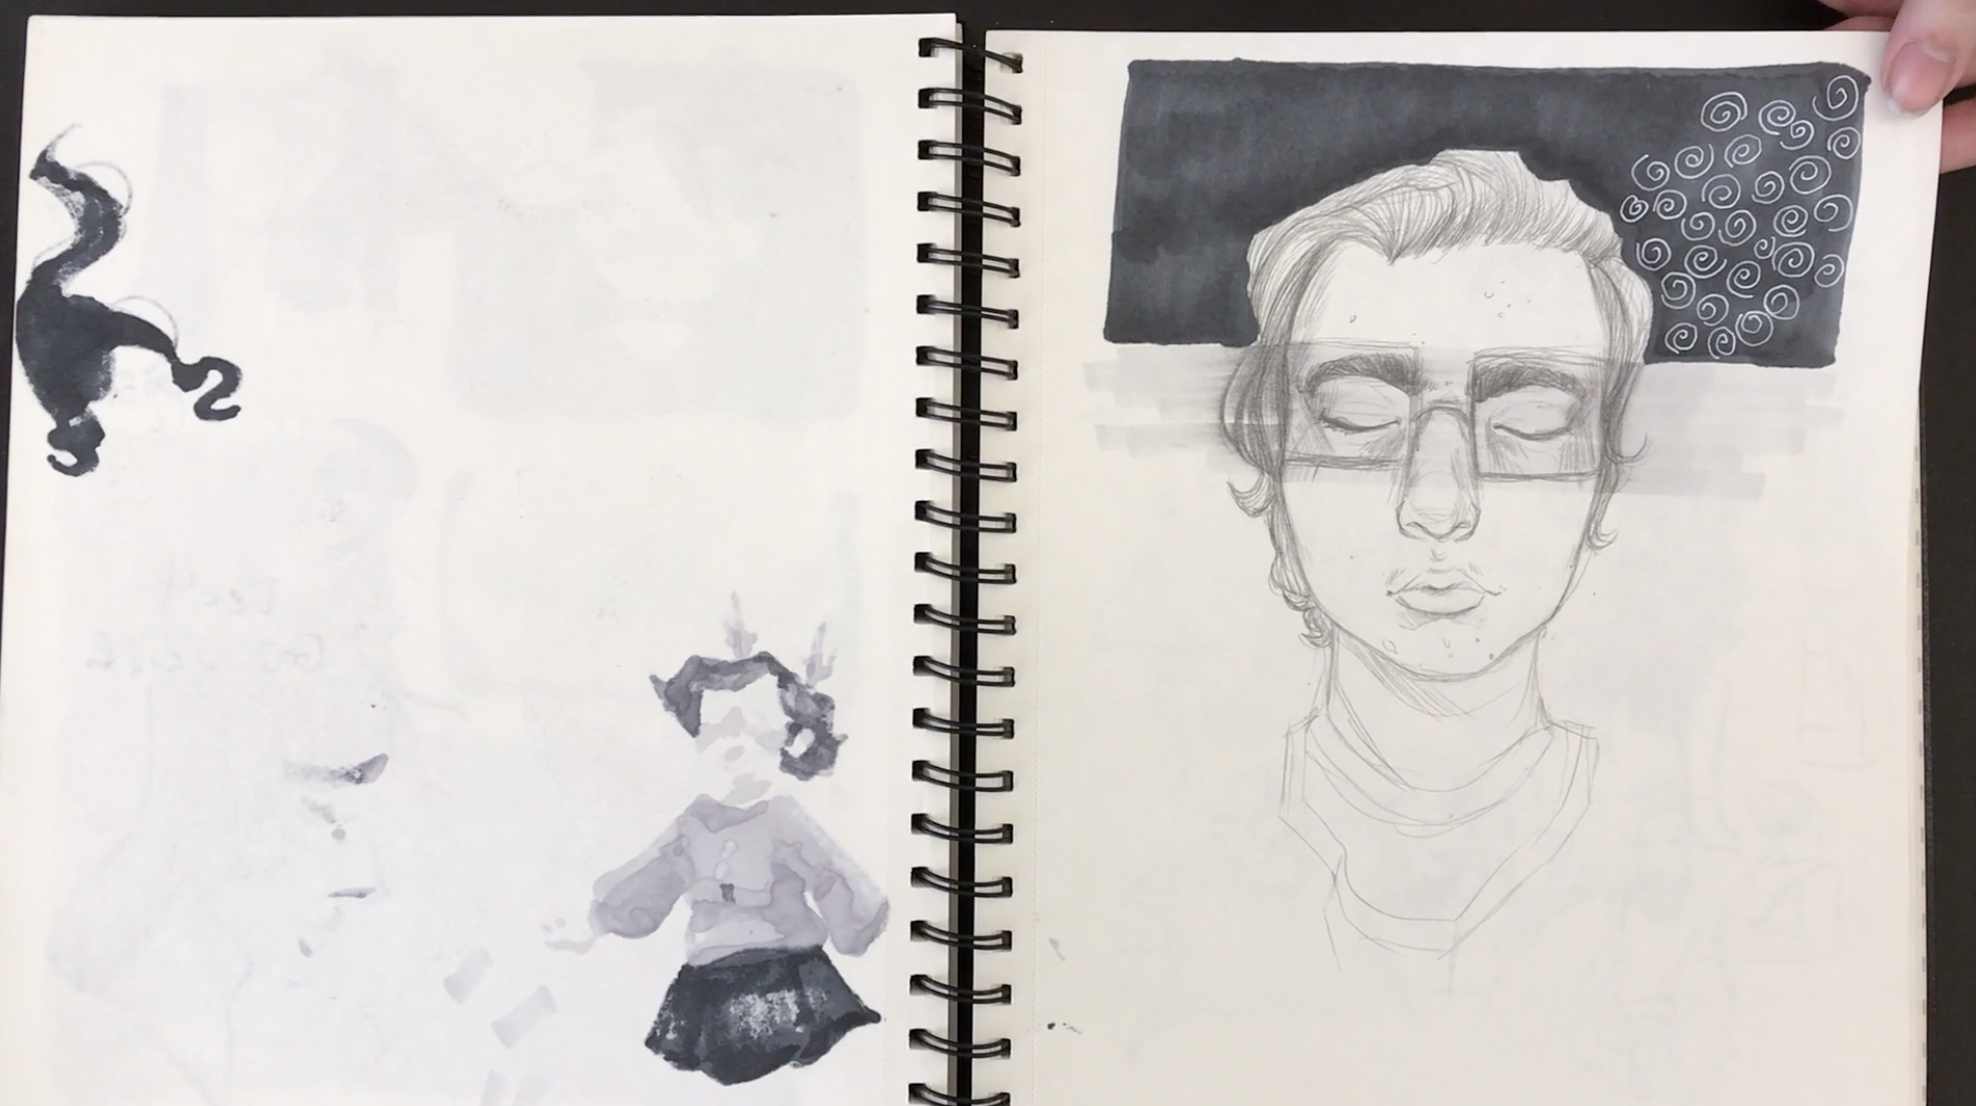
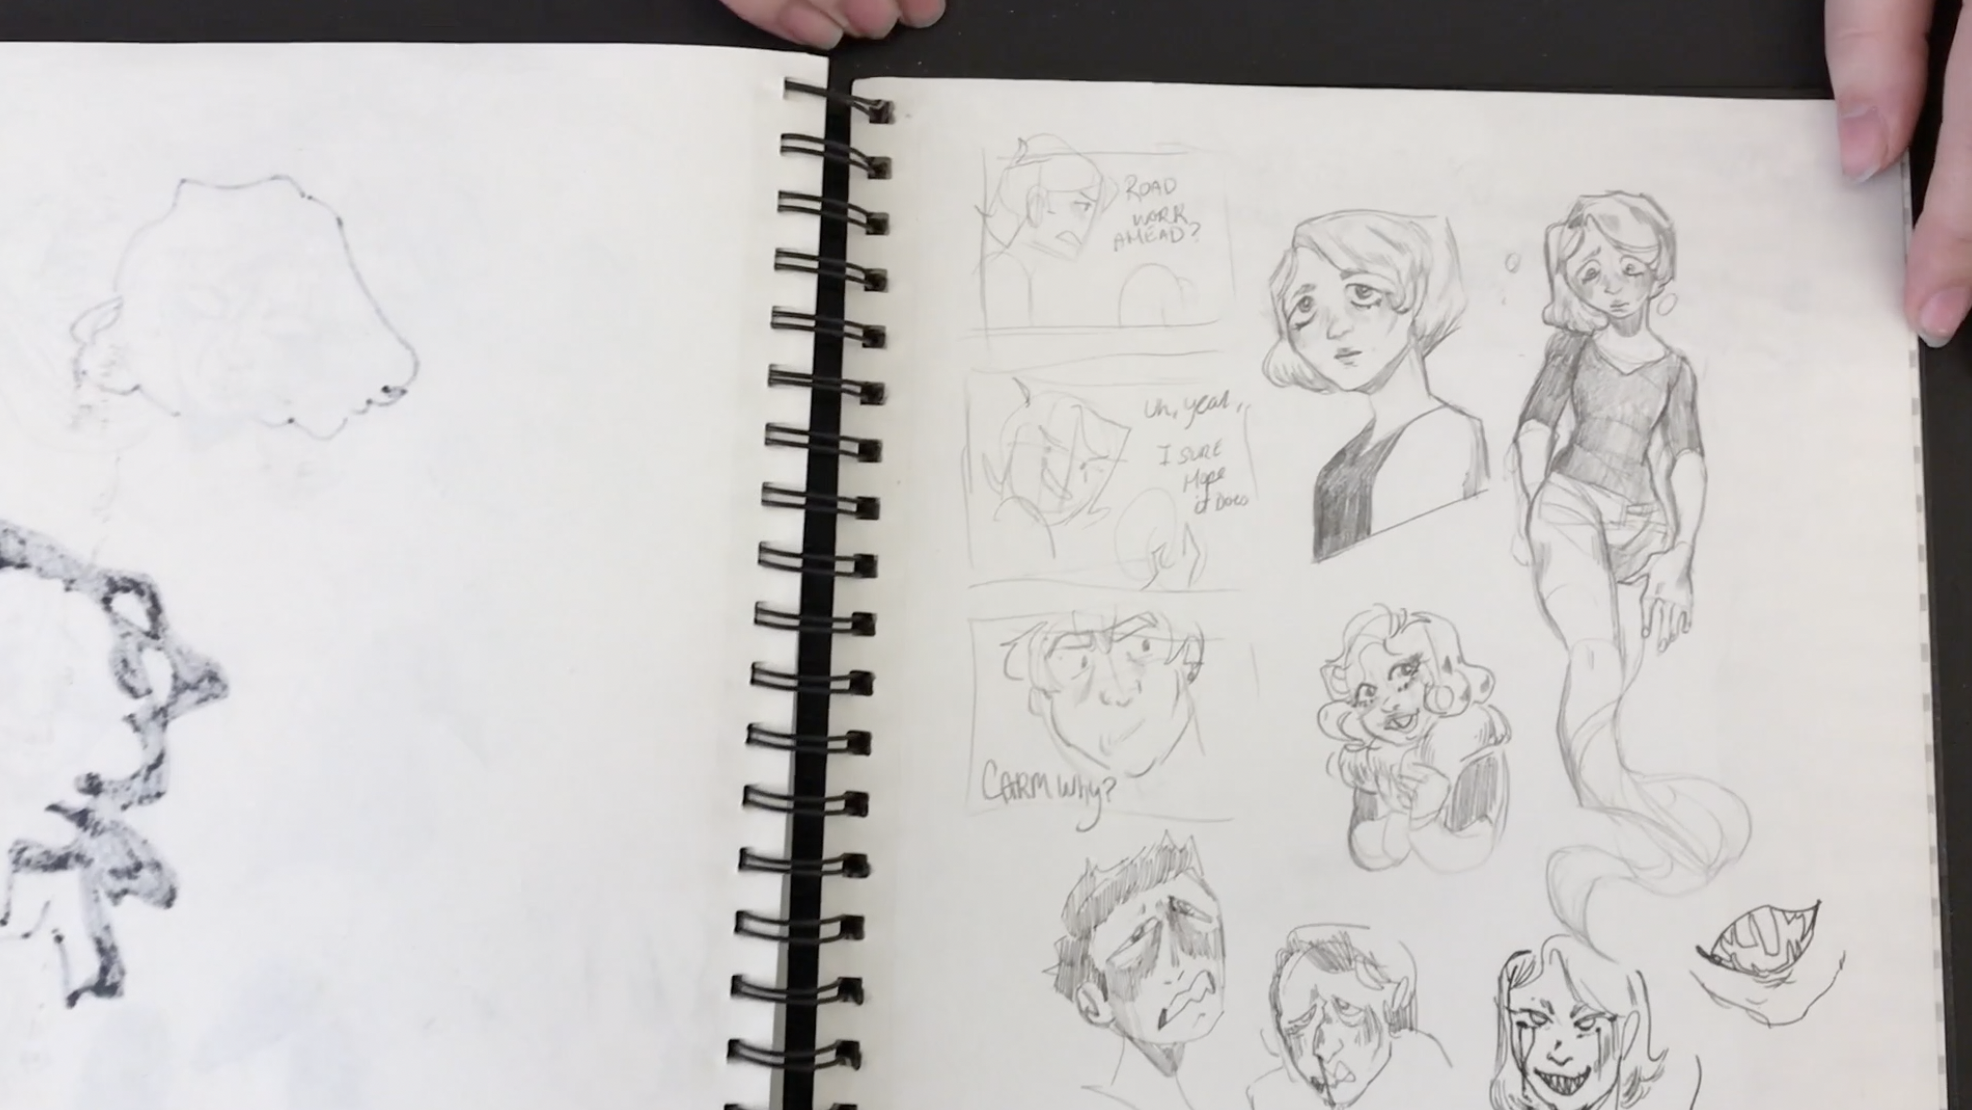
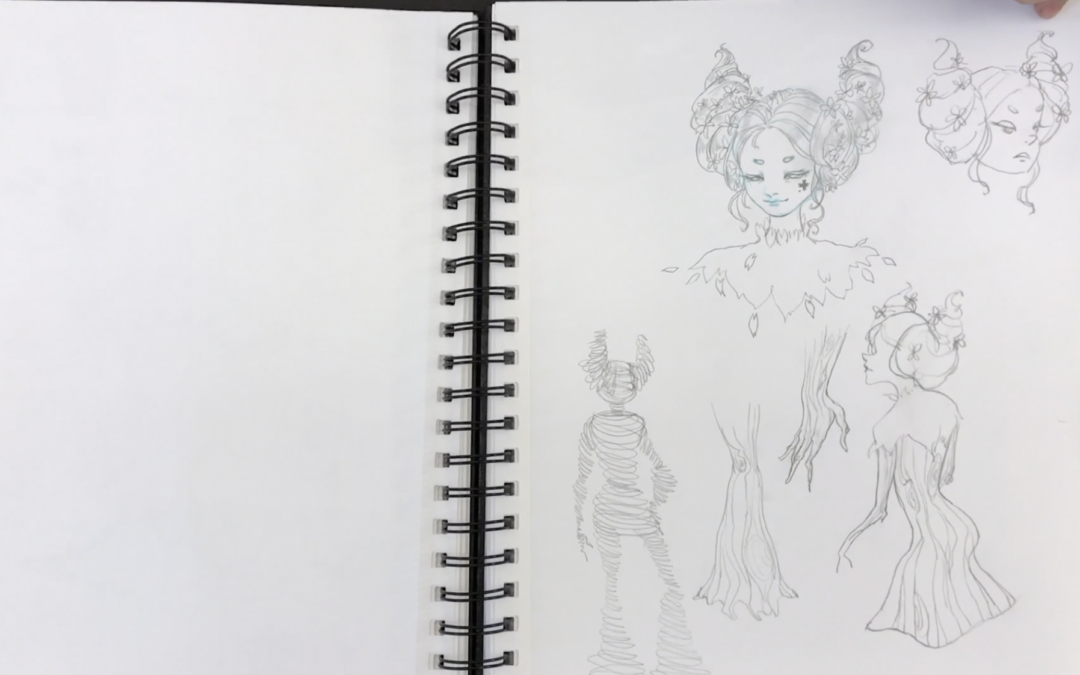
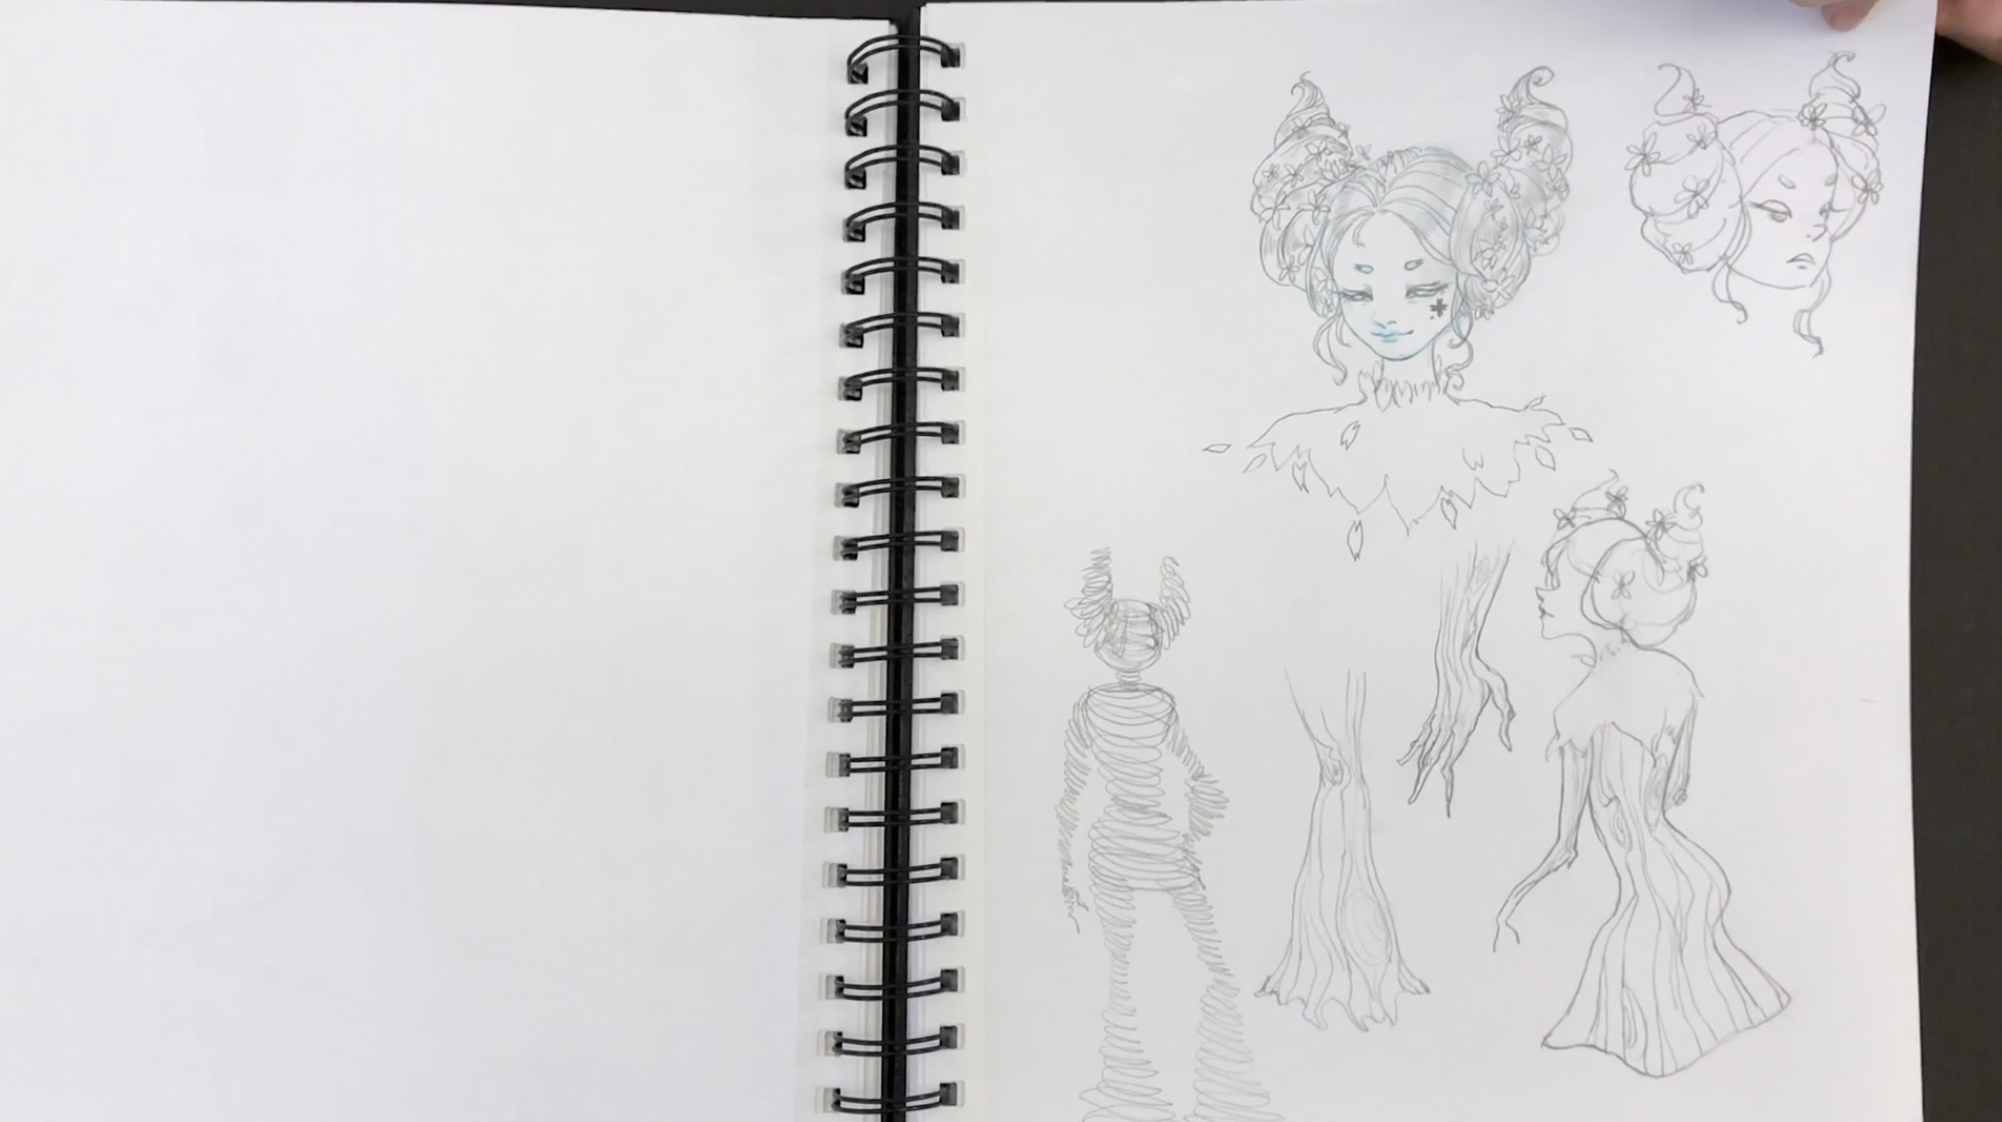
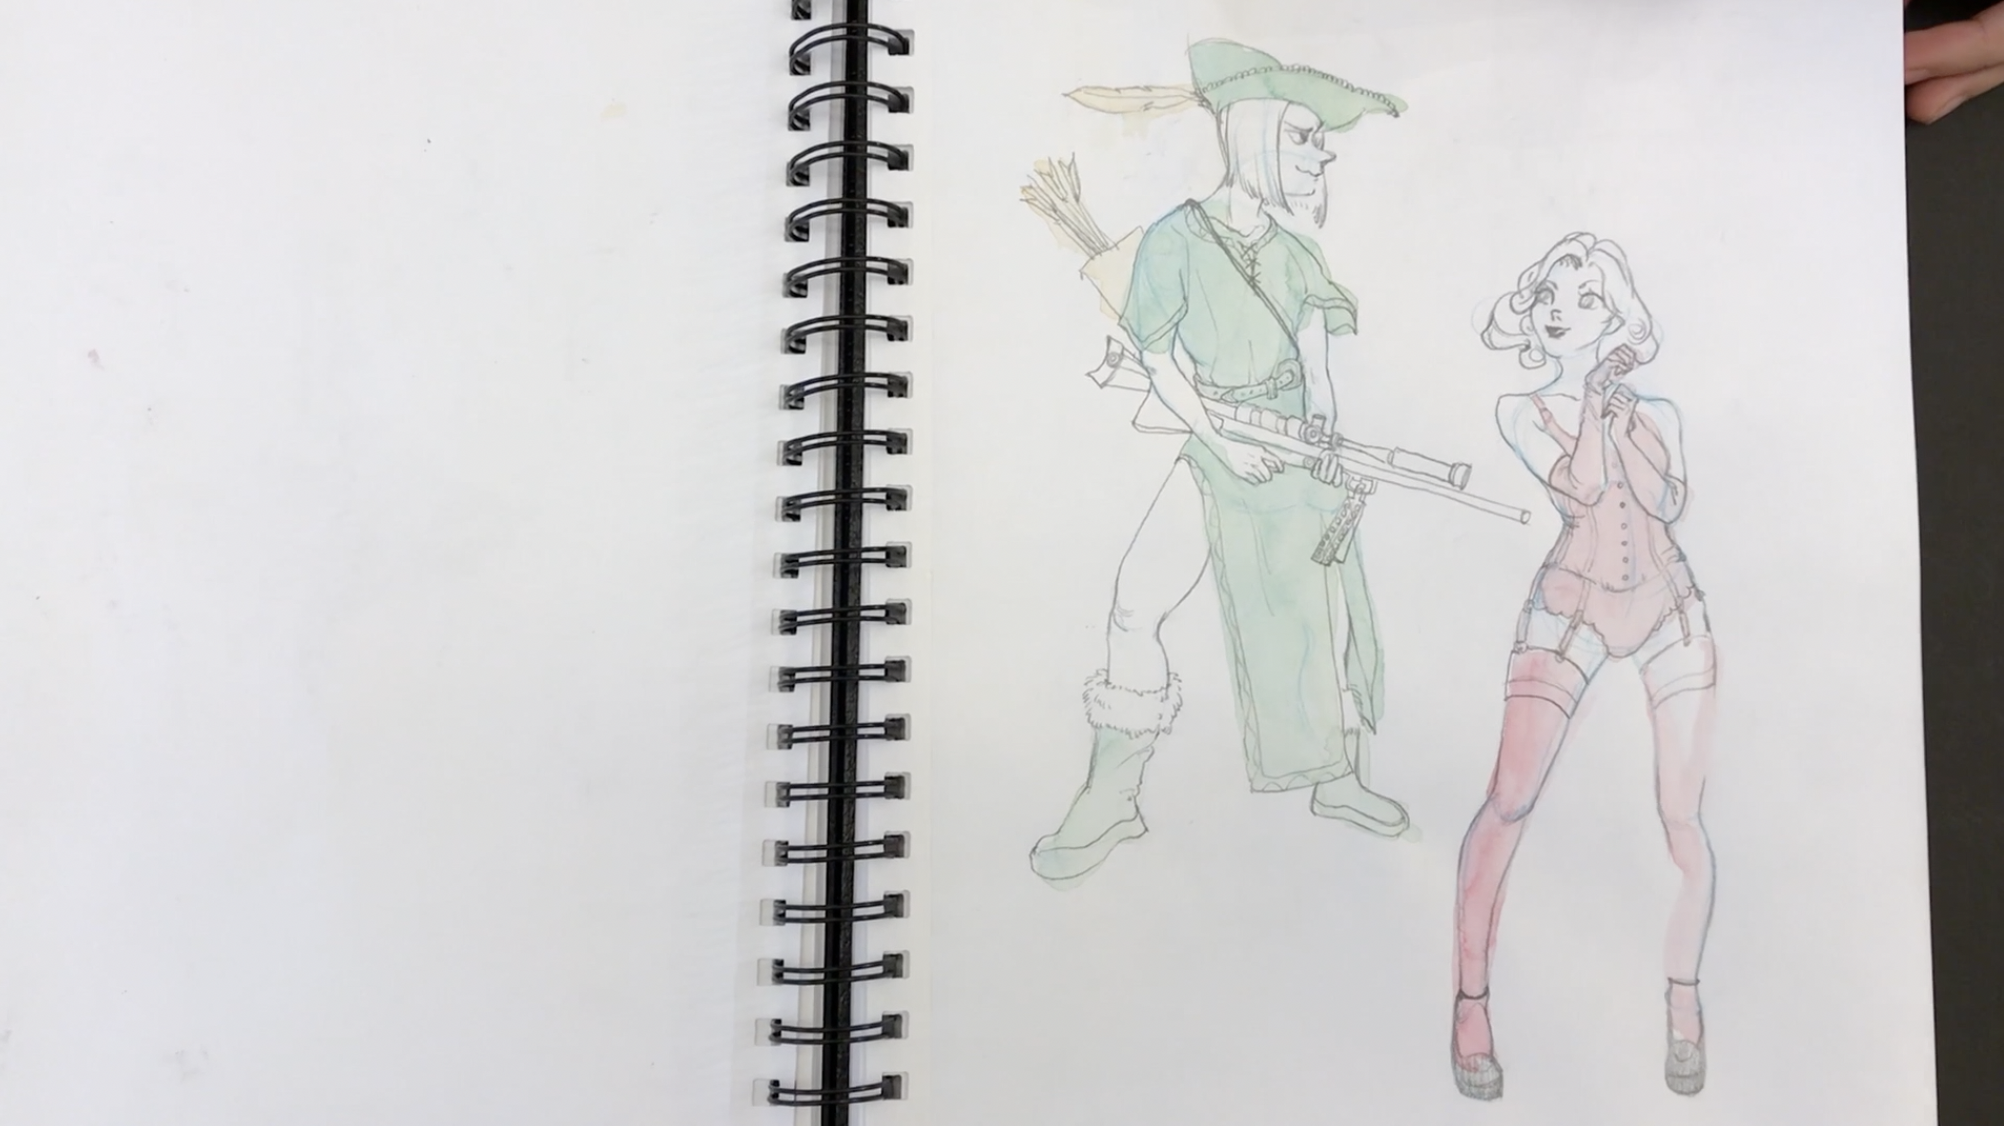
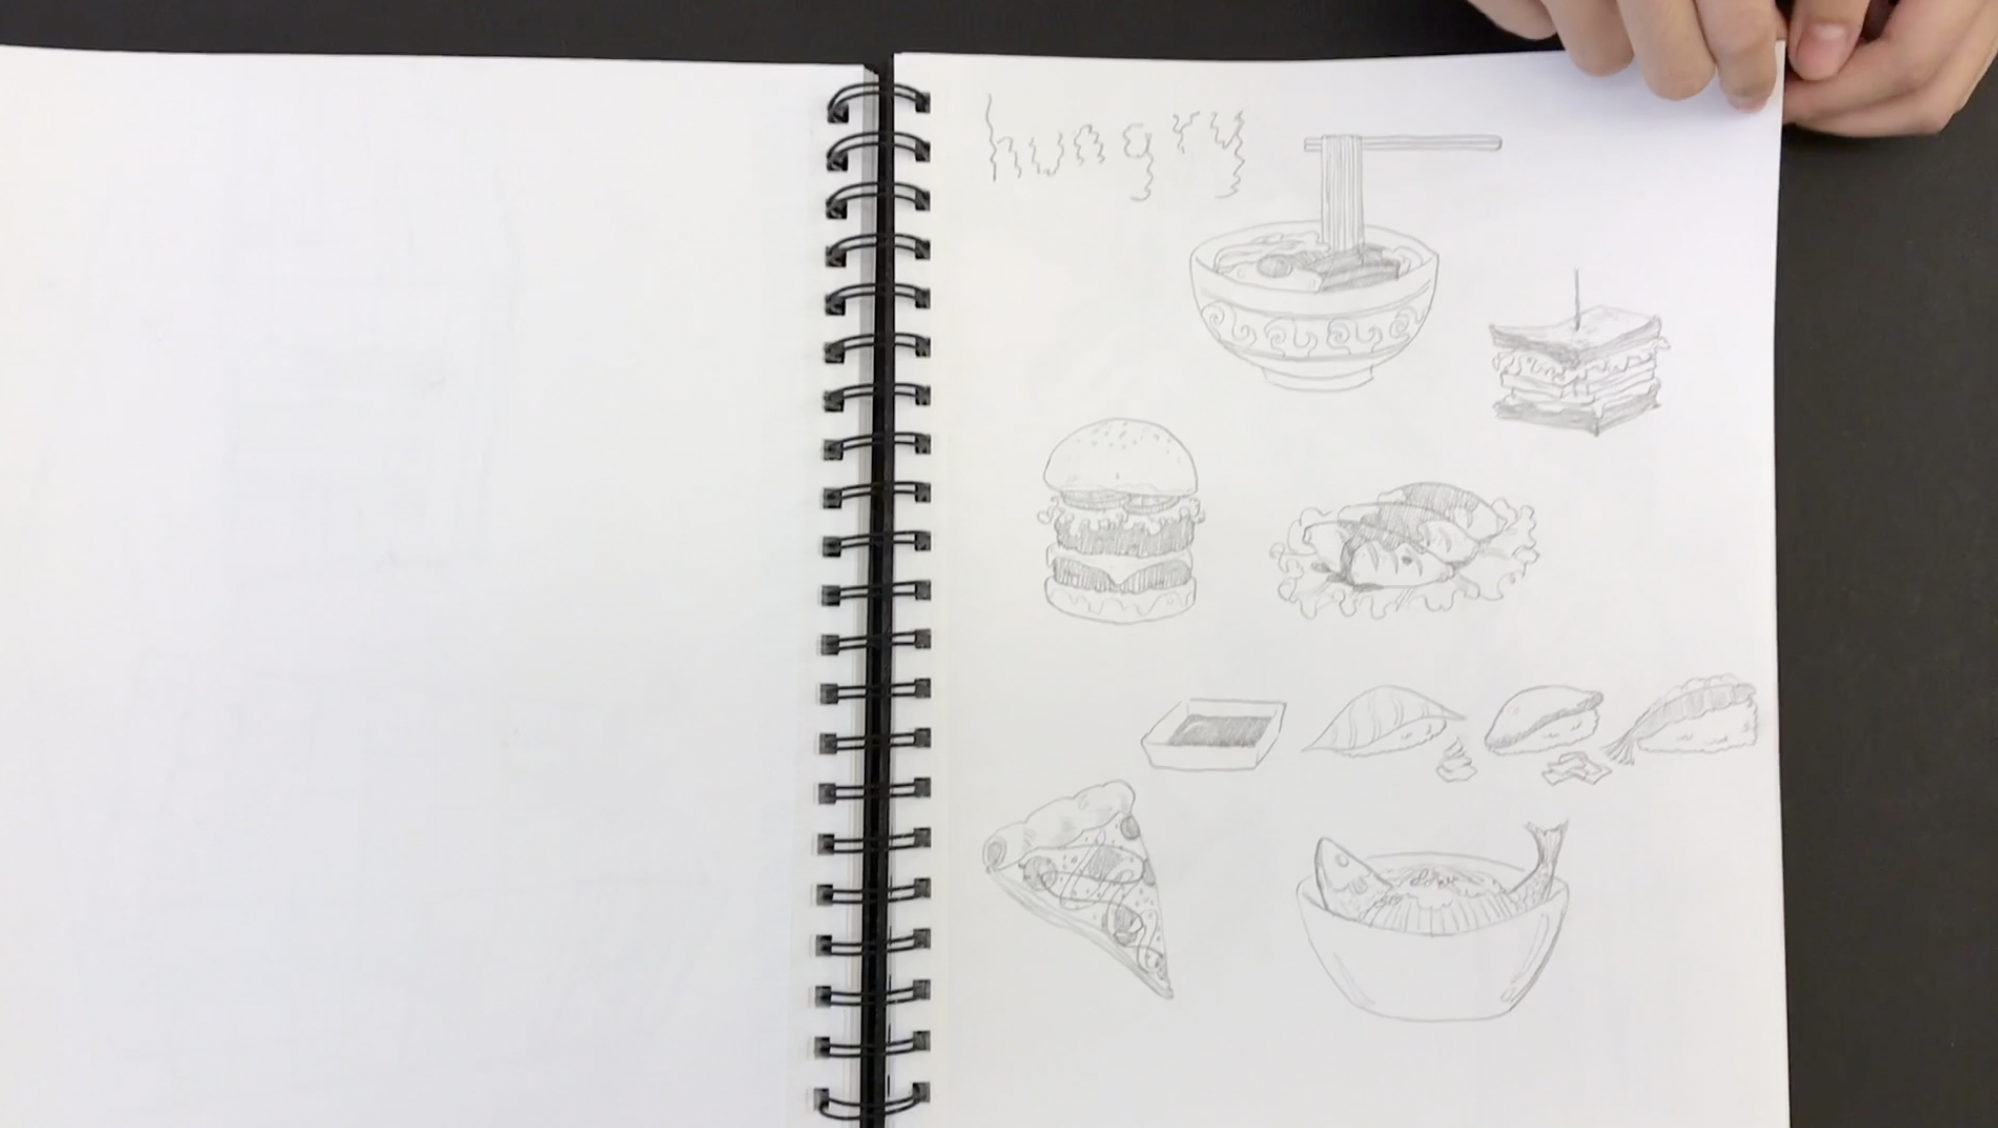
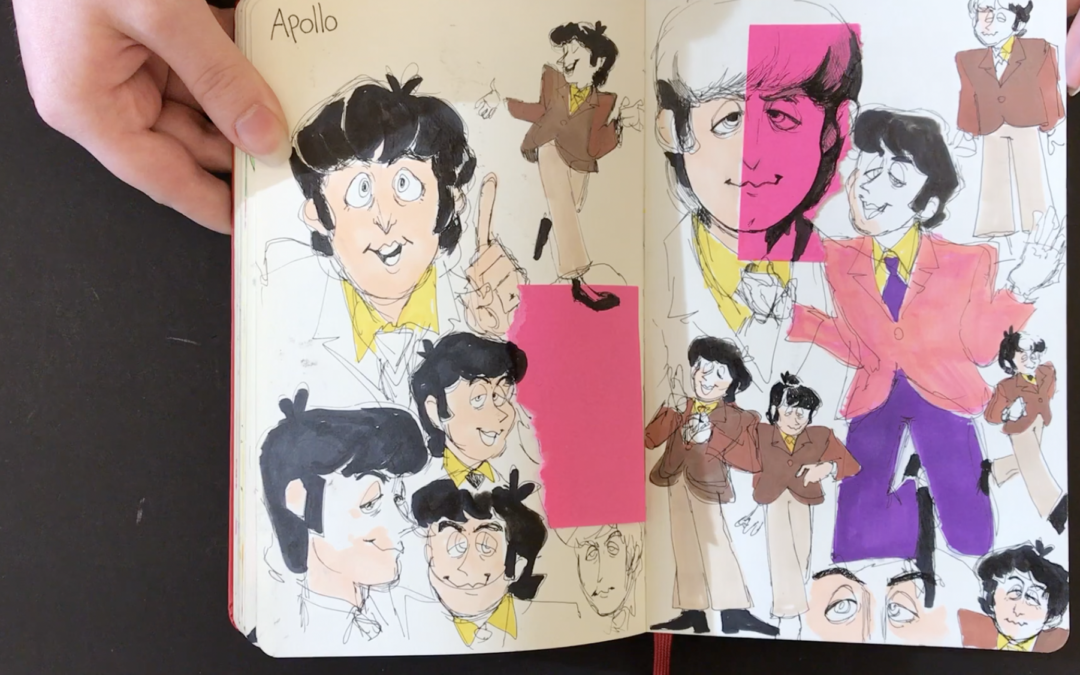
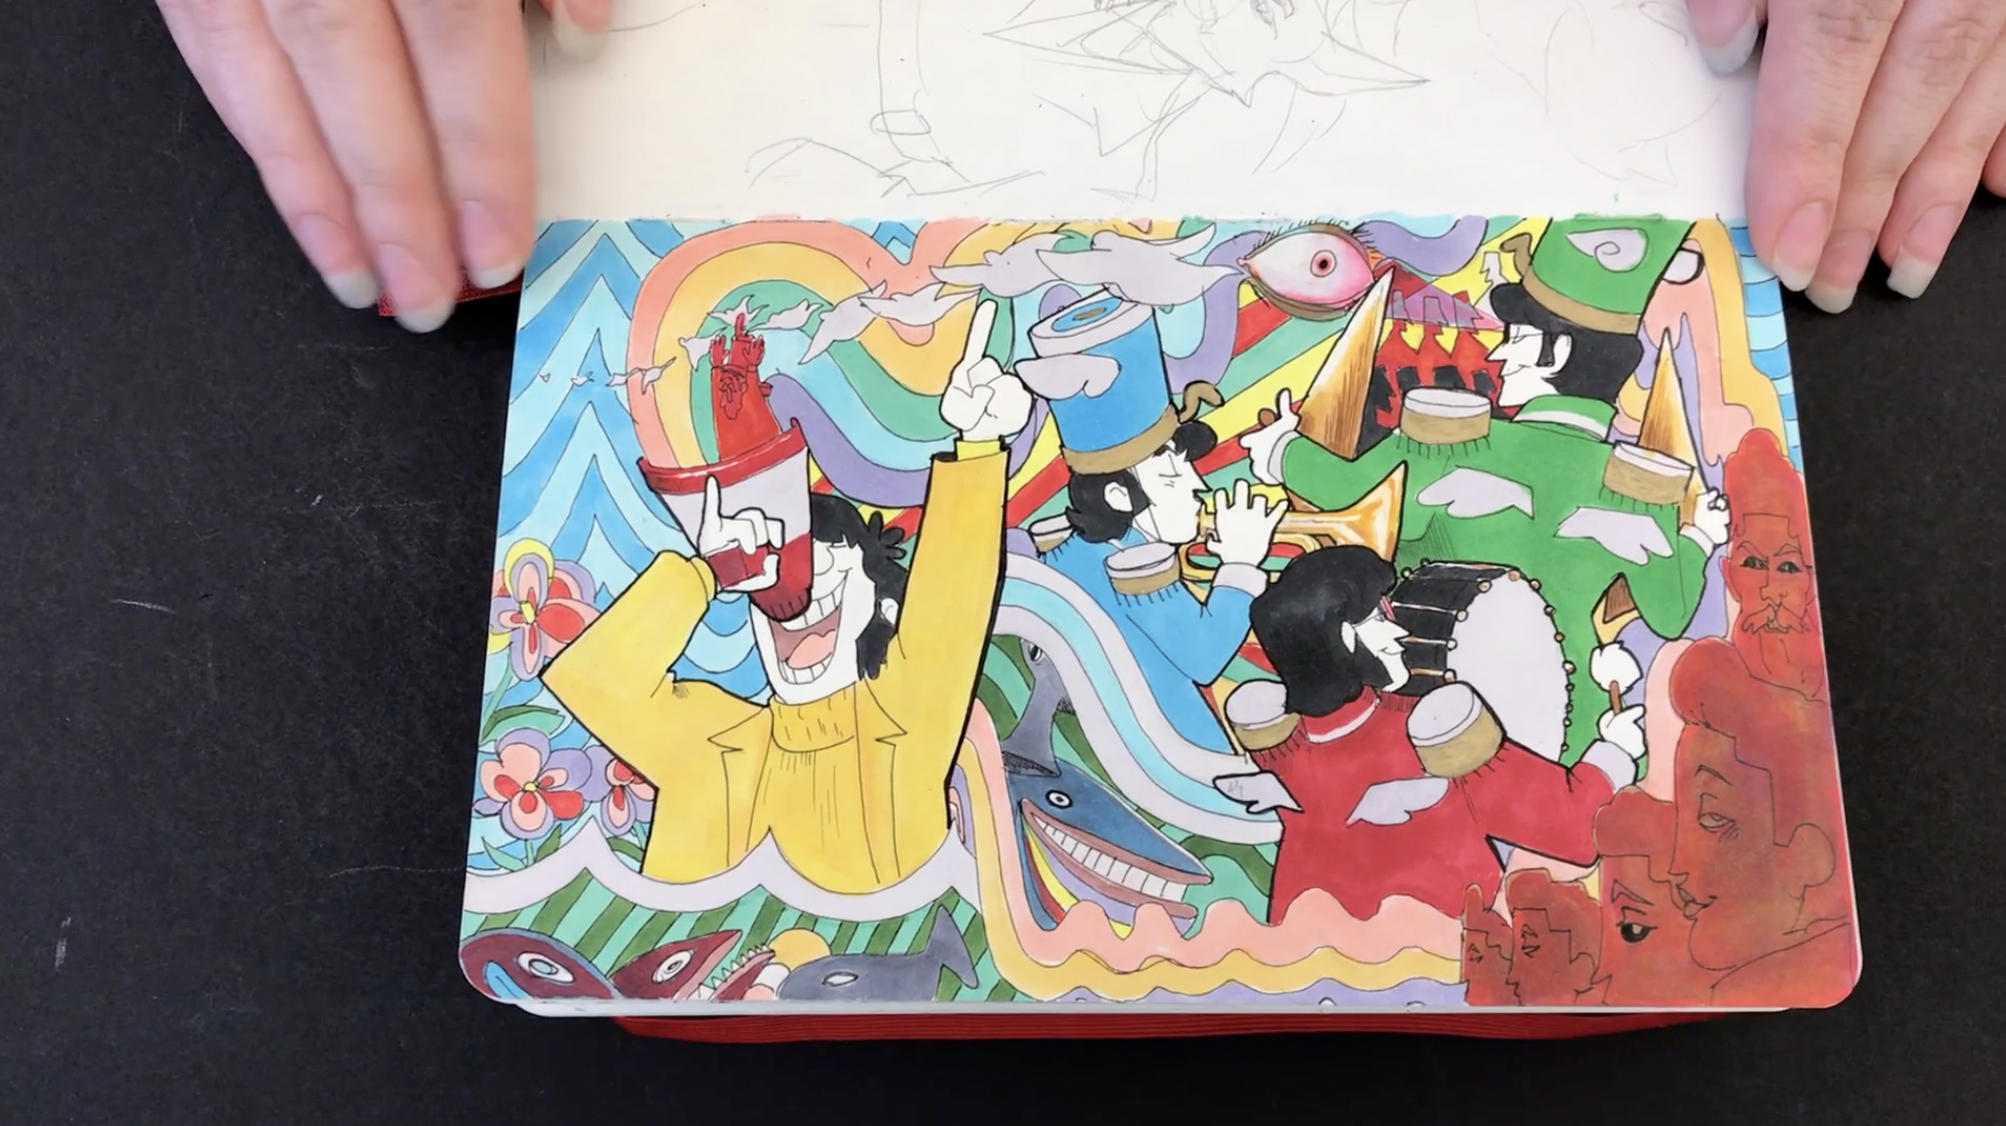
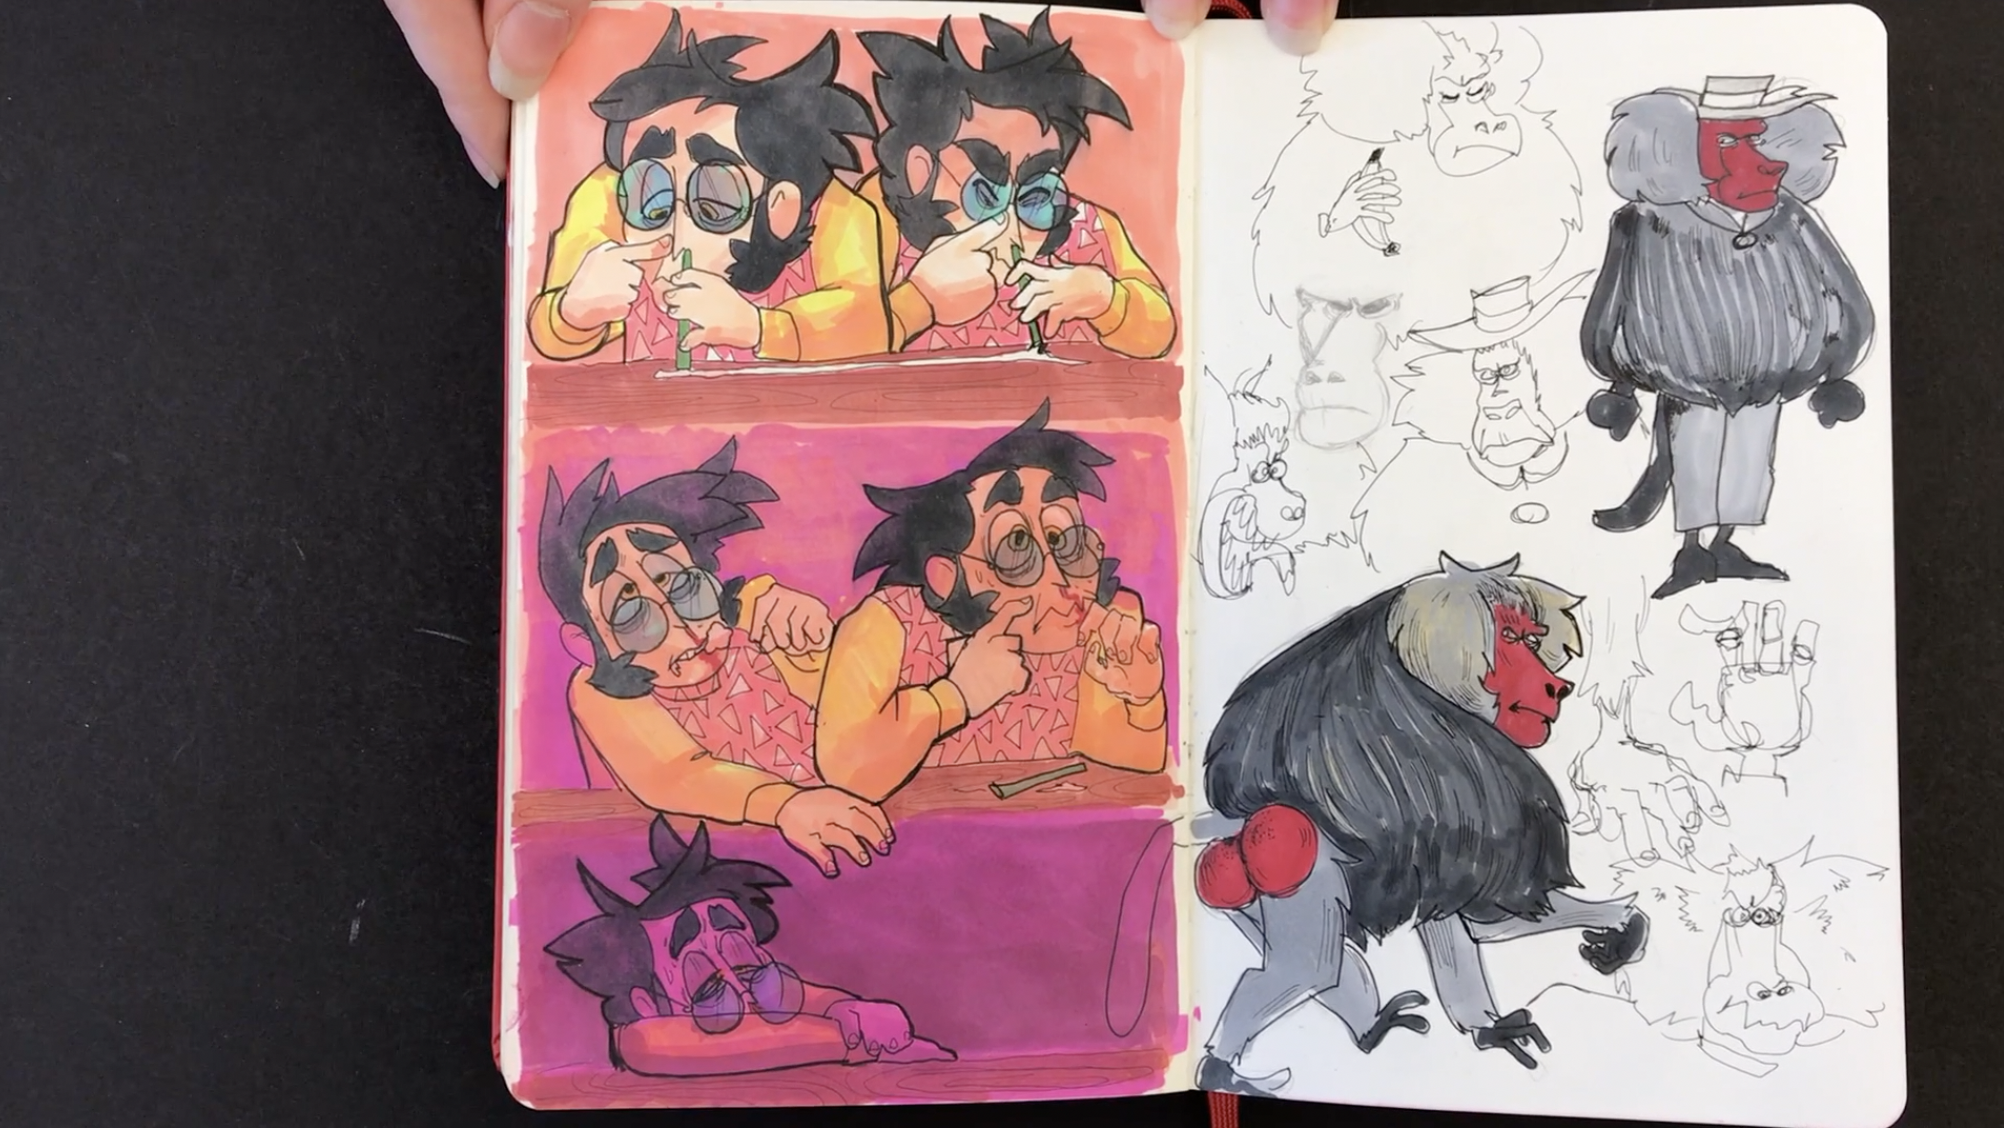
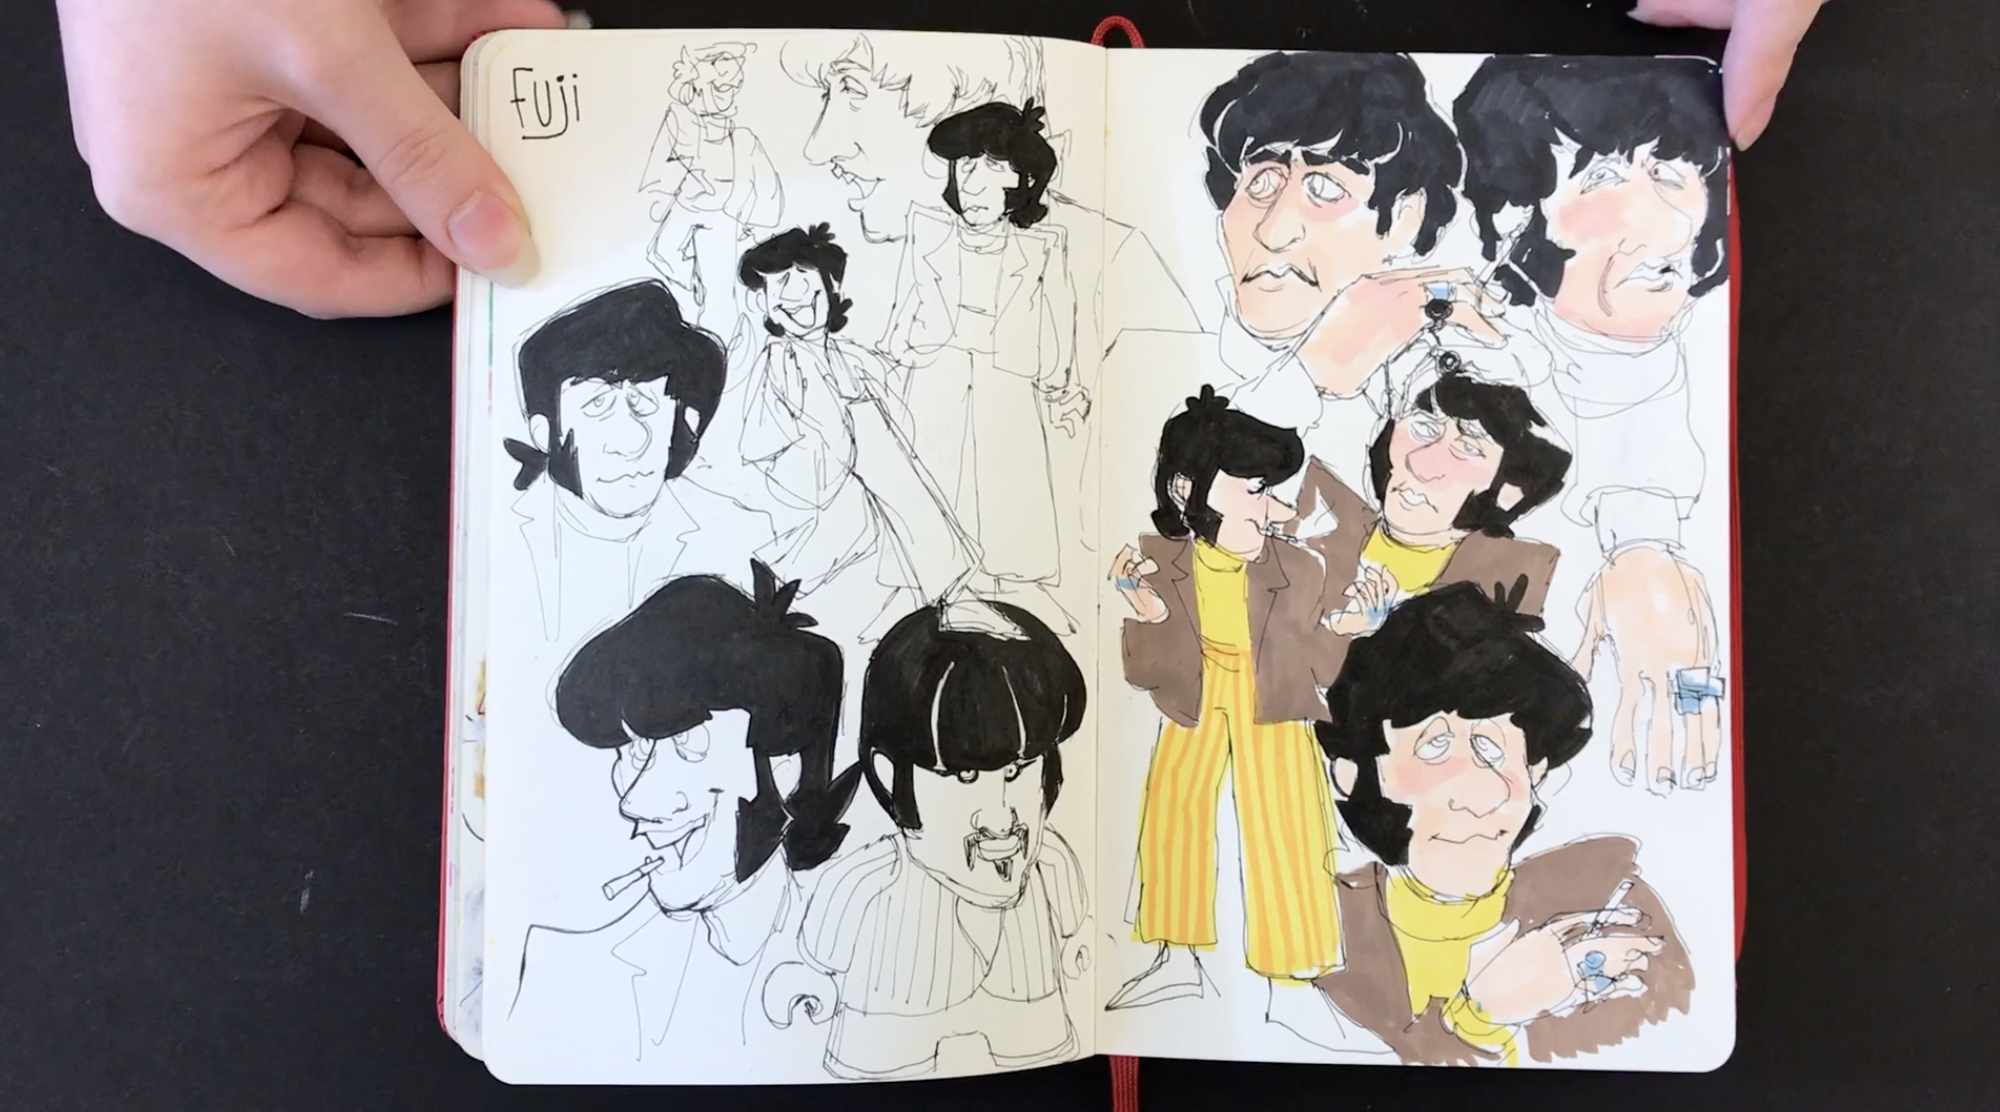
What I like most about Emily’s sketchbook is her originality. I like so much that she expresses how she is feeling through her drawings.
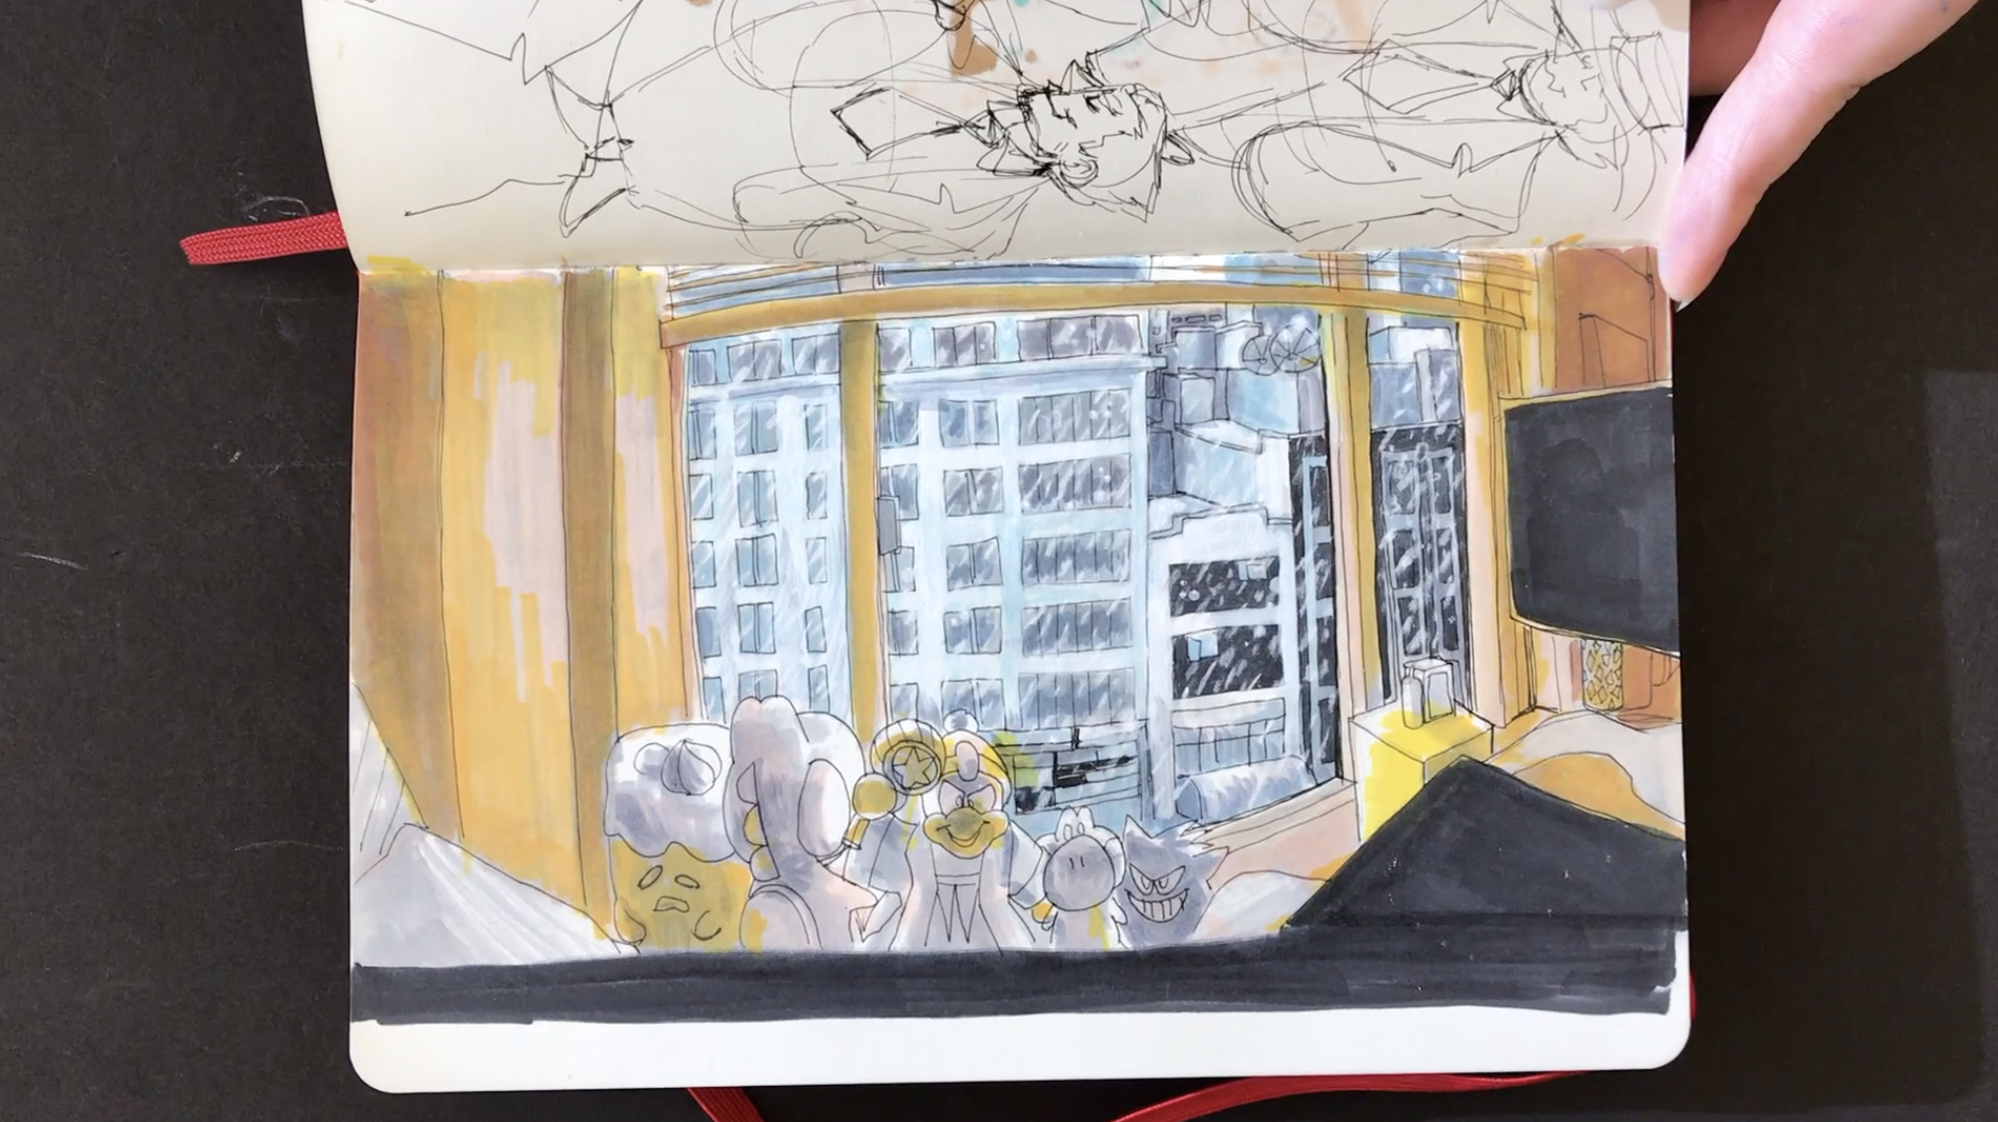
For instance how she drew the pain she was feeling with a terrible headache is pretty incredible. When I have a headache I just want to crawl up in bed. Plus drawing her dreams is pretty cool too.
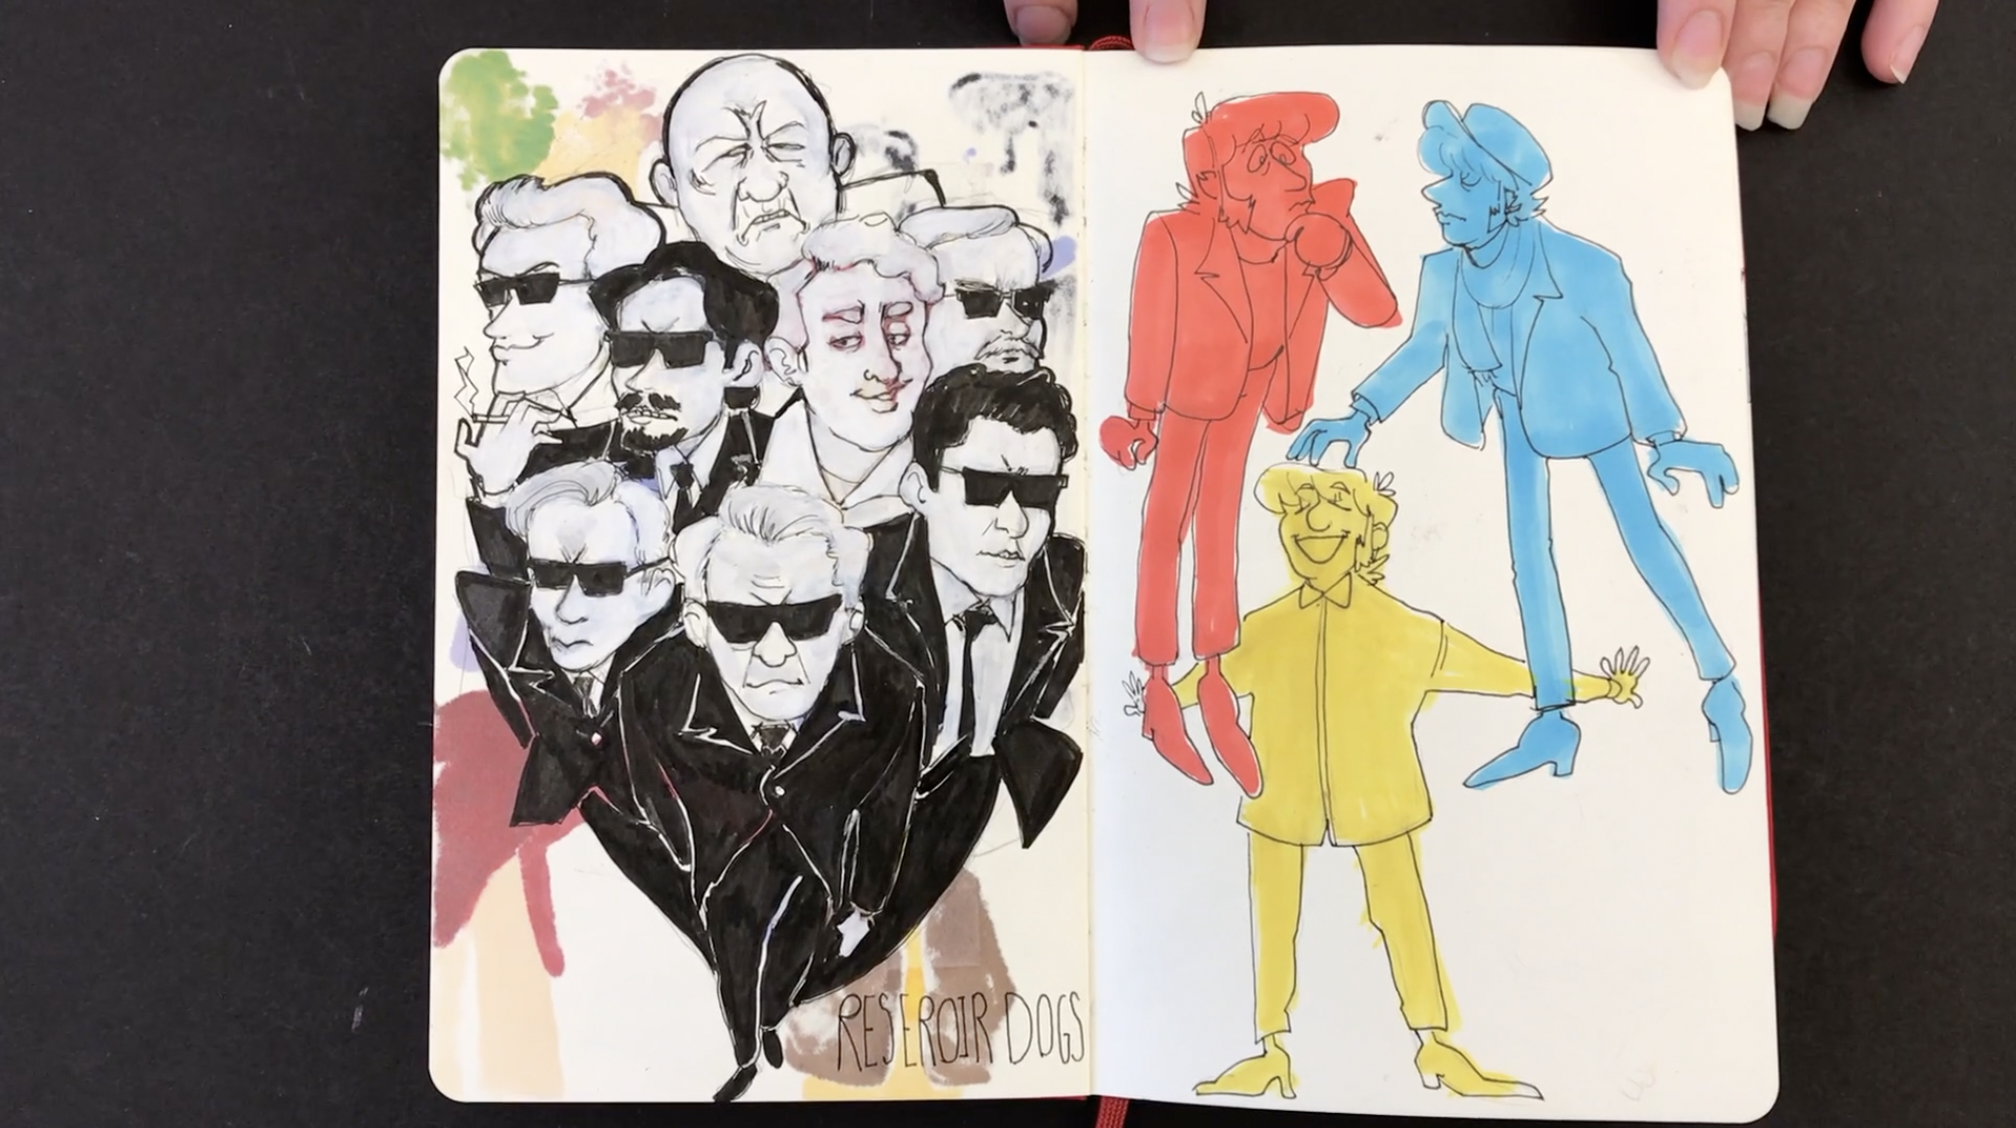
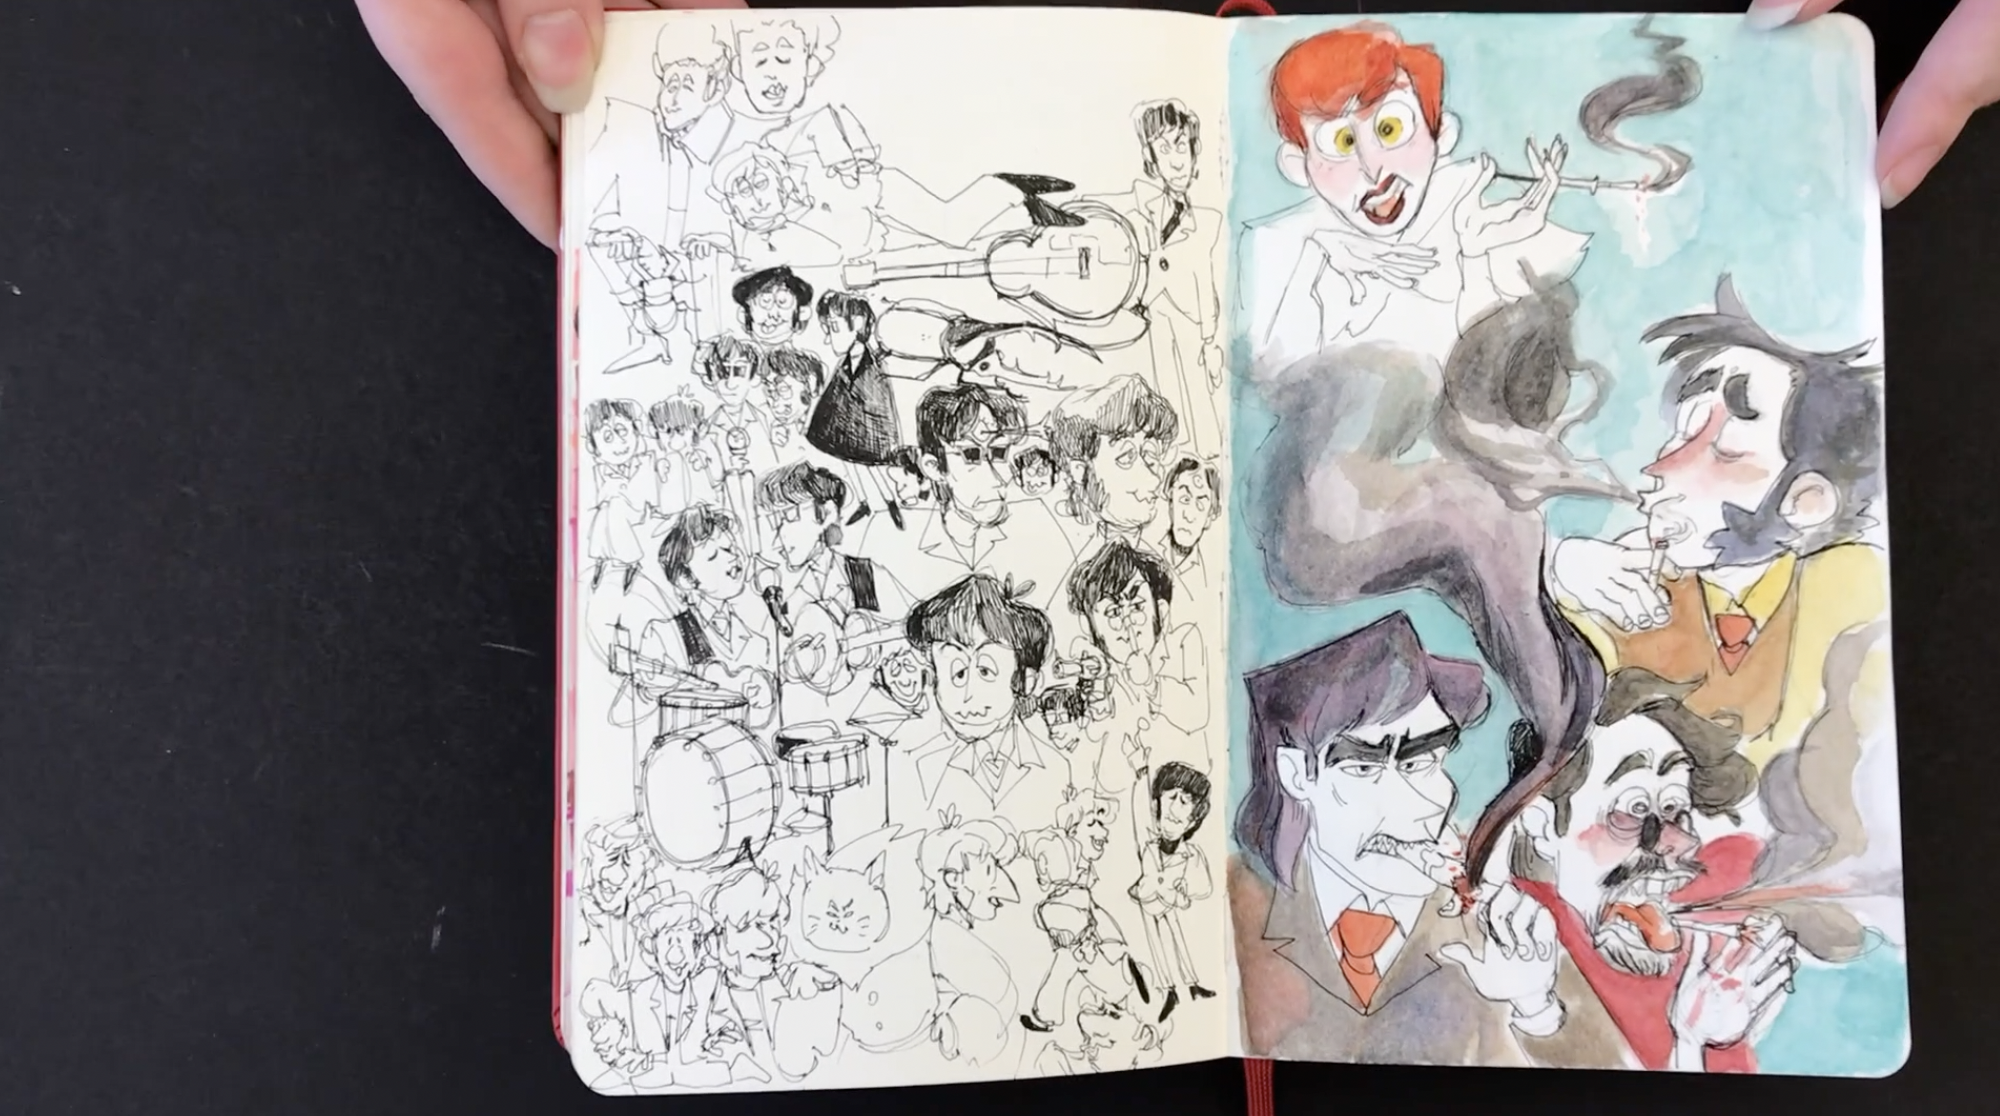
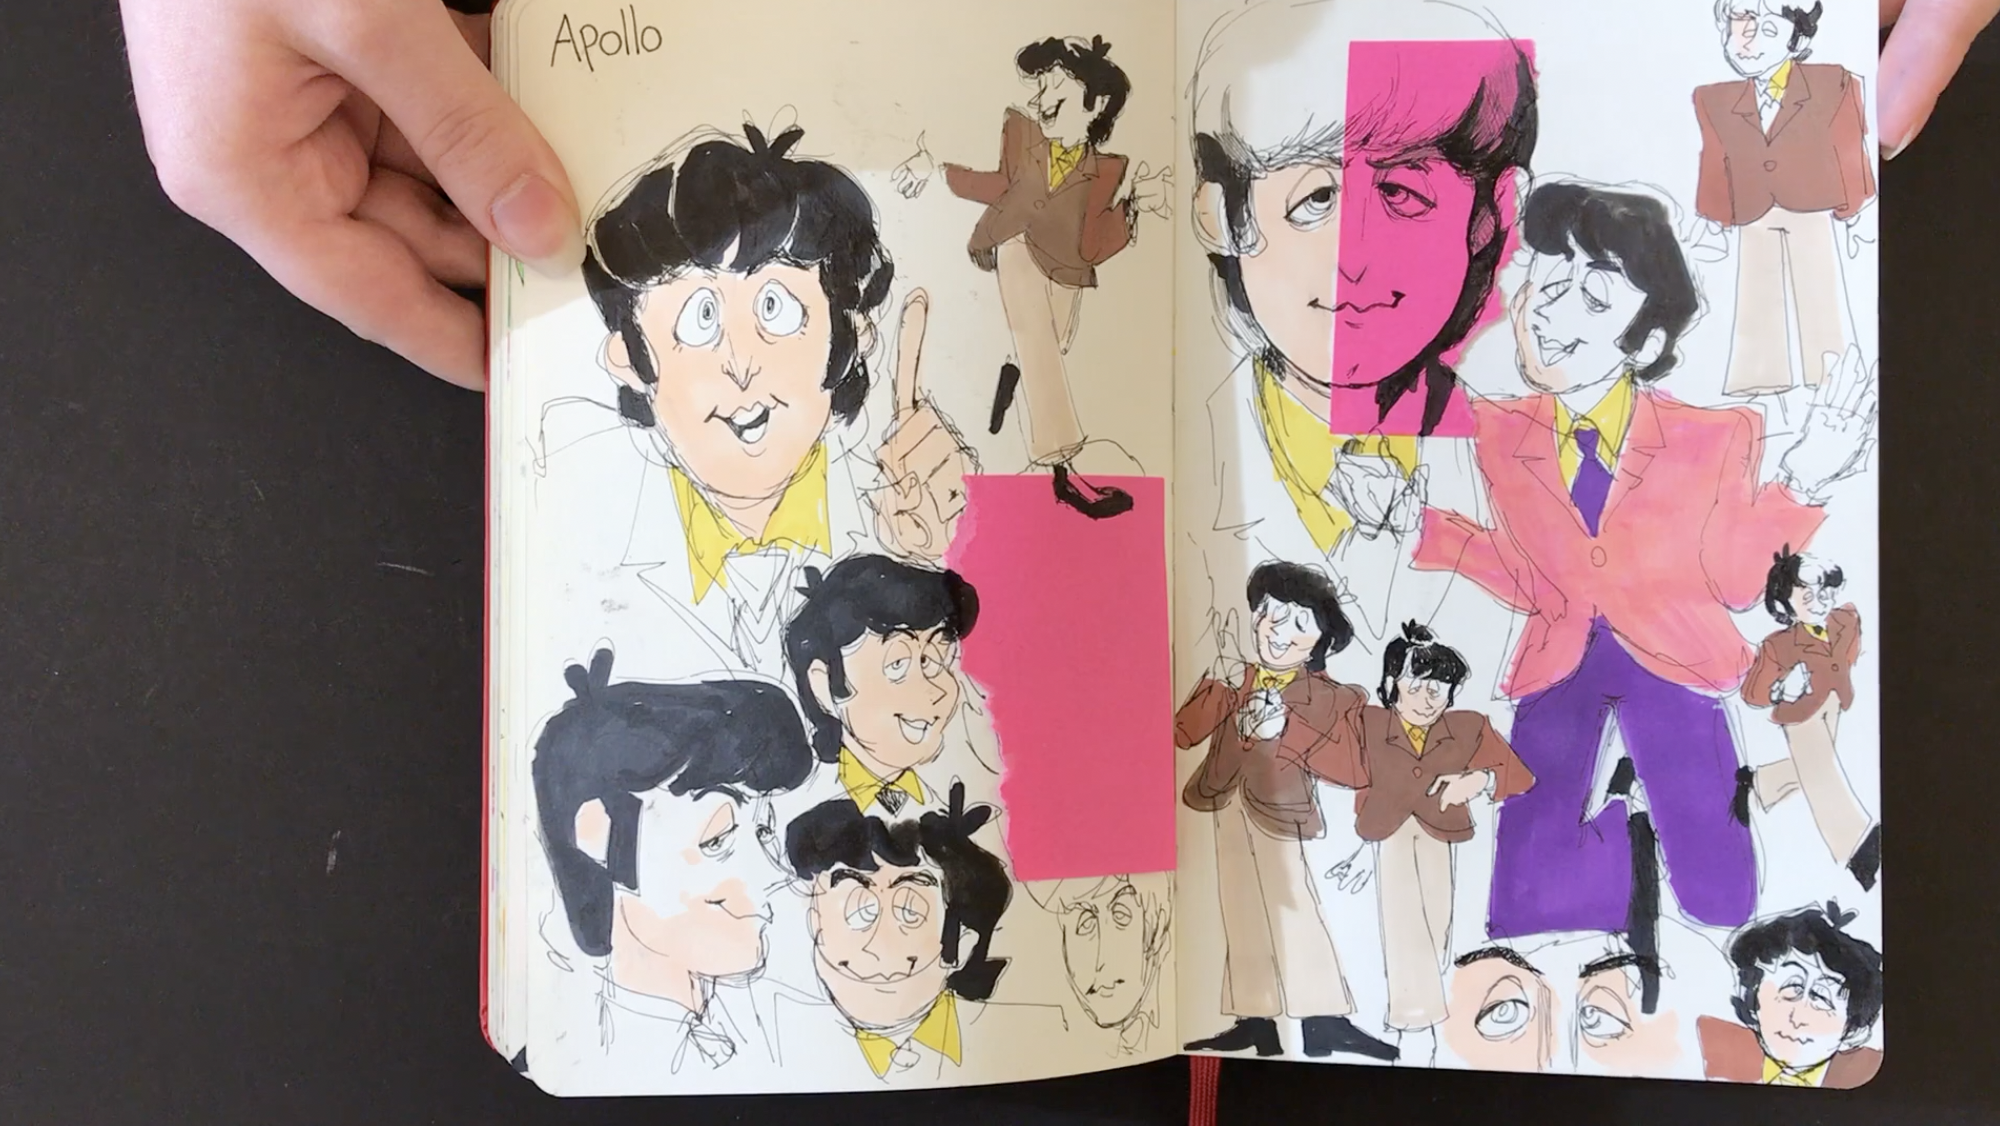
I really do see a ton of improvement in Emily’s drawings midway through the sketchbook video. Her black ballpoint pen line is amazing.
I hope you enjoyed looking through Emily’s sketchbook drawings. I certainly did.
Check out Emily’s Instagram. Thanks again Emily for sharing your art. Looking forward to the next sketchbook.
Learn more about a membership to Drawing Tutorials Online.