Four Ways To Promote Form

Four Ways To Promote Form

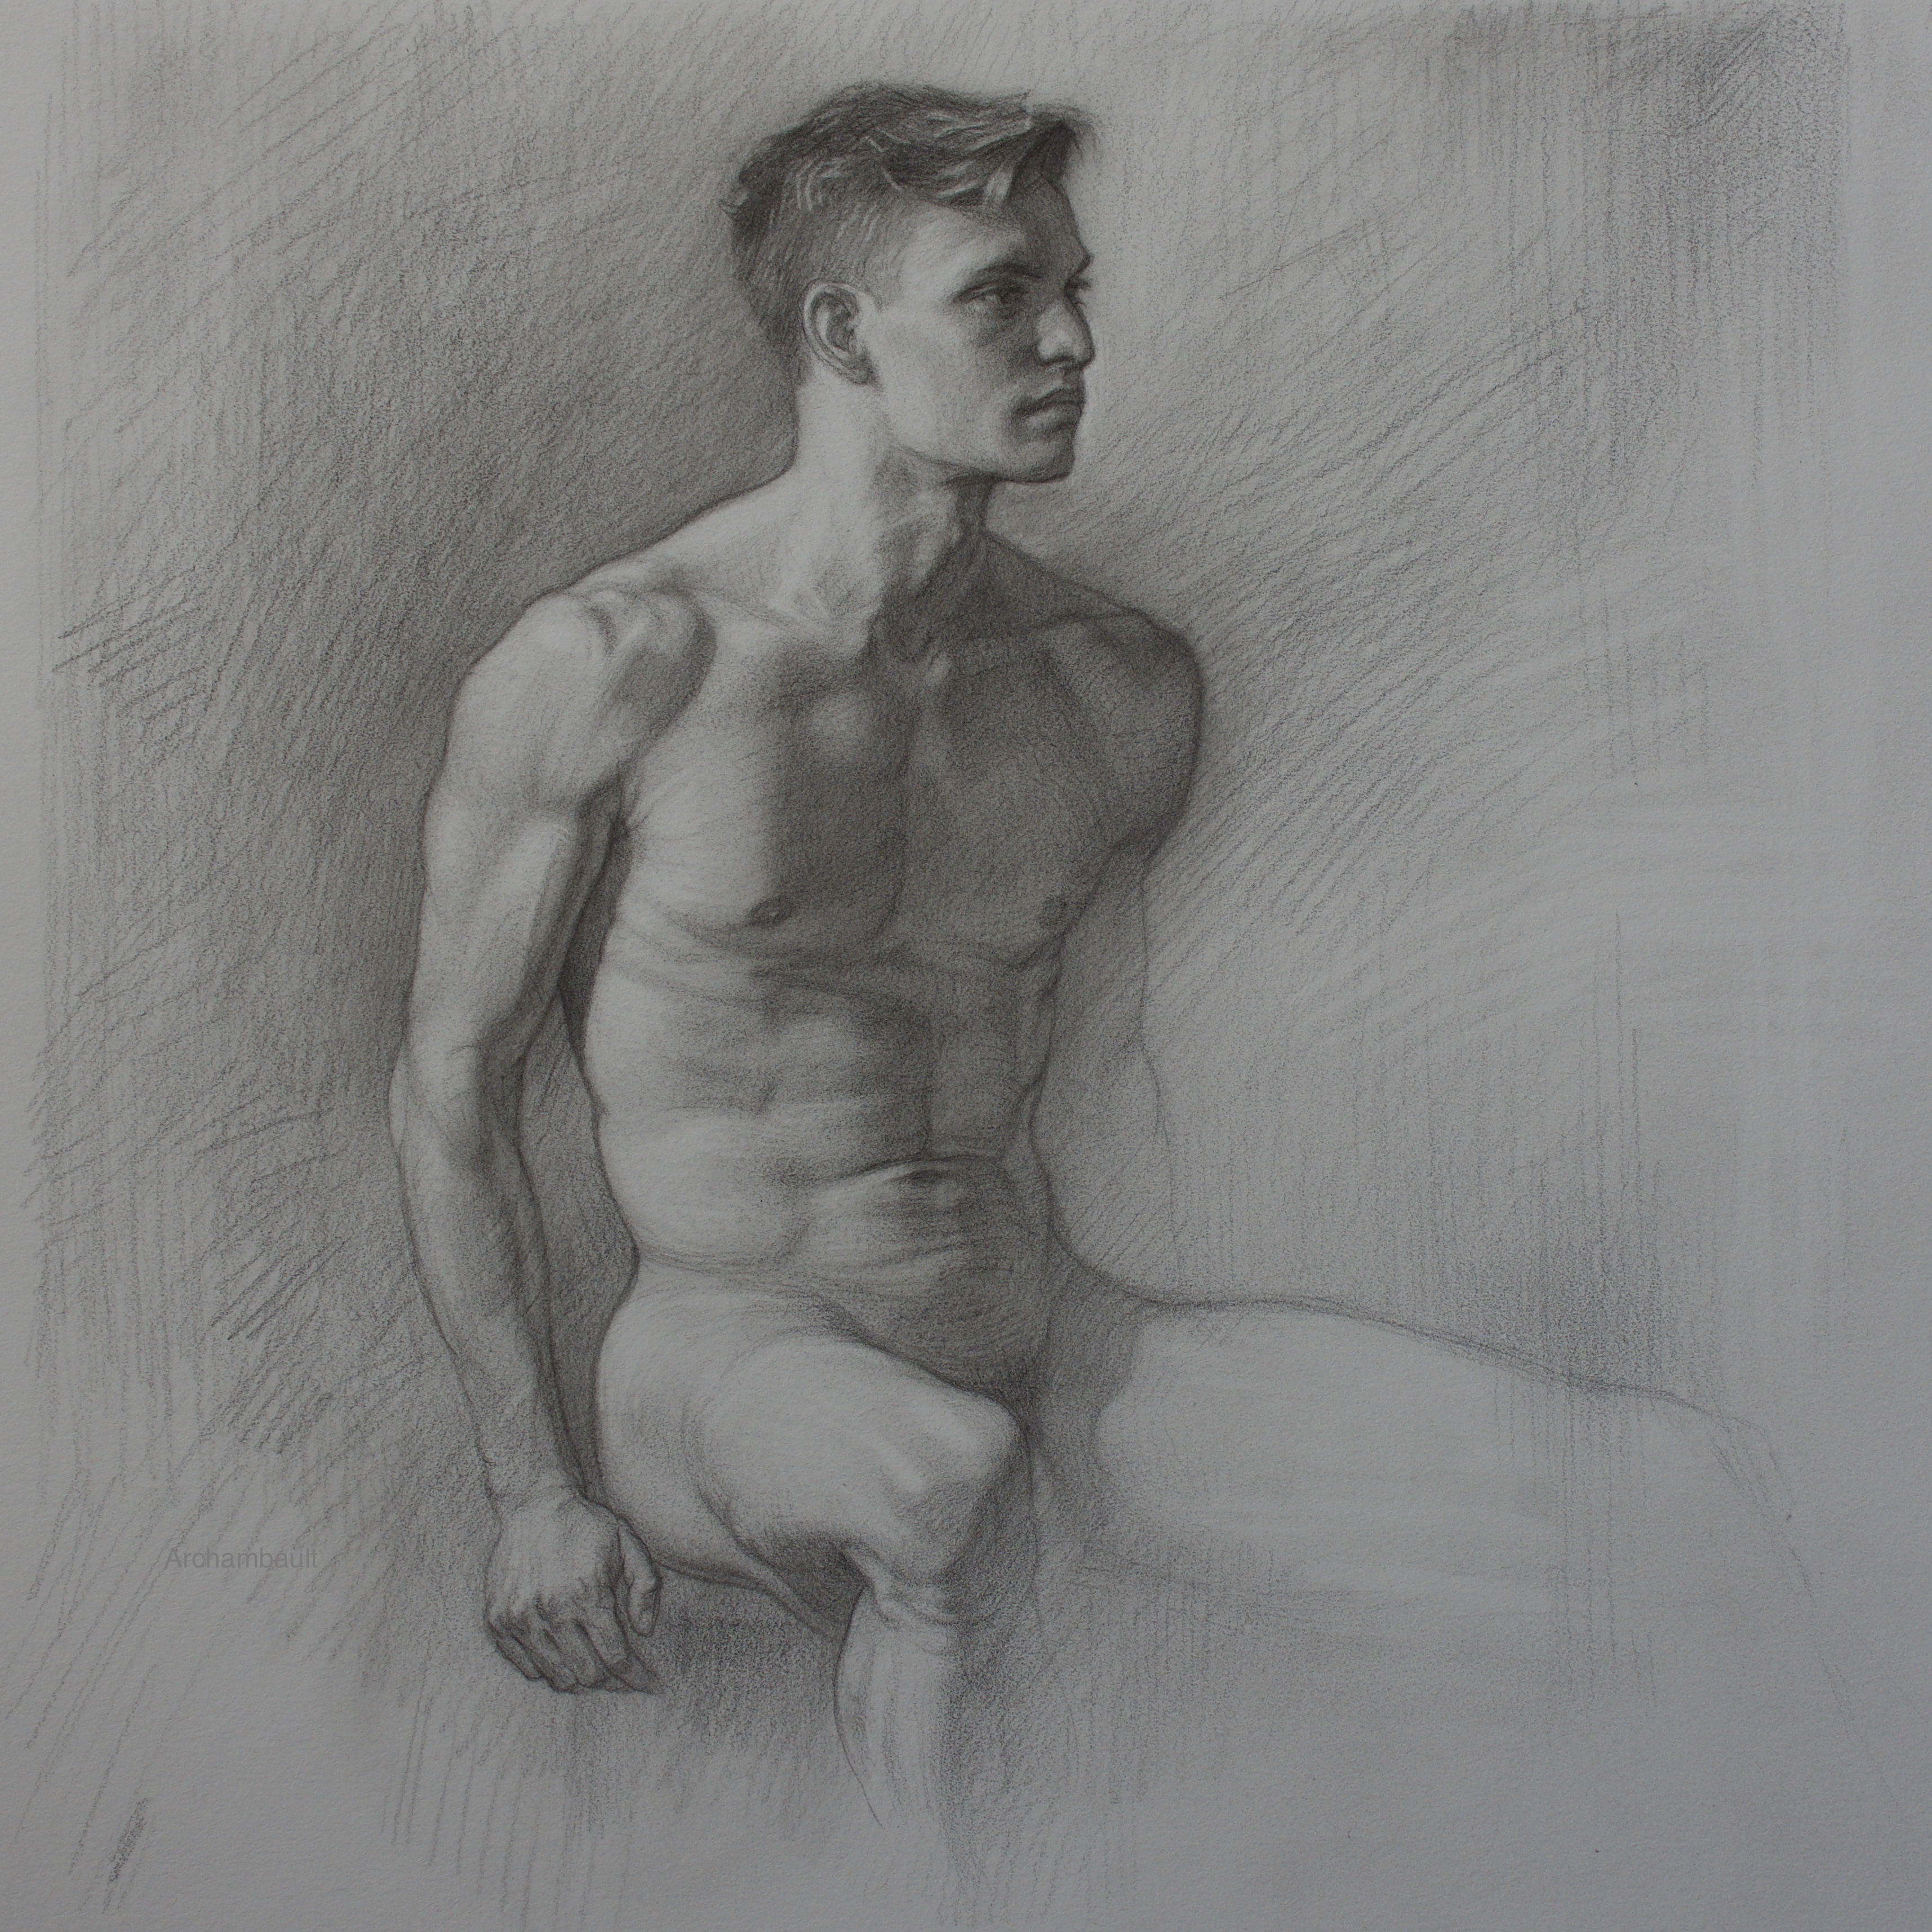
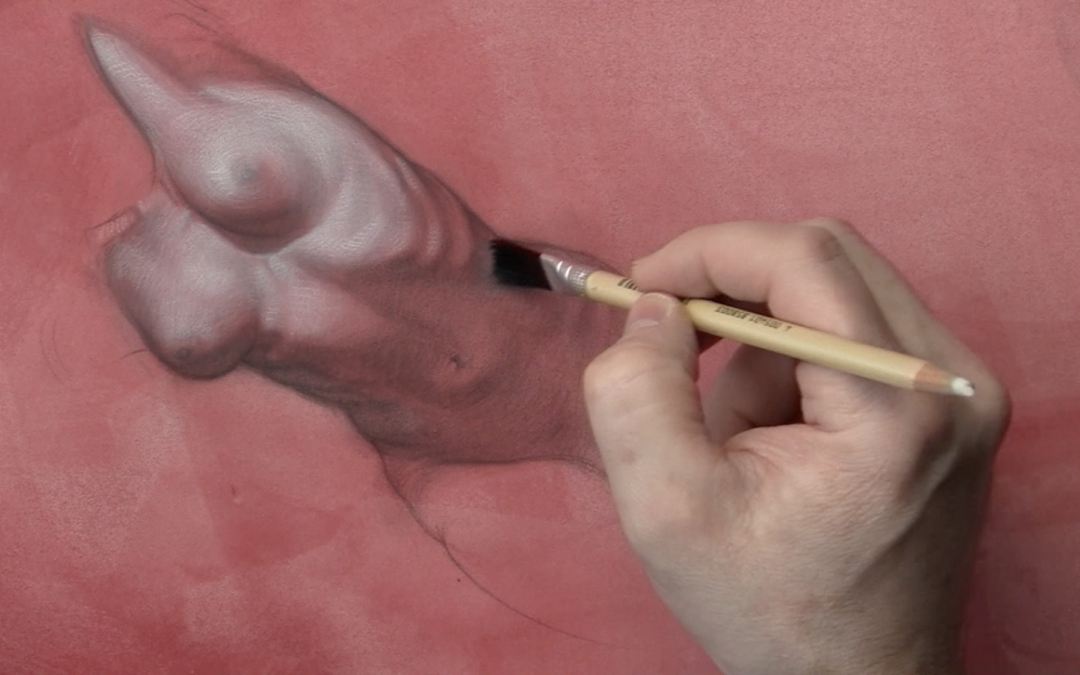
In this video critique of the week we help out Hillary with her life drawing. To quote Hillary, I was going for a precise likeness by searching for shadow shapes, but once the drawing looked like her, I didn’t know how to develop the forms.

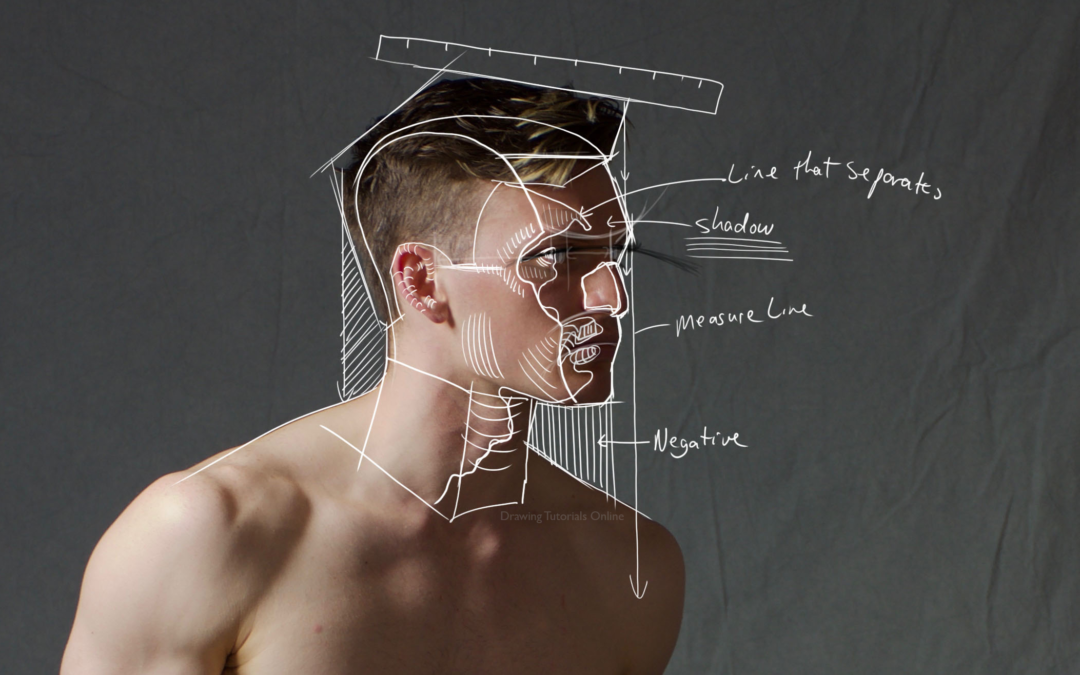
To be specific there are four ways to promote the three dimensional form of the head. 

First you have to use multiple pencil strokes directions. You can use a straight up and down pencil stroke to block in tone quickly. You can also use a diagonal stoke to do this as well. However what works best in promoting form is layering form lines on top of the already established tone. 

If you just block in tone in essence you are using flat graphic shapes. Adding into the mix curved form lines will create three dimension.

Second, you will definitely want to incorporate convex lines that wrap around the form of the head starting from the contour line. Without the use of convex line your contour line will add to flat graphic look of your drawing.

Third, look for value shifts. For every different value on the head and face there is a different surface plane. Light hits form and that form comes in the way of surface planes.

Fourth, use the modeling factors when possible. For those of you who have been with Drawing Tutorials Online for a while I’ve been teaching the modeling factors for years. It’s a way of shading that enables you to turn objects from the light into the shadow via a gradation.

Of course you have to pick and choose your battles when you are completing a life drawing that goes for roughly three hours. Three hours really is not that long of a time to use all of these techniques in a complete way. However even using them partially will most certainly promote form.


Thank you so much for reading this post. If you are interested in getting your artwork critiqued in a kind and informative way, consider a membership to Drawing Tutorials Online

We post up member critiques every Monday afternoon. Thanks Hillary for sharing your work.


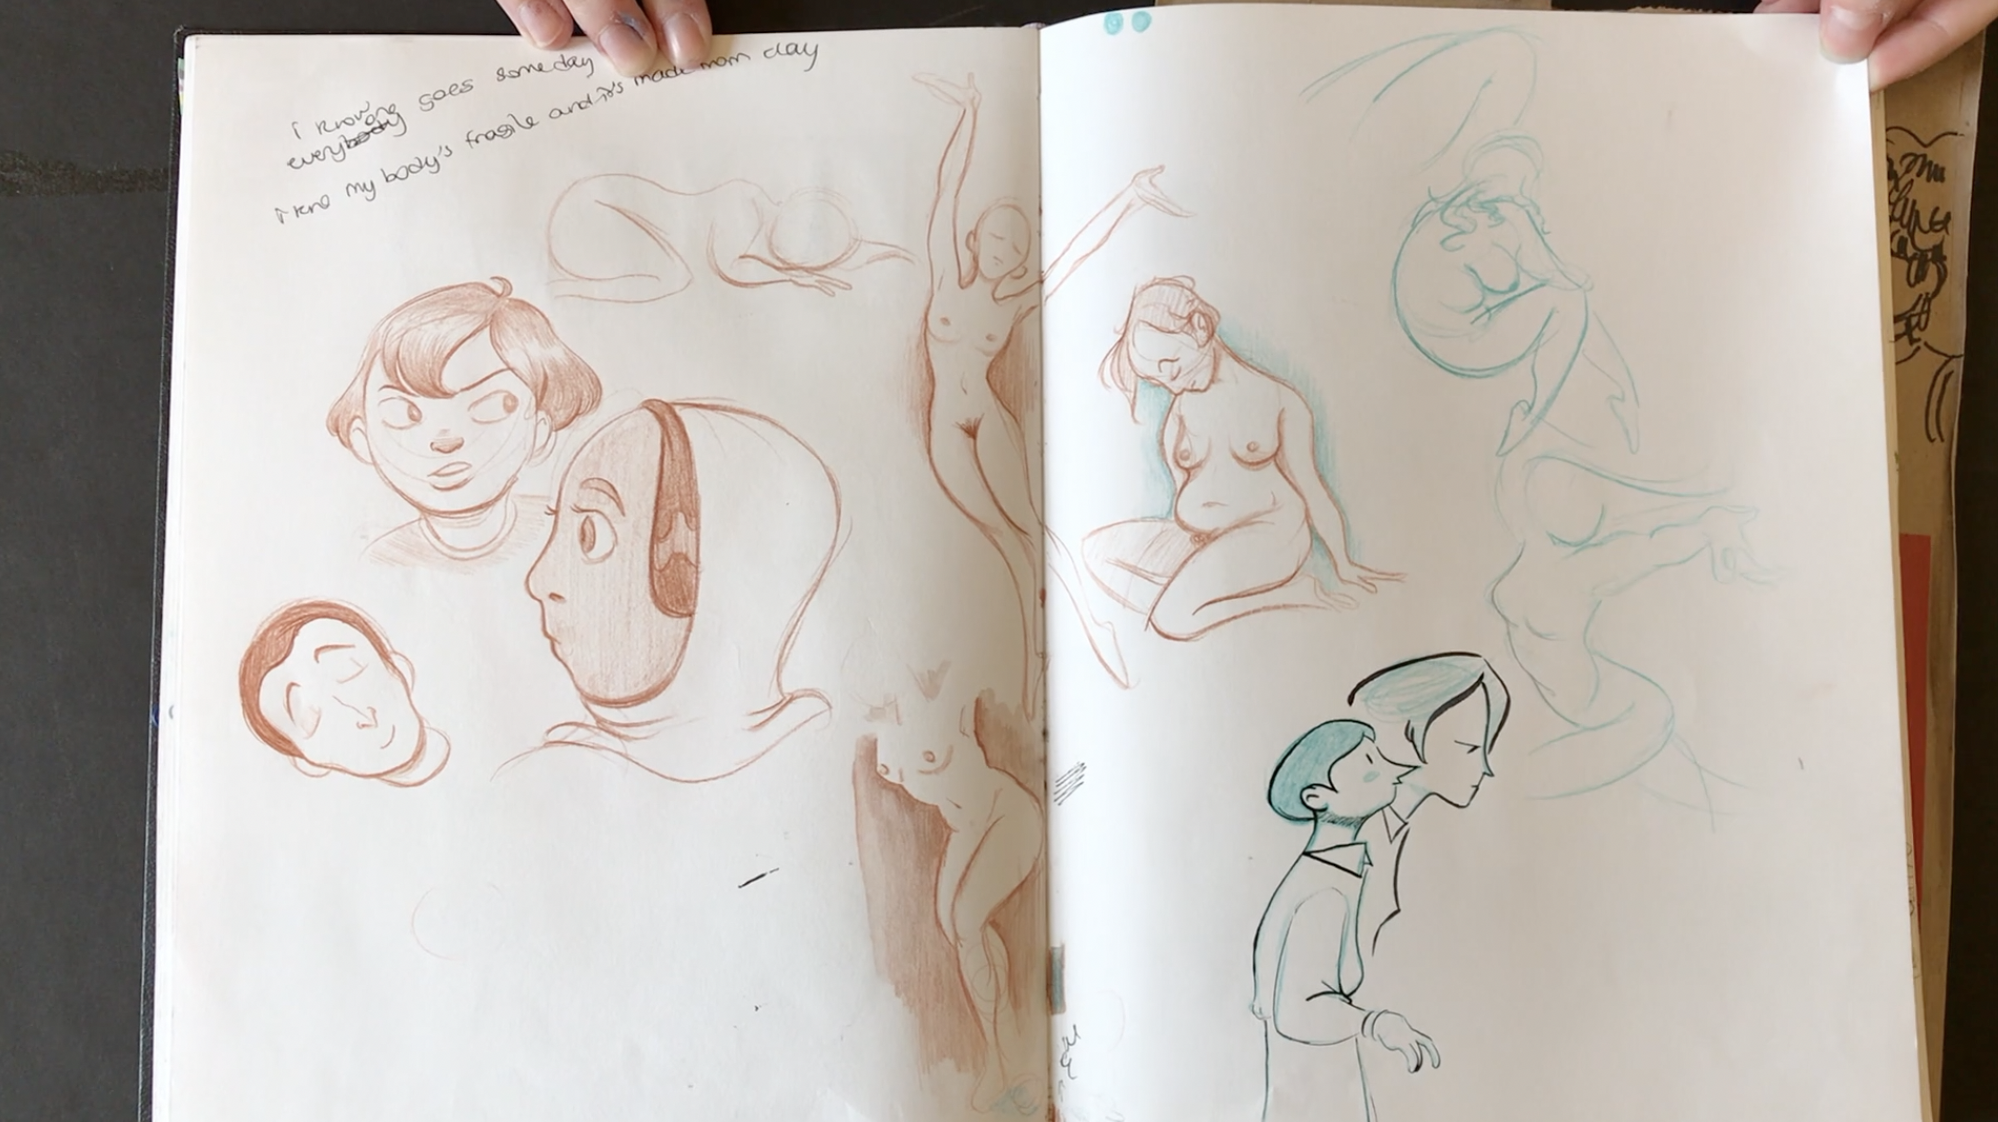
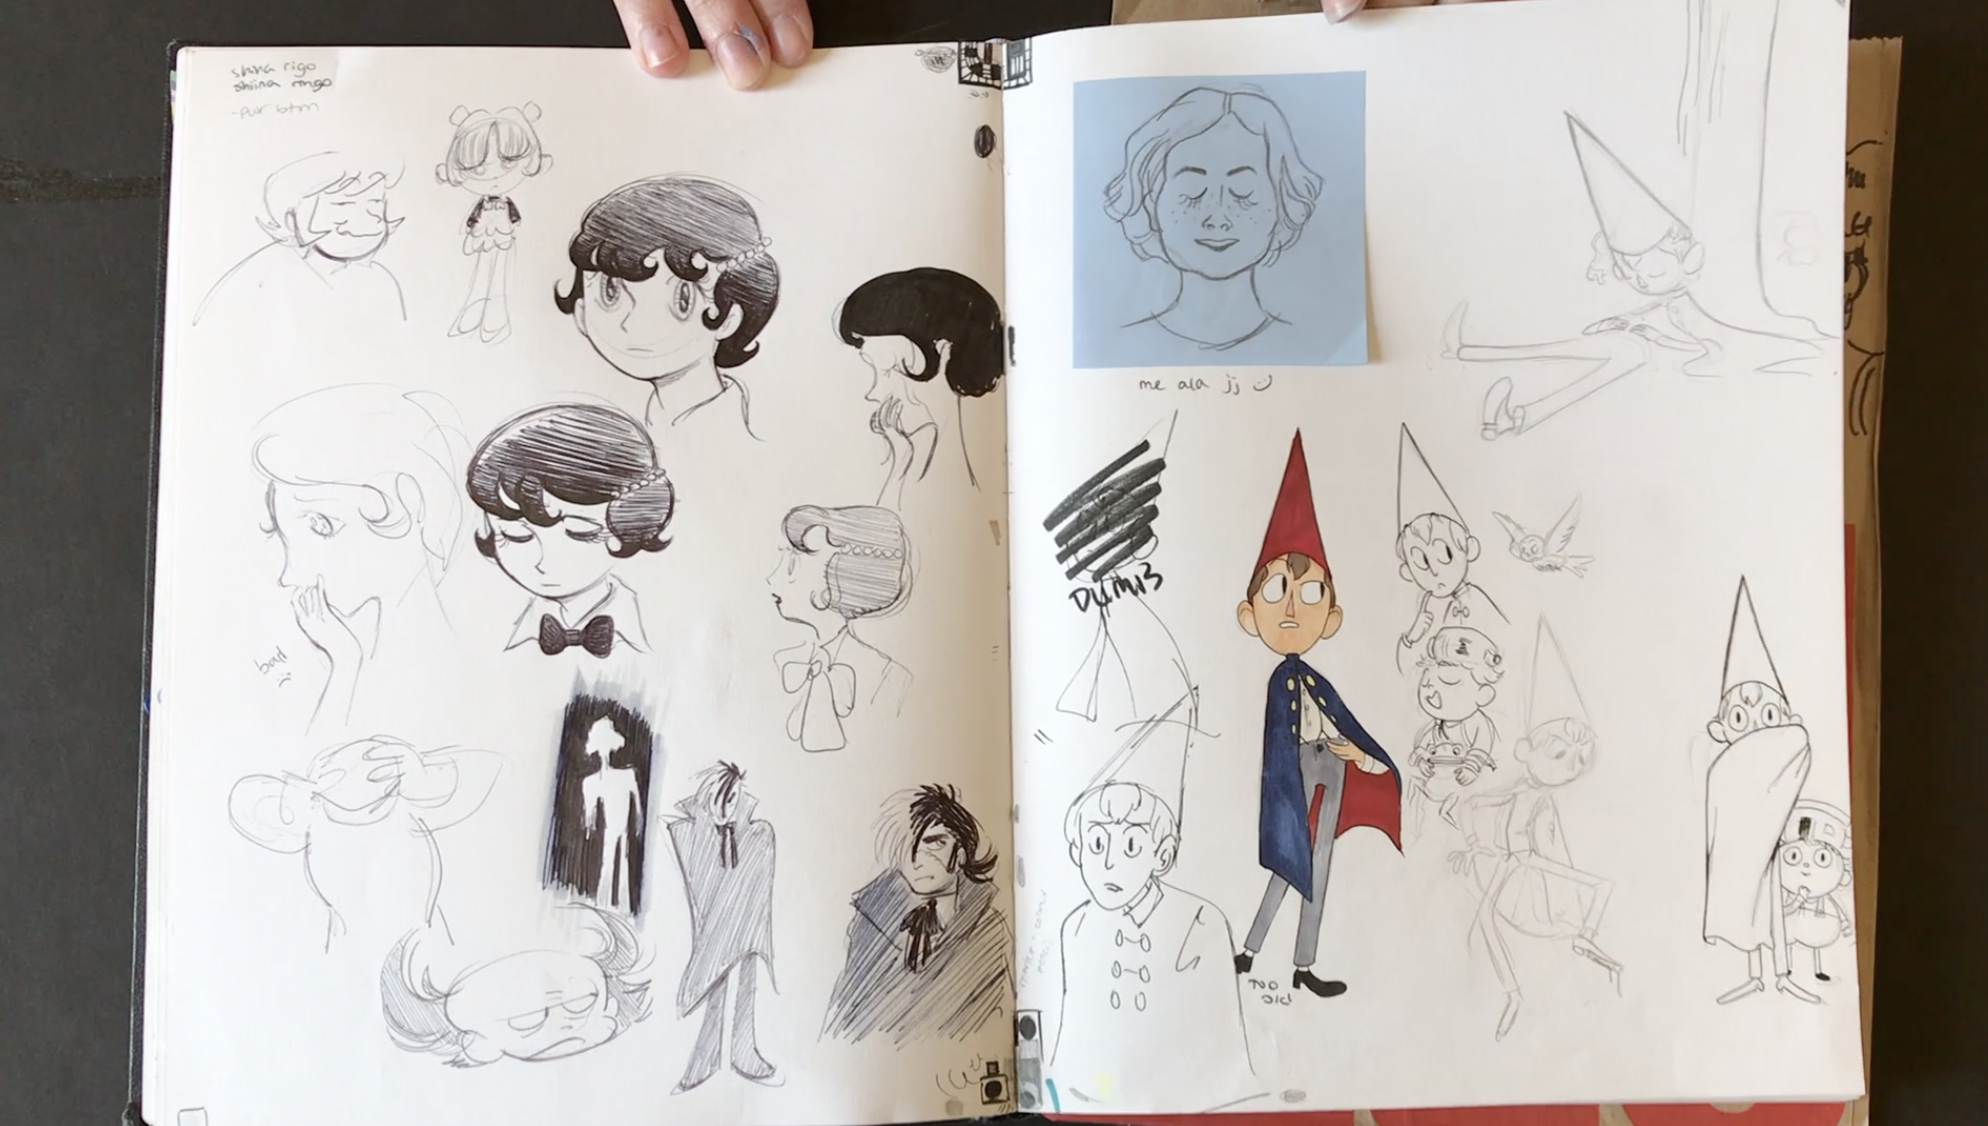
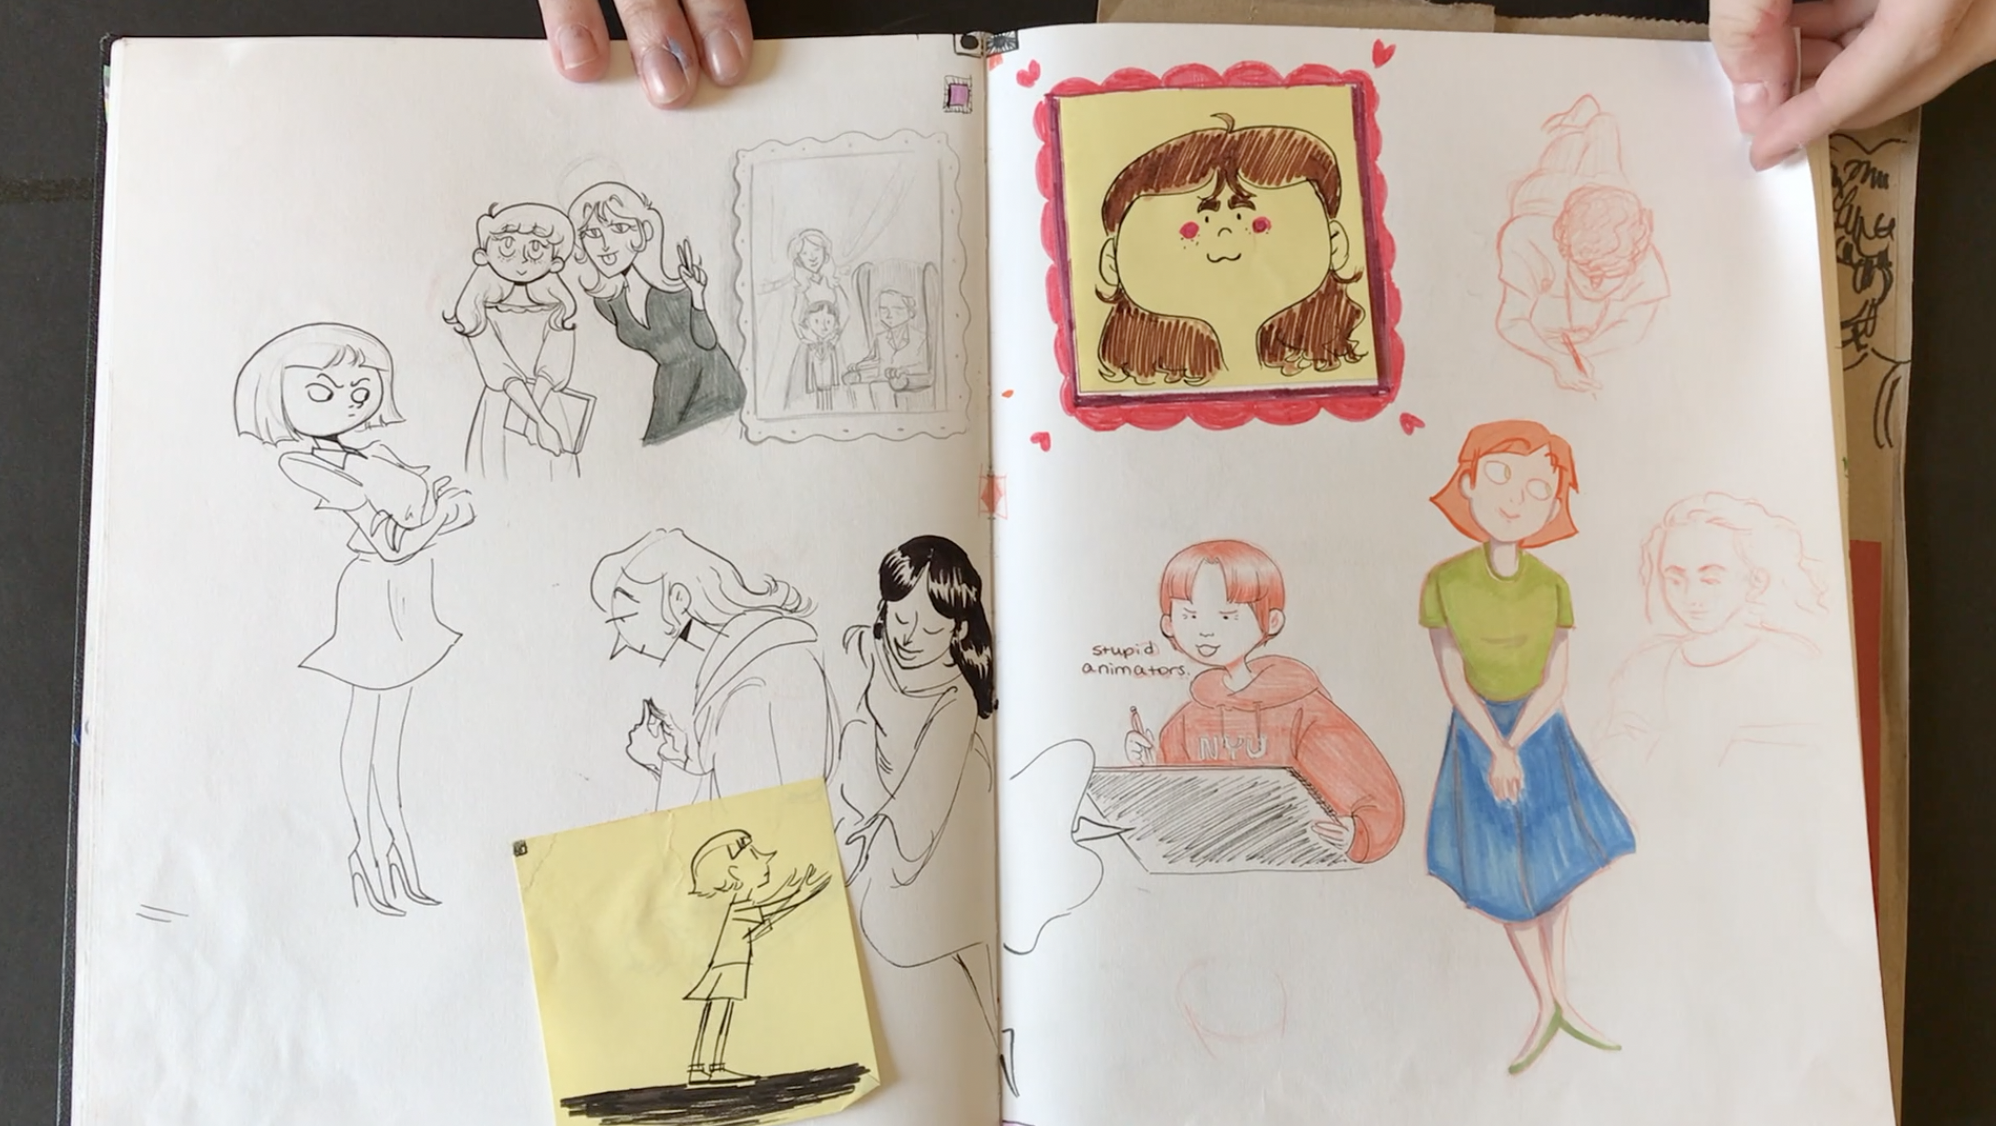
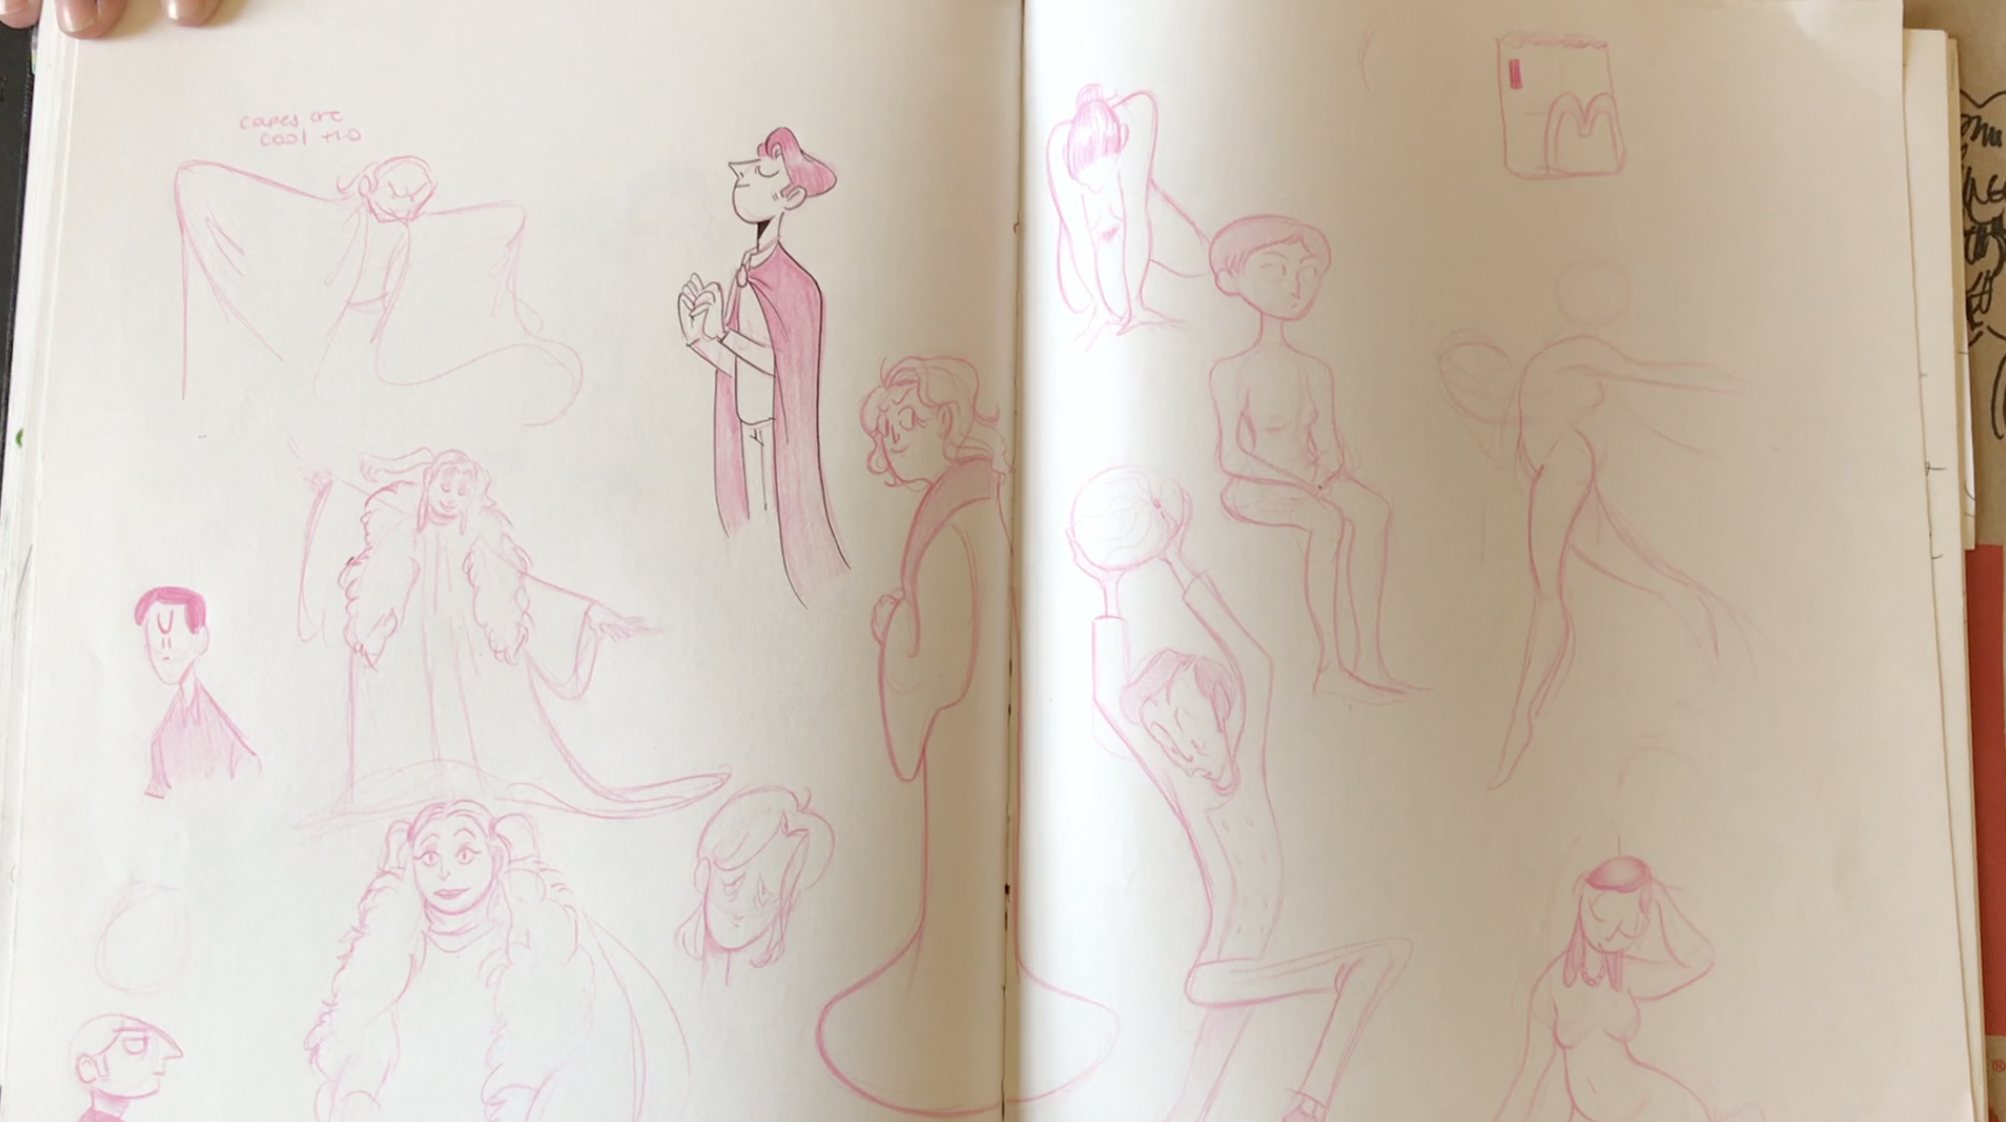
Coe’s Sketchbook – Beautiful Line Quality

Coe’s Sketchbook – Beautiful Line Quality

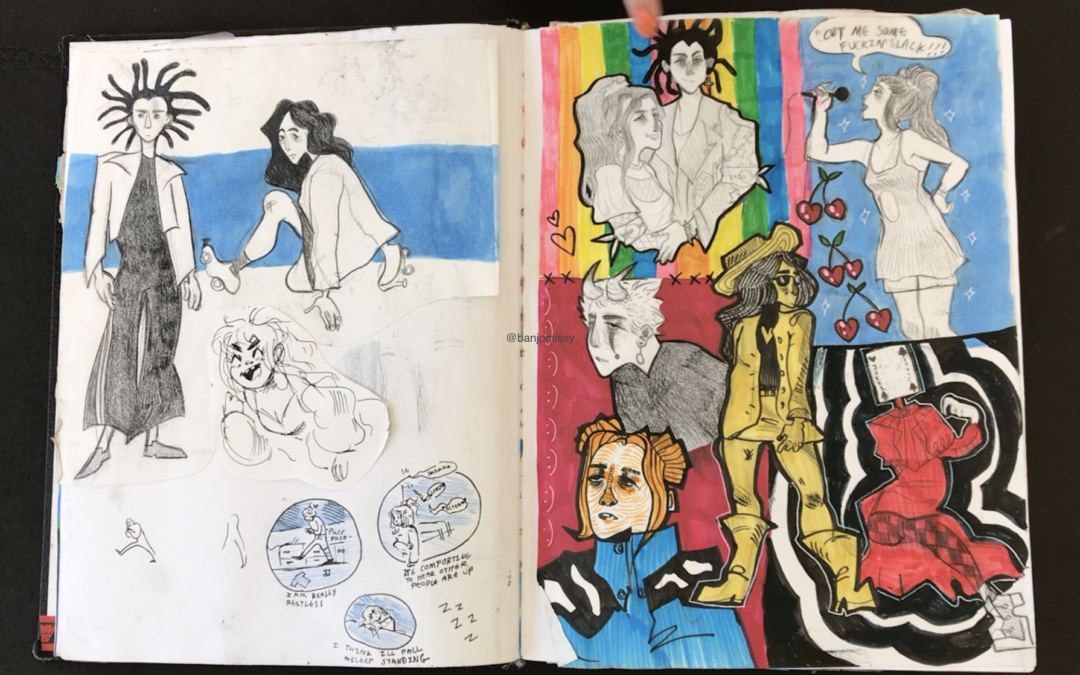
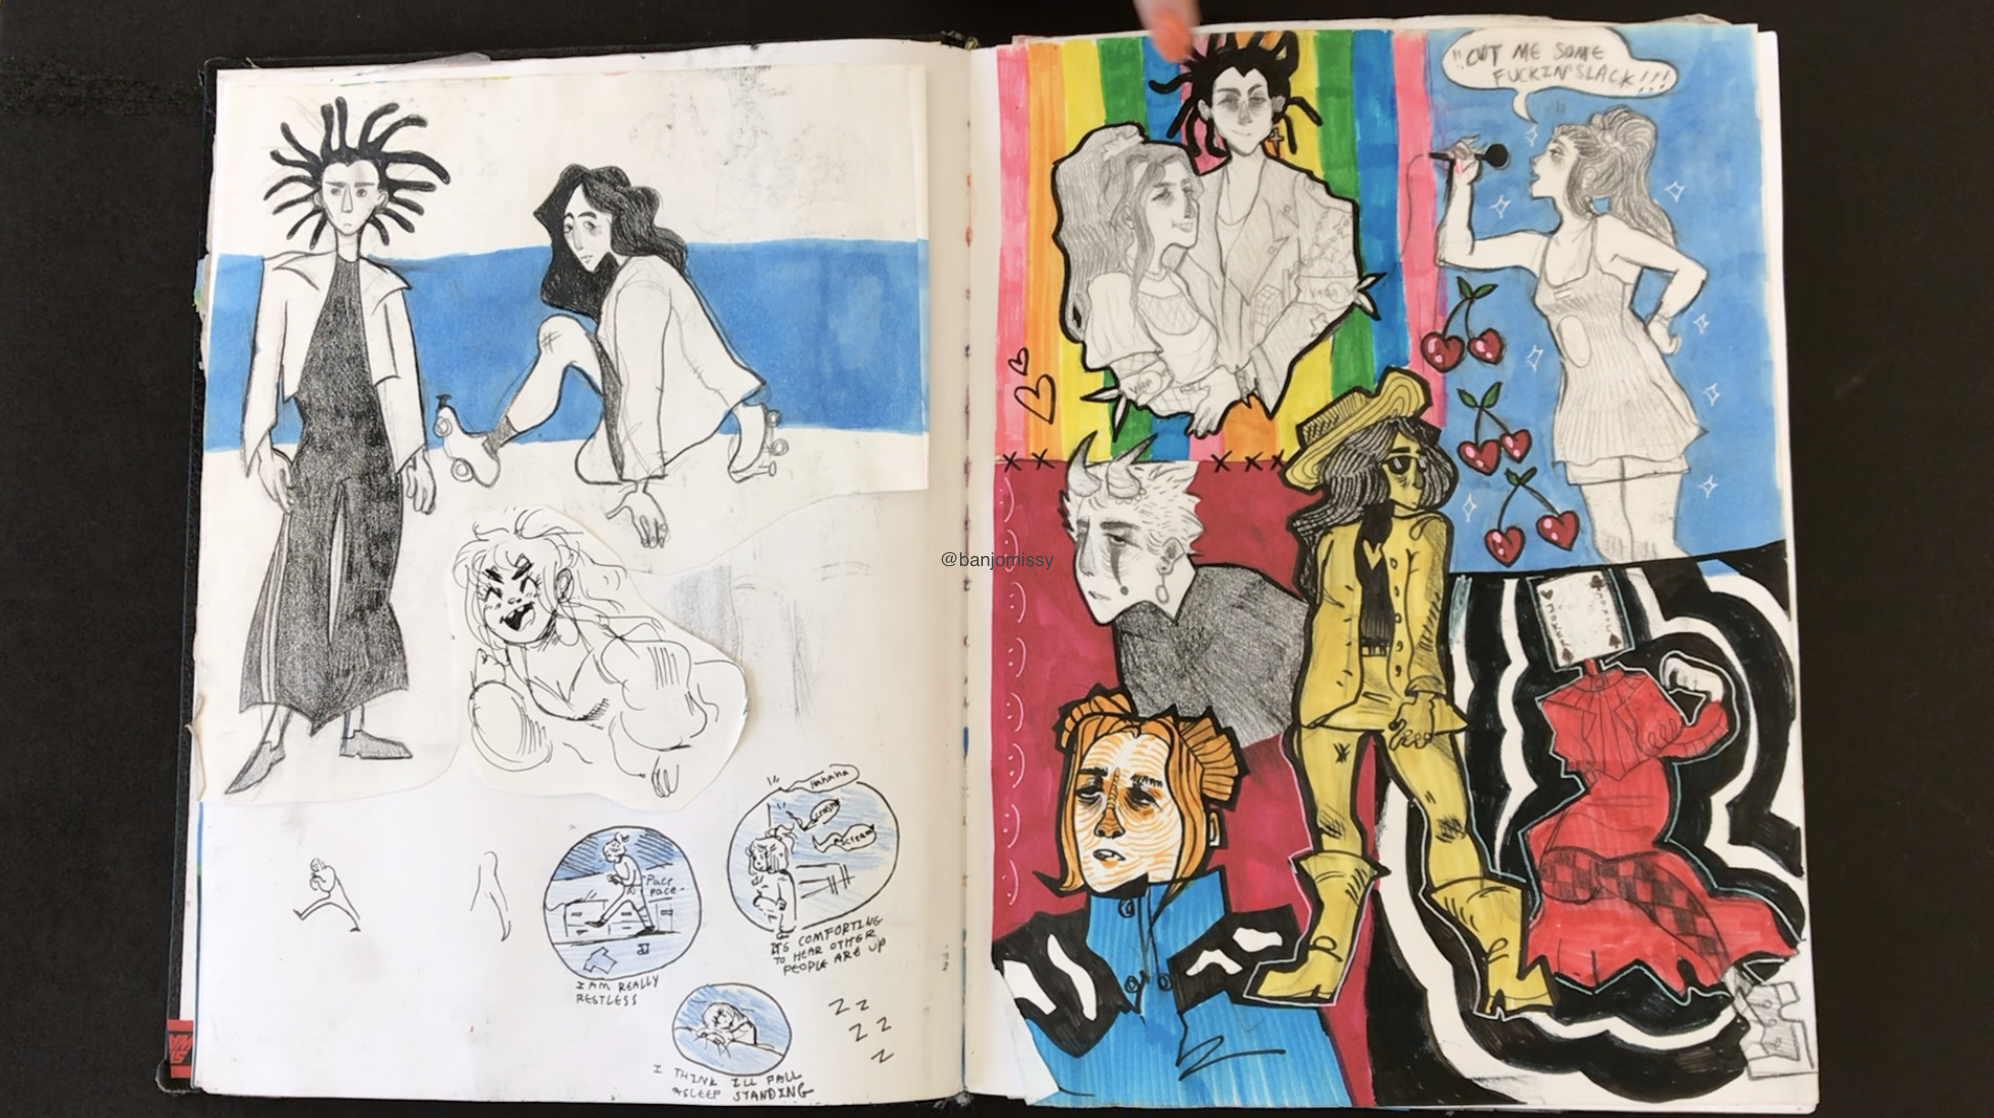
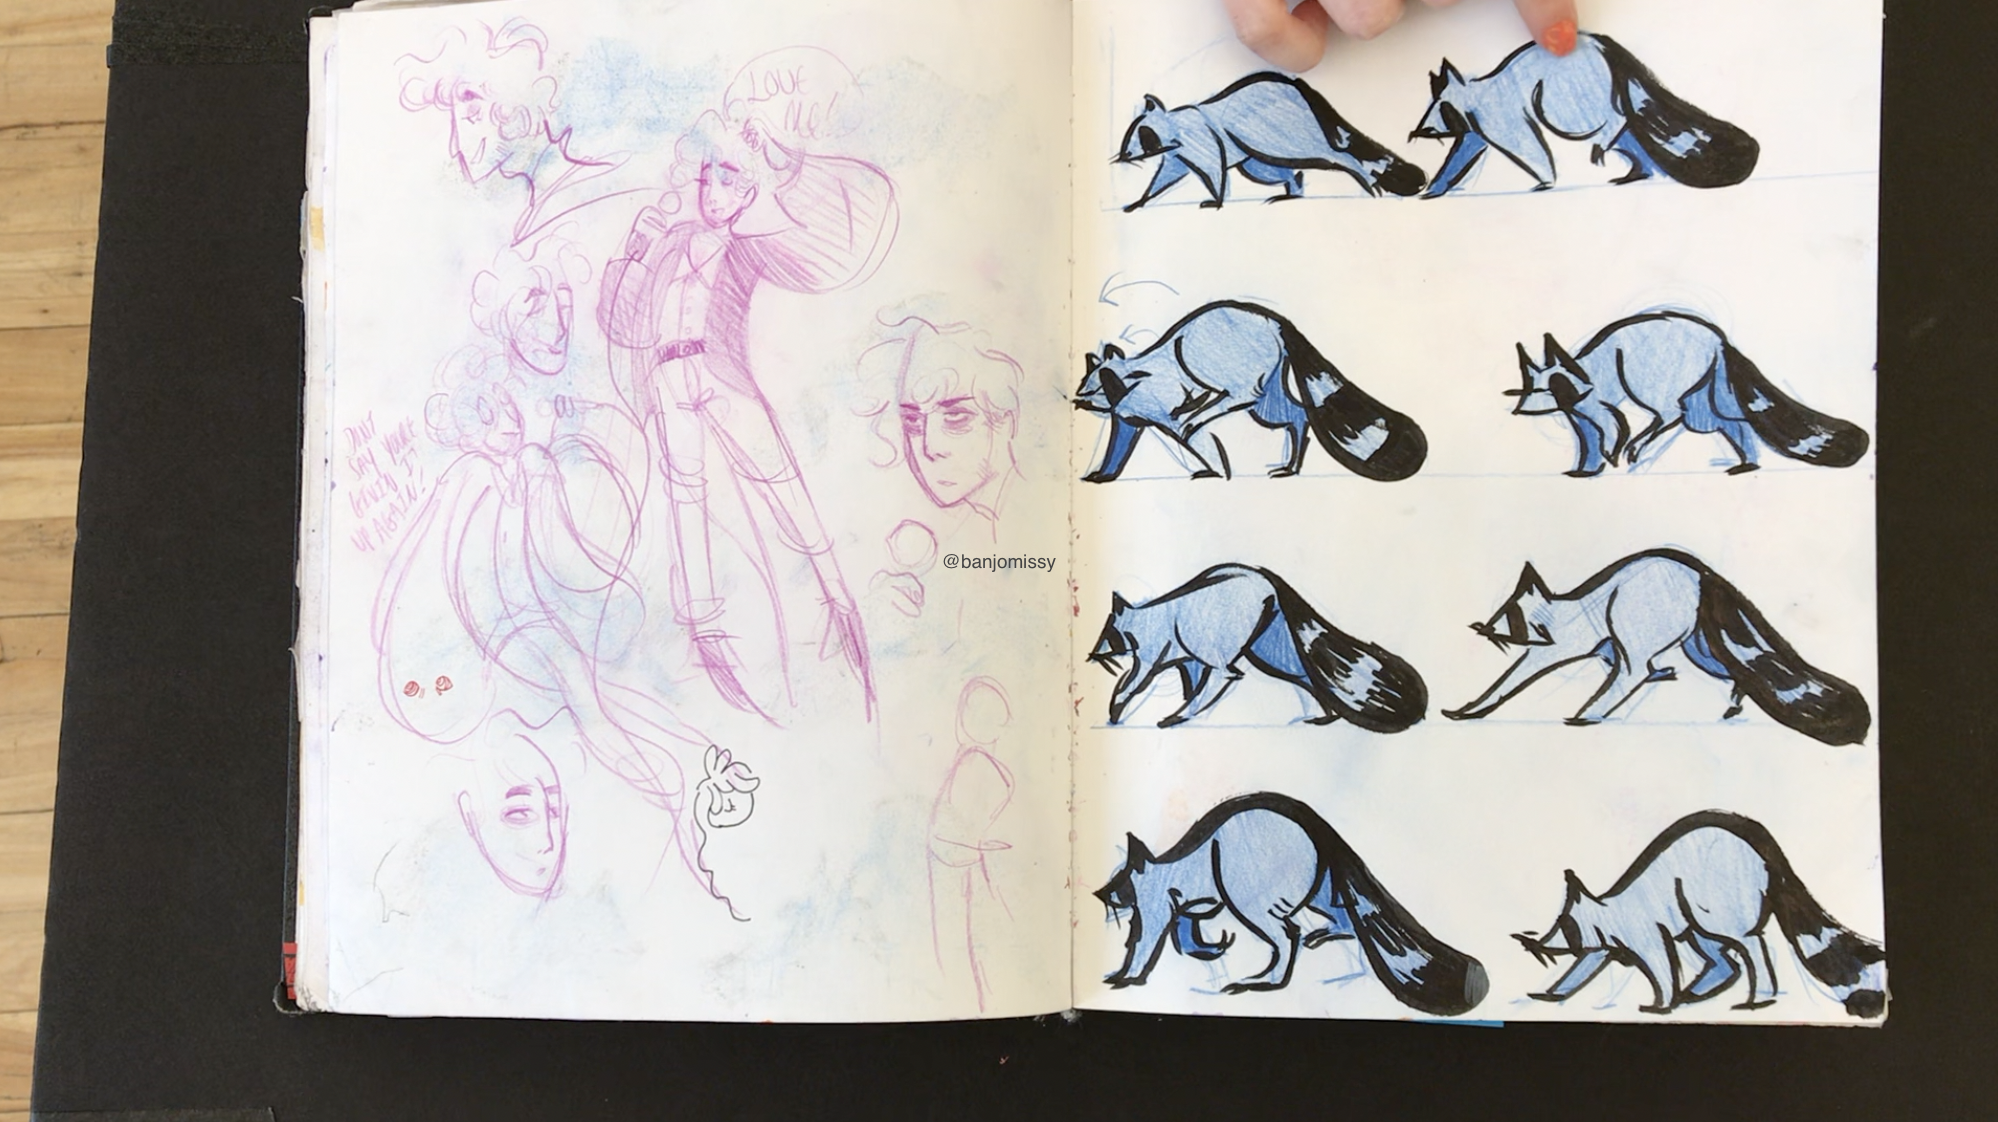
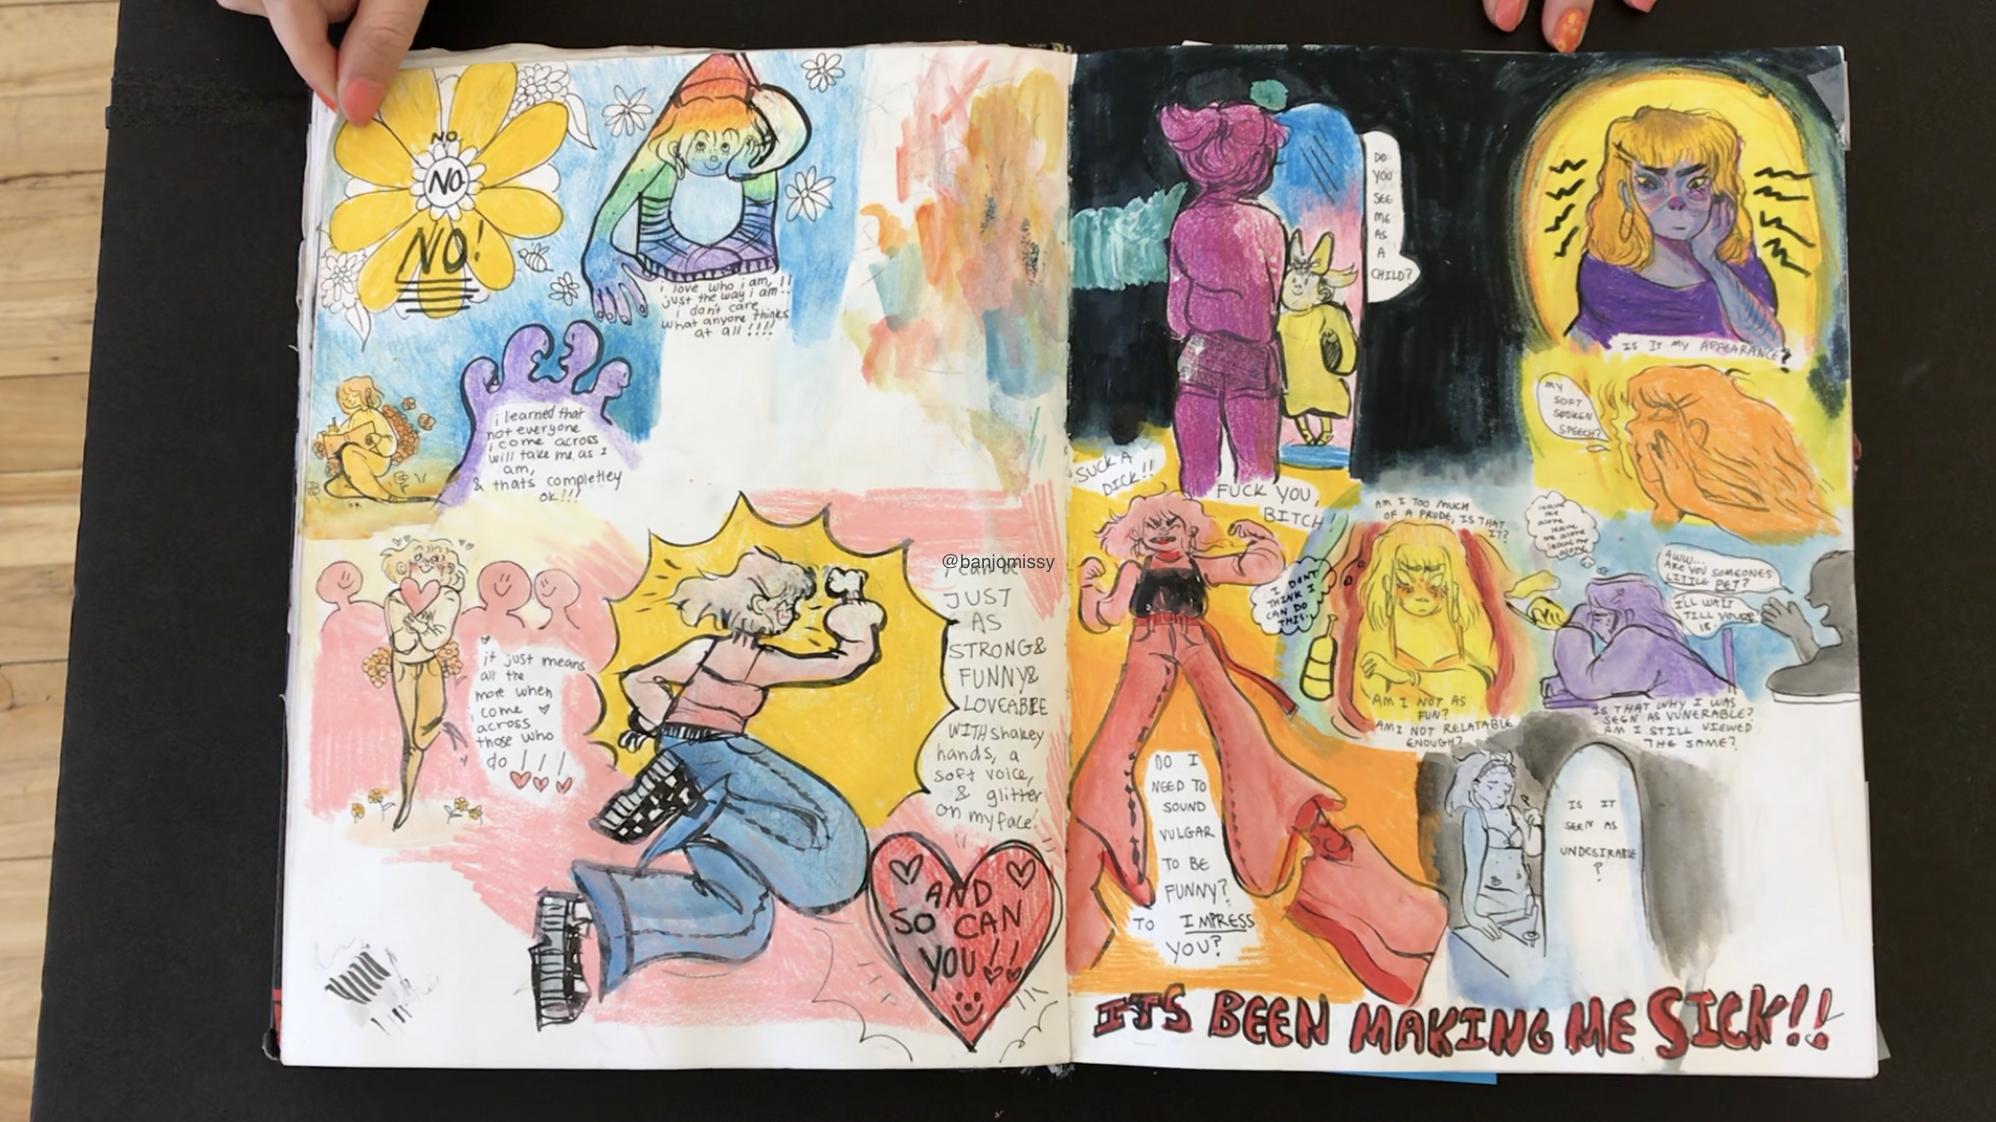
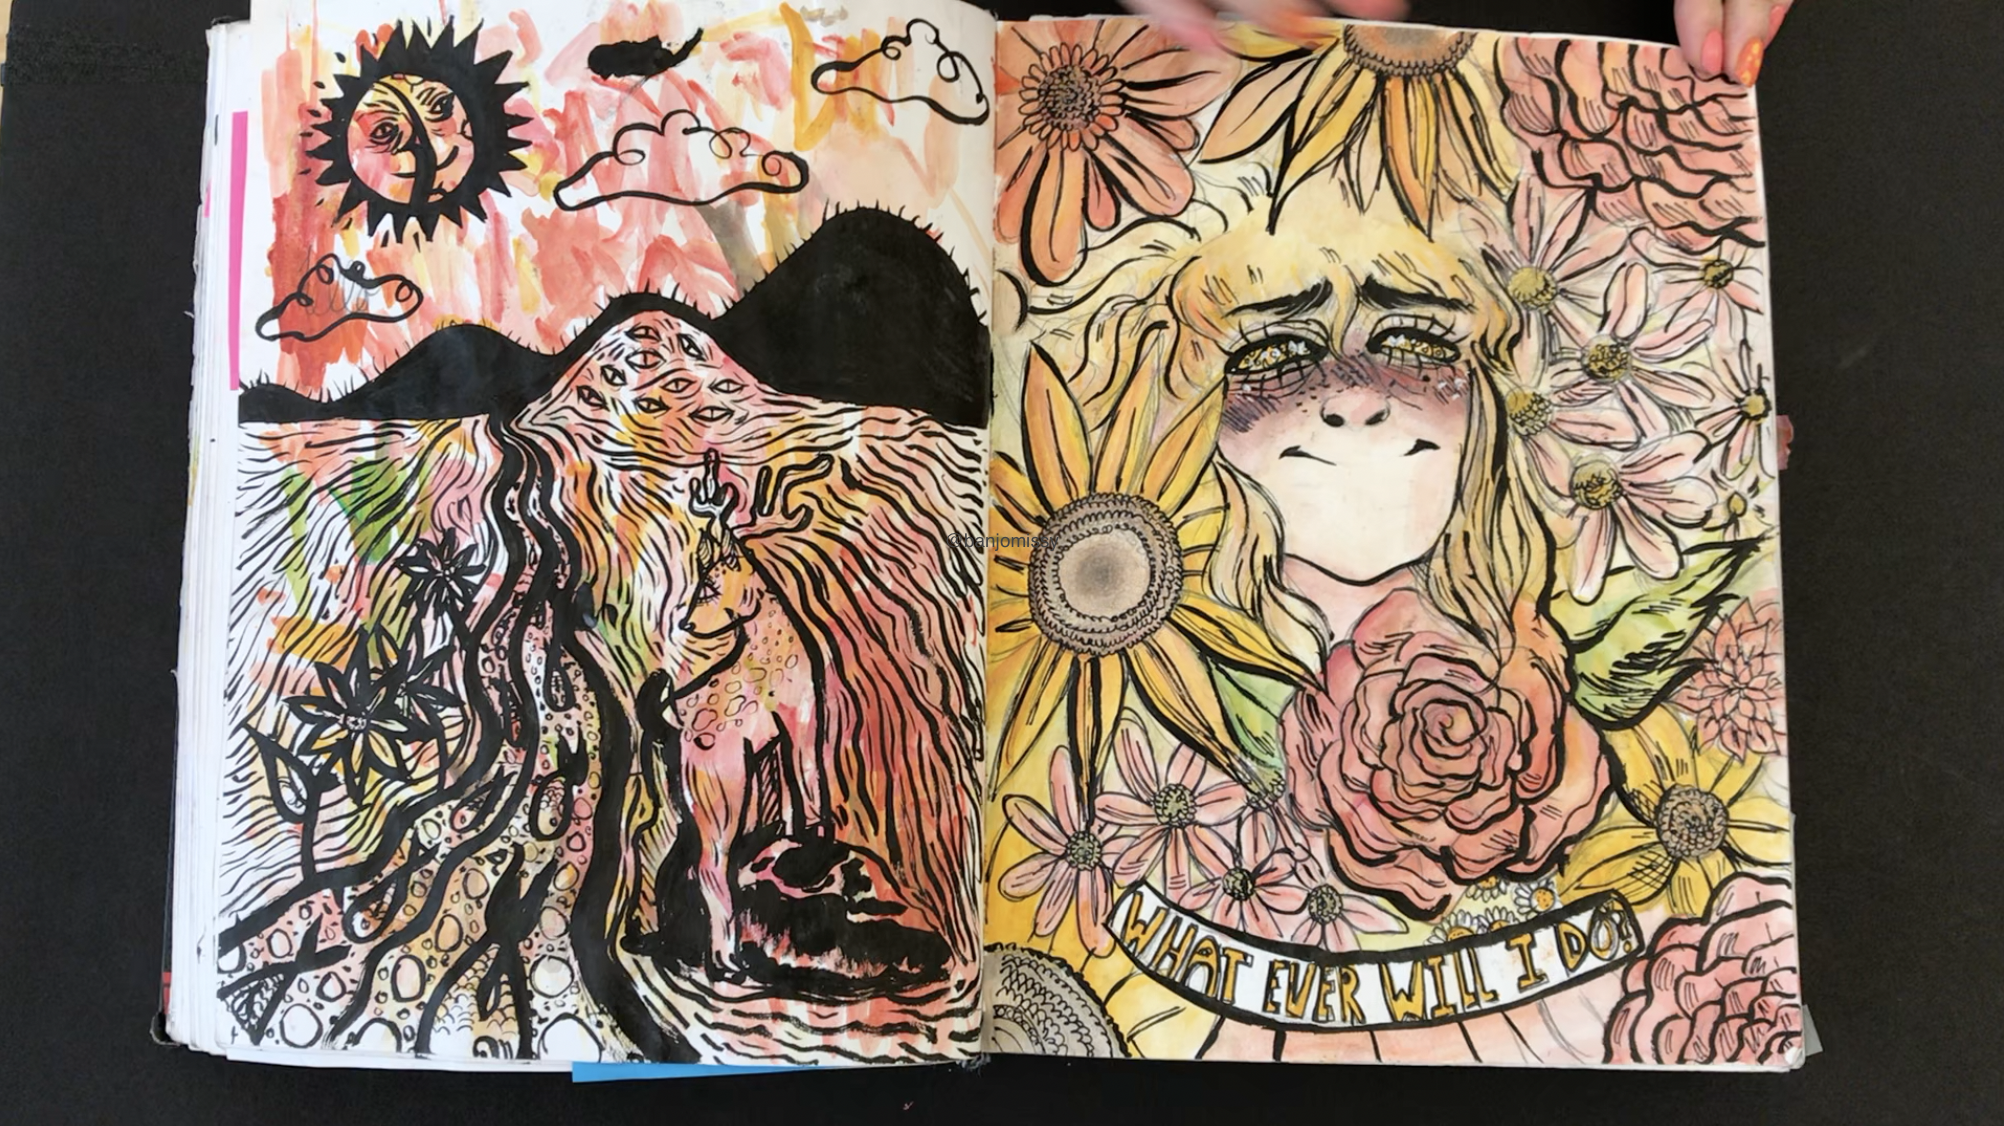
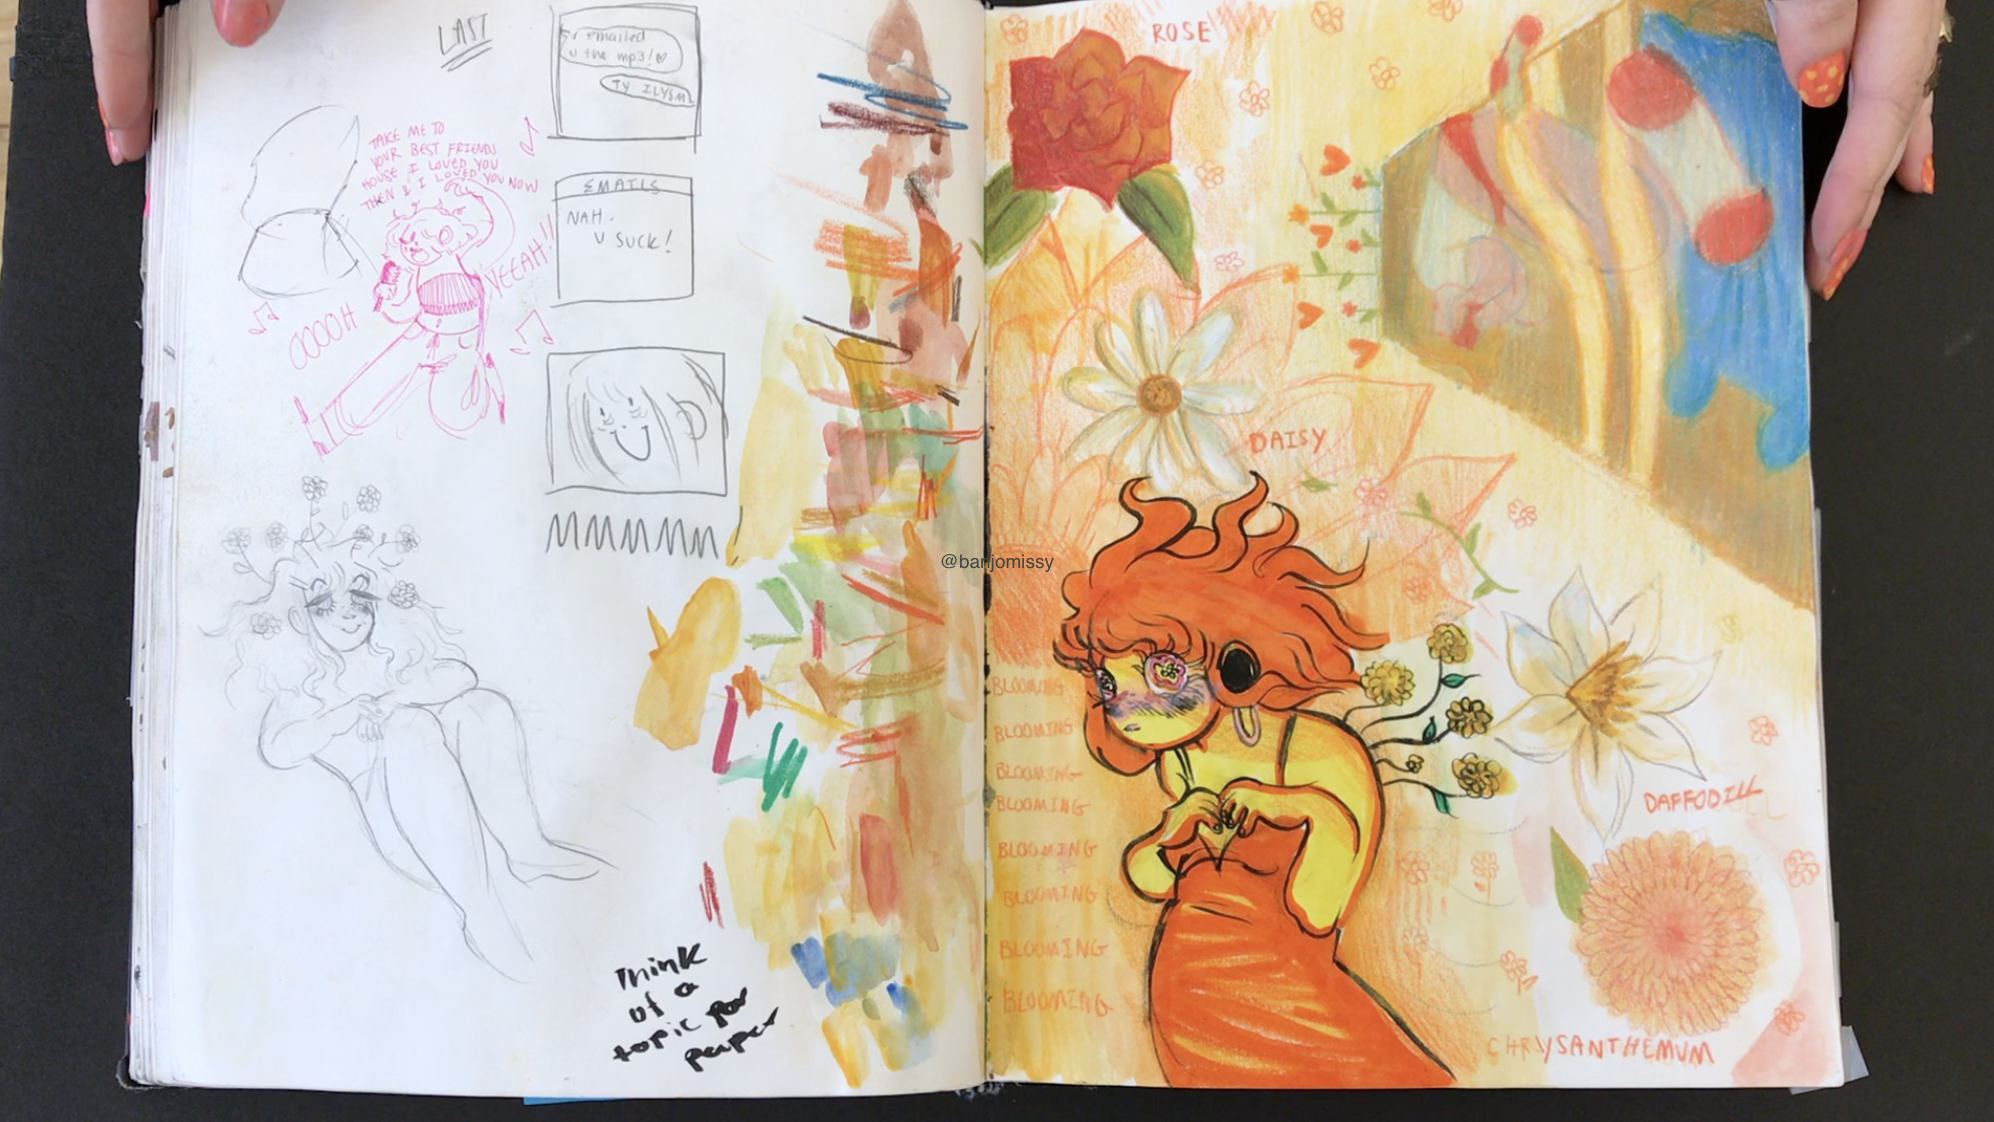
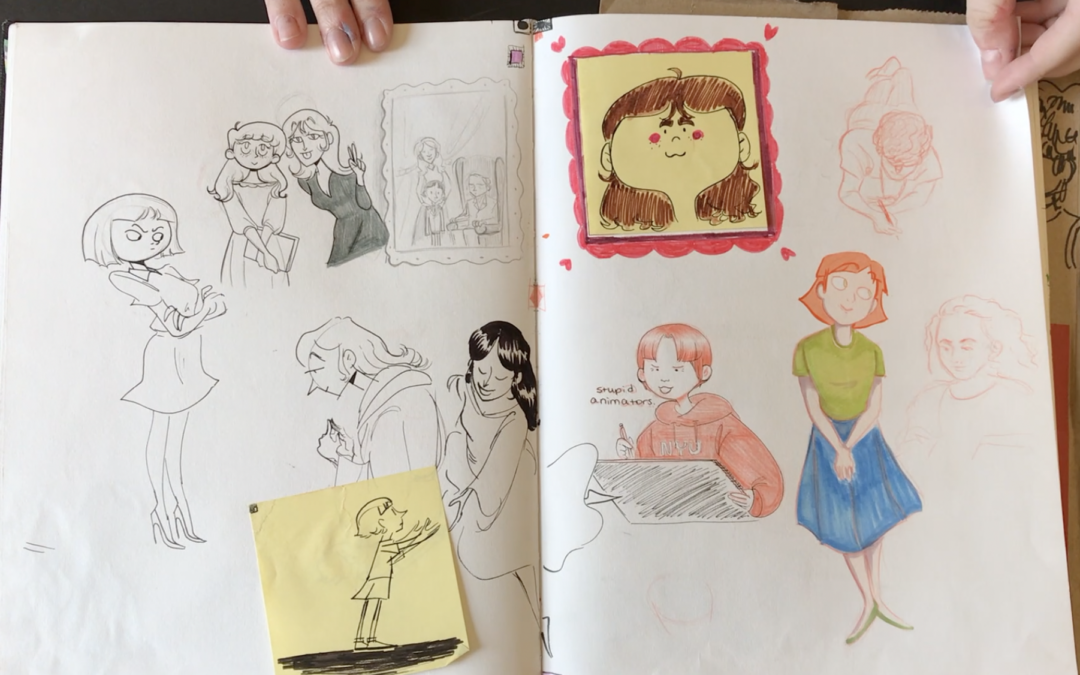
Coe is a student currently enrolled in my foundation drawing class at the School of Visual Arts. I’ve always been a big fan of Coe’s life drawings in class since very early on in the semester. When they had agreed to film a sketchbook video I was super excited.

Coe’s Sketchbook drawings really inspire me, specifically their line drawings of birds and other animals. The line used to draw birds is spectacular and only improving with each passing week.

Coe works is really unique and authentic. Coe thank you so much for sharing your art!


Check out Coe’s Instagram. Thanks again Coe for sharing your art.


Isaac Levitan – Master Landscape Painter

Isaac Levitan – Master Landscape Painter

I discovered the work of Isaac Levitan roughly one year ago. I wish I knew of his work back in the day when I first started working as a freelance illustrator. Isaac Levitan is a master landscape painter. You can really see in this one painting how he captures light, squint at it.

He is really known for capturing both mood and light. One of my biggest struggles as a painter when first starting out was capturing light. I simply didn’t know what to do.

I discovered later that incorporating shadows was one way to capture light. Without shadows there can be no light. However what I didn’t realize is that you have to incorporate both shadows and cast shadows. Cast shadows are really where it’s at in terms of capturing light. 

As an image maker you always want to think about the time of day. In this particular Levitan painting it is mid day, therefore there are no long cast shadows. One would incorporate long cast shadow during the late afternoon. Makes sense right, however this is really easy to overlook when we sit down to create our art whether with brush or pencil.

I just recently finished a brand new master class lesson showcasing the work of Isaac Levitan. In this master class series I do my best to analyze the work of different artists. Analyzing the work of these old masters is a great way to learn different techniques. When you study a multiple pieces of the artist’s work, that is when you discover trends.

Most artists tend to use the same techniques over and over again. We like to feel comfortable when creating. 

Take a moment to study your own work. Not just one piece but a bunch of them. Do you see shadows and cast shadows? If you don’t then you will want to study the work of Isaac Levitan further.


If you would like to watch this MasterClass in it’s entirety along with nine others consider a membership to Drawing Tutorials Online.


Dennis’s Sketchbook – Quiet & Cool

Dennis’s Sketchbook – Quiet & Cool

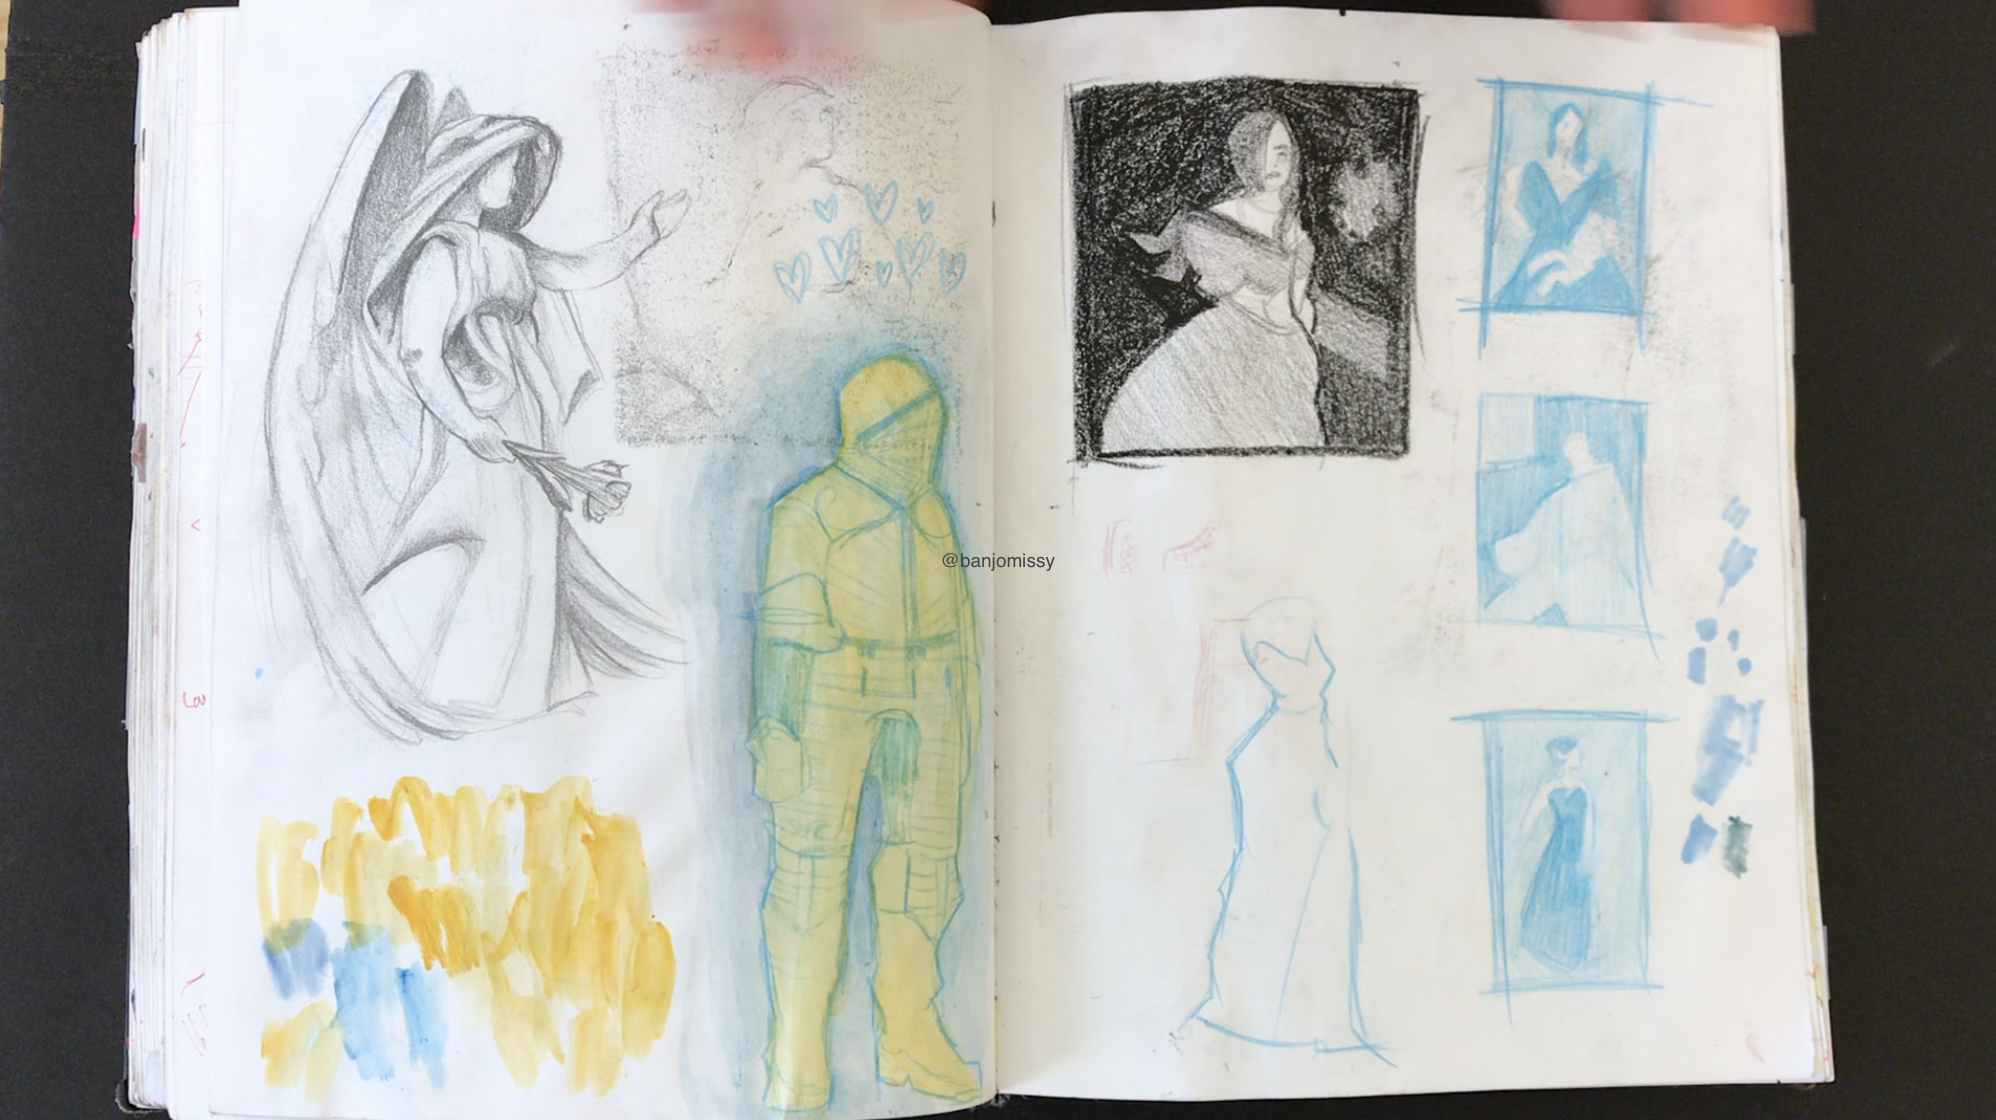
Dennis is a student currently enrolled in my foundation drawing class at the School of Visual Arts. Dennis is certainly a quiet student who goes about his learning in a methodical way.

You can really see the progress Dennis makes in his sketchbook. Towards the end his drawings just take on a whole different feel. They becomes much more relaxed. Dennis’s drawings look much more refined.

It really is amazing what can happen when you push yourself to finish two sketchbooks in fifteen weeks. If you want to improve your artwork you just have to draw more. It’s really that simple. I’d like to say it’s about quality and not quantity, but it’s really about more versus less.

Specifically when learning how to draw. When it comes to creating pieces for a portfolio, then it’s quality over quantity, less is best.

Thank you for taking the time to take a look at Dennis’s sketchbook. I trust you will see his progress.


Check out Dennis’s Instagram. Thanks again Dennis for sharing your art.


Fitting The Head Onto The Body

Fitting The Head Onto The Body

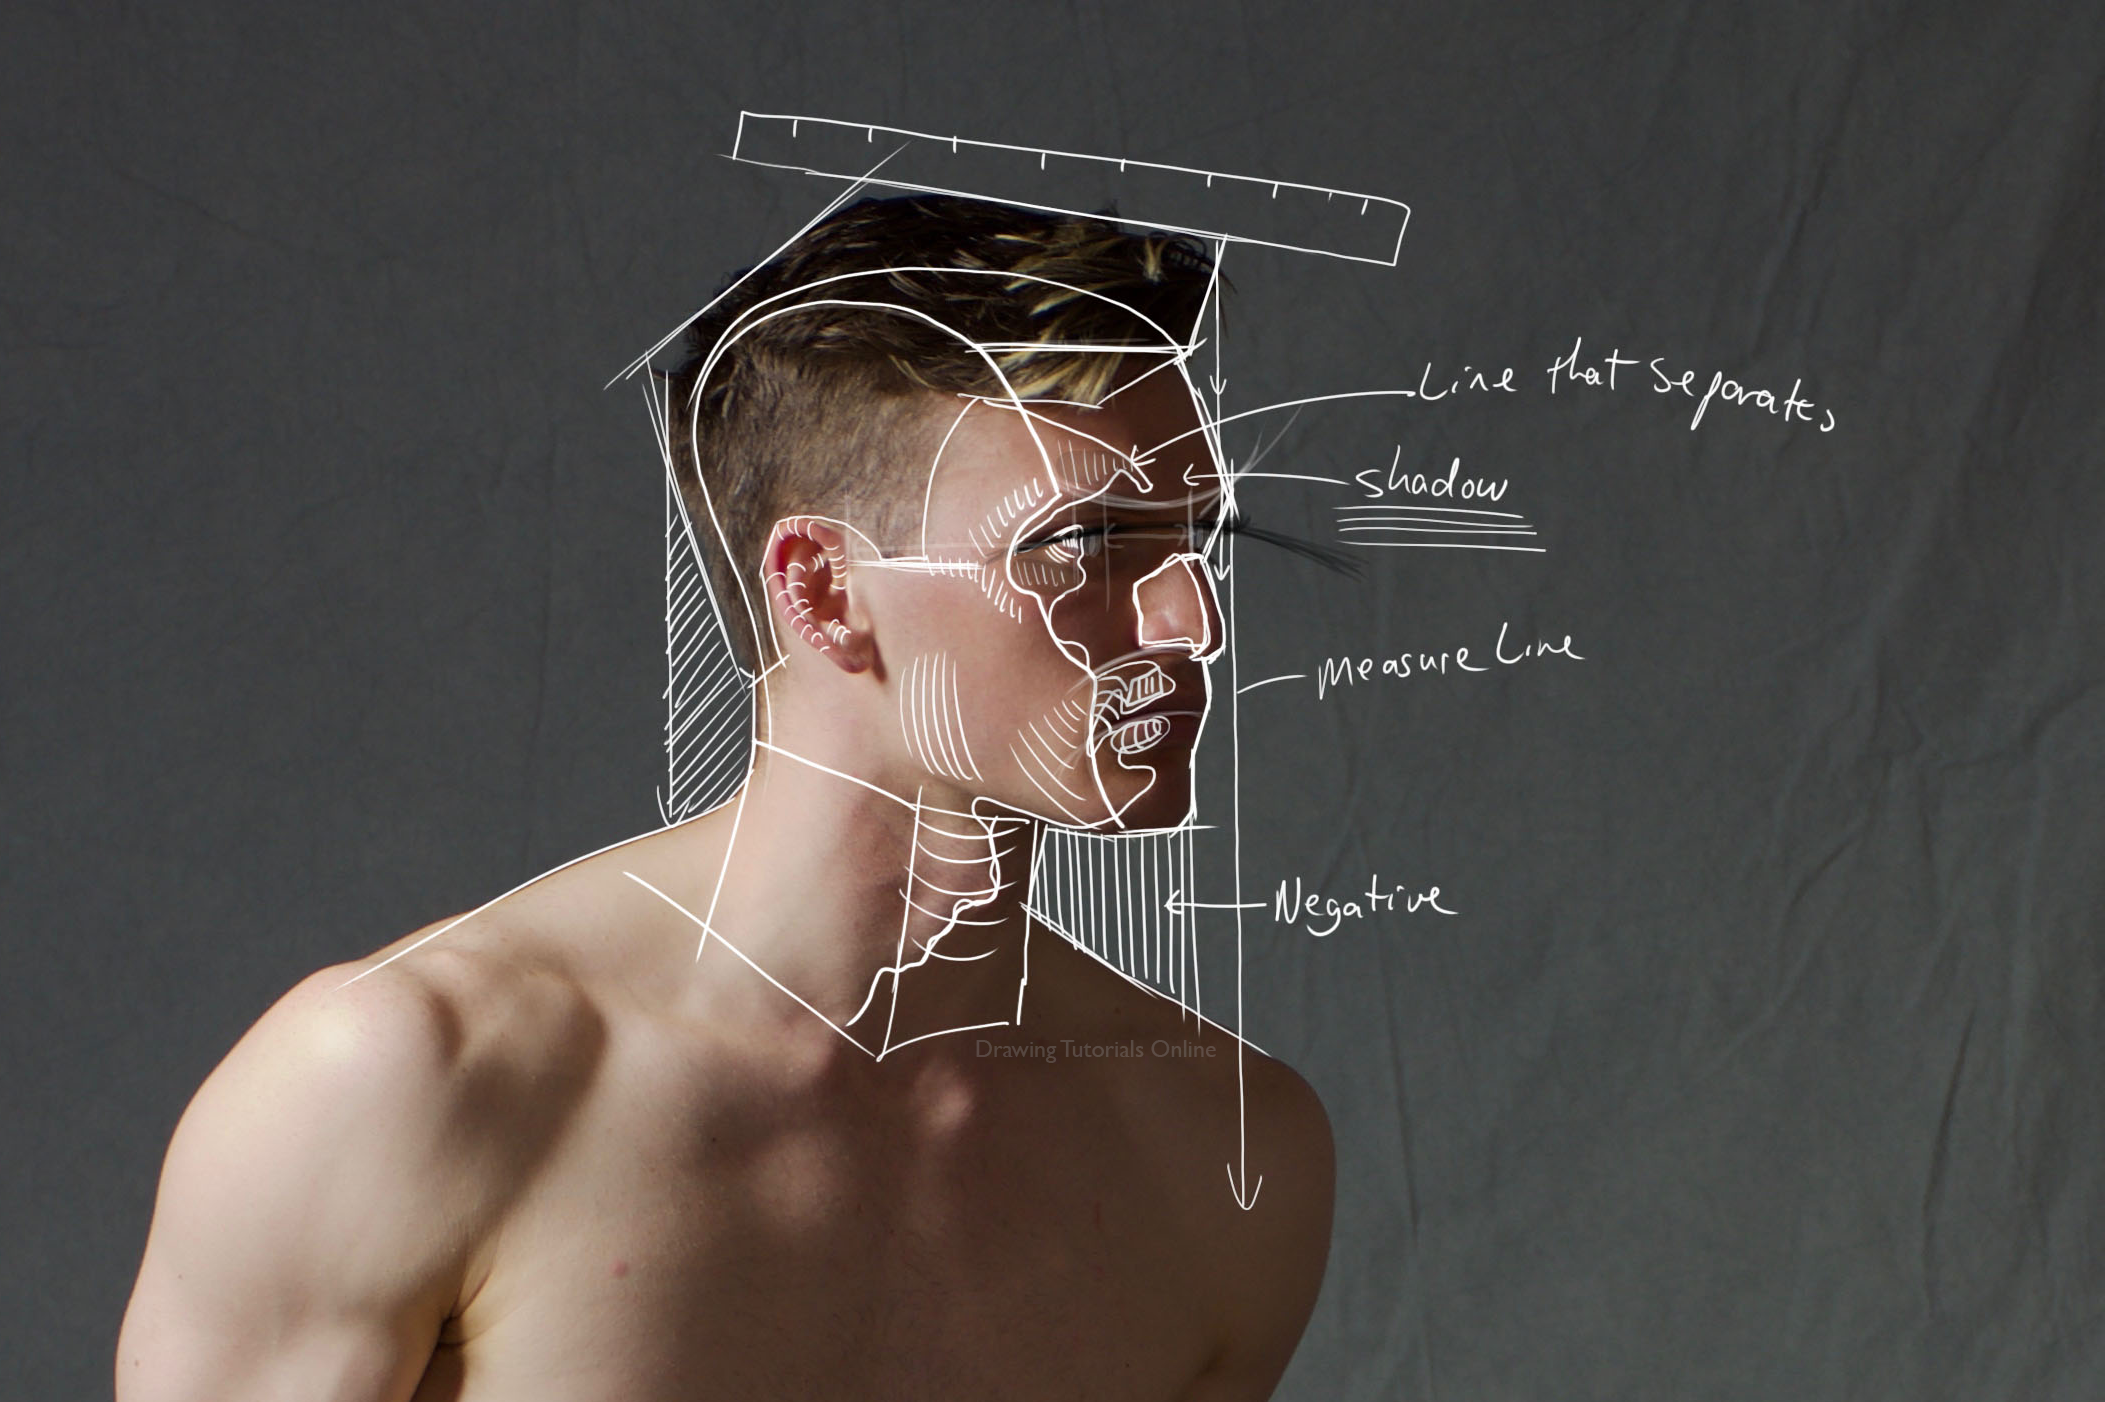
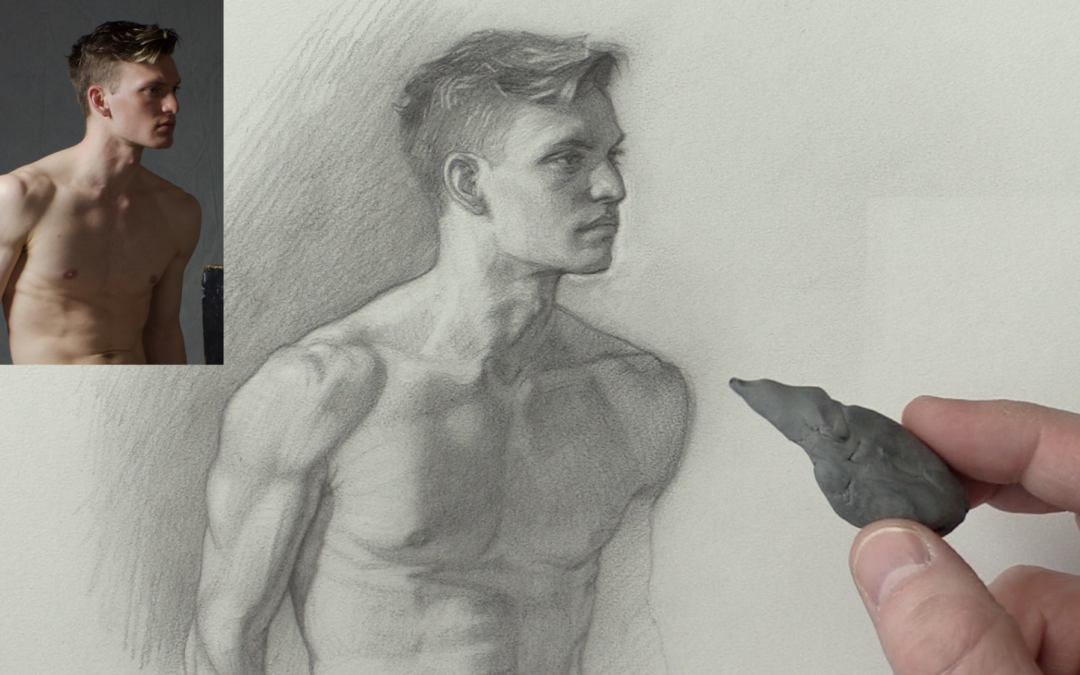
In this very short figure drawing lesson I’d like to share with you how I begin to fit the head onto the shoulders. The two key words are short and begin.

In case you have not noticed I am a big believer in repetition in the mother of skill. I tend to teach the same things over and over again because they work for me. I have also seen these techniques work in the classroom on a weekly basis.

The main crux is to use targets to start fitting the head onto the shoulders. There are few other little techniques you can incorporate into the mix.

One, do your best to gesture into the head. In the video you can see How I use a gesture line from the side of the breast into the side of the face. Use long gesture lines whens fitting the head.

Two after the first few lines stop and get up off of your chair. Reset your eyes, looking out the window at something far away is a great way to do this. After you have reset your eyes come back to the drawing. You will immediately see what is working and what is not.

When we sit down for long period of time we loose site of the drawing in terms of proportions.

So the three keys, use some light target lines to start placing the head onto the shoulders. Incorporate one or two gesture lines to flow into the head as well. Within a minute or two of placing these initial lines get up and look at your drawing from far away.

Try these three techniques the next time you are working on a figure drawing.


If this technique helps you please leave a comment below. I’d love to hear anything you can add to conversation. If you have tried this technique and are still having issues with fitting the head onto the body I would like to help.

I would be happy to critique your work each and every Monday in our members Critique Gallery. It’s a cool place to get feedback on your work without all of the negative commentary you find on social media.