First Lines When Drawing A Portrait – Process

First Lines When Drawing A Portrait – Process

I just recently added a brand new portrait drawing course in the member’s area over at Drawings Tutorials Online. This particular course focuses on drawing smaller portraits.

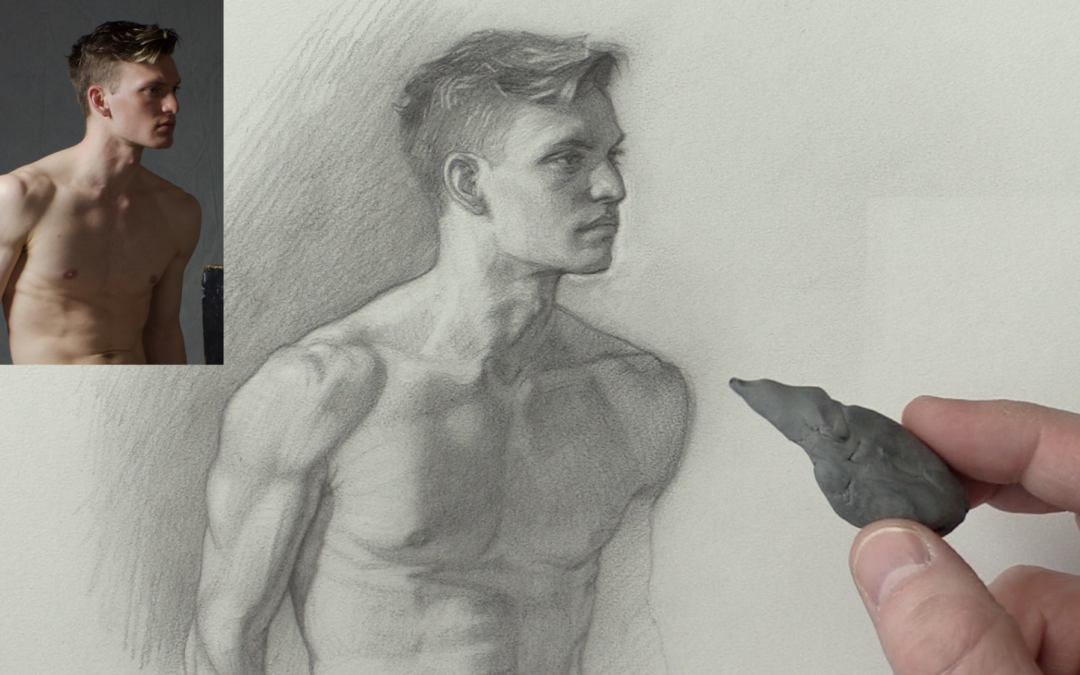
With every course, I like to review certain techniques via a screencast video. This particular video reviewed how I start a portrait drawing. Especially a smaller one, say about two inches tall.

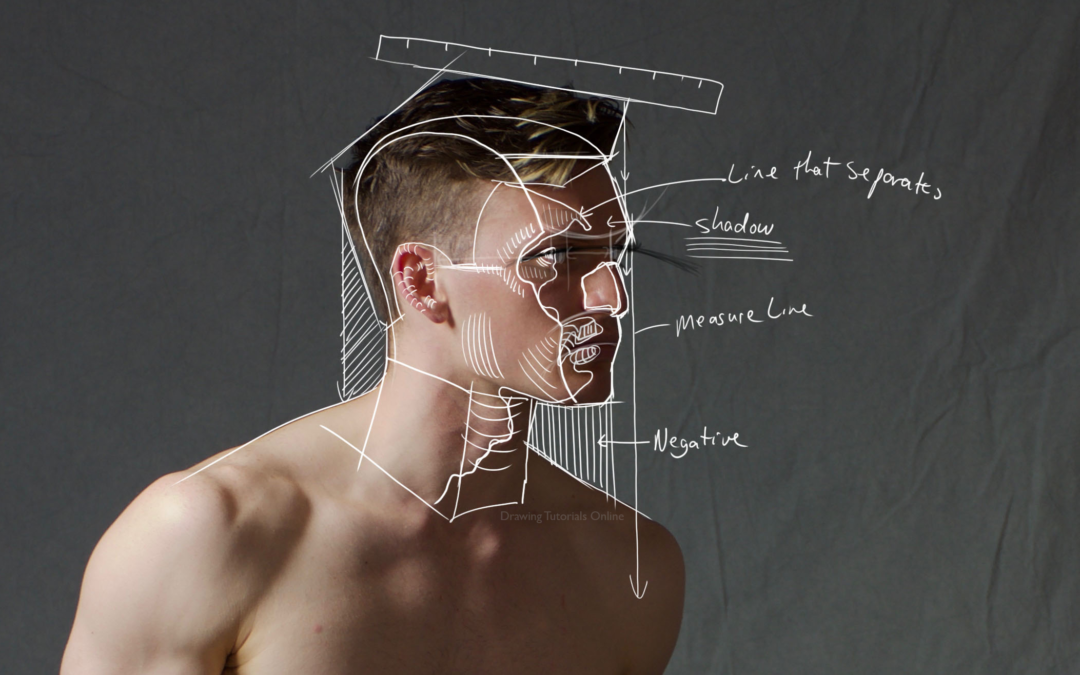
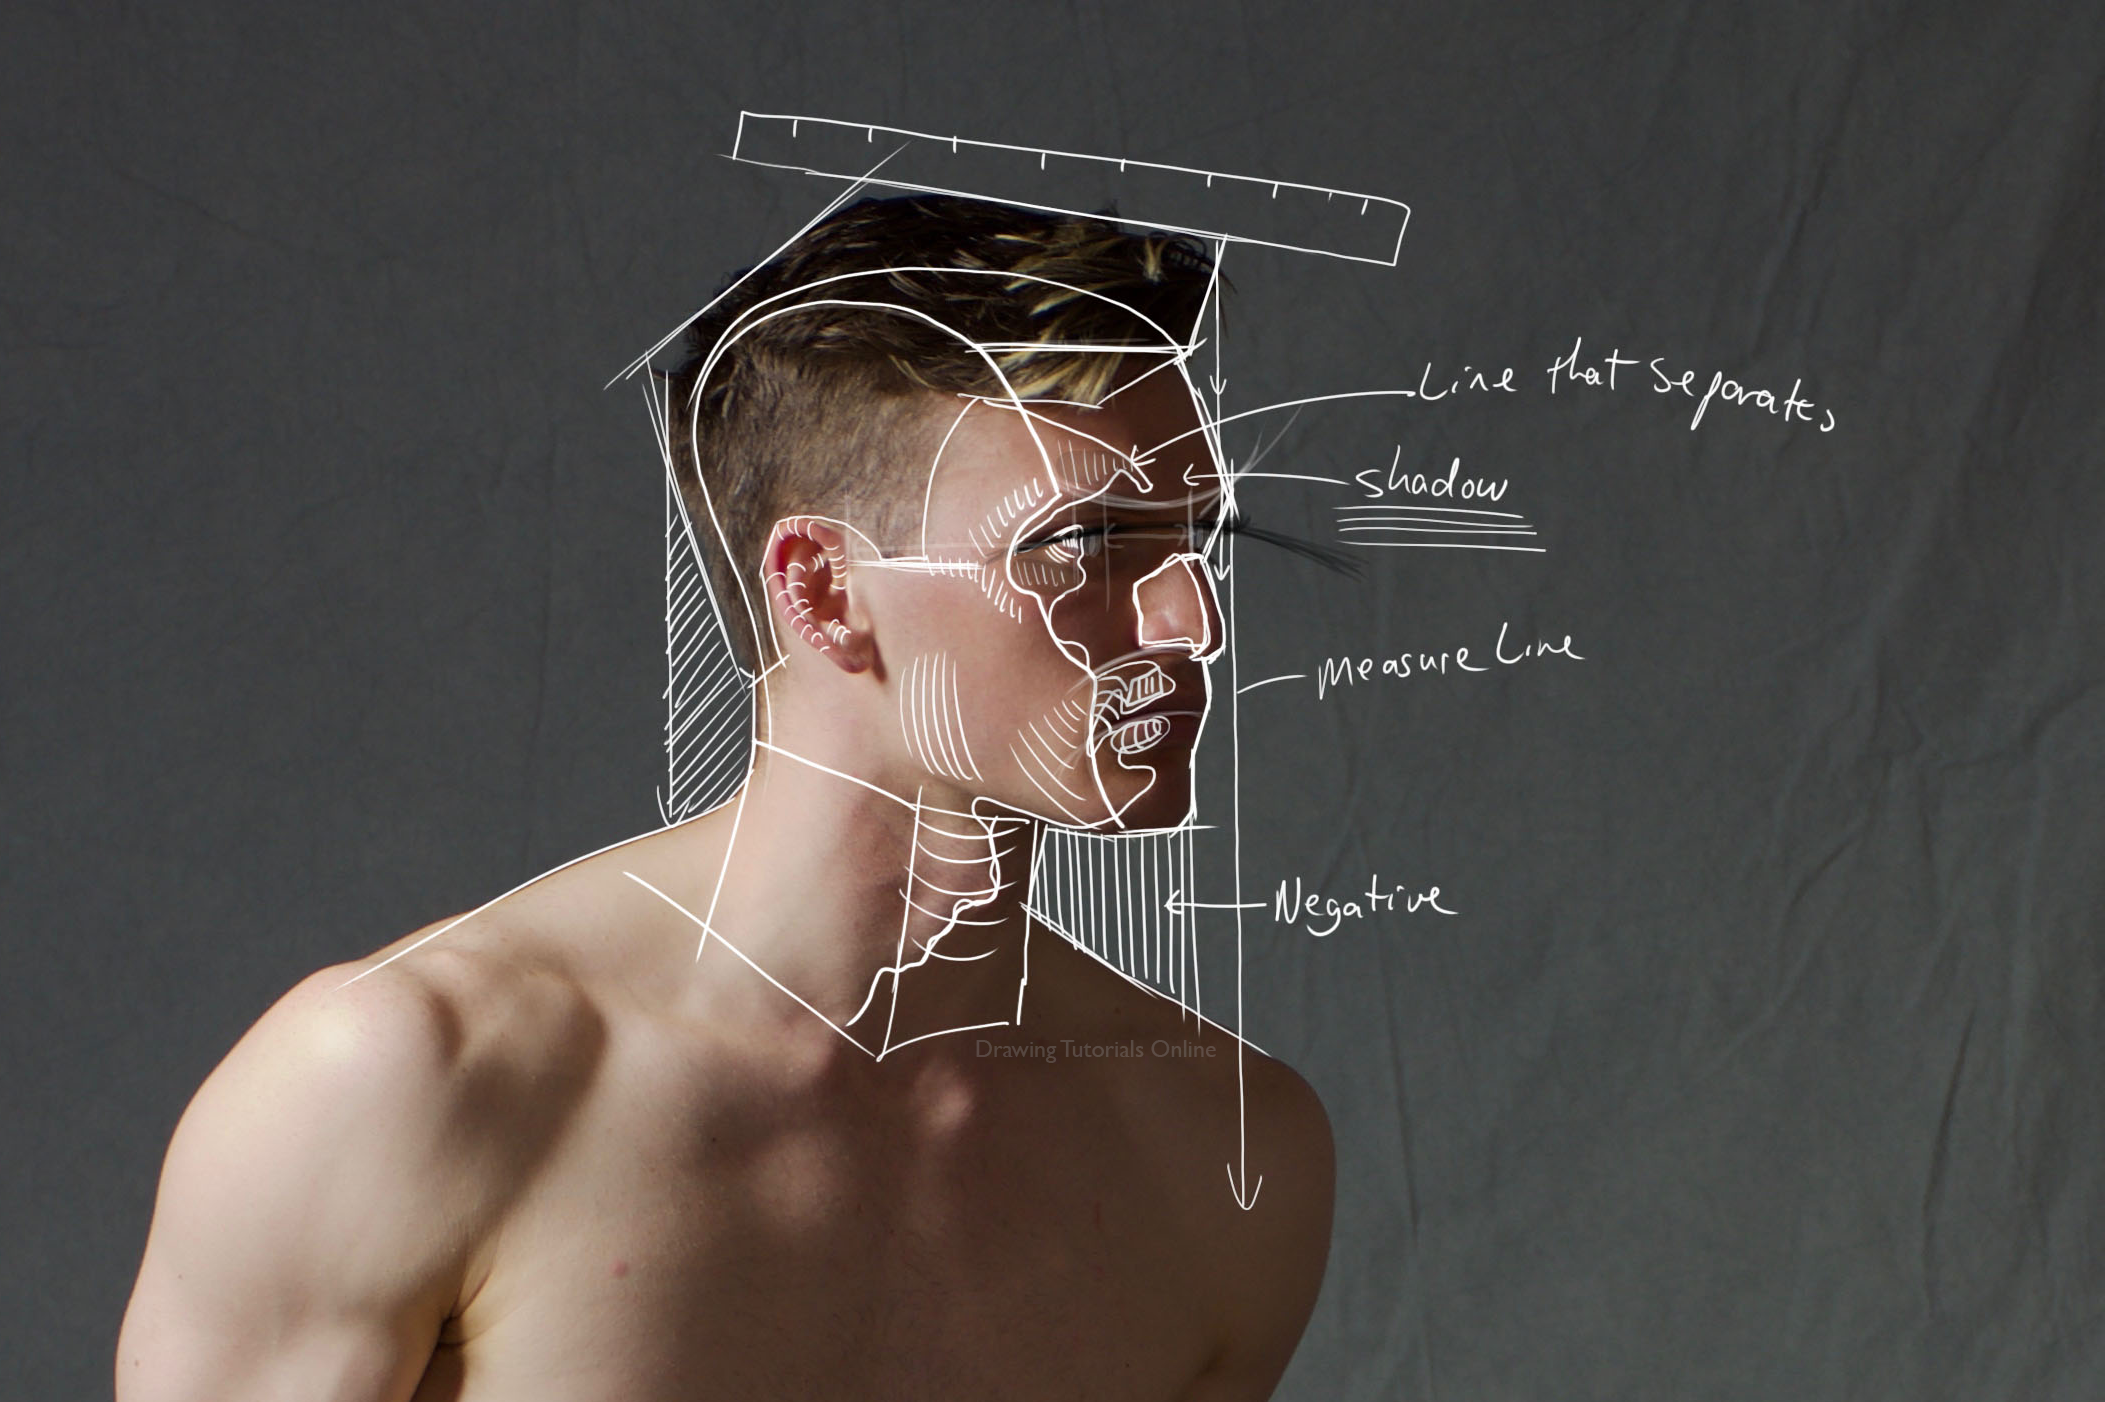
I always start with the angles, combined with measure lines and negative space. Nothing new right?

No, it’s not new, I have been teaching these same techniques for many years. Unfortunately, I still see many artists who struggle with drawing a likeness. Don’t fall into the trap of just knowing the techniques because you have heard about them.

You have to constantly practice these portrait drawing techniques over and over again until you master them. It’s not enough to just know them in theory. You need to put them into practice.

Just replace the white lines in the video within photoshop with pencil lines on your drawing pad. Start off with light pressure at first.

Enjoy the video.


If you are interested in learning many more techniques similar to these consider a membership to Drawing Tutorials Online.

 

Drawing A Small Portrait

Drawing A Small Portrait

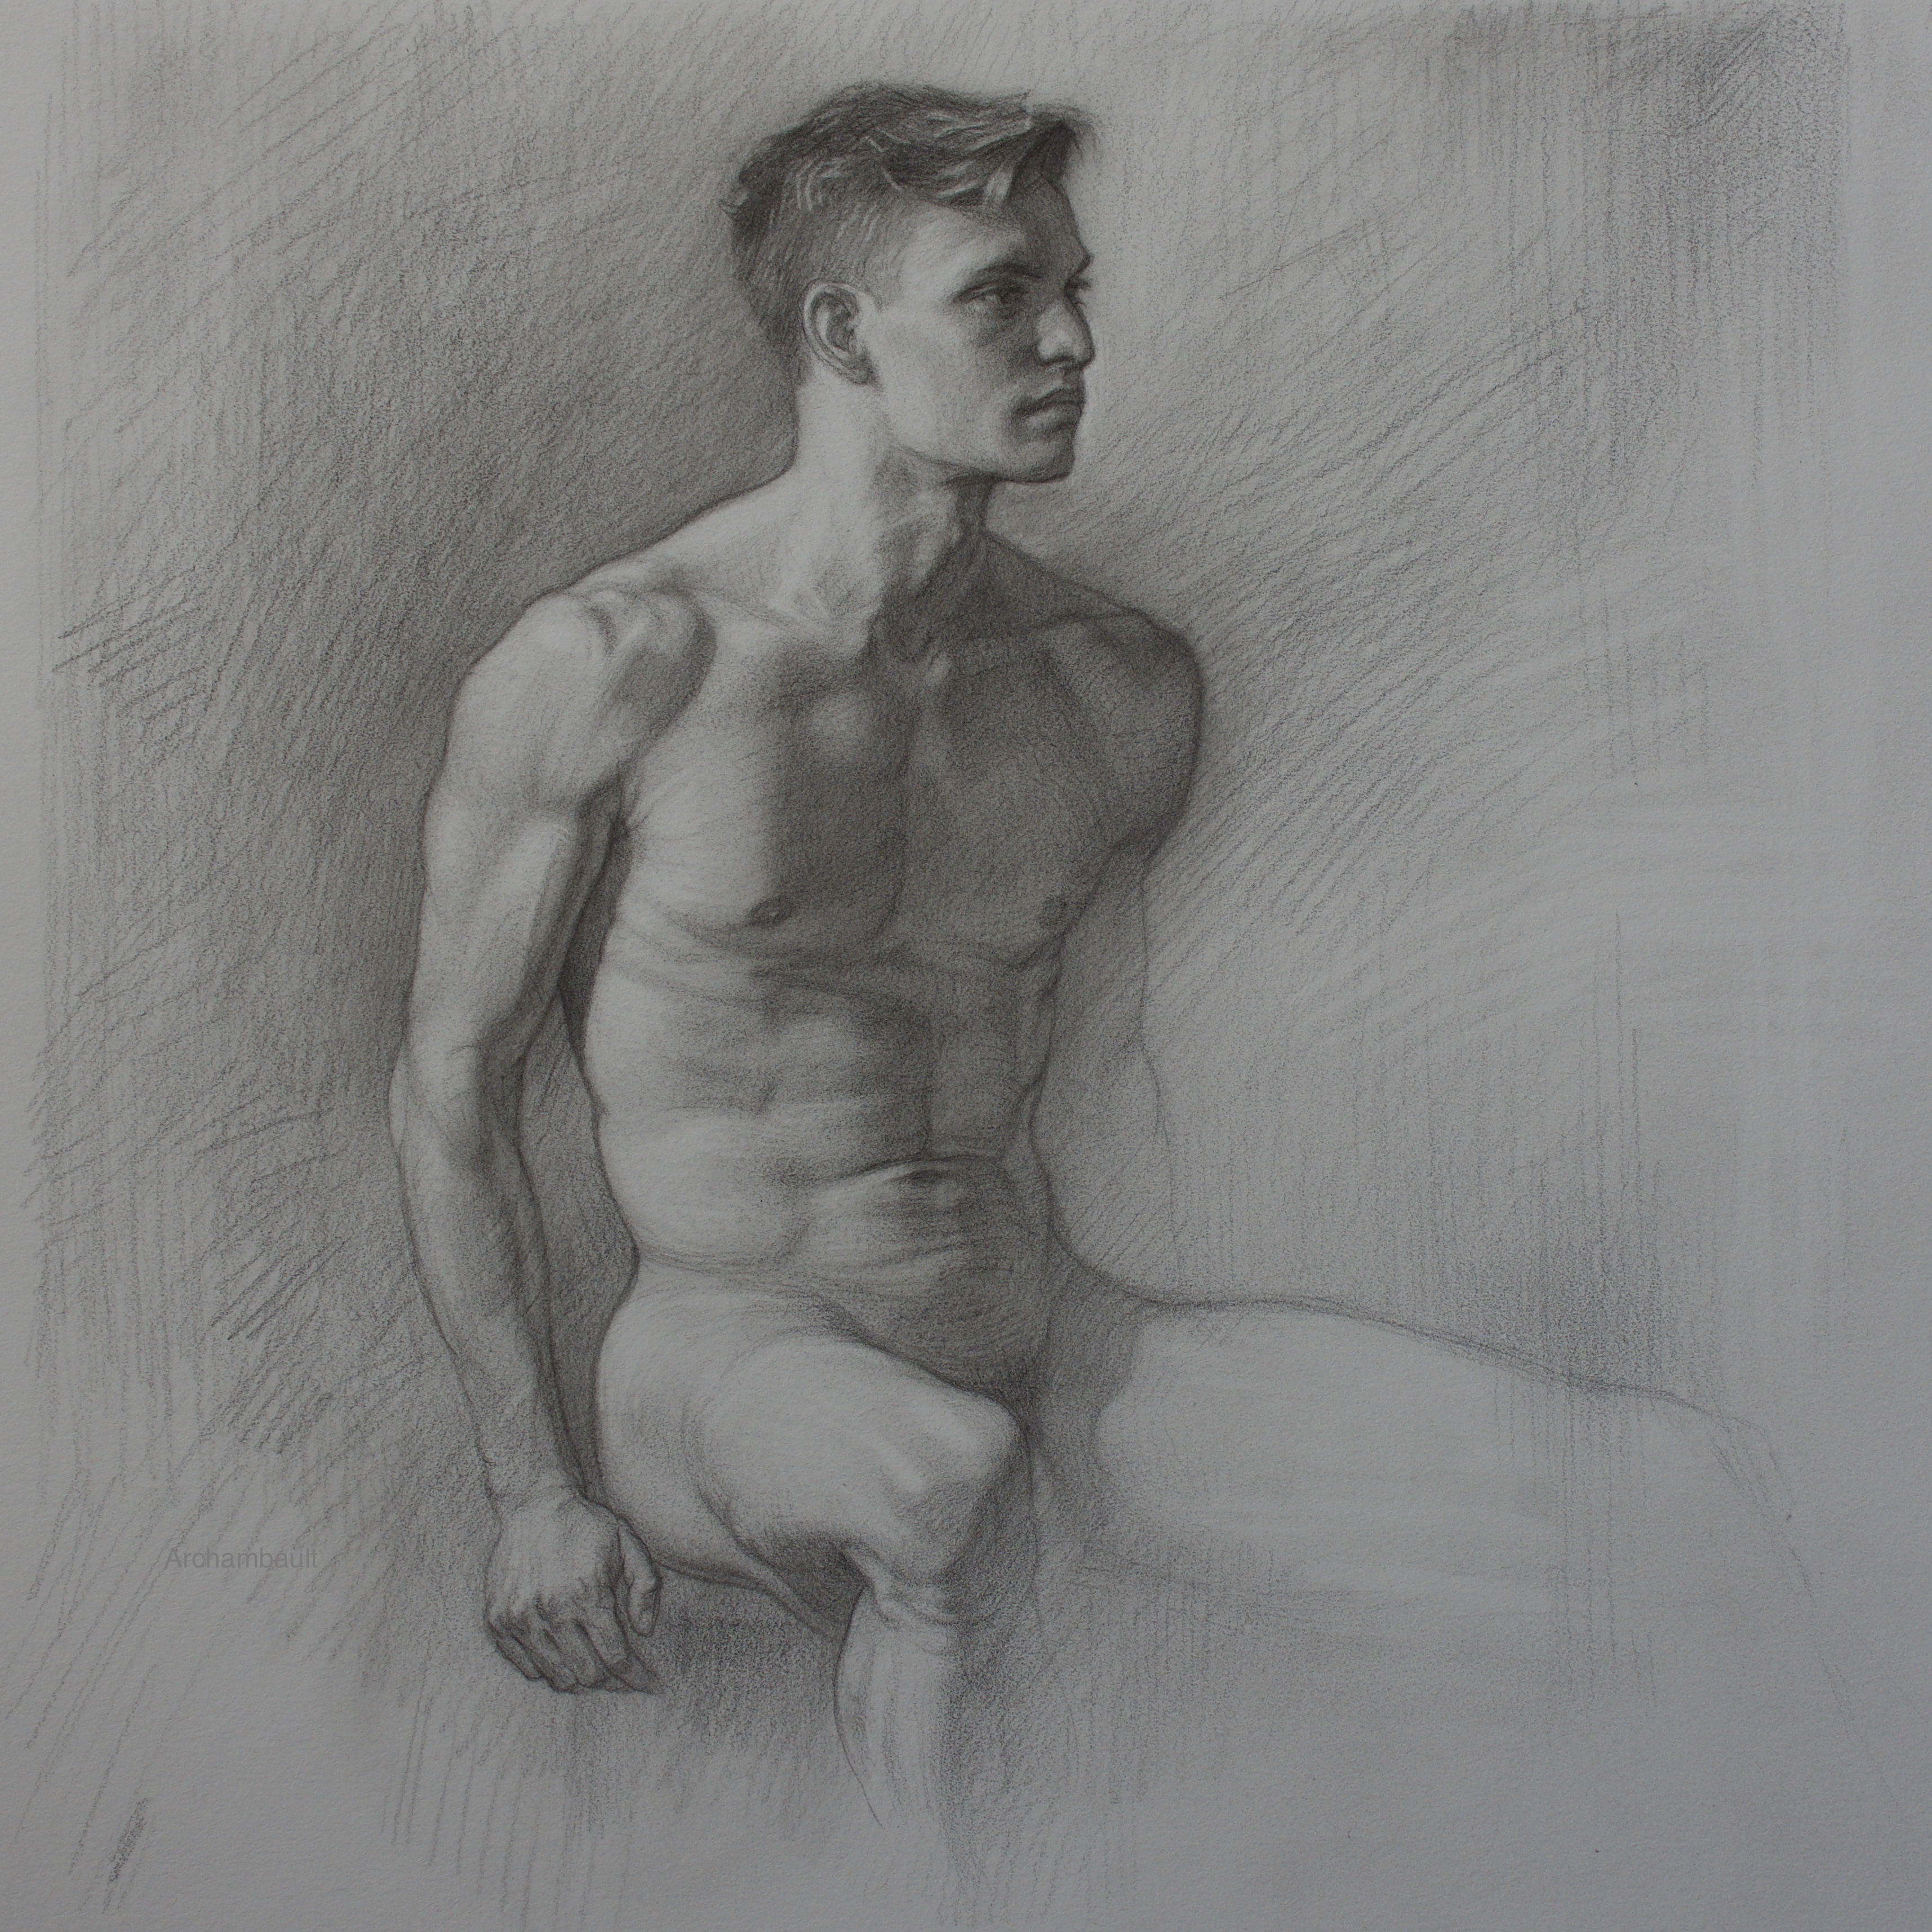
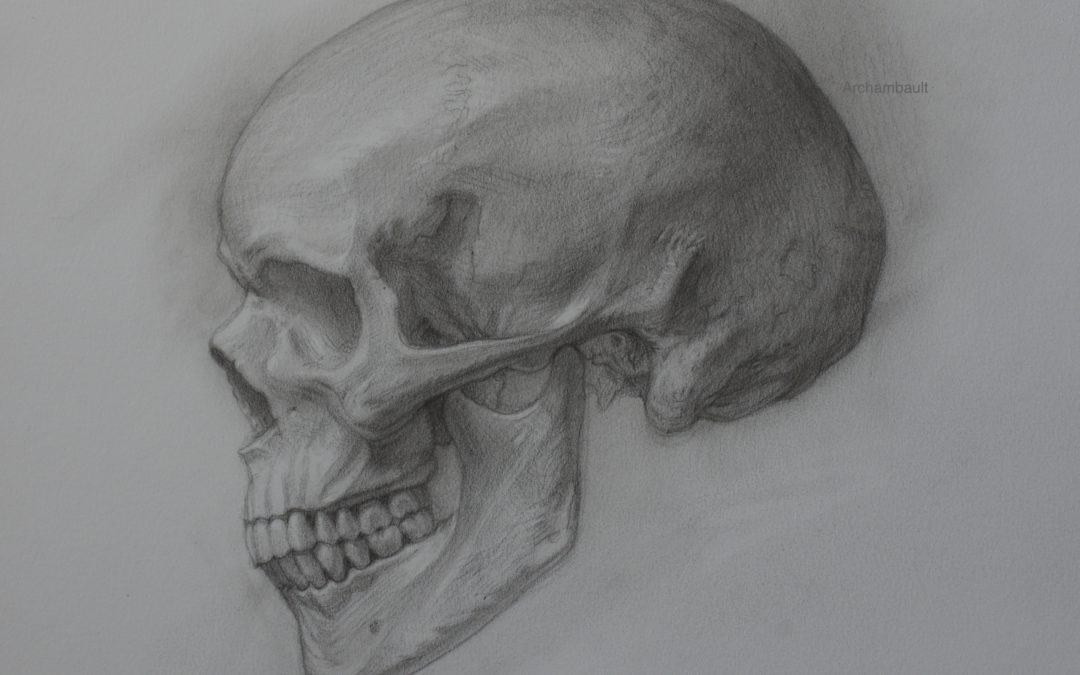
Have you ever worked on a figure drawing where the head was really small? Did you ask yourself, how am I supposed to draw so small? The eye is the size of my pencil point.

I’ve been there too, many times. What I have learned over the years of painting smaller portraits on book covers is that shadow shapes are your best friend. 

You really do not want to start outlining little details like the bottom of the nose or say the eye lashes. You first want to block in shapes of shadow. Then you can gradually build up some softer tonal shifts to resolve the features. As you progress you can then start to use some crisper line.

Now I completely understand not every artist works with tone. If this is the case you’ll still want to draw shapes first, not features. If you work with line only you do not have to shade in these shapes.

The key takeaway from this short video, use light and shade to your advantage when drawing small. Also less is best. With a smaller portrait you have to know when to stop. Adding too much detail can take you down a road of heartache.


If you are interesting in learning more, you can check out the full course within the members area of Drawing Tutorials Online. Consider signing up to DTO. You will immediately gain access to all of our comprehensive course listing.


Anna’s Sketchbook – Animator’s Delight

Anna’s Sketchbook – Animator’s Delight

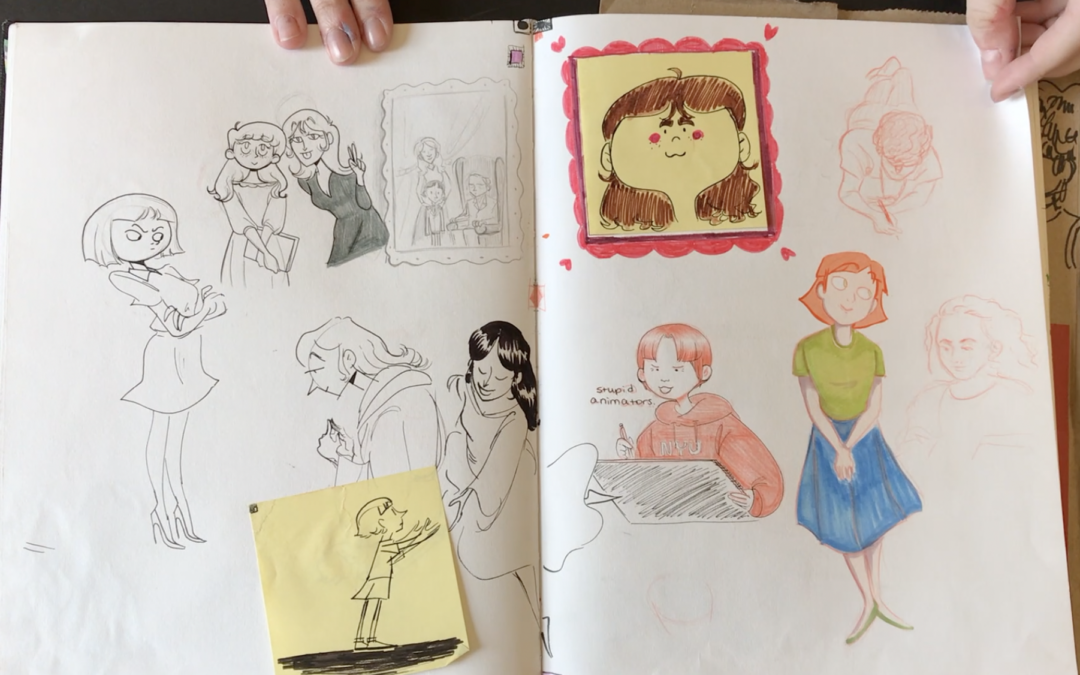
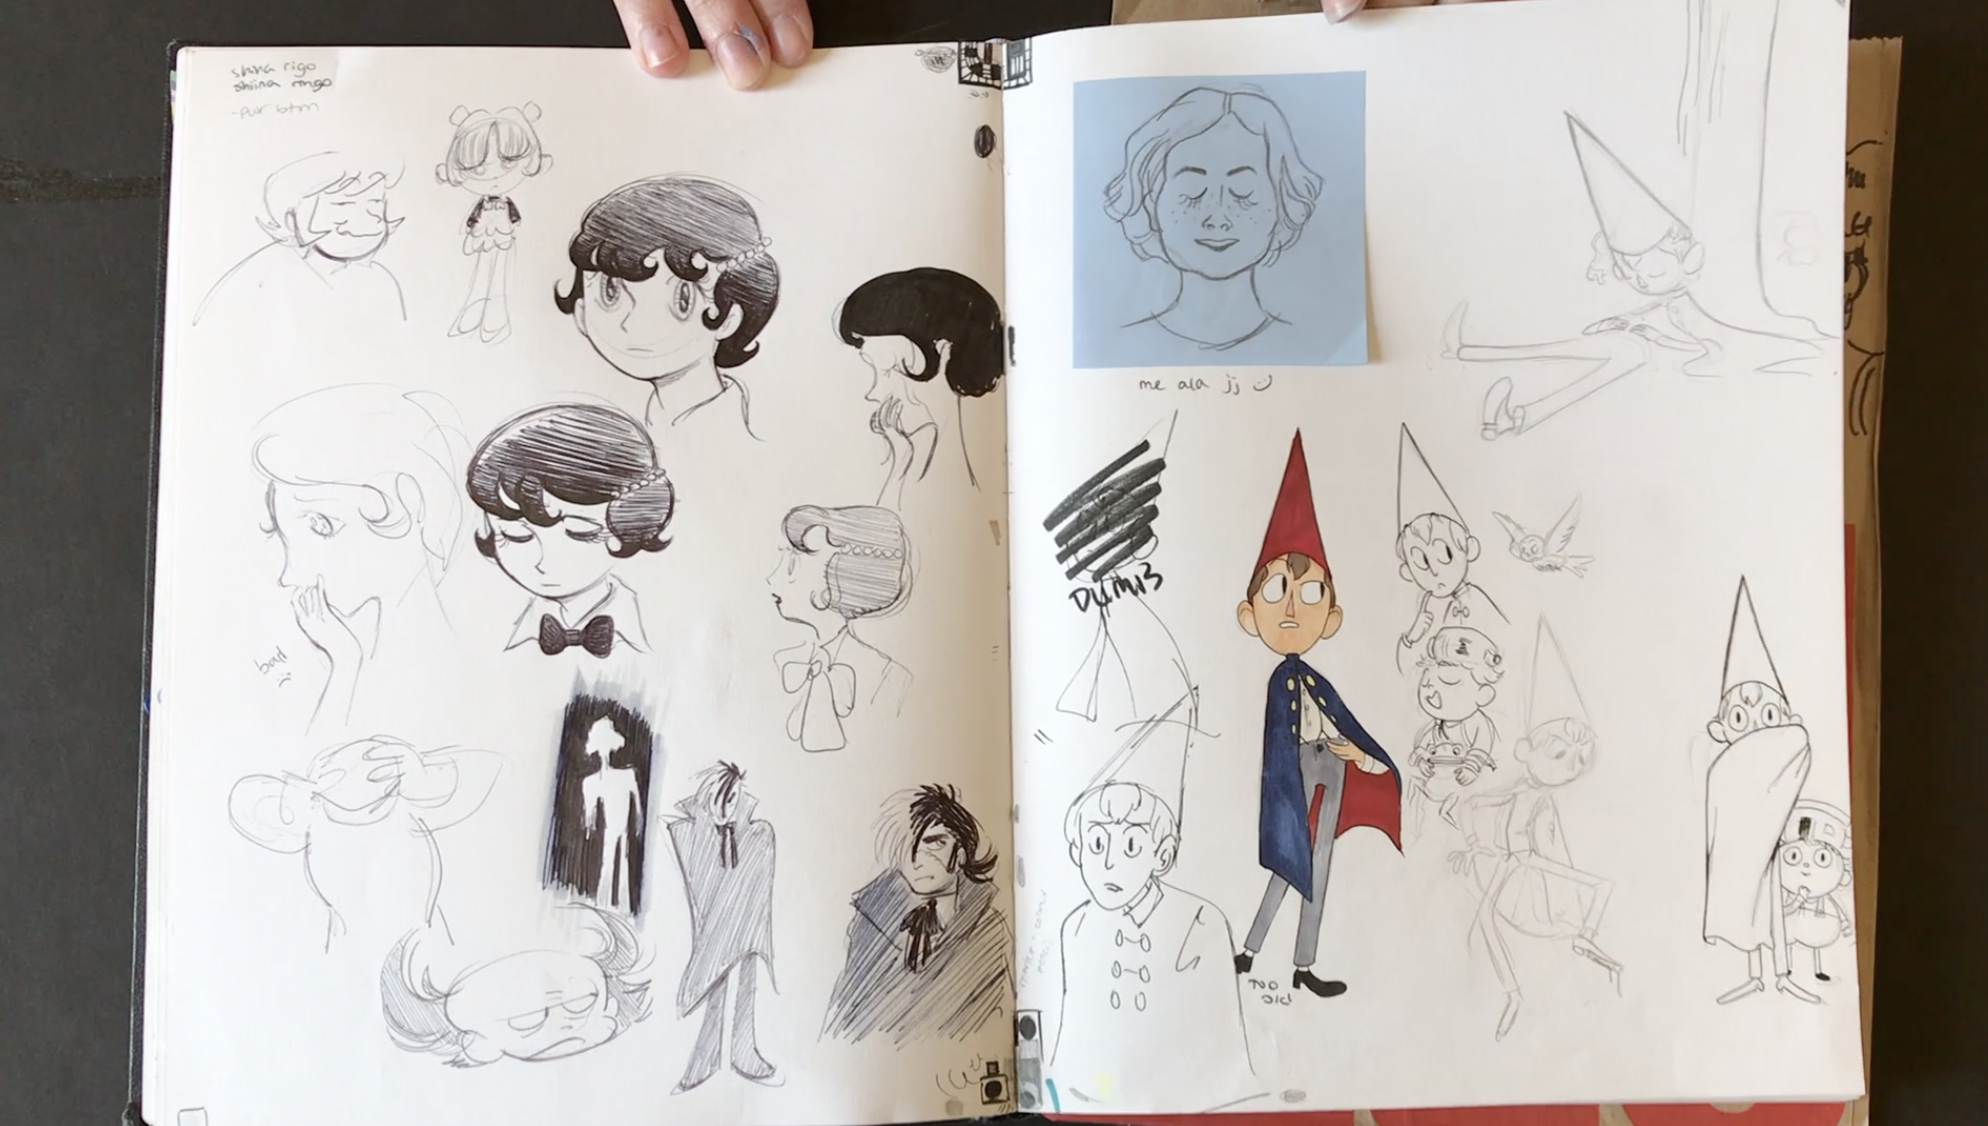
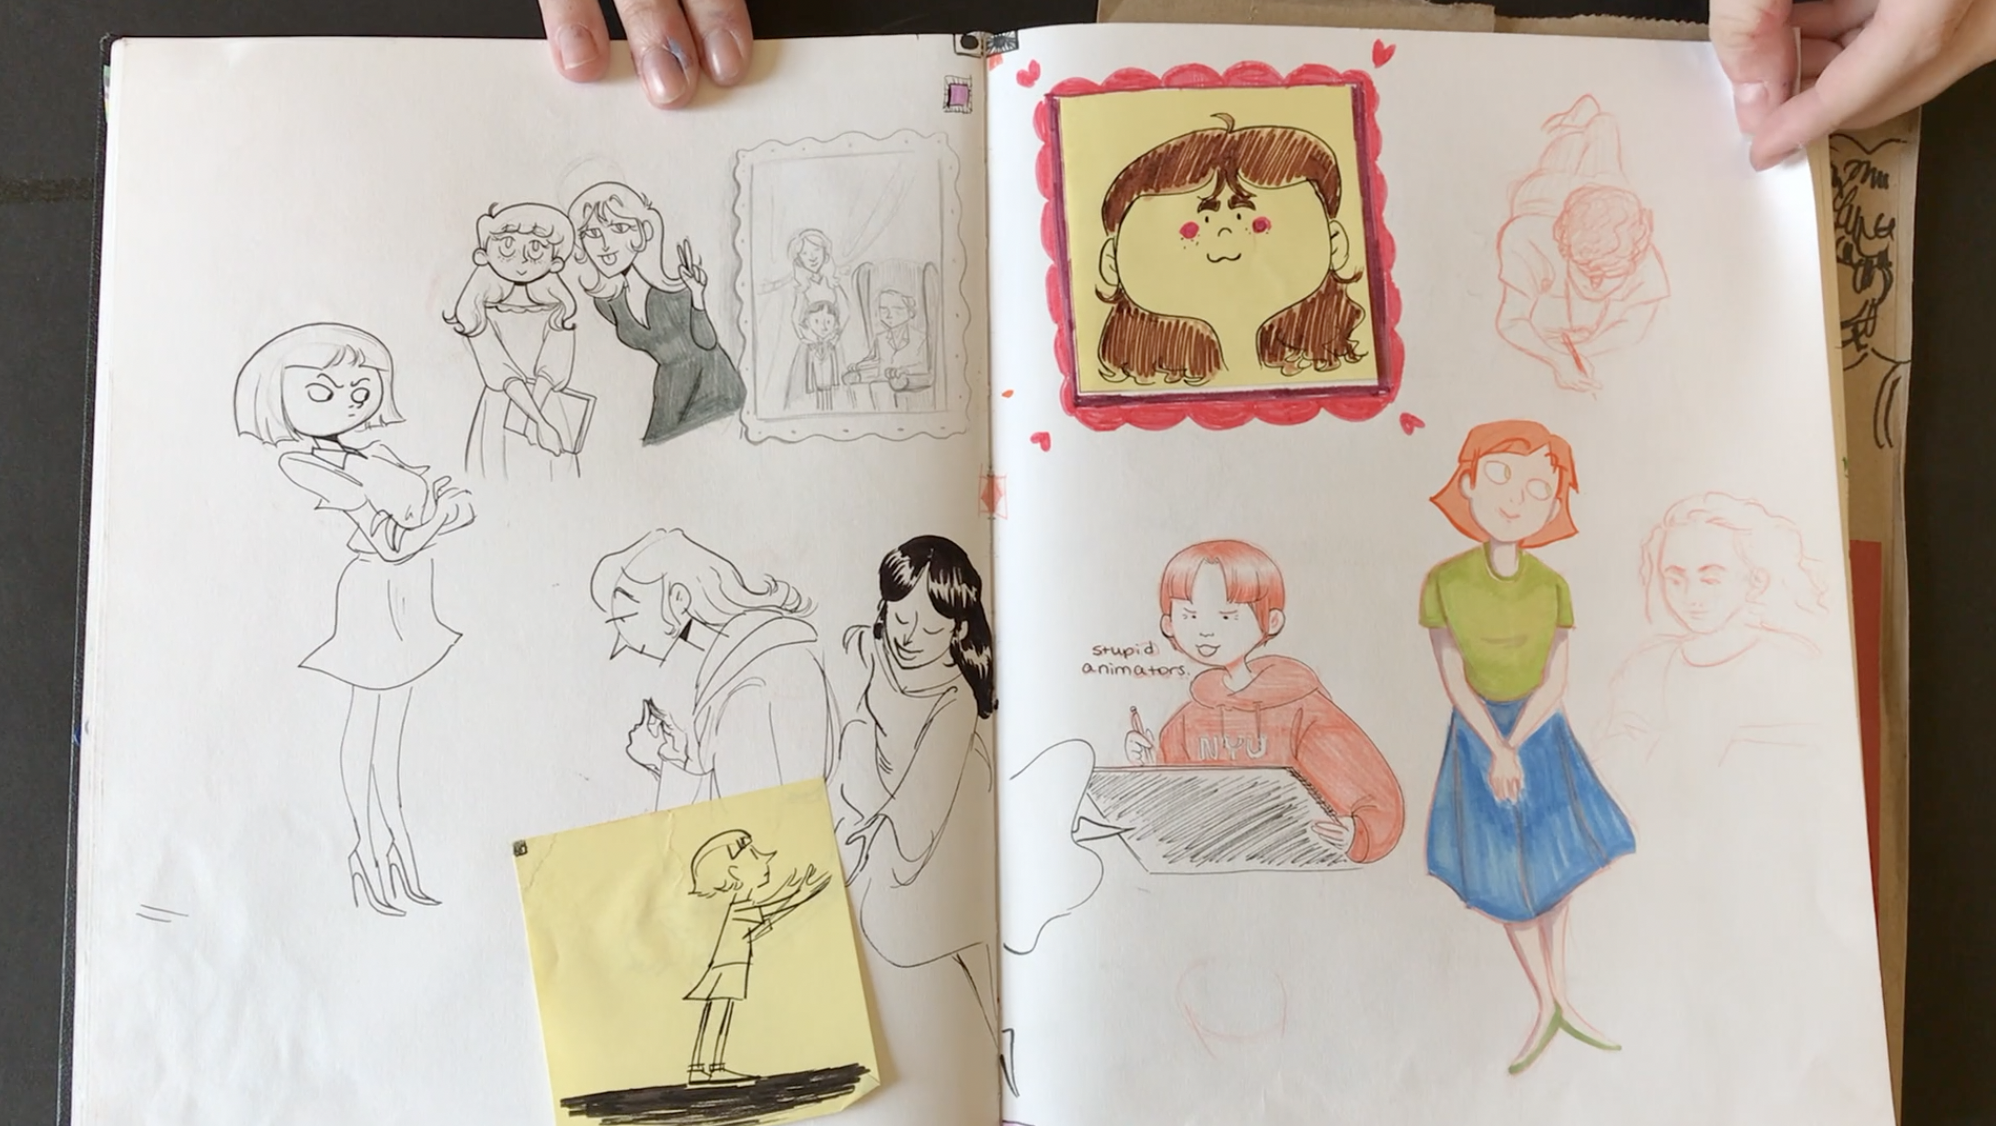
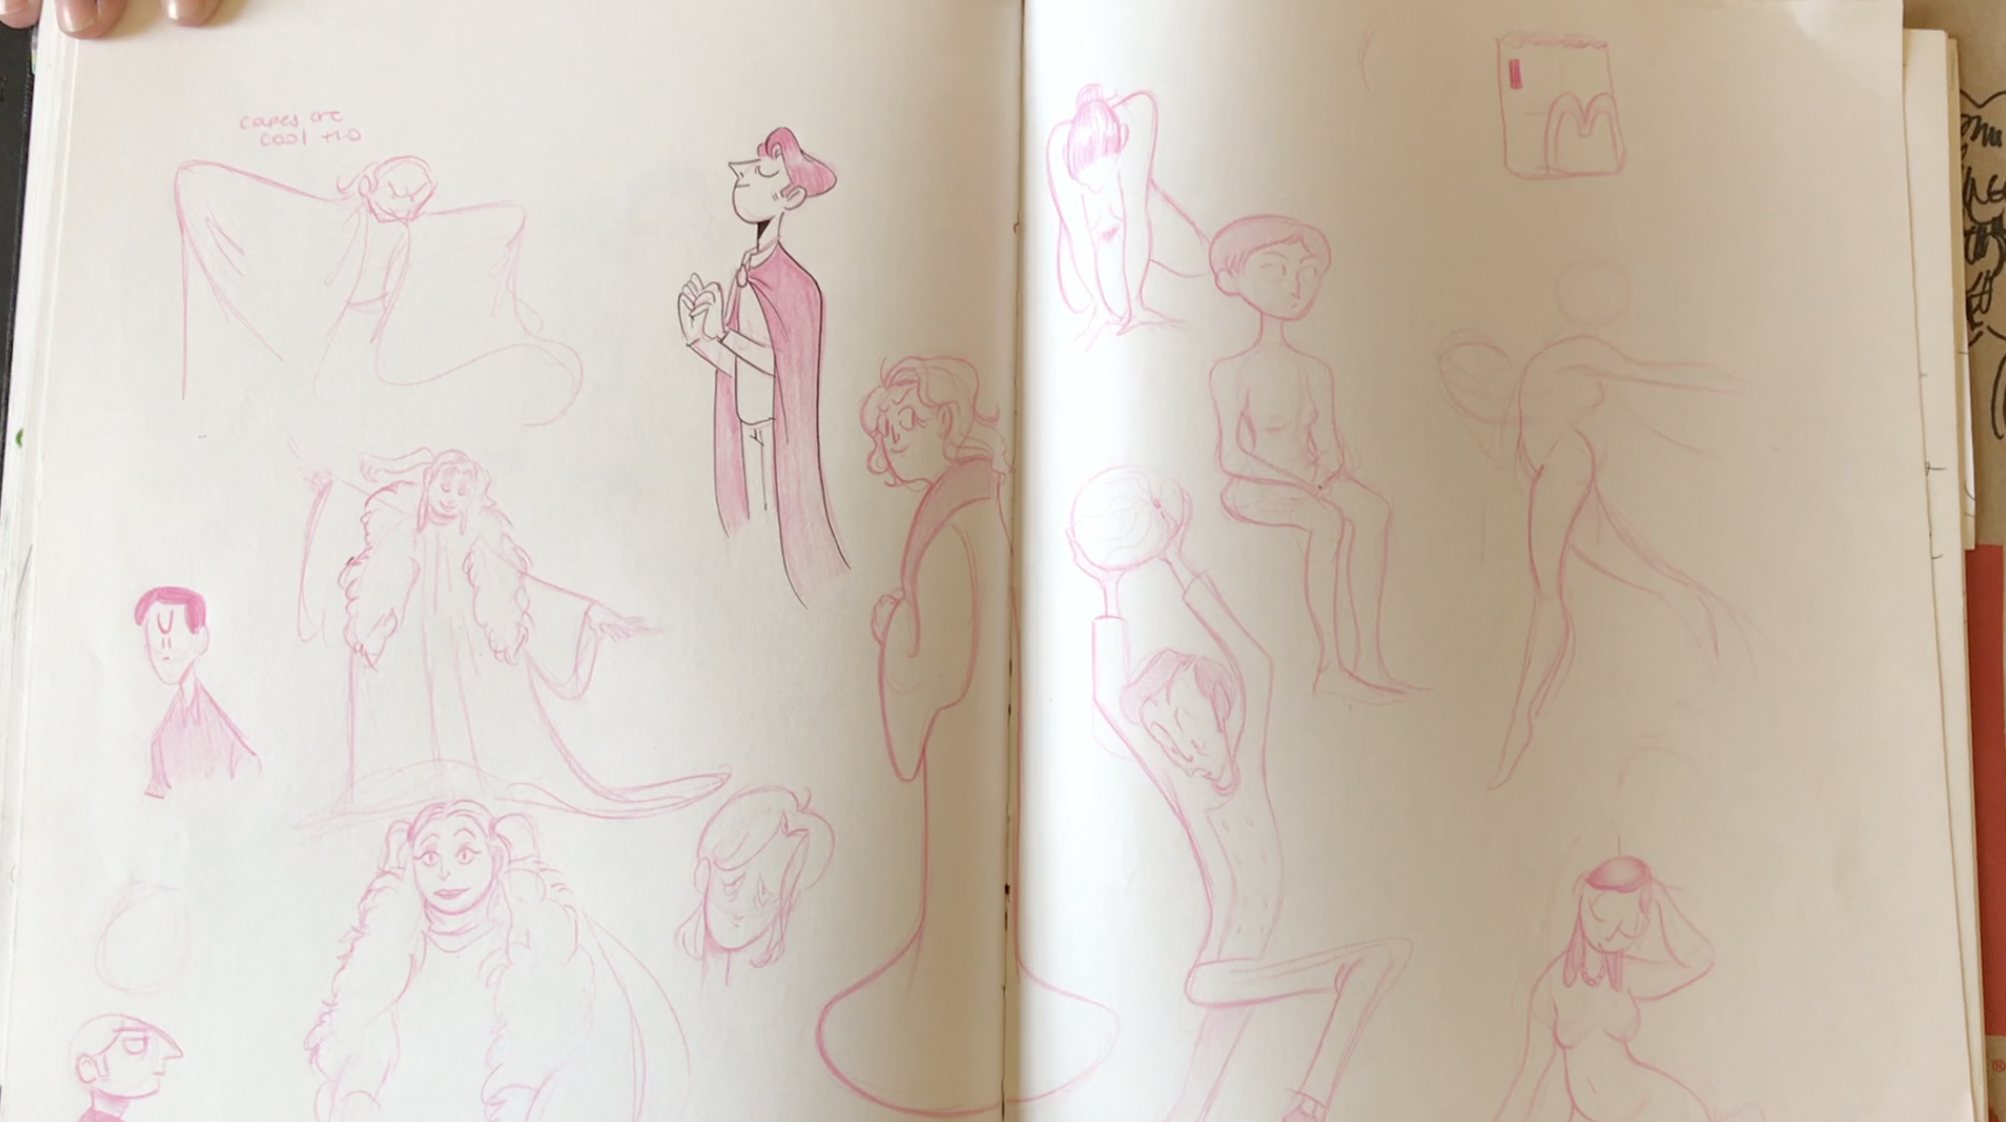
Anna is a student currently enrolled in my foundation drawing class at the School Of Visual Arts. I really enjoy having Anna in class. Her work ethic is pretty amazing. Not to mention she is super friendly.

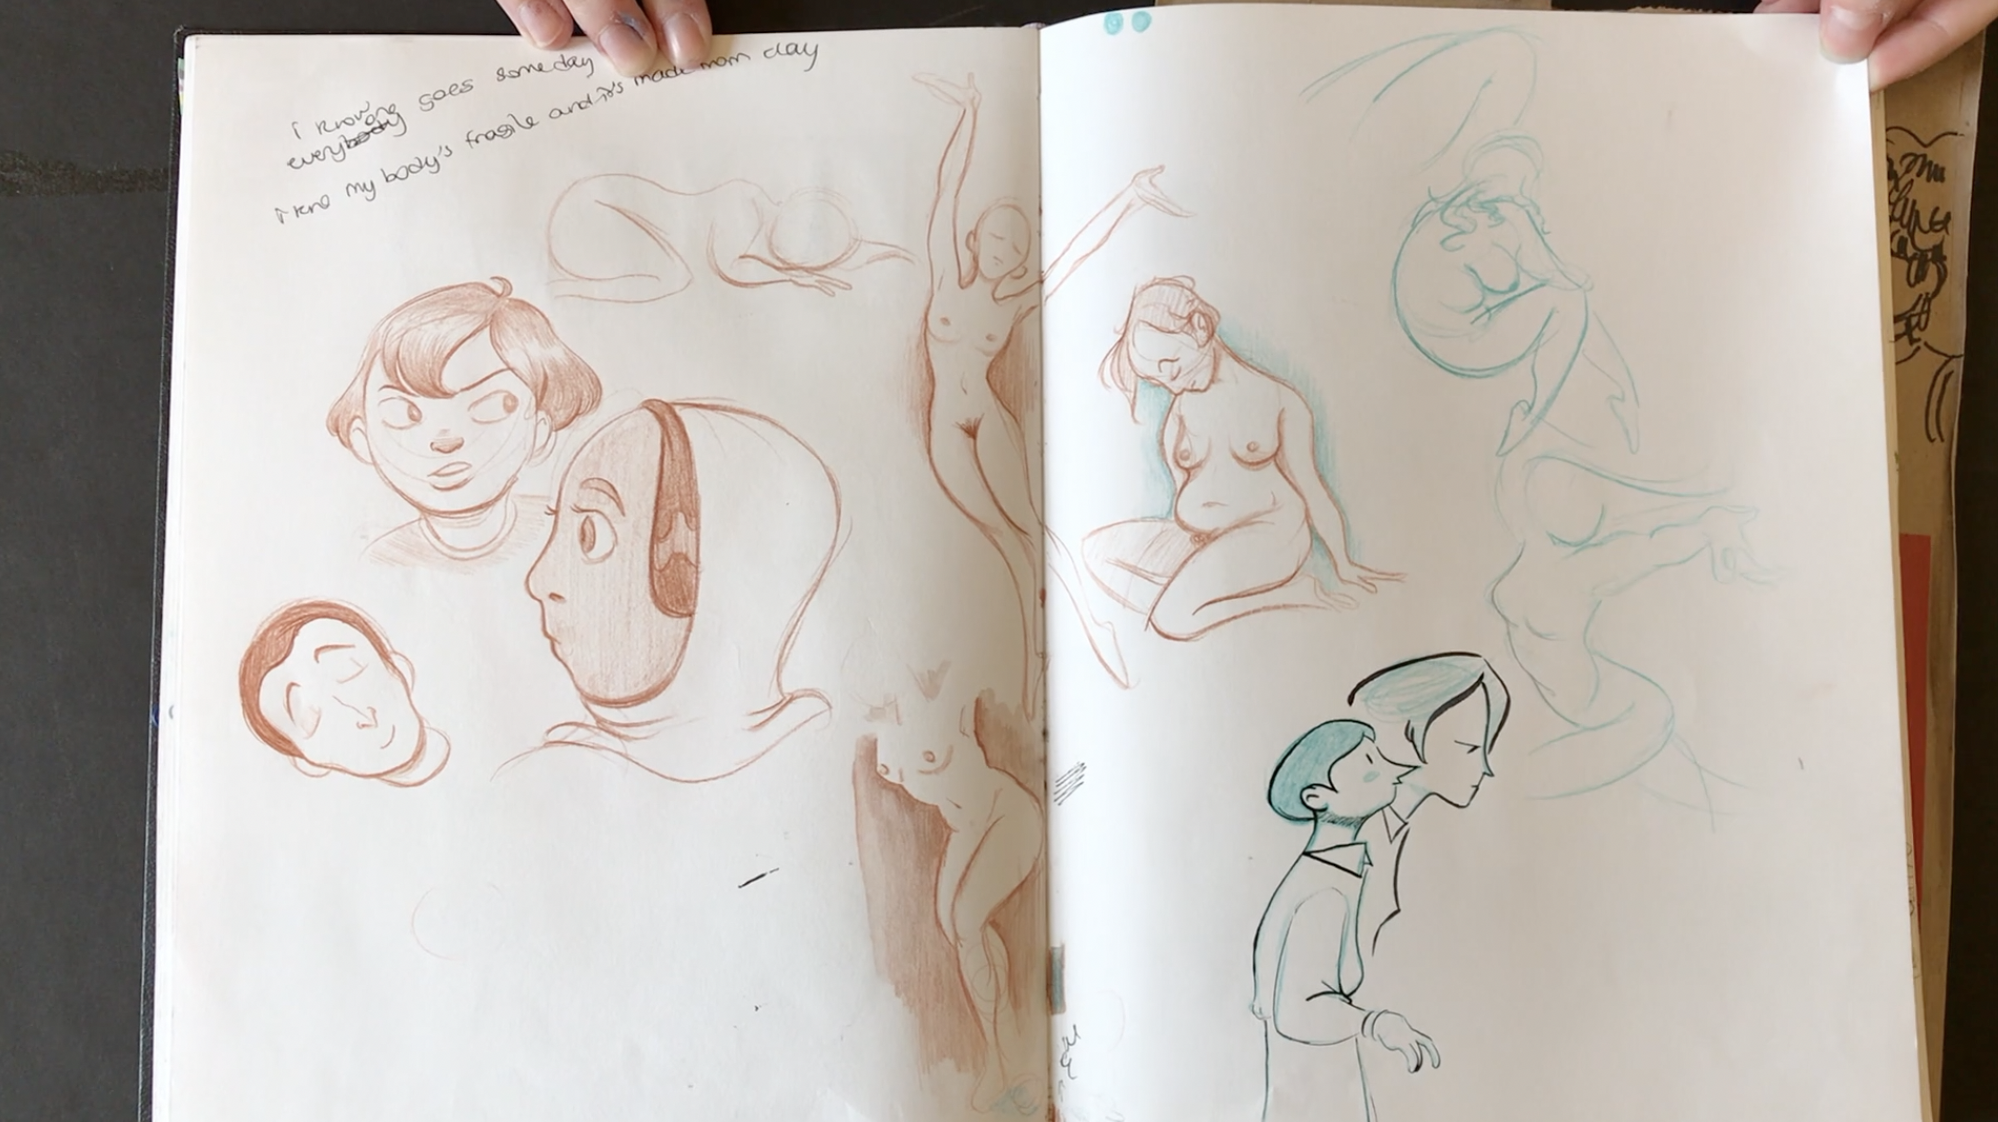
Anna’s sketchbook is really special. She just absolutely loves everything animation and it really shows. Her characters have some really cool expressions. Movement and flow are a constant theme throughout her sketchbook.

I can really see Anna making great strides in her journey through SVA. She has such a passion for animation that will enable her to learn while having fun at the same time.

Loving what you do is such a key ingredient to becoming a successful artist.


Check out Anna’s Instagram. Thanks again Anna for sharing your art.


Blending Shadow Shapes With a Brush

Blending Shadow Shapes With a Brush

This short drawing tutorial will teach you how to blend pencil with a bristle brush. By using various types of bristle brushes you can really blend shadow shapes in a soft realistic way.

Sometimes when we use a blending stump things can get a bit over blended. Blending stumps tend to make your drawings look a bit heavy handed when over used.

In this particular drawing lesson the brush really helped me to push the pencil into the texture/tooth of the paper. By implementing this same technique you will be able to model form in a realistic way.

I encourage you to try this technique. The brushes do not need to be expensive, in this case the cheaper the better.


Let me know what you though about this technique. I find it works really well in speeding up the drawing process. Especially when working with an old school pencil on regular drawing paper.

The complete lesson will be posted on Drawing Tutorials Online later this month.


Isaac Levitan Sketches – Master Class

Isaac Levitan Sketches – Master Class

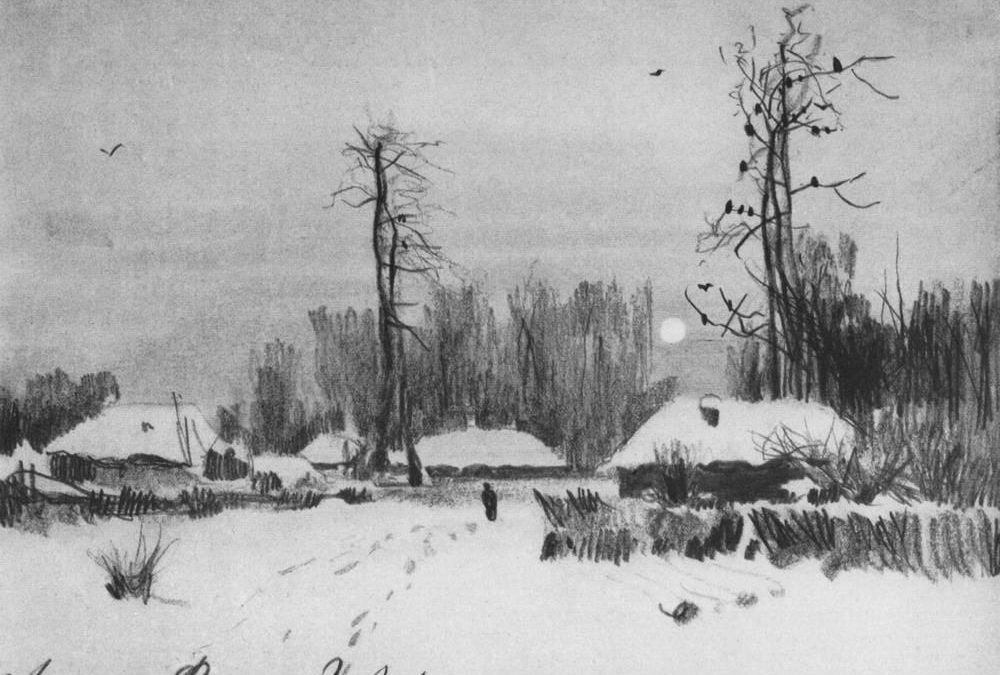
I wanted to take a moment to share part of a Master Class lesson featuring the sketches of Isaac Levitan. As you know I am a big fan of landscape painting. Most likely because most of my past illustrations had a landscape in the background. 

I usually painted a portrait on the book cover of the main character with a landscape as the back drop.

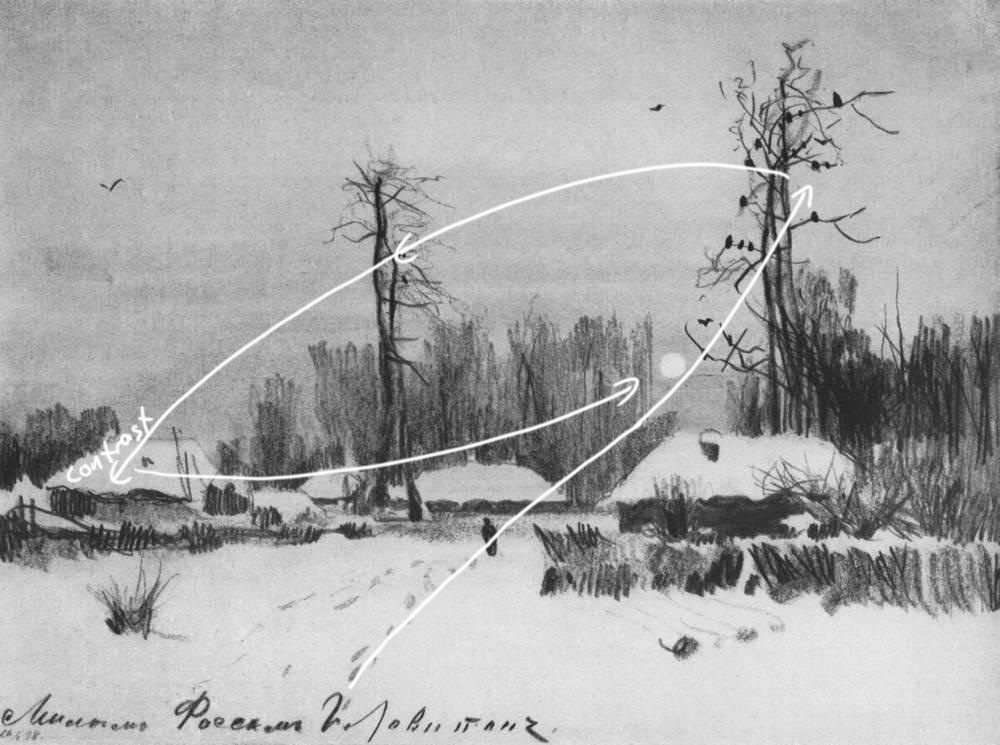
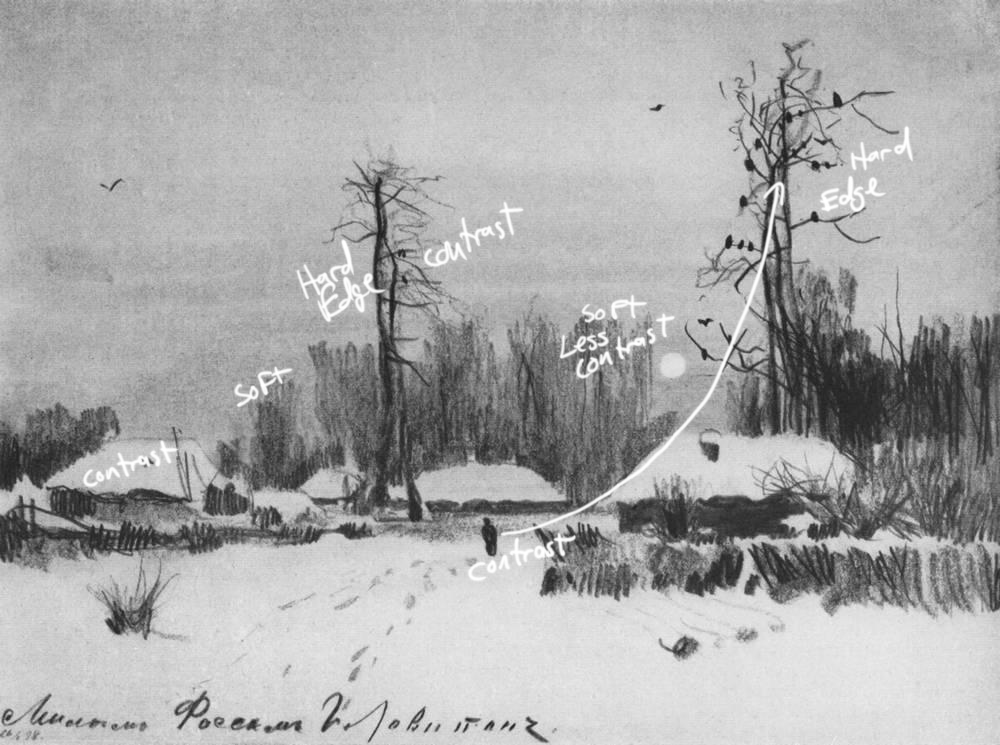
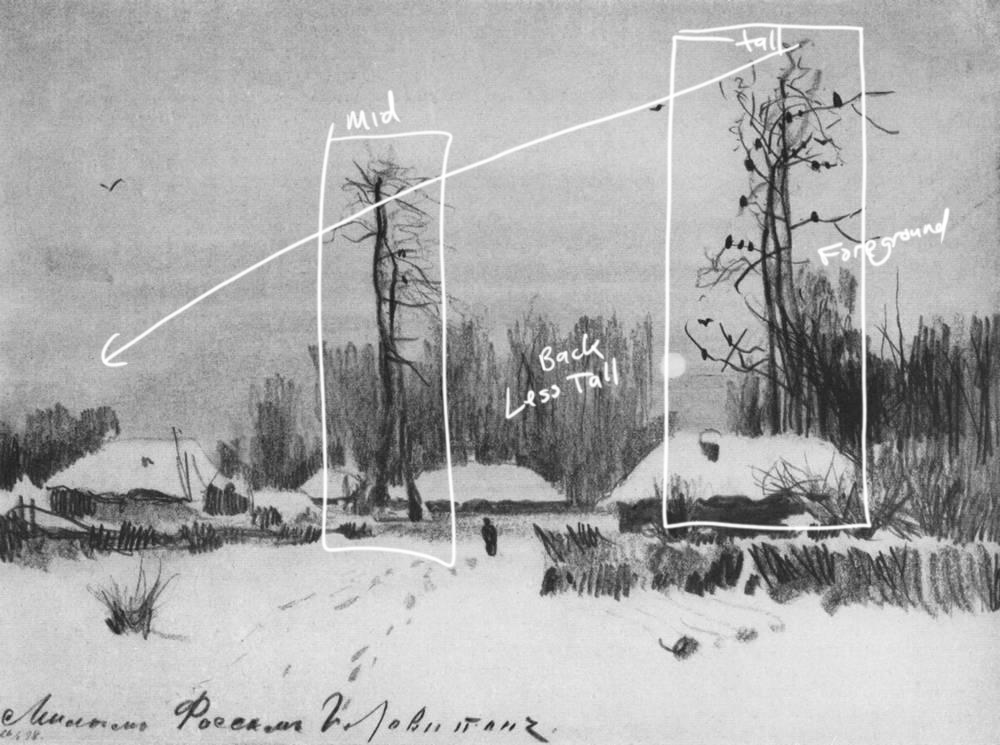
This particular video below analyzes how Isaac Levitan takes his viewers on a journey though his landscape sketch. He almost always takes the viewer on a journey through his scene via a lead in of some sort. In this case it’s the footprints in the snow.

He then uses contrast in tandem with hard edges to lead the viewer to various parts of the landscape sketch. Levitan uses a nice compliment of hard and soft edges to control where the viewer looks first second and third. He also uses a balance of hard and soft edges to create a foreground and background.

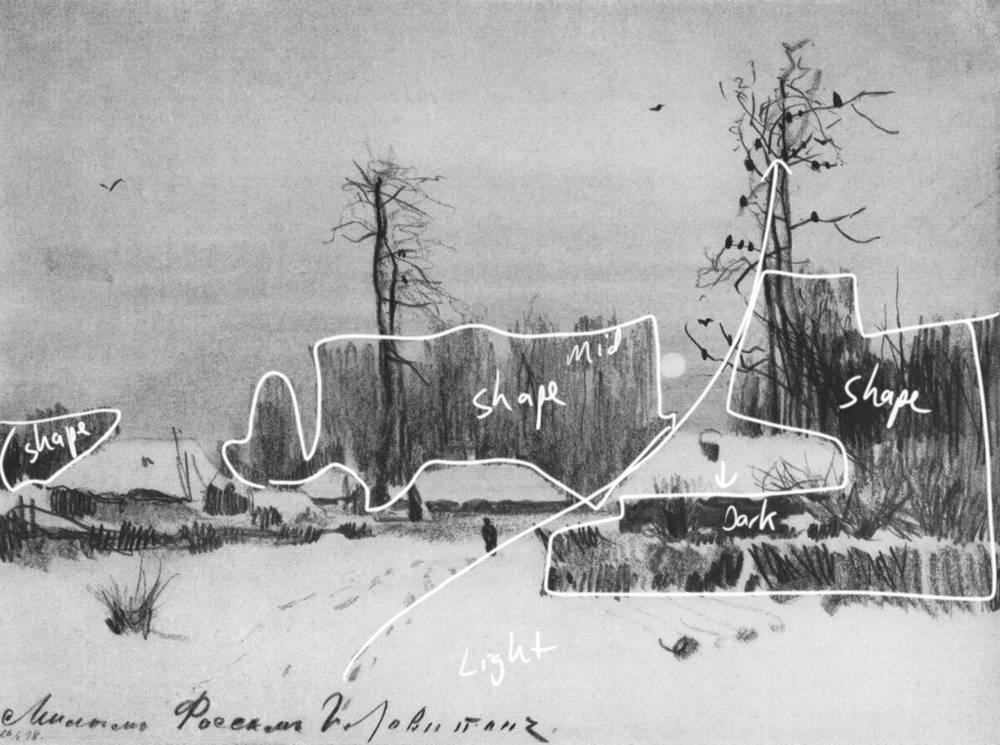
Lastly Levitan certainly understood the power of shape. A lot of artists get too caught up with texture leaving powerful shapes out of their landscape sketches. Do your best to use a light, middle tone and dark shape somewhere in your scene.

The next time you set out to compose a landscape use all of these techniques to your advantage. Use contrast, edges, as well as shape to take the viewer of your imagery through a cool little journey.


To see our of our Master Class videos consider a membership to Drawing Tutorials Online. Thanks so much for taking the time to check out this lesson.